Virtual Slate Administrator Guide
How the Virtual Slate features on your Moodle site behave, what each setting really does, and the answers to the questions we are asked most.
This guide is for the people who administer a Virtual Slate site: what each feature does, what to switch on, what the settings change in practice, and what to expect once there is real data in the site.
It is written around behaviour, because behaviour is what you need to explain to a colleague, and each page shows the screens you will use so you can find your way on your own site. The screenshots come from a demonstration site with made-up people and courses; your site's colours, logo and menus may differ. Where something works in a way that surprises people, this guide says so rather than leaving it to be discovered.
How to read it
Each feature page explains what it does, how to switch it on, every setting and permission, and the steps for each task, then the questions we actually get asked. If you are looking for one specific answer, the Common questions page collects the ones that cross several features.
Some features depend on your licence, and some can be switched off for your site entirely. Where a feature is not included, its settings page says so, or the feature is simply not present. If something described here is missing and you expected it, that is a question for us rather than a fault on the site.
What is in this guide
| Page | What it covers |
|---|---|
| Advanced Reporting | The reporting dashboards, the reports, saved and scheduled reports, exports and threshold alerts. |
| CPD Dashboard | Continuing professional development: categories, the catalogue, cycles, targets, claims, approvals, team CPD and statements. |
| Team Management | Teams, the team page and reports, and the organisation structure. |
| Lifecycle Notifications | Automatic emails and messages for enrolments, deadlines, completions and more. |
| External Activities | Learning done outside the site, recorded by learners and marked by markers. |
| Assessments | Workplace assessment programs, supervisors, forms and recognition of prior learning. |
| Dashboard blocks | Dashboard tabs, My Learning, Quicklinks, Categories, Events, Grades and Grading. |
| Pathways & Catalogue | Learning pathways and the course catalogue. |
| Site administration | The Admin dashboard, the themes, Enrolmart, site usage and Lingel Learning support sign-in. |
| Enrolment and users | Unique access codes, cohort automation, bulk user actions, Salesforce and JWT sign-in. |
| Courses and utilities | The Lingel course formats, time tracking, the certificate report and the administration utilities. |
| Refreshers and face-to-face | Course refreshers and face-to-face sessions. |
Two things that explain most surprises
Some settings are fixed for your site and cannot be changed from the admin interface. Where that applies, the setting either does not appear or states the limit it is being held to. This covers the things that define a Virtual Slate site — the theme is the clearest example — and the limits attached to your licence. It is deliberate rather than an oversight.
Reporting figures come from overnight summaries, not from a live scan. That is what keeps a dashboard fast on a site with millions of rows of activity. Each dashboard tab shows the time its figures were accurate as at, and today's activity appears after tonight's run, apart from the few figures read live.
Your platform
- Built on
- Moodle 4.5
- Reaching the reports
- Site administration → Reports → Virtual Slate reports
- Support
- Through your usual Lingel Learning contact
Advanced Reporting
Dashboards, 22 advanced reports, overnight summaries, audited exports, scheduled delivery and threshold alerts.
- Where it lives
- Site administration → Reports → Virtual Slate reports
- Settings
- Site administration → Plugins → Reports → Virtual Slate reports settings
- Who can see it
- Controlled by capabilities, described under Who sees what below
On this page: the dashboard tabs, the reports, capabilities, settings, scheduled tasks, step-by-step tasks, privacy and questions we get asked.
What it gives you
Four dashboard tabs (overview, user, course and time), each built from tiles, charts and tables that open on demand. The time tab appears only where the time tracking plugin is installed. Behind them sit 22 advanced reports with their own filters and downloads, covering course resources, SCORM, grades, completions, certificates, assignment submissions, quiz attempts, forum participation, resource usage, cohorts, attendance, H5P, teacher activity, time on task, competencies, learning paths and grade distribution.
The dashboards and the advanced reports are licensed differently, which is the first thing to understand.
What is included, and what is licensed
| Capability | Every site | Analytics | Enterprise |
|---|---|---|---|
| 22 advanced reports and their downloads | Yes | Yes | Yes |
| Four dashboard tabs | No | Yes | Yes |
| Overnight summaries that feed them | No | Yes | Yes |
| Saved reports, audited exports, scheduled delivery, alerts | No | Yes | Yes |
| Retention of the overnight summaries | No | Up to 365 days | Unlimited |
| Scheduled delivery to recipients outside the site | No | No | Yes |
Your level applies to the site as a whole and is set in the site's configuration rather than on the settings page. Where a figure on that page appears to have no effect, it is being held to your level's limit, and the setting description states that limit.
Six reports are listed only where what they read exists: Certificates (the Custom certificate activity), Attendance report (the Attendance activity), H5P activity (the H5P activity), Time on task (the time tracking plugin), Learning path completion (the Learning plan plugin) and Competency achievement (competencies switched on under Advanced features). You can also hide any report yourself.
On a site without the analytics level, the overnight summaries are not built. Resource usage therefore has nothing to show, the Active learners column of Cohort summary reads zero, and the First course access column of Course completions stays empty.
Who sees what
Every report answers the same question the same way, so a user's view is consistent across all of them. Each user lands in one of four levels, decided by the capabilities their role holds:
| Level | Sees | Capability |
|---|---|---|
| Site-wide | Figures for the whole site | report/vslate:viewall |
| Course | Only the courses they hold the capability in | report/vslate:viewcourse |
| Own | Their own learning only, on a separate page | report/vslate:viewown |
| None | Nothing | No reporting capability |
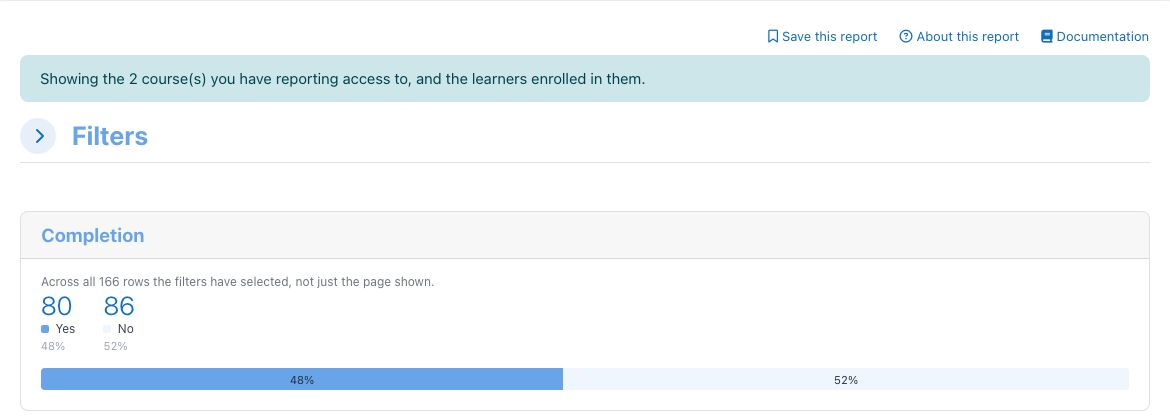
When a user's view is restricted, the page says so, above the tab on the dashboard and above the filters on a report. That notice matters more than it sounds: a manager reading "412 active users" with no notice would reasonably conclude the site has 412 active users rather than 412 in their courses.
report/vslate:export there is no Export and no download control.Three details follow from the way these levels work:
- The Overview, User, Course and Time tabs are for the site-wide level only. A course-level user who opens one lands on the Advanced reports tab instead. An own-level user lands on the My learning page, which is linked from the Reports section of their profile.
- A course-level user opens the advanced reports within their own courses. Each report holds only those courses and the learners enrolled in them, and the Cohort and Group filters list only what belongs to them. Holding
report/vslate:viewalone opens nothing. - Learning path completion follows the same rule in its own way. A path has no single course, so a course-level user sees a path that includes at least one of their courses, and within it only the learners enrolled in their courses. The Conditions column can still name the path's other courses.
The My learning page
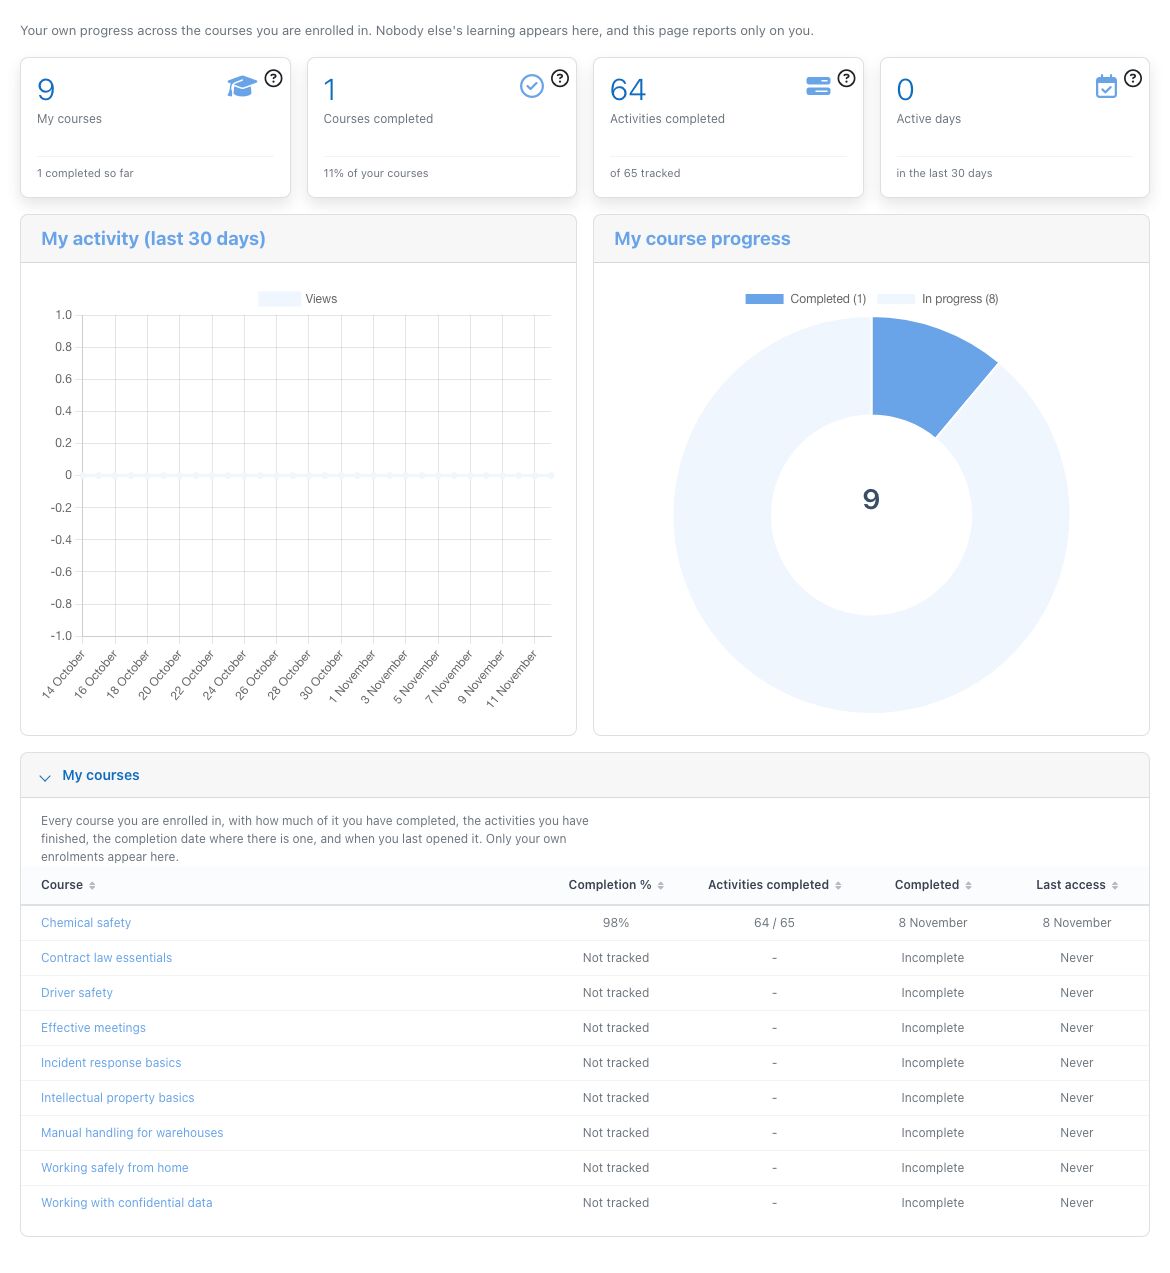
A user at the own level sees a single page, My learning, instead of the dashboards. It opens with the line "Your own progress across the courses you are enrolled in. Nobody else's learning appears here, and this page reports only on you."
- Four figures. My courses (with how many are completed so far), Courses completed (as a share of their courses), Activities completed (out of the activities that have completion tracking) and a fourth figure: Time spent learning where the time tracking plugin has measured time for them, otherwise Active days in the last 30 days.
- Two charts. My activity (last 30 days), their page views per day, and My course progress, completed against in progress.
- The My courses table. One row per enrolled course with Completion %, Activities completed, the date Completed (or Incomplete) and Last access. A course without completion tracking reads Not tracked.
How current the figures are
The dashboards read overnight summaries rather than scanning the activity log when you open them. In practice:
- Each dashboard tab states a "Data as at" time beneath the period selector. Today's activity appears after tonight's run. Counts of people, courses, enrolments and completions are read live, so they are always current.
- A rebuild can be forced by anyone holding the refresh capability, with a minimum interval between runs so it cannot be used to overload your own site.
- Rebuilding a day is safe to repeat: the day is rebuilt from scratch, so running it twice does no harm. A day whose logs have already been purged keeps its existing summary rather than being blanked.
Three retention periods, and the difference between them
Confusing these is the most common misunderstanding about this feature, so it is worth being precise.
| Period | Set by | Governs |
|---|---|---|
| Log lifetime | Moodle's own setting | How far back a summary can be built |
| Summary retention | Keep daily summaries for | How far back a report can look |
| Export retention | Keep export files for | How long a generated file stays on the server |
The first two being separate is the useful part. Once a day has been summarised, its logs are no longer needed for reporting, so a site that purges activity logs after 90 days can still show years of trend, because a handful of small summary rows per day survive a log purge that removes millions of rows.
Downloads and exports
Two different things share one word.
- Download writes out the rows your filters have selected: all of them, not just the page on screen. It uses the Download table data as control under the table, which appears only for holders of
report/vslate:export, whatever your licence level. A download leaves no audit record. - Export, where the analytics level applies, queues the report to be generated in the background and records who exported what. It needs the same capability.
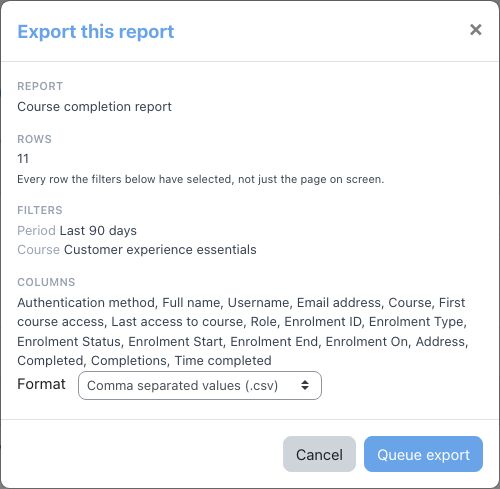
Export opens a confirmation first, stating which report, how many rows your filters have selected, which filters are in force and which columns will be written. Queuing a large export should be a decision rather than a surprise. Use it for anything large: it runs outside the web request, so it cannot slow the site down for everyone else.
Downloads and exports for spreadsheets (CSV, Excel and ODS) protect whoever opens the file. A cell that begins with =, +, - or @ would be treated as a formula by the spreadsheet, and so would one that begins with a tab or a carriage return, so it is written with an apostrophe in front, which keeps it as plain text. Numbers, including negative ones and percentages, are written as they are, and so is a cell holding only a dash. JSON files are not changed.
The generated file is deleted after seven days by default. The record of who exported what is kept indefinitely and outlives the file it describes, deliberately. That record is your audit trail.
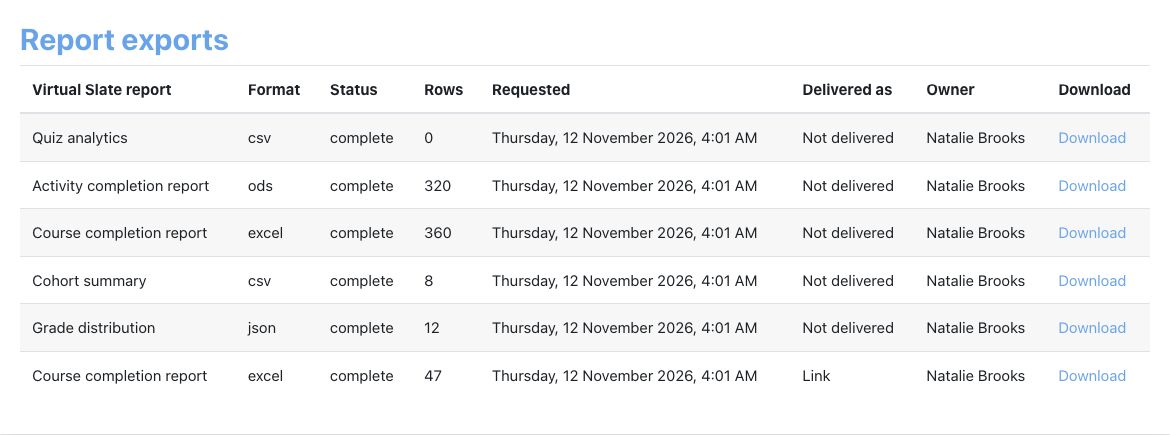
The Report exports page lists the 100 most recent exports with Virtual Slate report, Format, Status, Rows, Requested, Delivered as and Download. Site administrators see everyone's and an Owner column. Delivered as reads Not delivered for an export you queued yourself, and Link, Attachment or Link and attachment for one a schedule sent.
Scheduled delivery
A saved report can be delivered daily, weekly or monthly. Save the report first: a saved report stores the filters in force including the named period, so a report saved as "Month to date" reopens a month later showing that month, not the dates it happened to mean on the day you saved it. A schedule built on it covers that period each time it runs. A Custom range stays the dates you chose.
A scheduled report holds what the schedule's owner may see. A schedule owned by a course-level user holds only their courses, whoever receives it. The reverse is also true: every recipient receives the owner's view, even someone whose own access is narrower and who could not open that report themselves. The owner decides who receives it, so choose recipients with the same care as you would when sending the file yourself.
- Recipients with an account on the site receive a link, and their permission to view the report is checked again at the moment of sending. Somebody who has changed role stops receiving it without anyone having to edit the schedule. The link opens the Report exports page, where the recipient can fetch that one file. They see no other export, and the link stops working if they lose access.
- Recipients without an account receive the report as an attachment, because a link into the site would be no use to them. This requires the enterprise level and is restricted to the email domains you have listed. Until at least one domain is listed, nothing can be delivered outside the site.
- One recipient failing never stops the others and never switches off the schedule. The report still reaches everyone it can, and your administrators are told which addresses did not receive it and why.
- A report that cannot be produced is different. After five failed or skipped runs in a row the schedule switches itself off and tells its owner. A run is skipped when the owner is no longer active or can no longer open the reports.
An attachment is in the recipient's mailbox the moment it is sent, and no amount of access control gets it back afterwards. Add an outside address only where that is genuinely intended. A report over the size limit is not attached at all. The recipient is told it was too large, which is better than sending a file the receiving mail server will silently reject.
A recipient with an account needs report/vslate:view at site level, both when the report is sent and when they fetch the file. The schedule's owner is the one exception, and can always be sent their own report while they can open the reports. A teacher who holds only the course-level capability cannot be chosen, because the file holds what the owner may see, which may be more than that teacher's own courses.
When a report declines to draw
Reports have an on-screen ceiling, 5,000 rows by default. Above it the report declines to render and, where the analytics level applies and you hold the export capability, offers the export instead. This is deliberate: a page attempting to draw 44,000 rows does not fail cleanly, it hangs.
If you see that notice, either narrow the filters or take the export, which contains every row. Without the export capability or the analytics level, narrowing the filters is the only route.
Settings worth understanding
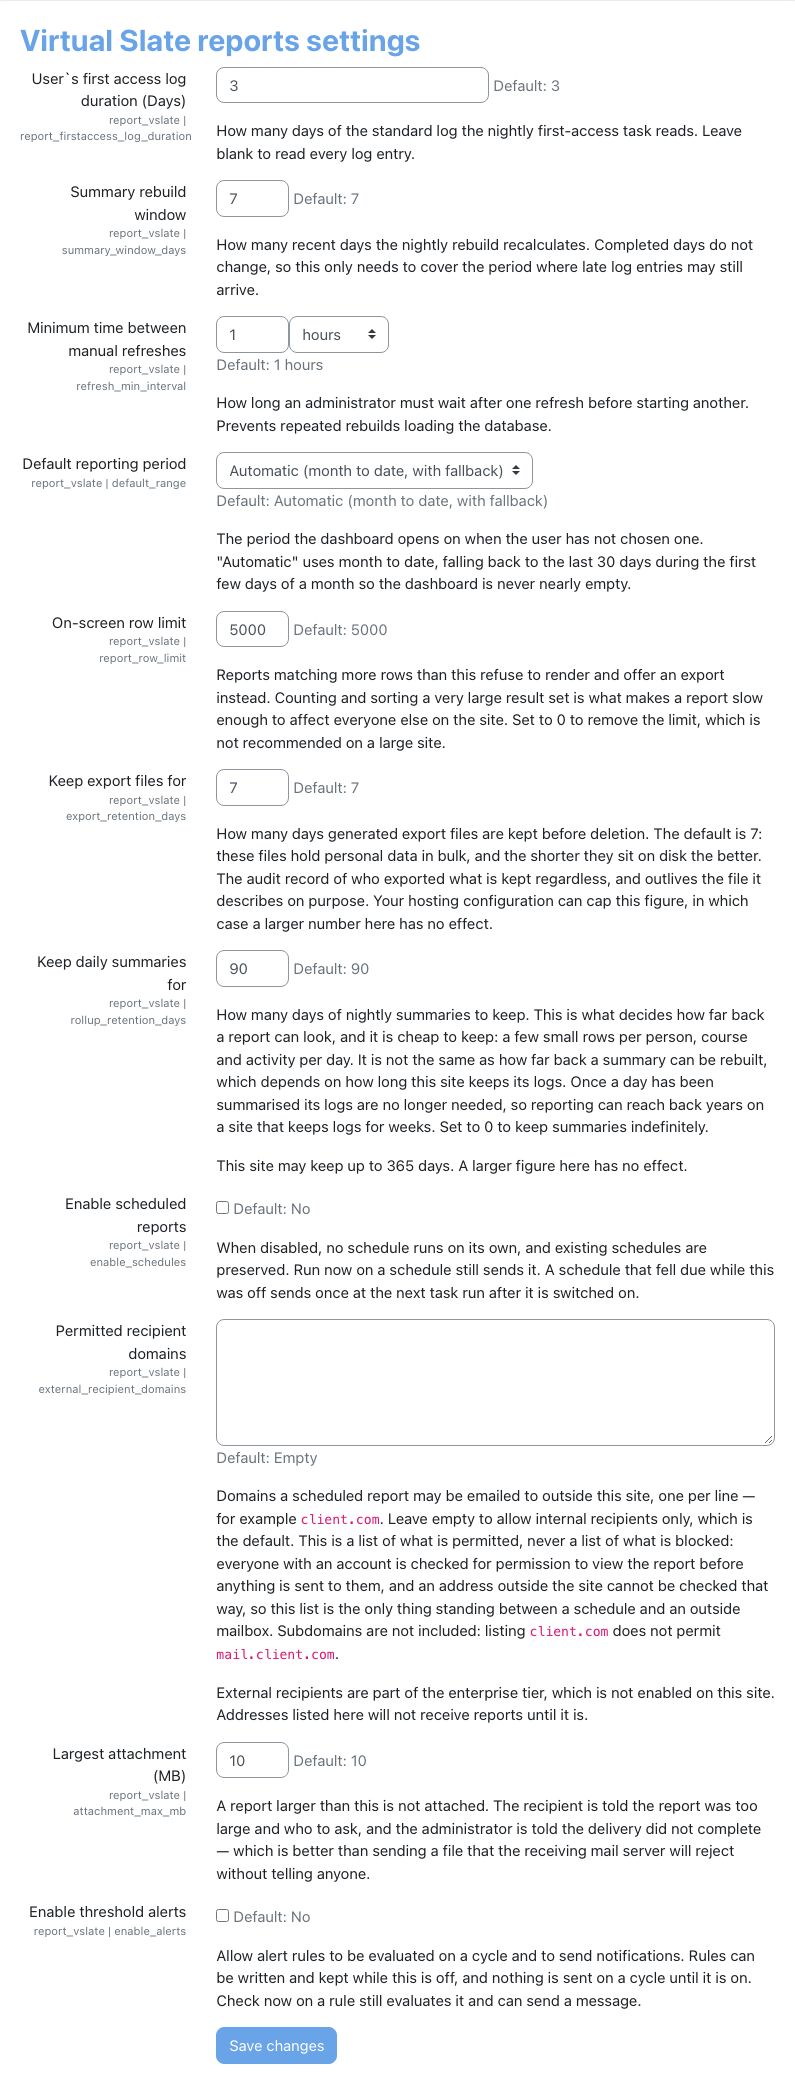
These are all the settings on Virtual Slate reports settings, under the labels shown on that page. Changing them needs moodle/site:config. Where the analytics level is not enabled, the page says so at the top.
| Setting | Default | What it really does |
|---|---|---|
| User`s first access log duration (Days) | 3 | How many days of log the nightly first-access task reads. Leave it blank to read every log entry. The field accepts a blank or a whole number from 1 upwards, and does not accept 0. |
| Summary rebuild window | 7 days | How many recent days the overnight task recomputes, counting today. A manual rebuild covers the same days. |
| Minimum time between manual refreshes | 1 hour | How often a manual rebuild may be forced. The time counts from the last rebuild that finished, including the overnight one. |
| Default reporting period | Automatic (month to date, with fallback) | Month to date, falling back to 30 days during the first three days of a month. You can choose Today, Last 7 days, Last 30 days, Month to date, Previous month, Last 90 days, Year to date or Last year instead. |
| On-screen row limit | 5,000 | The on-screen ceiling described above. 0 removes the ceiling, which is not recommended on a large site. |
| Keep export files for | 7 days | How long generated files stay on the server. Can be shortened by your hosting configuration. |
| Keep daily summaries for | 90 days | How far back reports can look. Held to your licence limit; 0 means indefinitely where that is permitted. On the analytics level, 0 means the 365-day limit. |
| Enable scheduled reports | Off | Off by default on purpose. Nothing is delivered on a schedule until you switch it on, and existing schedules are kept. Run now on a schedule still queues it and sends it while this is off. A schedule that fell due while this was off sends once at the next task run after you switch it on. |
| Permitted recipient domains | empty | The only control on delivery outside the site. Empty means internal recipients only. Needs the enterprise level. |
| Largest attachment (MB) | 10 MB | Above it, the report is not attached and the delivery is reported as incomplete. |
| Enable threshold alerts | Off | As above. Rules can be written and kept while it is off. Check now on a rule still evaluates it and can send a message while this is off. |
Hiding what you do not want shown
Tiles, charts, panels and whole reports can be hidden for your site by anyone holding the configure capability. Two things are worth knowing. The configuration records what is hidden rather than what is shown, so a tile added in a future release appears by default rather than being invisible until somebody finds a setting they have never seen. And hiding a report also refuses it by direct link, so a hidden report is genuinely hidden rather than merely absent from the menu.
The dashboard tabs
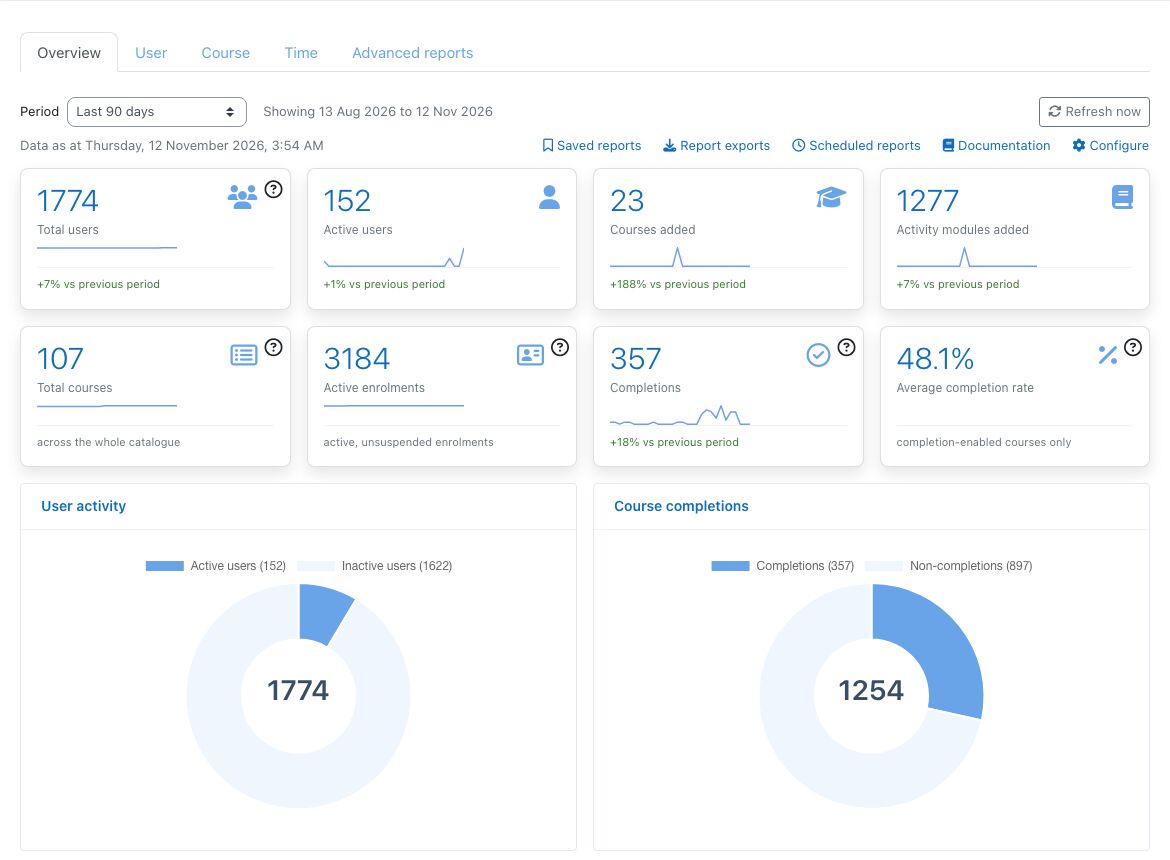
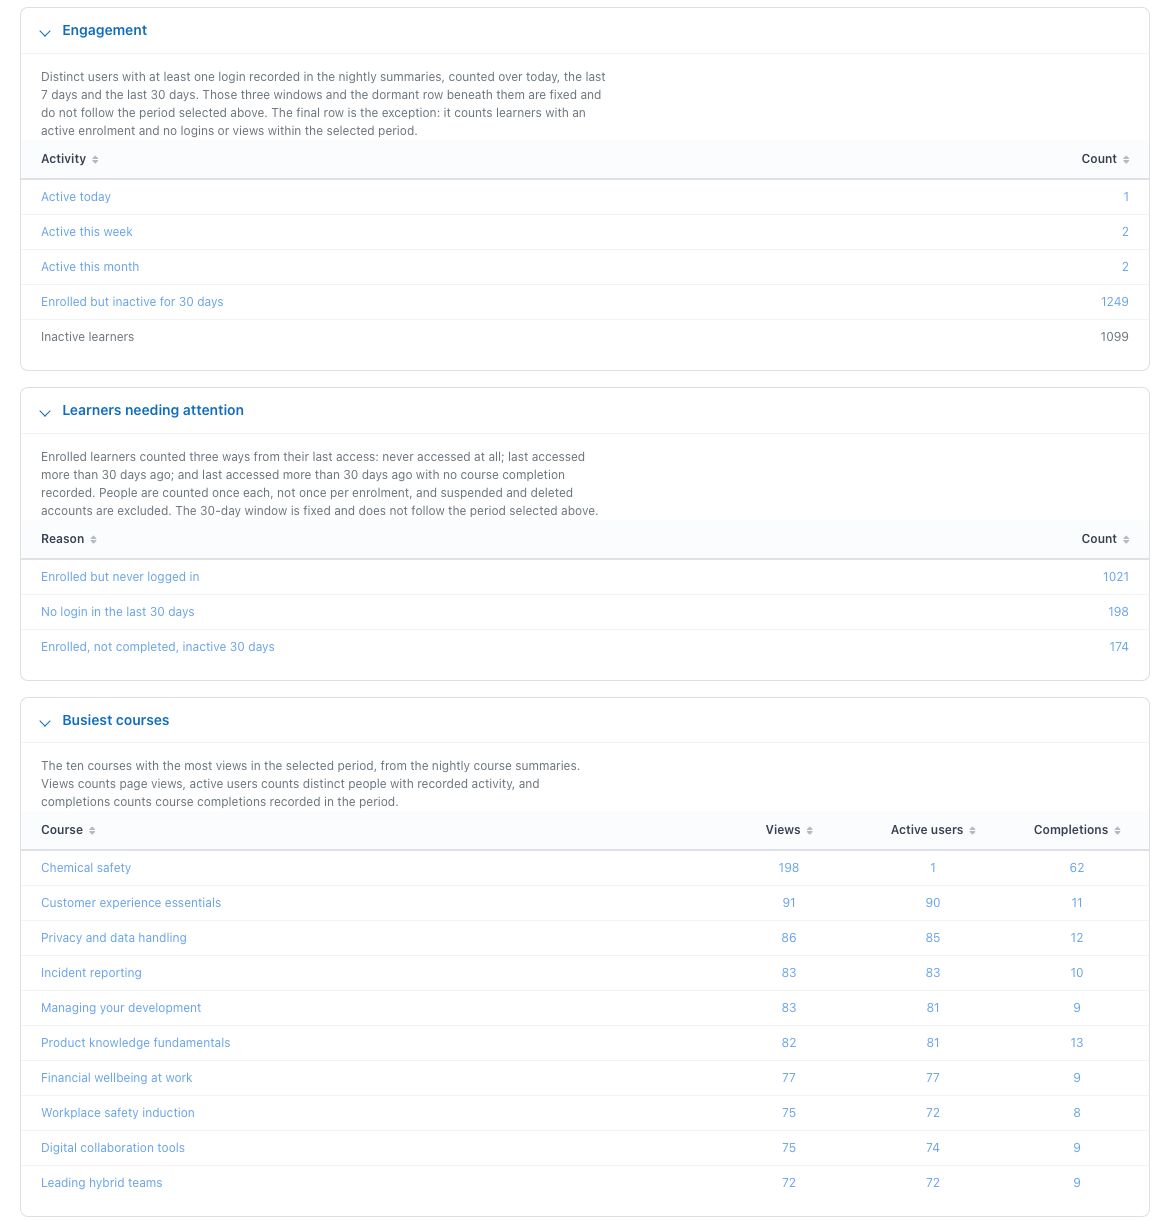
Open the dashboards from Site administration → Reports → Virtual Slate reports → Overview report. Most tiles follow the Period selector. Total users and Total courses are running totals and do not. The tables beneath the charts start closed and fetch their rows when you open them. The site remembers which tables you keep open, per person and per tab.
| Tab | Answers | Tiles | Charts and tables |
|---|---|---|---|
| Overview | How the whole site is doing | Total users, Active users, Courses added, Activity modules added, Total courses, Active enrolments, Completions, Average completion rate | Charts: User activity, Course completions. Tables: Engagement, Learners needing attention, Busiest courses, Lowest engagement courses, Recent report exports, Scheduled reports, Most active courses, Most active users |
| User | Who is showing up, who keeps coming back, and who has stopped or never started | Total users, Active users, New users, Returning users, Engagement rate, Stickiness, Never signed in, Dormant (30d+) | Charts: Account status, Engagement segments, Daily activity (last 30 days), Users by authentication type. Tables: Most active users, Top completers, Recent signups, Dormant (30d+), Never signed in |
| Course | How much of the catalogue is being used | Total courses, Courses added, Active courses, Course views, Enrolled users, Completions, Dormant courses, Average completion rate | Charts: Course activity, Course size, Course activity (last 30 days), Where enrolments sit. Tables: Most active courses, Dormant courses, Lowest completion rates, Courses by category, Recently created courses |
| Time | How long people actually spend learning. Appears only where the time tracking plugin is installed | Engaged time, Per learner, Per active day, Engaged share, Learners measured, Courses with time, Mobile app time, Idle time | Charts: Daily learning time (last 30 days, hours), Engaged against idle. Tables: Learners by time spent, Courses by time spent, Activities by time spent. A notice at the top says the figures are engaged web time and a firm lower bound |
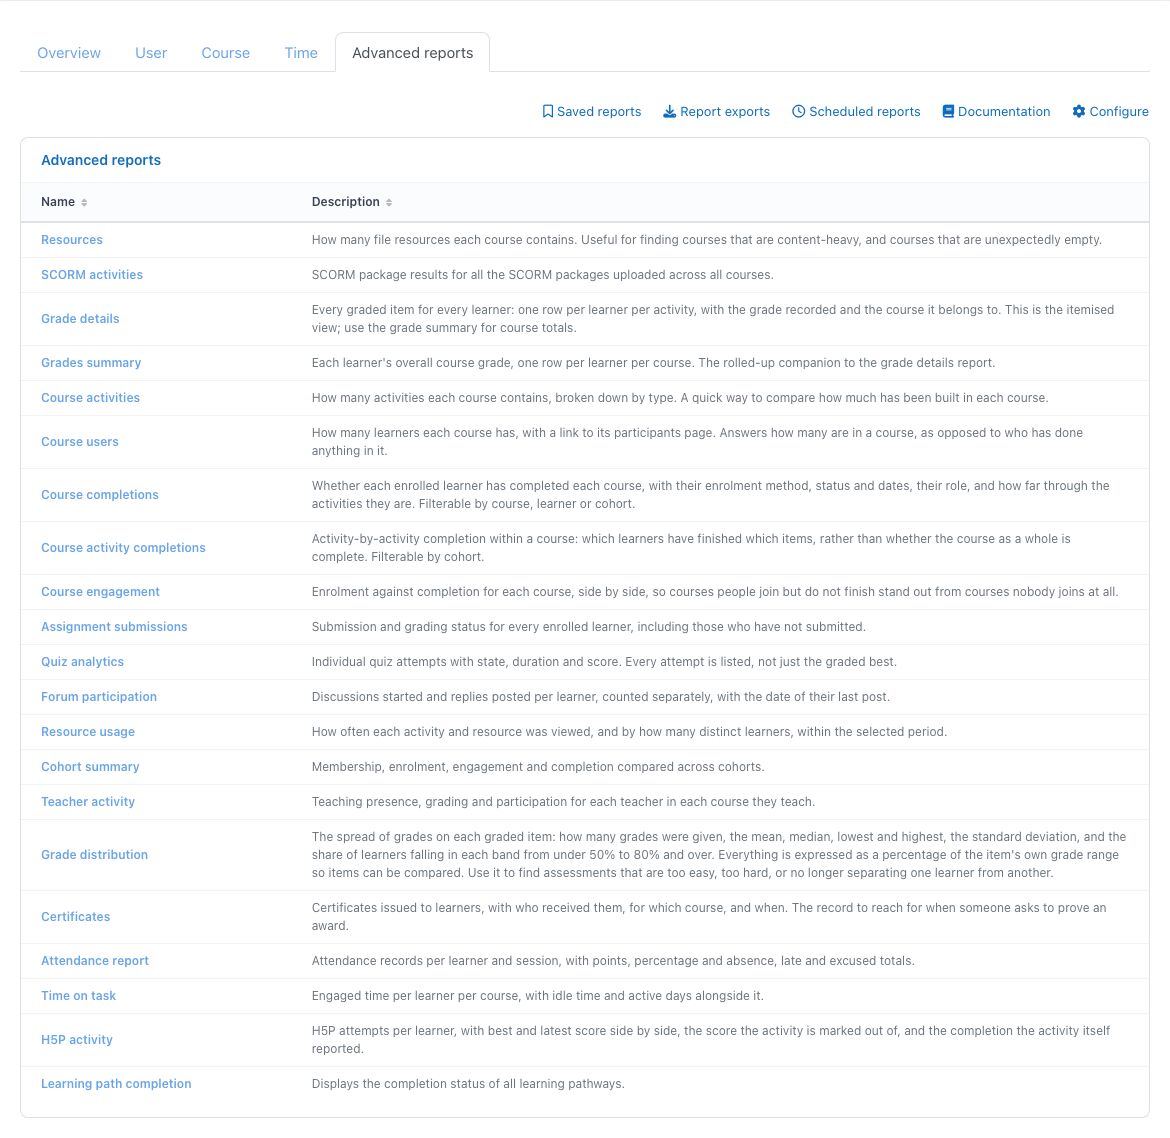
| Advanced reports | Who, exactly: the row-by-row reports listed below | None. This tab lists the reports with a description of each | Every site has this tab, and it is the only tab without the analytics level. It shows no period or "Data as at" line |
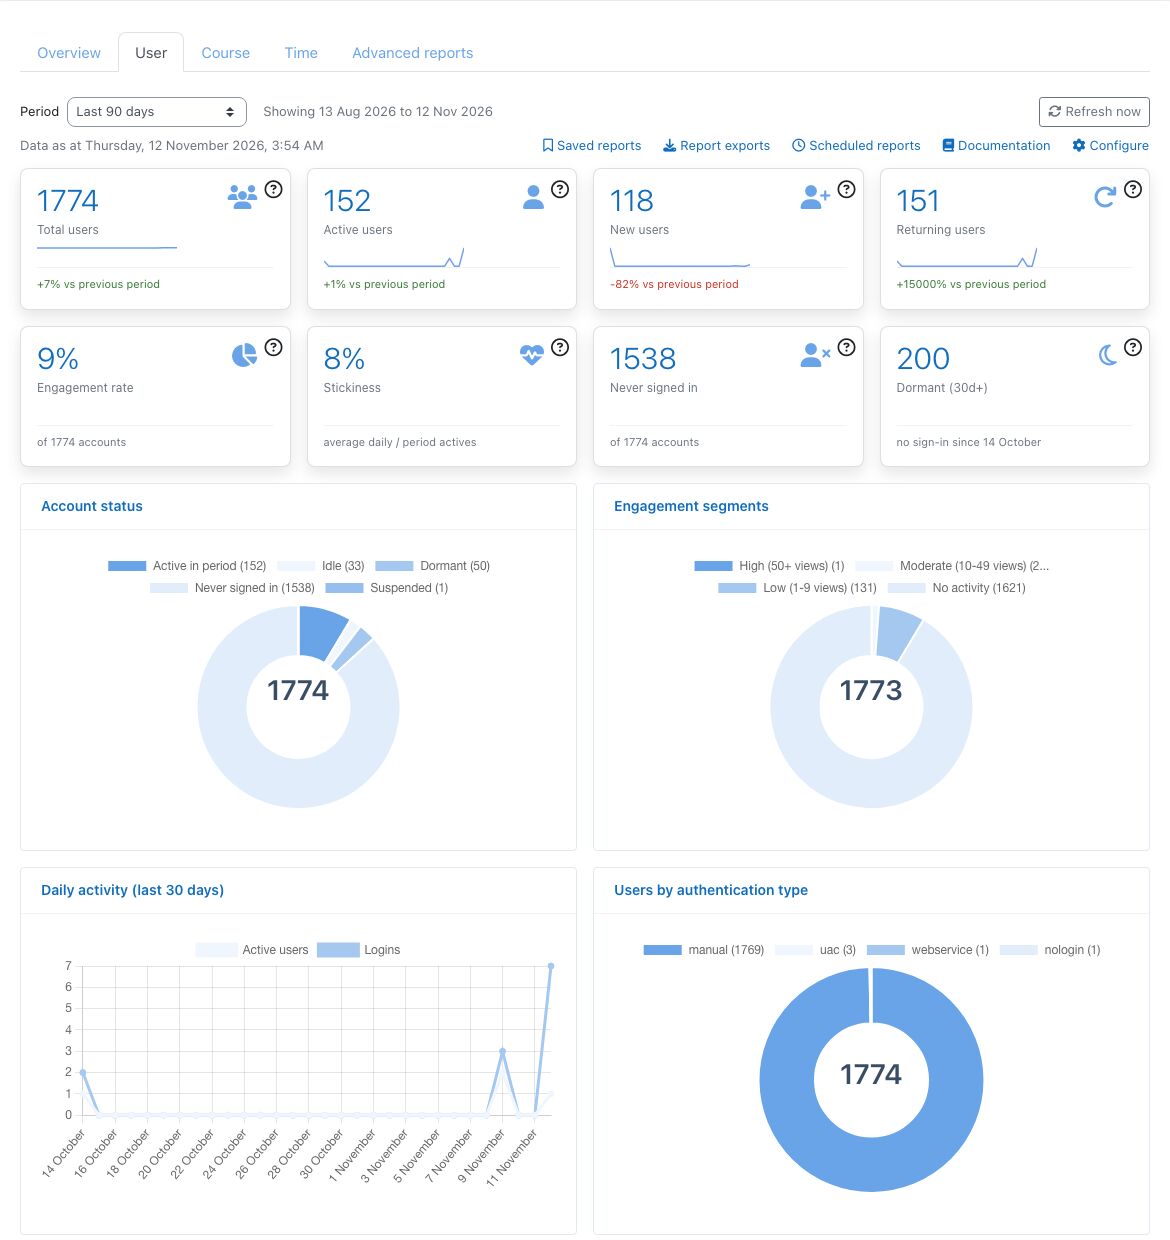
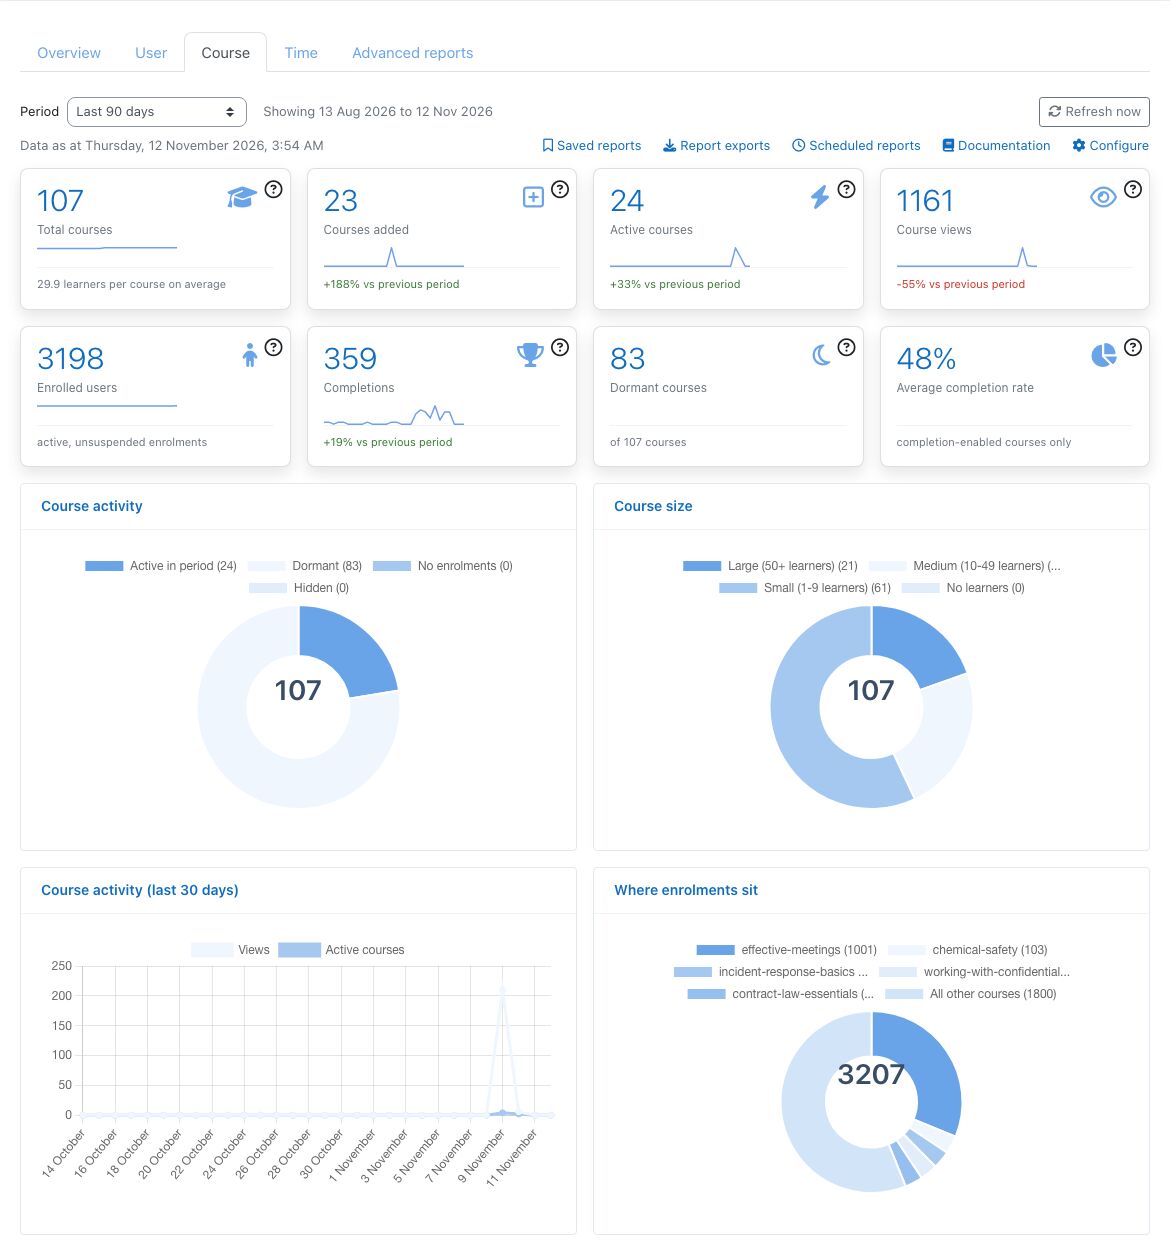
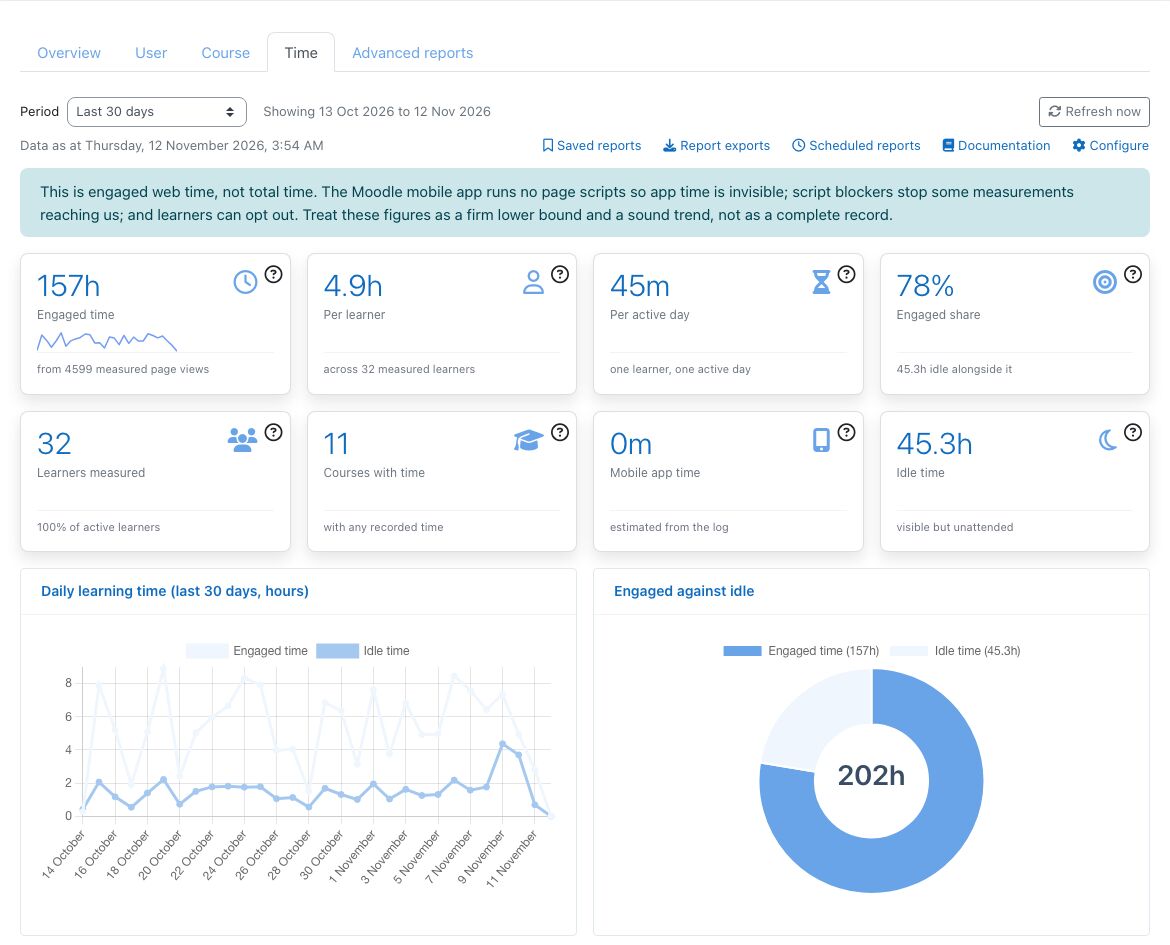
Four terms need a definition. Returning users are people active in this period and in the period immediately before it. Stickiness is average daily active users as a share of everyone active across the period. Dormant courses have learners enrolled and no recorded activity in the period; empty courses are left out. Mobile app time is an estimate from the log and is never added to measured time.
Every tab also has a toolbar: Saved reports, Report exports and Scheduled reports for those who hold the capability, Documentation, and Configure for those who may change what everyone sees. Documentation opens the same help text as the About this report button on each report.
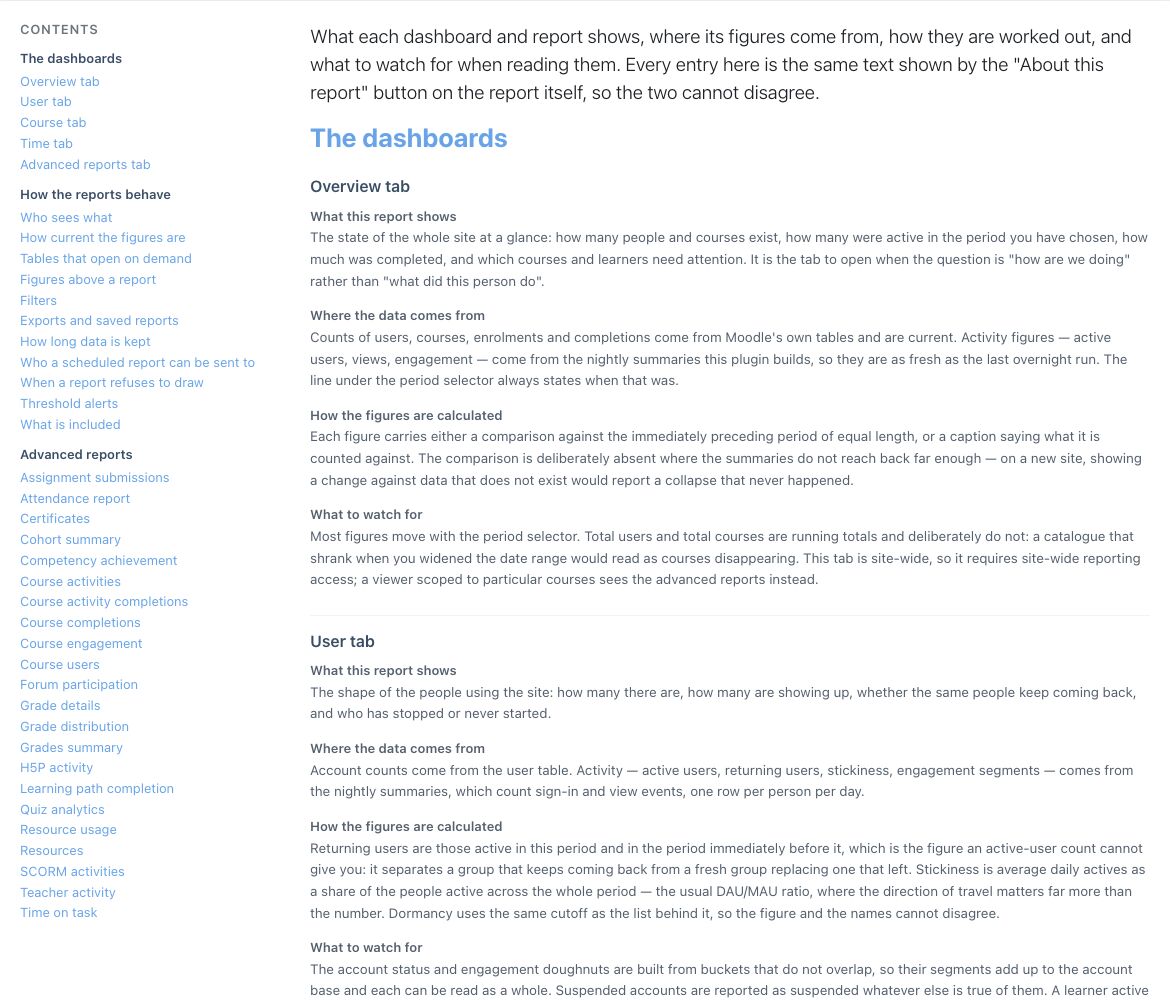
The Reporting documentation page has a contents list down the side: The dashboards, How the reports behave and Advanced reports. Each entry says what the report shows, where the data comes from, how the figures are calculated and what to watch for.
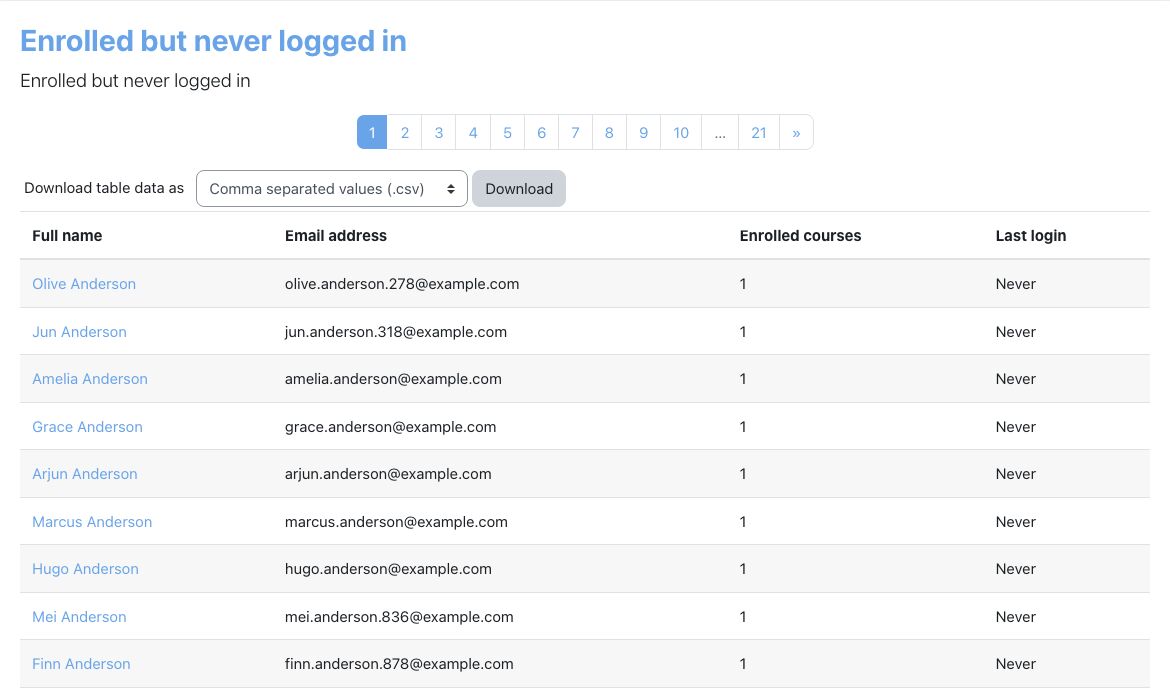
Most counts on a tab link to a page listing the people or courses behind them, with a Download table data as control for holders of report/vslate:export. The three Learners needing attention lists, for example, show Full name, Email address, Enrolled courses and Last login, 50 to a page.
The reports
The names below are as they appear on the Advanced reports tab. Where a report's own page has a longer heading, it follows in brackets.
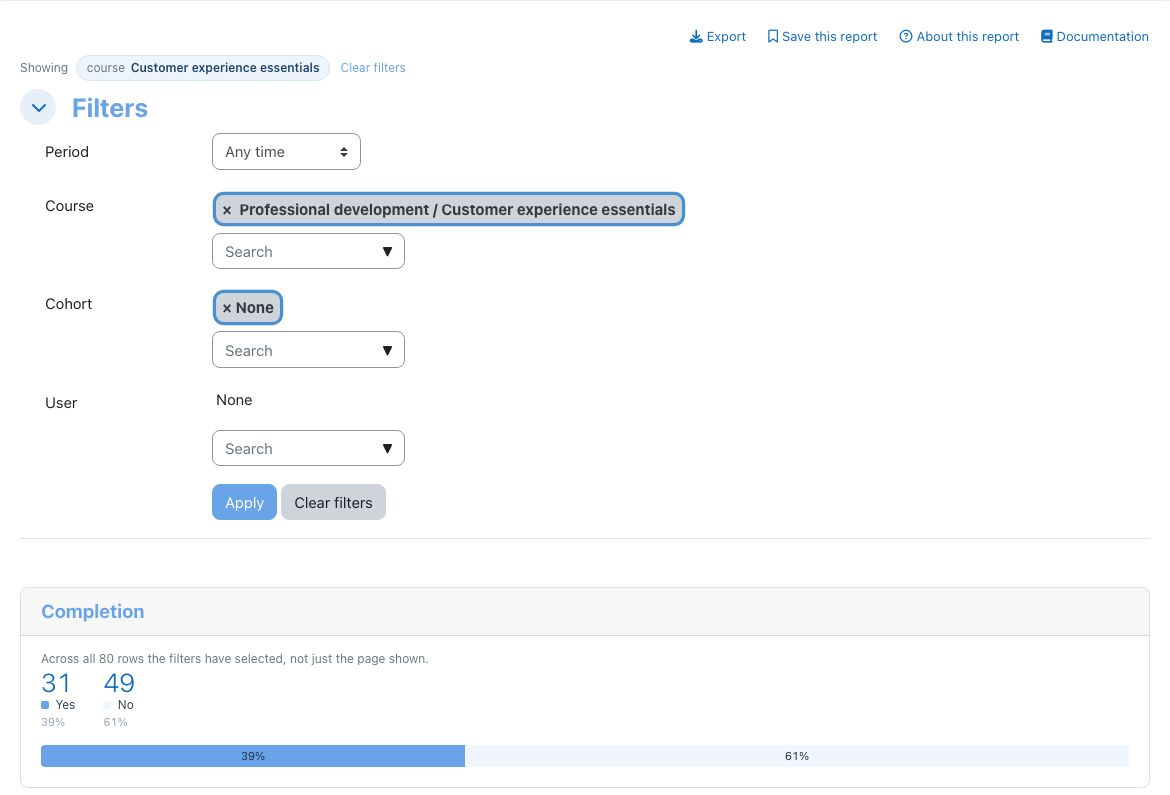
Filters sit in a collapsed Filters section at the top of each report. Click Apply to run them and Clear filters to remove them. What is in force is shown on a Showing line above the form. Period offers Any time, Default, Today, Last 7 days, Last 30 days, Month to date, Previous month, Last 90 days, Year to date, Last year and Custom. Custom reveals Start date and End date, and an end date includes the whole of that day.
Each report has a toolbar at the top right: Export (for holders of report/vslate:export on the analytics level), Save this report (on the analytics level), About this report and Documentation. Four reports, Course completions, Course activity completions, Assignment submissions and Quiz analytics, show a summary bar above the table. It counts every row the filters have selected, not just the page on screen.
| Report | One row is | Filters | Watch for |
|---|---|---|---|
| Assignment submissions | One enrolment on one assignment, including learners who have submitted nothing | Period (submission date; a learner with no submission stays listed), Course, Cohort, User | Everyone enrolled is listed, whatever their role. A group submission is stored against the group, so members of a group assignment show as Not submitted. The grade comes from the assignment, not the gradebook. Shows a summary bar. |
| Attendance report | One attendance record: one learner in one session that was marked | Period (session date), Course, Group, Cohort | An unmarked session does not appear, so a register nobody took looks like no attendance rather than poor attendance. |
| Certificates (Certificates report) | One certificate issued | Period (issue date), Course | Reads the Custom certificate activity only, and is listed only where that activity is installed. A certificate proves it was issued, not that the course was completed. |
| Cohort summary | One visible cohort | None | Shows counts, not rates. Active learners always covers month to date, or the last 30 days during the first three days of a month. Inactive is Enrolled minus Active learners. A learner in two cohorts counts in both. A course-level viewer sees only cohorts holding their learners, and counts only those learners. |
| Competency achievement | One rating: a course rating, a learning plan rating or an overall rating, each on its own row | Period, Course, Cohort, User | Rows are not learners. Choosing a course leaves only ratings made in that course. It shows what has been assessed, not what remains. |
| Course activities (Course activities report) | One course, with its teachers and a count for each listed activity type | Course | Counts assignment, BigBlueButton, chat, choice, certificate, database, external tool, face-to-face, feedback, forum, glossary, lesson, questionnaire, quiz, SCORM, survey, wiki and workshop, where installed. Files, pages, folders and other resources are not counted. Hidden activities are counted; activities being deleted are not. Site home appears as a course. |
| Course activity completions (Activity completion report) | One enrolment on one activity | Course (required; the report asks for it), Period (date of completion), Cohort, Group (needs a course) | Every activity in the course appears, tracked or not, and an untracked one reads No. Choosing a period leaves only activities with a completion record. "Complete with a fail" reads No. Shows a summary bar. |
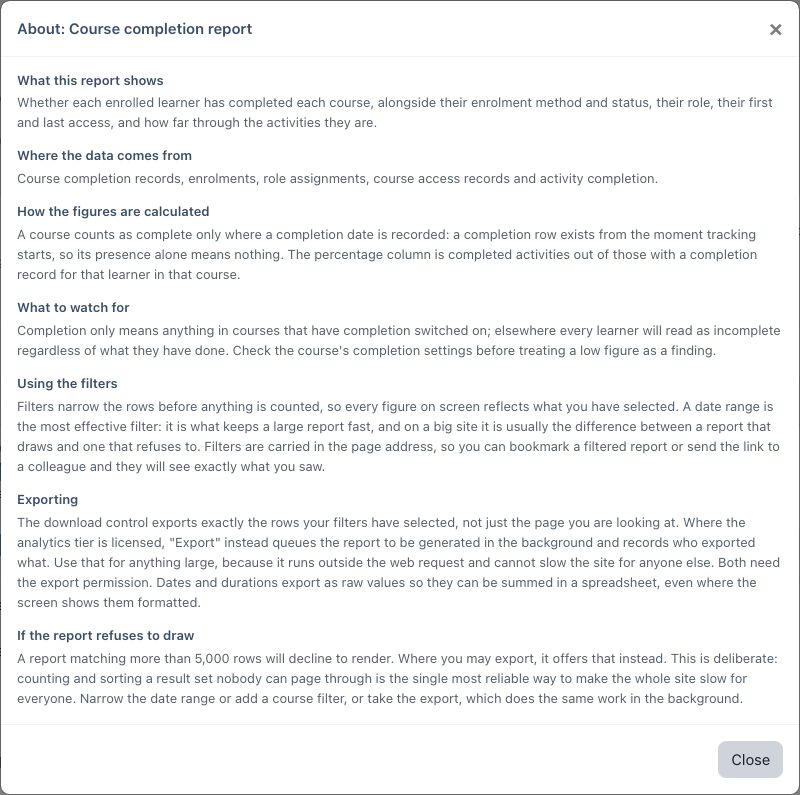
| Course completions (Course completion report) | One enrolment on one course | Period (completion date), Course, Cohort, User | Choosing a period leaves only completed enrolments. Suspended accounts are left out. The Completions column is completed activities out of those with a completion record for that learner. Carries email and address. Shows a summary bar. |
| Course engagement (Course engagement report) | One course with at least one enrolment | Course, Enrolments (All, Active or Inactive) | Shows Total enrolments and Total completions side by side and does not calculate a rate. Enrolments cover every role; completions and last access cover student roles only. Completions are also unaffected by the Enrolments filter. A low number may mean a course whose completion rules were never set up. |
| Course users (Course users report) | One course, with the number of users holding a learner role in it | Course | A headcount, not a list. It counts every role based on the student archetype, including custom ones. View enrolled users opens the course's participants page. |
| Forum participation | One learner in one forum where they have posted | Period (post date), Course, Cohort, User | Reading leaves no post, so someone who only reads does not appear. |
| Grade details (Grade details report) | One grade record: one learner on one grade item, including course totals | Period (date the grade last changed), Course | Hidden grades are shown, so treat this as staff-facing. Usually the largest report, so filter it. |
| Grade distribution | One numeric grade item, with count, mean, median, lowest, highest, standard deviation and five bands | Period, Course, Cohort, User | All figures are percentages of the item's own range. The course total is its own row, so summing a course double-counts. Grades you may not see are left out, so a colleague may see a different mean. Median shows a dash on an item with too many grades. Read the Grades column first. |
| Grades summary (Grades summary report) | One learner's course total in one course | Period (date the grade last changed), Course | Read from the gradebook, not enrolments, so a former learner with a kept grade can appear. Courses with different aggregation are not directly comparable. |
| H5P activity | One learner on one H5P activity they have attempted | Period (attempt date), Course, Cohort, User | Covers the core H5P activity only, not the older mod_hvp. Hidden activities are left out unless you may view them. |
| Learning path completion (Learning Path Completion Report) | One learner on one assigned path | User, Learning Path | A course-level viewer sees paths that include one of their courses, and only their own learners on them. A learner can finish every course without the path itself being complete. |
| Quiz analytics | One quiz attempt. Previews are left out | Period (attempt start), Course, Cohort, User | A learner with five attempts has five rows. The quiz's grading method is not applied. An attempt with no finish time shows no duration. Shows a summary bar. |
| Resource usage | One activity with at least one recorded view in the period | Period, Course | Reads the overnight summaries, so it needs the analytics level. With no period chosen it uses month to date. Peak daily viewers is the busiest single day, not a total across the range. |
| Resources (Course resources report) | One course that holds file resources | Course | Counts File resources, not files or storage. Folders and pages are not counted. Site home appears if it holds a File resource. |
| SCORM activities (SCORM activities report) | One SCO in each attempt that reached completed or passed. A SCORM 2004 SCO that both completed and passed is listed once, as passed | Period (date the status was recorded), Course | A package with several SCOs gives several rows per attempt, so rows are not learners. Attempts still in progress are not listed. A SCORM 2004 SCO that completed but failed is listed, as completed. |
| Teacher activity | One teacher in one course, for roles based on the teacher or non-editing teacher archetype | Period (limits the work counted, not the teachers listed), Course, Cohort, User | A teacher who did nothing in the period still appears, with zeros. Course setting changes and activities created or updated are not counted. |
| Time on task | One learner in one course with engaged time, or a row for time Outside any course | Period, Course | Engaged web time only, so treat it as a firm lower bound. It leaves out the mobile app. With no period chosen it uses month to date. |
Capabilities
Assign these through roles in Site administration → Users → Permissions → Define roles. Site administrators hold all of them automatically. Four sit with nobody by default, because they change the reports for everyone or send data unattended.
| Capability | Default roles | Allows |
|---|---|---|
report/vslate:view | Manager | At site level: be chosen as a recipient of a schedule or alert, receive it, and fetch a file a schedule sent. It does not open the reports: that needs one of the next two. |
report/vslate:viewall | Manager | Site-wide level: open every report for every learner and course, and the Overview, User, Course and Time tabs. |
report/vslate:viewcourse | Teacher, Non-editing teacher, Manager | Course level: open the advanced reports for the courses where the holder has it, and the learners enrolled in them. Assign it at a category to cover every course beneath that category. |
report/vslate:viewown | Authenticated user | The My learning page, showing the holder's own progress only. |
report/vslate:export | Manager | The Export button, the Download table data as control on reports and the pages behind dashboard tiles, and the holder's own files on the Report exports page. |
report/vslate:schedule | None | Create and manage scheduled reports. A holder sees their own schedules. |
report/vslate:managealerts | None | Create and manage threshold alerts. A holder sees their own rules. |
report/vslate:refresh | None | Force a rebuild of the overnight summaries, which puts real load on the database. |
report/vslate:configure | None | Choose which tiles, charts, tables and reports the whole site shows. |
Anyone with moodle/site:config also sees every user's saved reports, exports, schedules and alert rules, and may edit or delete the saved reports, schedules and rules. That oversight does not come from any of the capabilities above.
Scheduled tasks
You can review or change these under Site administration → Server → Tasks → Scheduled tasks. Tasks marked "analytics" do nothing on a site without that level, and keep their schedule in case the level is enabled later.
| Task | Default schedule | What it does |
|---|---|---|
| Report Vslate Cache Invalidation task | Daily at 00:00 | Clears the report data cache. |
| Insert user first access in course | Daily at 00:00 | Analytics. Records when each user first opened each course, reading the log for the period in User`s first access log duration (Days). |
| Rebuild Virtual Slate report summaries | Daily at 02:30 | Analytics. Rebuilds the days in Summary rebuild window, then fills up to 30 older days that have no summary, for example after cron was down. |
| Remove expired Virtual Slate report exports | Daily at 03:40 | Analytics. Deletes export files past Keep export files for. The audit records stay. |
| Remove daily summaries past the retention window | Sundays at 03:50 | Analytics. Deletes summaries past Keep daily summaries for, in batches. Does nothing where retention is unlimited. |
| Send due Virtual Slate scheduled reports | Every hour at :05 | Analytics. Needs Enable scheduled reports. Generates and sends each schedule that is due, so a schedule set for 06:00 goes out at about 06:05. |
| Evaluate vslate threshold alerts | Every hour at :15 | Analytics. Needs Enable threshold alerts. Checks every enabled rule and messages recipients when its state changes. |
Three more jobs run once when asked, on the next cron cycle: generating an export after Queue export, rebuilding the summaries after Refresh now, and running a schedule after Run now.
Step by step
Save a report
- On the Advanced reports tab, click the name of the report.
- Open Filters, make your choices and click Apply.
- Click Save this report in the toolbar above the report.
- The Save current report form opens. Enter a Name and check that Virtual Slate report is correct.
- Tick Shared if everyone who can view reports should see it. Leave it unticked to keep it to yourself.
- Click Save this report. You see "Report saved." on the Saved reports page.
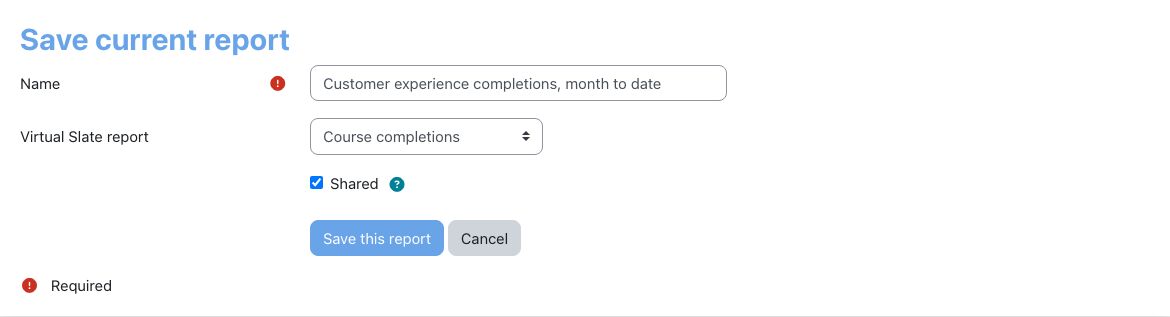
The Saved reports page lists your own saved reports and the shared ones, 50 to a page, with Name, Virtual Slate report, Owner, Shared, Created and the actions Open, Edit saved report and Delete. Site administrators see everyone's. Save current report at the top opens an empty form.
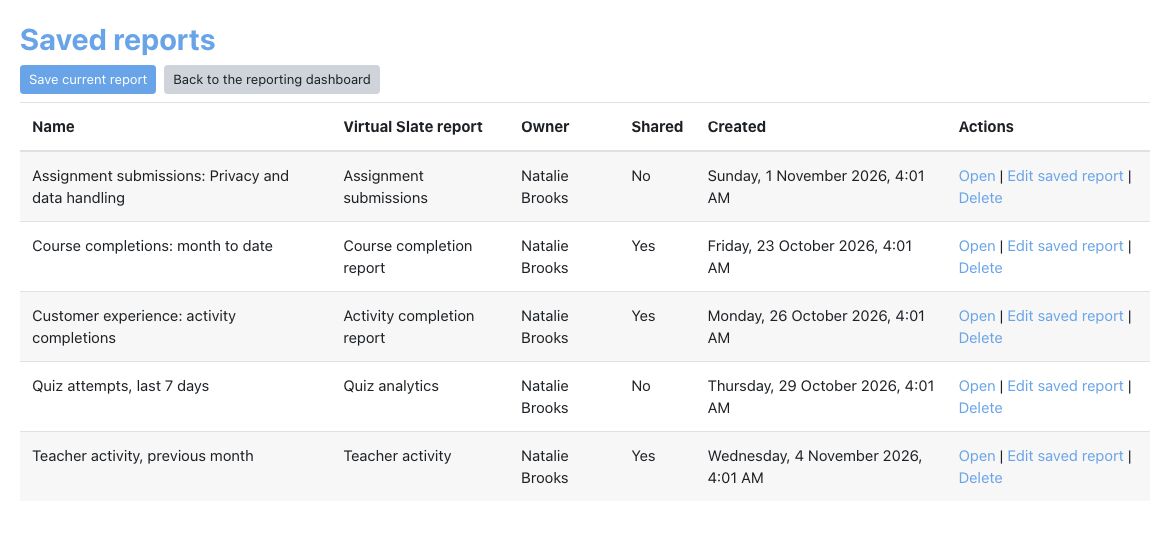
A saved report keeps every filter in force: Course, Cohort, User, Group, Enrolments, Learning Path and the period. A named period is kept by name, and a Custom range as its dates.
Schedule a report
- Check that Enable scheduled reports is on in the settings. The Scheduled reports page warns you if it is off.
- Save the report you want to send.
- On any dashboard tab, click Scheduled reports, then New schedule.
- Choose the Saved report. You can choose your own or any shared one.
- Choose the Format: CSV, EXCEL, ODS or JSON.
- Choose the Frequency and the Hour of day. These default to Daily and 06:00.
- For Weekly, choose the Day of week. For Monthly, choose the Day of month, from 1 to 28, so that the day exists in every month.
- Add people under Recipients. The list offers people who hold
report/vslate:viewat site level, up to 500, site administrators and the schedule's owner. - On the enterprise level with a domain listed, add outside addresses under Recipients outside this site, one per line.
- Leave Enabled ticked and click Save changes. You see "Schedule saved."
- Click Run now on the new row to test it. This queues the schedule for the next cron cycle, and it then sends the report to the recipients for real.
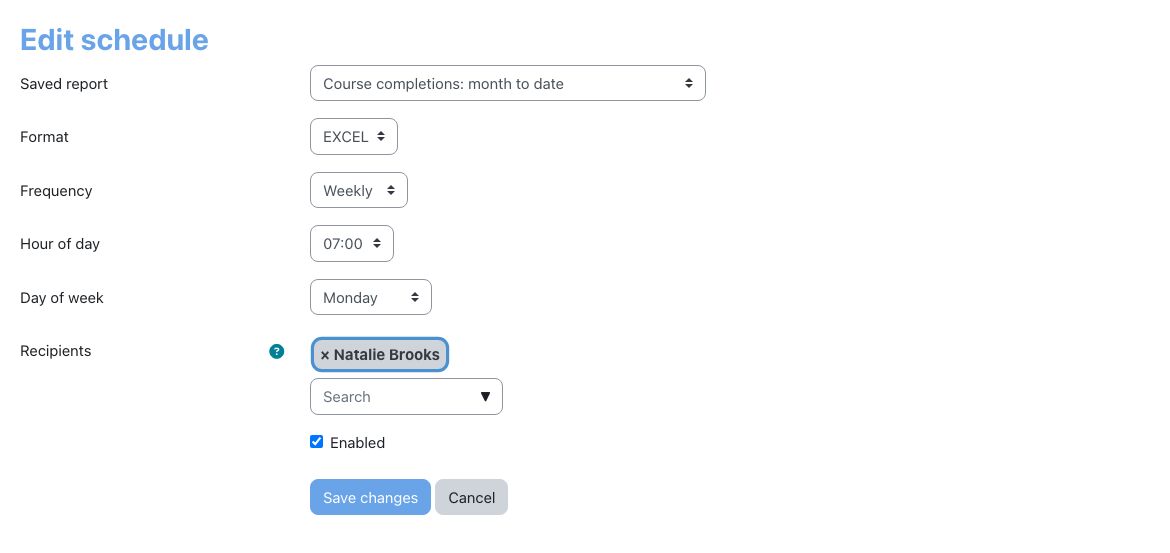
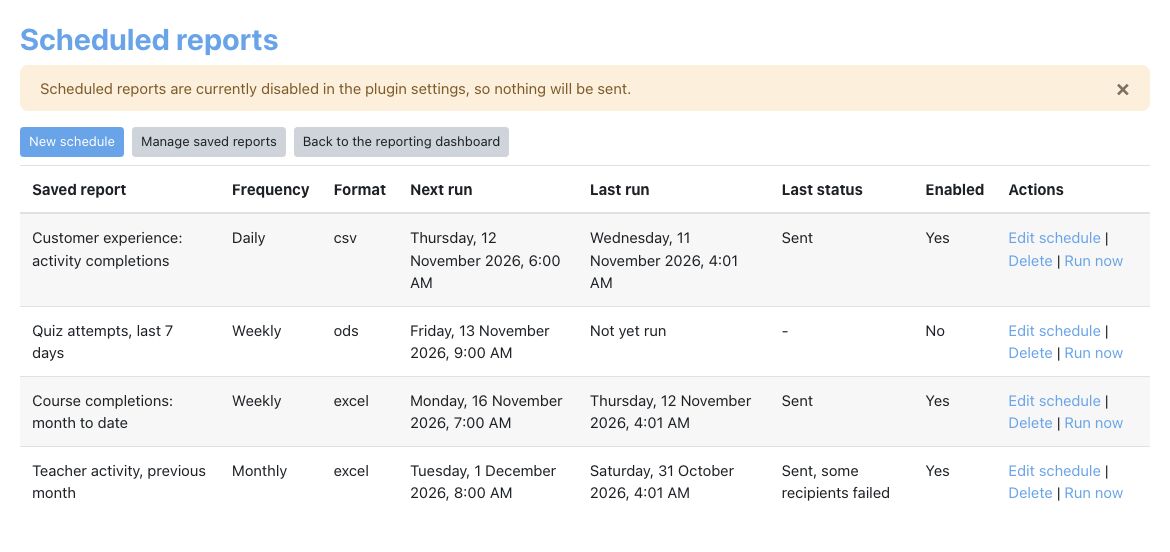
The list shows 50 schedules to a page, with Next run, Last run and Last status, which reads Sent, "Sent, some recipients failed", Failed or Skipped. Deleting a saved report also deletes every schedule that uses it.
Add an outside recipient domain
- Go to Site administration → Plugins → Reports → Virtual Slate reports settings.
- In Permitted recipient domains, enter each domain on its own line, for example
client.com. - Click Save changes.
- Open a schedule. Recipients outside this site now appears, with the permitted domains stated beneath it.
This needs the enterprise level; without it the setting states that addresses will not receive reports. The match is exact, so list each subdomain you want. The list is read again at every send, so a domain you remove stops receiving reports at the next run, and your administrators are told about the addresses that missed out.
Create a threshold alert
- Check that Enable threshold alerts is on in the settings.
- Go to Site administration → Reports → Virtual Slate reports → Threshold alerts and click New alert rule. Someone without access to Site administration opens
/report/vslate/alerts.phpon your site instead. - Enter a Rule name.
- Choose what to Watch: Learners with no activity, Average completion rate, Active users or Completion rate for one course. The form defines each one.
- Set Alert when the value goes to below or above, and enter the Threshold. For a percentage, use 0 to 100.
- For Learners with no activity and Active users, set Look back (days). It defaults to 14.
- For Completion rate for one course, choose the Course. Only courses with completion switched on are offered.
- Choose who to Notify. You must choose at least one person.
- Leave Enabled ticked and click Save changes. You see "Alert rule created."
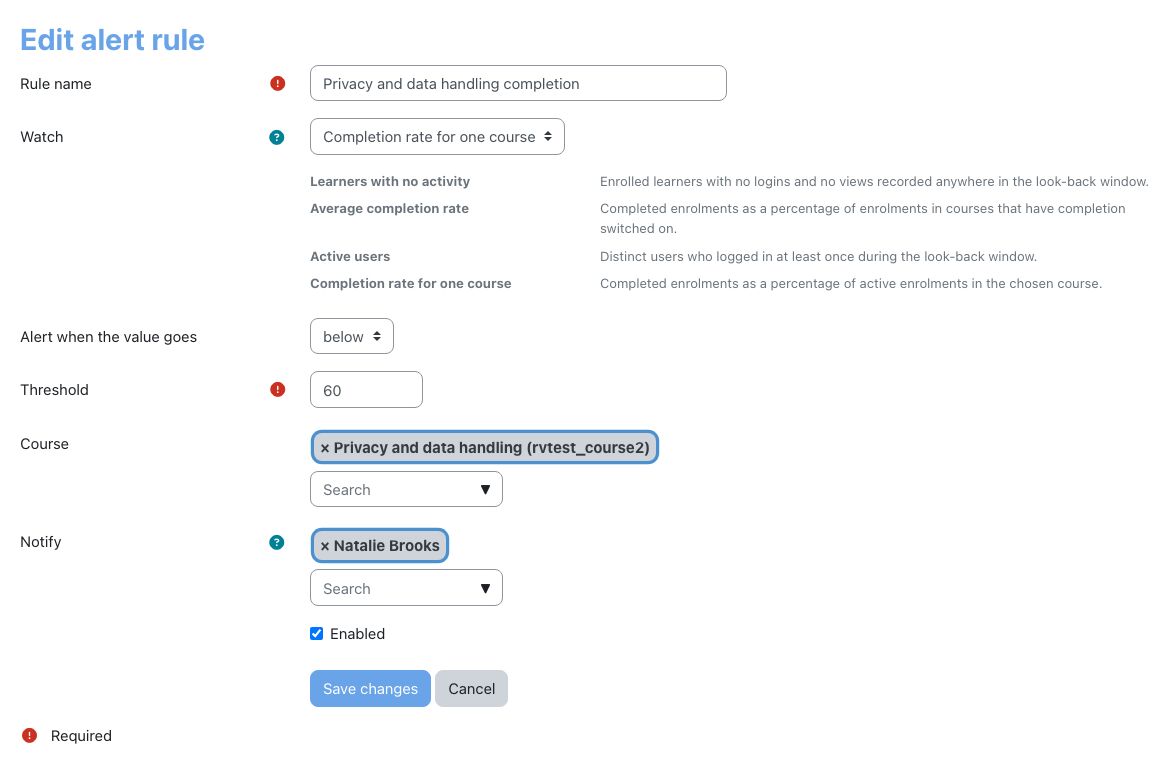
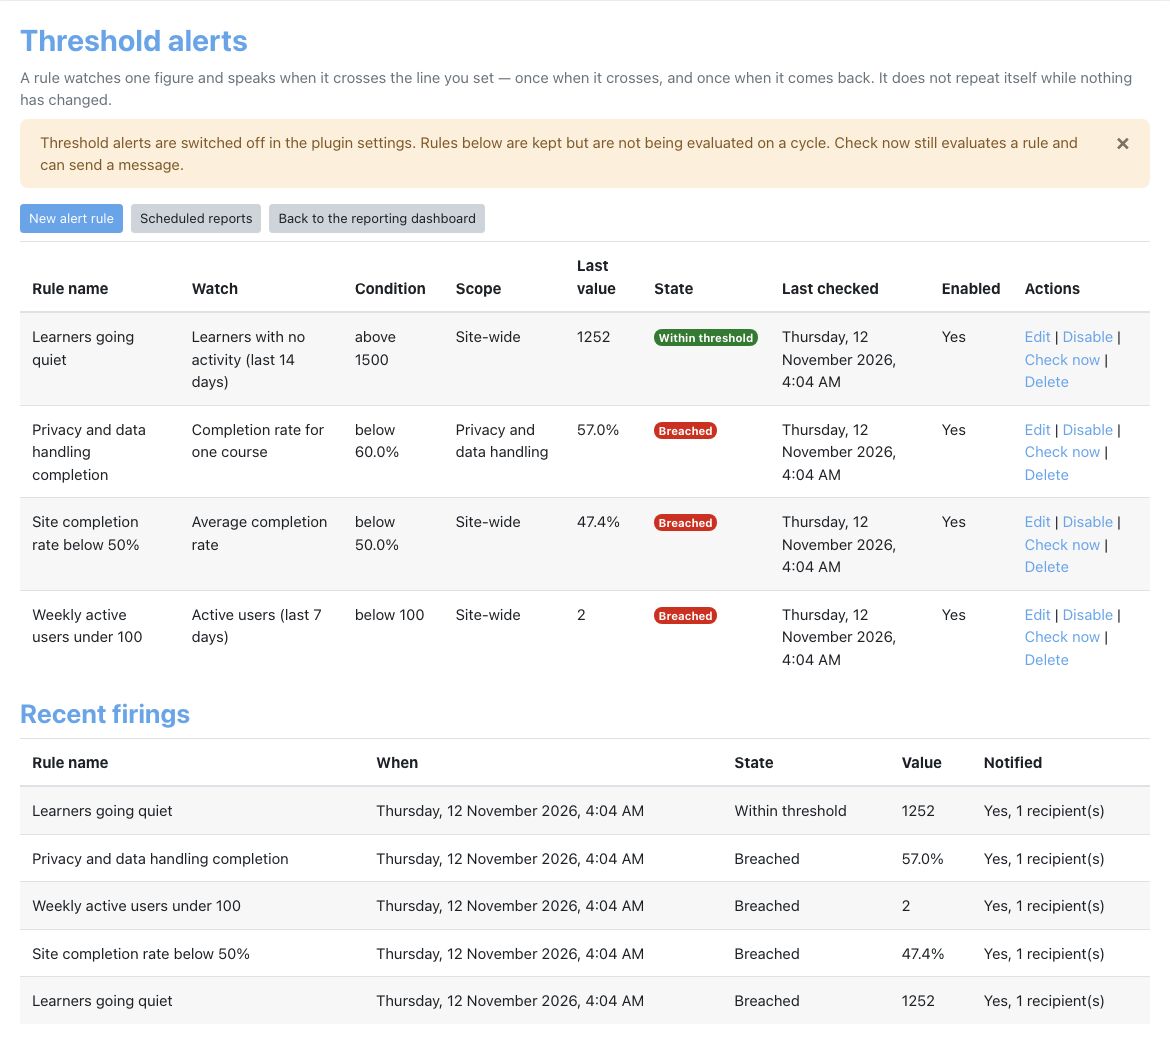
The comparison is strict: a rule reading "below 60" does not fire at exactly 60. A rule speaks once when it crosses the line and once when it recovers. If its very first check finds it already over the line, it messages recipients straight away; if the first check finds it fine, it stays quiet. Check now runs the check at once and can send real messages. Disabling and re-enabling a rule, or changing what it watches, resets it so that the next check counts as the first. The page lists Recent firings for your rules. A rule also depends on its owner: a site-wide rule needs an owner with the site-wide level, and a course rule needs an owner with access to that course. If the owner loses that access, the rule keeps its state and sends nothing.
The Threshold alerts page lists your rules with Rule name, Watch, Condition, Scope, Last value, State (Breached, Within threshold or Not yet checked), Last checked, Enabled and the actions Edit, Disable, Check now and Delete. Beneath it, Recent firings lists each change of state with When, State, Value and Notified.
Hide a tile or report
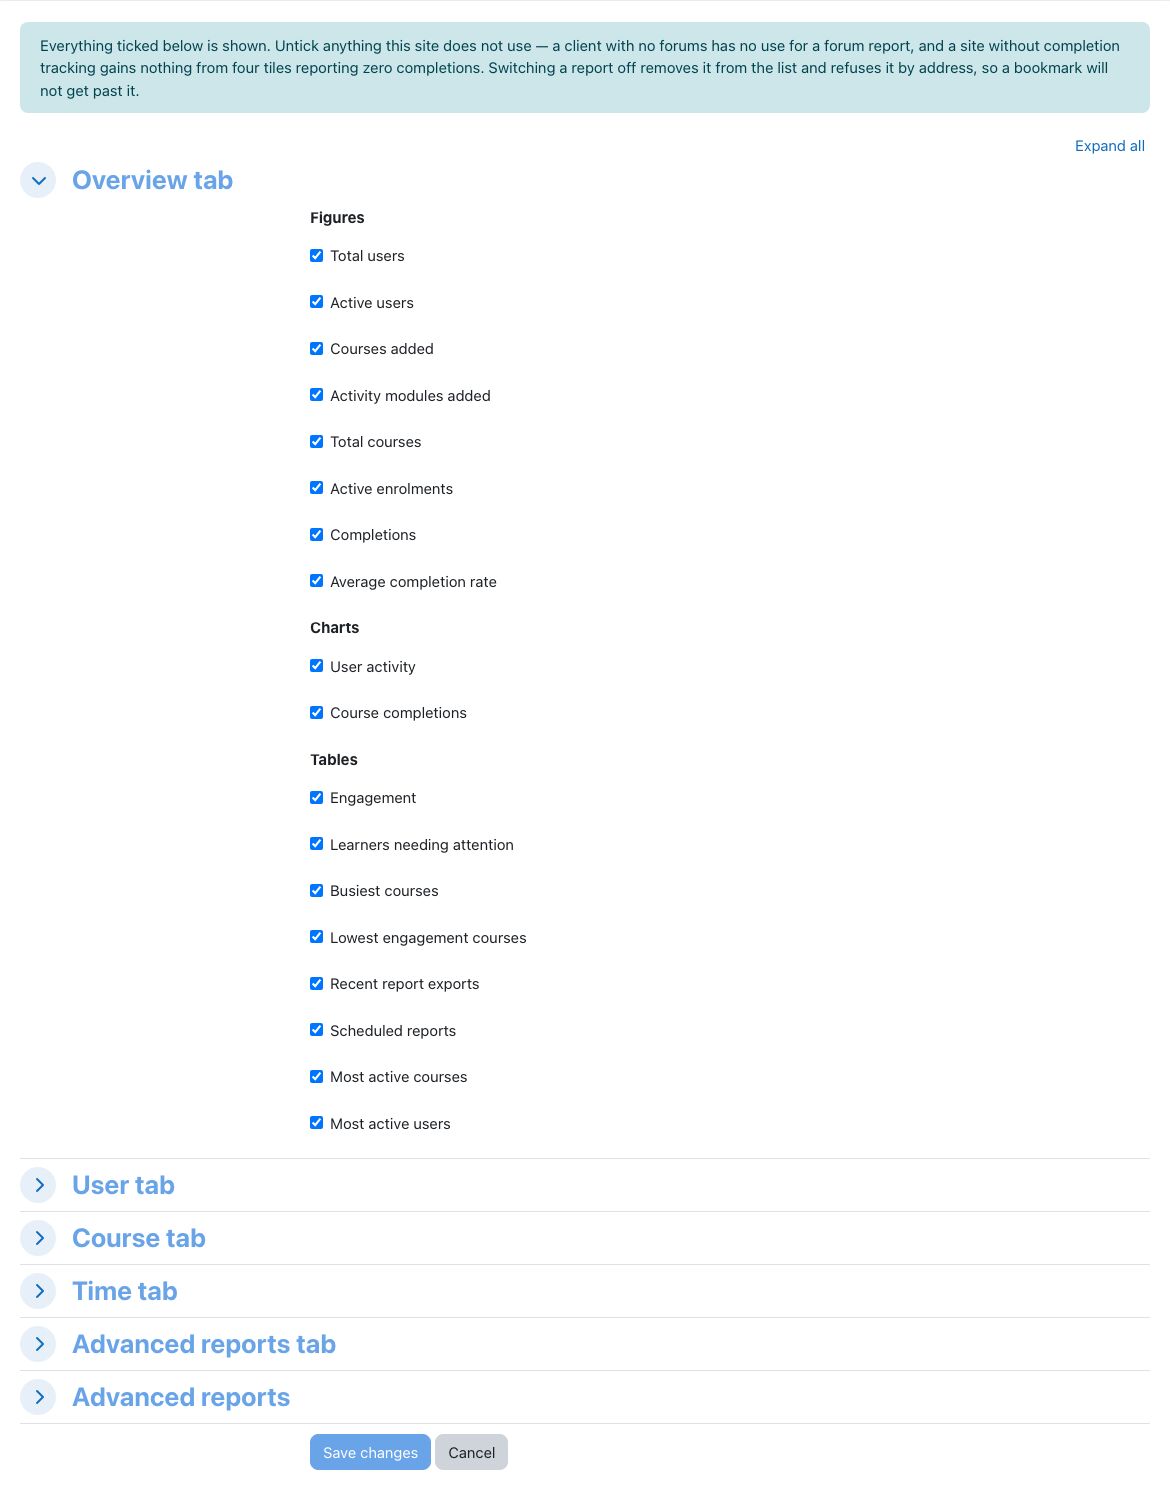
- On any dashboard tab, click Configure. This opens Configure reports.
- Expand the section you want: Overview tab, User tab, Course tab, Time tab, Advanced reports tab or Advanced reports.
- Untick what the site should not show. The tab sections group items under Figures, Charts and Tables. Advanced reports tab holds the Figures above the table, and Advanced reports lists the reports themselves.
- Click Save changes. You see "Saved. The reports will show what you have chosen."
To bring something back, tick it again: hidden items stay listed on this page. A report whose activity or plugin is not installed does not appear here at all.
Force a rebuild
- Open the Overview, User, Course or Time tab.
- Click Refresh now, on the same row as the Period selector. The button appears only for holders of
report/vslate:refresh. - Read the warning. A rebuild places heavy load on the database and slows the site while it runs, so choose a quiet time.
- Click Continue. You see "Report refresh queued."
- Wait for the next cron cycle. The Data as at line updates when the rebuild finishes.
The site refuses a second rebuild while one is running, and until Minimum time between manual refreshes has passed since the last one finished. The message tells you how long to wait.

Take an export
- Open the report and apply your filters.
- Click Export in the toolbar. The Export this report dialog states the report, rows, filters and columns.
- Choose the Format: Comma separated values (.csv), Microsoft Excel (.xlsx), OpenDocument (.ods) or Javascript Object Notation (.json).
- Click Queue export. You land on Report exports.
- Wait for the message "Your report export is ready", which arrives after the next cron cycle.
- Return to Report exports and click Download on the row.
Once the retention period has passed, the row stays and Download reads "File removed". On a report that is over the row limit, Export the full report instead queues a CSV straight away, without the dialog.
Privacy
The plugin implements Moodle's Privacy API for all the personal data it holds. All of it is exported with a data request. On a deletion request, a record that others must still be able to answer for stays with the person's name removed. What exists only to act for that person is removed.
| Data | Holds | On a deletion request |
|---|---|---|
| Course first access | When a user first opened each course | Deleted |
| Daily activity summary | Logins and course views per user per day | Deleted |
| Report refreshes requested | Who asked for a manual rebuild, and when | The record stays with the person's name removed |
| Report exports | Who requested each export, which report, the filters and how it was delivered | The audit record stays with the person's name removed. Their generated files are deleted |
| Report exports sent to you | Who was sent a link to each scheduled export, and when | The record stays with the person's name removed |
| Saved reports | The owner, the name and the filters | A private one is deleted, unless another person's schedule uses it. Otherwise it stays with the owner removed |
| Scheduled reports | The owner and the recipients, including outside email addresses | Their own schedules are deleted |
| Threshold alert rules | The owner, the name and the recipients | The rule and its firing history stay, with the owner removed and the rule switched off |
| Other people's schedules and rules | The person as a recipient, by account or by the email address on their account | They are taken off the list. A list left with nobody on it is switched off |
| Other people's saved reports and exports | A User filter naming the person | The filter is blanked and the record stays |
The course and activity summaries hold totals per day and name nobody. Keep daily summaries for controls how long all three kinds of summary stay.
An outside email address on a schedule belongs to someone Moodle's privacy tools cannot find, unless it matches the email address on a user's account. To remove any other address, edit the schedule. A report already attached to an email is held by the recipient's mail provider and cannot be withdrawn.
Reports also leave the site in two ways: a generated file attached to an email for an outside recipient, and the files people download or export themselves. Once a file has left, the retention settings here no longer apply to it.
Advanced Reporting: questions we get asked
Why does the dashboard not show today's activity?
Because it reads last night's summaries rather than scanning the activity log, which is what keeps it fast on a site with millions of log rows. Each tab states a "Data as at" time. If you need today's figures, force a rebuild, or wait for tonight's run.
Why can I only see my own courses when a colleague sees the whole site?
Your role holds the course-level reporting capability and theirs holds the site-wide one. The dashboard states the restriction when one applies, so that a course-level figure is never mistaken for a site-wide one.
The report says it will not draw and offers a download instead. Is something broken?
No. Your filters have selected more rows than the on-screen ceiling, 5,000 by default. Drawing them would hang the page, so the report declines and, where you hold the export capability on the analytics level, offers the export, which contains every row. Narrow the date range or the course filter to see rows on screen.
I set summary retention to ten years and nothing changed.
Your licence level limits it, and the setting description states the limit. The analytics level allows up to 365 days; enterprise is unlimited. The limit is set in the site's configuration precisely so that it cannot be raised from the settings page.
Can I email a report to someone outside our organisation?
On the enterprise level, and only to email domains your administrator has listed. They receive the report as an attachment, since a link into the site would be no use to them. Subdomains are not included: listing client.com does not permit mail.client.com.
A scheduled report stopped arriving for one person but not the others.
Most likely their permission to view the report changed. Access is checked at the moment of sending rather than when the schedule was created, so somebody who has changed role stops receiving it. Your administrators receive a message naming each recipient who did not get it and why, and the schedule itself keeps running for everyone else. The exception is a suspended or deleted account, which is left out without appearing in that message.
How long are exported files kept?
Seven days by default, then they are deleted. The record of who exported what is kept indefinitely. That is the audit trail, and it outlives the file deliberately. Your hosting configuration can shorten the retention period but not extend it.
Can we see who has exported personal data?
Yes, for exports: every one records who requested it, which report, which filters were in force and how it was delivered. The Report exports page shows the 100 most recent, without the filters. Site administrators see everyone's. Other people see their own, and any file a schedule sent them. Downloads made with the control under a report are not recorded.
We would like a report that is not in the list.
Ask us. Some are straightforward because the underlying data is already present. Anything needing a new data model takes longer, and we will say which it is.
Can a teacher open the reports?
Yes, for their own courses. Teachers hold the course-level capability by default, so they can open the advanced reports and see only those courses and the learners enrolled in them. By default they cannot download or export, because only the Manager role holds report/vslate:export. See Who sees what.
Our monthly report keeps showing the same dates.
The saved report holds fixed dates. A Custom range stays the dates you chose, and so does a report saved before named periods were kept. Open the report, choose a named period under Period, and use Save this report to save it again. A schedule built on it then covers that period each time it runs.
Resource usage is empty, or shows less than actually happened.
It reads the overnight summaries, so it needs the analytics level, and it only covers days that have been summarised. A newly enabled site shows less than actually happened until the task has caught up, and that is limited by how long your logs are kept.
A schedule switched itself off.
It failed or was skipped five runs in a row, and its owner was messaged with the last error. Common causes are an owner who has left or lost access to the reports, and a saved report whose report has since been hidden. Fix the cause, then edit the schedule and tick Enabled again.
Someone I want to send a report to is not in the Recipients list.
The list offers people who hold report/vslate:view at site level, site administrators and the schedule's owner. A teacher who holds only the course-level capability is not offered. The same rule applies to Notify on an alert, which does not add the owner.
An alert fired once and then went quiet, though the figure is still over the line.
That is how it is designed. A rule messages people when it crosses the line and once when it recovers, and says nothing in between. Its current state and last value are on the Threshold alerts page.
An alert rule stopped working, and shows an error beside its state.
Its owner has probably left or lost access to the figure it watches. The rule keeps its last state and sends nothing, so a change of owner's role cannot cause a false alarm or a false all-clear. A rule on a course with no active enrolments shows the same kind of error, because there is no rate to measure.
Refresh now says the data was refreshed recently, but nobody clicked it.
The minimum interval counts from the last rebuild that finished, including the overnight one. The message tells you how long to wait.
Course activity completions shows no rows and asks me to choose a course.
This report needs a course before it can run. Open Filters, choose a Course and click Apply.
Some cells in my export start with an apostrophe.
That is deliberate. A spreadsheet treats a cell beginning with =, +, - or @ as a formula, and a name or title somebody typed should never run as one on the computer of whoever opens the file. The apostrophe keeps the cell as plain text. Numbers are not changed, and JSON files never carry the apostrophe.
Who can open the Learners needing attention lists?
They are reached from the Overview and User tabs, so in practice from the site-wide level. Someone at the course level who opens one by its address sees only the learners in their own courses. On screen each list shows 50 learners to a page, least recently active first, with page links beneath it; the download holds everyone.
CPD Dashboard
Continuing professional development: what earns it, what each person must reach in a cycle, evidence and approval for CPD done elsewhere, and the dated statement a professional body asks for.
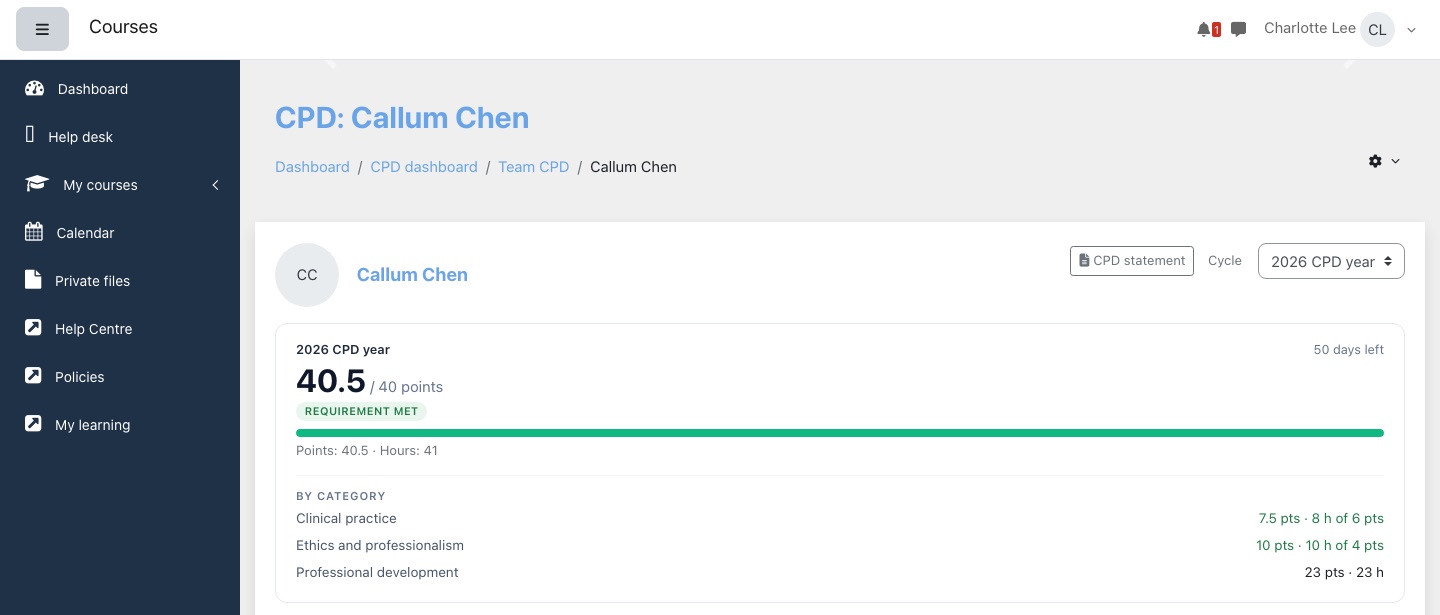
The CPD dashboard measures each person against a requirement over a period. It reads CPD earned in Moodle from Moodle's own completion records, records CPD done elsewhere as claims with evidence and approval, shows managers who is behind, and produces a printable statement for each person and cycle.
- Name in Moodle
- Virtual Slate CPD dashboard (a block and a set of pages)
- Settings
- Site administration → Plugins → Blocks → Virtual Slate CPD dashboard
- Requires
- Moodle 4.5
- Optional partner
- Team Management, for manager scope, the Team CPD page, and team and unit audiences
- Scheduled tasks
- None
- Notifications
- None. The plugin sends no email or Moodle messages
- How it works
- Switching it on
- Settings
- Capabilities and roles
- Audiences
- Site administrator tasks
- CPD manager tasks: categories, catalogue, cycles and targets
- Approver tasks
- Team manager tasks and the Team CPD page
- Learner tasks: dashboard, claims and statement
- The profile page section
- What updates totals
- Privacy
- Downloads
- Upgrading from the custom field version
- Questions and troubleshooting
How it works
You build a scheme from three things, all on the plugin's own pages. The block has no settings of its own for any of them.
- CPD categories are the professional body's headings, such as Ethics or Clinical. They are optional.
- CPD catalogue lists everything that earns CPD and what it is worth. An item is a Course (completing the course earns it), an Activity (completing one activity in a course earns it) or External (the person records it themselves).
- CPD cycles set the period and the requirement, such as 1 January to 31 December, 40 points. The screen says "cycle" where this guide's glossary says "period".
Each person then has a ledger of entries, drawn from three sources:
- Course items: read from Moodle's course completion records, dated when the course was completed. Only people in the item's audience earn them.
- Activity items: read from Moodle's activity completion records (complete or complete with a pass grade), dated when that completion record last changed. Only people in the item's audience earn them.
- Claims: stored by this plugin, dated with the date the person entered.
Course and activity CPD is never copied into the plugin. An item therefore covers people who completed the course before the item existed, and anything that changes the completion record changes the ledger.
How a person's standing is worked out
A person's standing compares their entries with the requirement of one cycle.
- What counts: entries with a status of earned or approved, dated from the cycle's start to the end of its last day, whose validity has not run out. The date decides the cycle, and nothing carries over.
- What is shown apart: pending claims, as "pending approval". They are not added to the total.
- The measure: points if the requirement has points, otherwise hours. This is the main figure shown. If both are set, hours are still a requirement.
- The cap: an external item's Maximum hours per cycle limits the hours counted from that item. Points from the excess hours are dropped in proportion.
| Shown as | Meaning |
|---|---|
| Requirement met | Every requirement is reached: points and hours where each is set, and every category minimum. A cycle or individual target with no points, hours or minimums counts as met. |
| On track | An open cycle, not yet met, where points and hours are each at or above the required figure multiplied by the share of the cycle that has passed. Halfway through a 40 point cycle, that means at least 20 points. Category minimums are not part of this pace check. |
| Behind | Below that pace on points or hours. A closed cycle that was not met also shows as Behind, including when only a category minimum was missed. |
| No cycle | No cycle applies to the person today. They still see their entries. |
- The total can be reached without the requirement being met. With a category minimum still short, or hours still short when points are the main figure, the badge shows On track or Behind. The dashboard adds "short in a category" or the hours to go, and the progress bar stops short of full.
- Expired entries stop counting. In an open cycle, an entry stops counting once its Valid until date has passed. In a closed cycle, it counts if it was still valid when the cycle ended, so time passing alone does not change a closed cycle's result.
- Validity does not carry credit forward. Credit from an earlier cycle does not count in a later one, even if it is still valid.
Switching it on
- Make sure the feature is enabled for your site. Lingel Learning does this for you, so if you cannot find the block or its pages, ask your usual Lingel Learning contact.
- If you want Team CPD, or team and unit audiences, ask them to enable Team Management as well. Without it, there is no Team CPD page and no team or unit audiences.
- Check the settings, then give out the capabilities.
- Build the scheme: categories, catalogue items and at least one cycle.
- Add the block where people will see it, and decide whether to turn on the profile section.
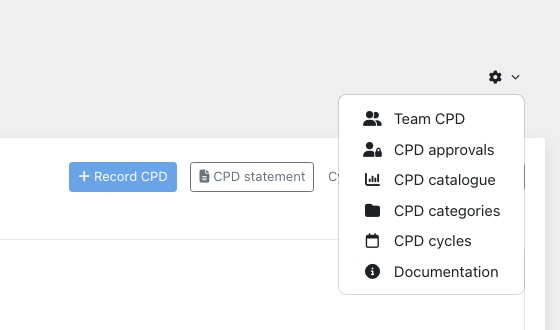
The cog menu at the top of the CPD pages lists the pages you may use: My CPD, Team CPD, CPD approvals, CPD catalogue, CPD categories, CPD cycles and Documentation. The settings page also links to the catalogue, categories, cycles and documentation.
Settings
Go to Site administration → Plugins → Blocks → Virtual Slate CPD dashboard. This page needs moodle/site:config, which the Manager role does not hold by default. A Manager can still run the scheme from the cog menu.
These settings only control display and evidence uploads. Periods, targets and what counts are set on the scheme pages.
The page has three parts. Manage the CPD scheme links to CPD catalogue, CPD categories, CPD cycles and Documentation. Dashboard display and Claims hold the settings below.
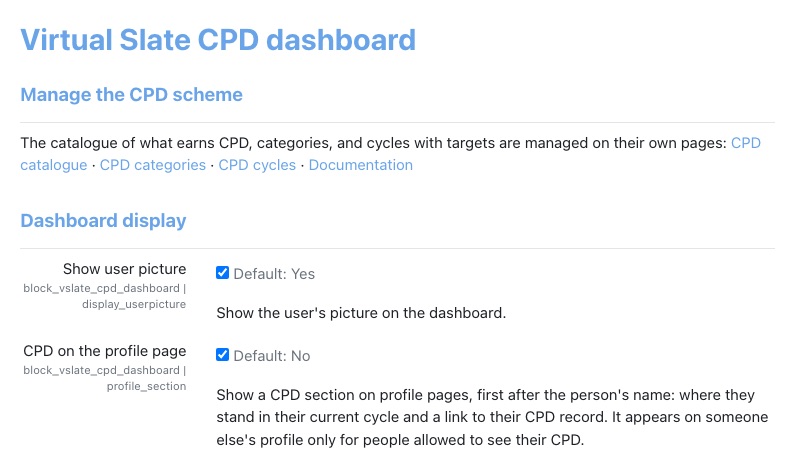
| Setting | Default | Effect |
|---|---|---|
| Show user picture | On | Shows the person's picture in the block, on their dashboard and on their statement. |
| CPD on the profile page | Off | Adds a CPD section to profile pages. |
| User fields | Email address | Shows or hides the person's email beside their name. The name always shows. Email address is the only choice. |
| Show CPD entries in the block | Off | Lists the person's five most recent entries in the block. |
| Evidence file size limit | 20 MB | The largest evidence file. Choosing the "Site upload limit" option uses the site's limit. Moodle's own upload limits always apply. |
| Evidence files per claim | 10 | The most files on one claim. Zero or an empty value gives 10. |
| Entries per page | 25 | How many entries the full dashboard lists on a page, up to 200. Zero or an empty value gives 25. |
Evidence files must be PDF, JPG, JPEG, PNG, DOC or DOCX. You cannot change this list in the settings.
Capabilities and roles
The four CPD capabilities below are checked in the system context, so a role must be assigned at site level through Site administration → Users → Permissions → Assign system roles. Holding one in a course or category does not open these pages. Site administrators have them all.
| Capability | Shown in Moodle as | Default roles | Allows |
|---|---|---|---|
block/vslate_cpd_dashboard:view | See own CPD | Authenticated user, Manager | Own dashboard, statement, claims and the documentation. Without it, the block is empty. |
block/vslate_cpd_dashboard:viewotherscpd | See other people's CPD | Manager | Team CPD, other people's dashboards and statements (read-only) and their evidence, all within the viewer's scope. |
block/vslate_cpd_dashboard:approvecpd | Approve CPD claims | Manager | CPD approvals, within the viewer's scope. Never their own claims. |
block/vslate_cpd_dashboard:manage | Manage the CPD scheme | Manager | Catalogue, categories and cycles. Setting an individual target also needs sight of that person, through viewotherscpd. |
block/vslate_cpd_dashboard:addinstance | Add Virtual Slate CPD dashboard | Copied at install from moodle/site:manageblocks: Manager and Teacher by default | Add the block to a page. |
block/vslate_cpd_dashboard:myaddinstance | Add Virtual Slate CPD dashboard to my dashboard | Copied at install from moodle/my:manageblocks: Authenticated user by default | Add the block to their own Dashboard. |
What each job needs
| Job | Give the role | Why |
|---|---|---|
| CPD manager | manage and viewotherscpd | Individual targets need both. The Set an individual target button is on another person's dashboard, and the target page refuses anyone outside the viewer's scope. |
| Approver | approvecpd and viewotherscpd | approvecpd alone lets them decide claims and open evidence. The name link on the approvals page opens the person's dashboard, which needs viewotherscpd. |
| Team manager | viewotherscpd | Add approvecpd if they also approve claims. |
| Learner | Nothing extra | Authenticated users already hold view. |
Scope: whose CPD a person sees
Everyone with view sees their own CPD. Viewing others and approving use the same scope:
- Team Management installed: members of teams the viewer manages, plus people currently placed at organisation units they head or beneath those units.
- The viewer also holds
block/vslate_team_management:manageteams: everyone. Manager holds this by default, so a default Manager sees the whole site. - Team Management not installed: everyone. The capability alone decides, so a site without it cannot restrict a viewer to a team.
Audiences
Cycles (Applies to) and catalogue items (Offered to) use the same four choices. After choosing anything but Everyone, you must pick the group in Which. If you leave it empty, the form shows "Choose which." and does not save.
| Choice | Available | Who it reaches |
|---|---|---|
| Everyone | Always | Everyone with an account. |
| A cohort | Always | Current members. Only visible cohorts are listed. |
| A team | With Team Management | Current team members. |
| An organisation unit (and everything beneath it) | With Team Management's organisation structure, which is part of the Enterprise level and enabled by Lingel Learning | People with a current placement at that unit or below it. |
- Course and activity items: a completion earns the item only if the person is in its audience now. Someone who leaves the audience loses that credit, including from closed cycles and statements. Someone who joins gets credit for a completion they already had.
- External items: the audience decides who can claim the kind. A claim already made stays and keeps counting if the person later leaves.
- Cycles: when someone leaves a cohort, team or unit, that cycle stops applying to them. They drop out of it on their dashboard, and they and their manager can no longer open its statement. Their entries remain, subject to the rule for course and activity items above.
- A group that no longer exists reaches nobody. The list shows "?" in place of its name. Edit the item or cycle and choose again.
Site administrator tasks
Add the block
- For everyone's Dashboard, go to Site administration → Appearance → Default Dashboard page and turn editing on.
- Add the block Virtual Slate CPD dashboard.
- People who have already personalised their Dashboard keep their own copy until you press Reset Dashboard for all users. Resetting also removes changes they have made.
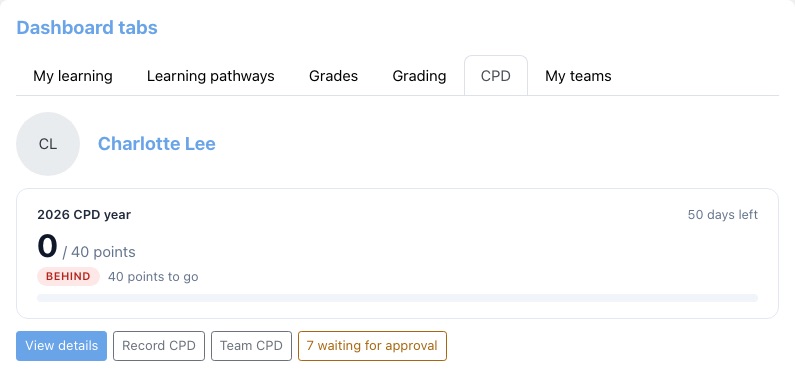
The block can go on any page, once per page, and has no settings of its own. It always shows the viewer's own CPD, even on a course page, and shows nothing to guests. It contains:
- the person's picture and name, and email if set;
- their current standing, in brief;
- View details, which opens the dashboard;
- Record CPD, if an external item is offered to them;
- Team CPD, for people with
viewotherscpdon a site with Team Management; - a "waiting for approval" button with a count, for approvers, when claims are waiting.
With Show CPD entries in the block on, the person's five most recent entries are listed between their standing and the buttons.
Give out the roles
- Go to Site administration → Users → Permissions → Define roles.
- Edit or create a role, and allow the capabilities from What each job needs. The role must be assignable in the system context.
- Assign it through Site administration → Users → Permissions → Assign system roles.
CPD manager tasks
Work in this order, because items and cycle minimums choose from the categories that already exist.
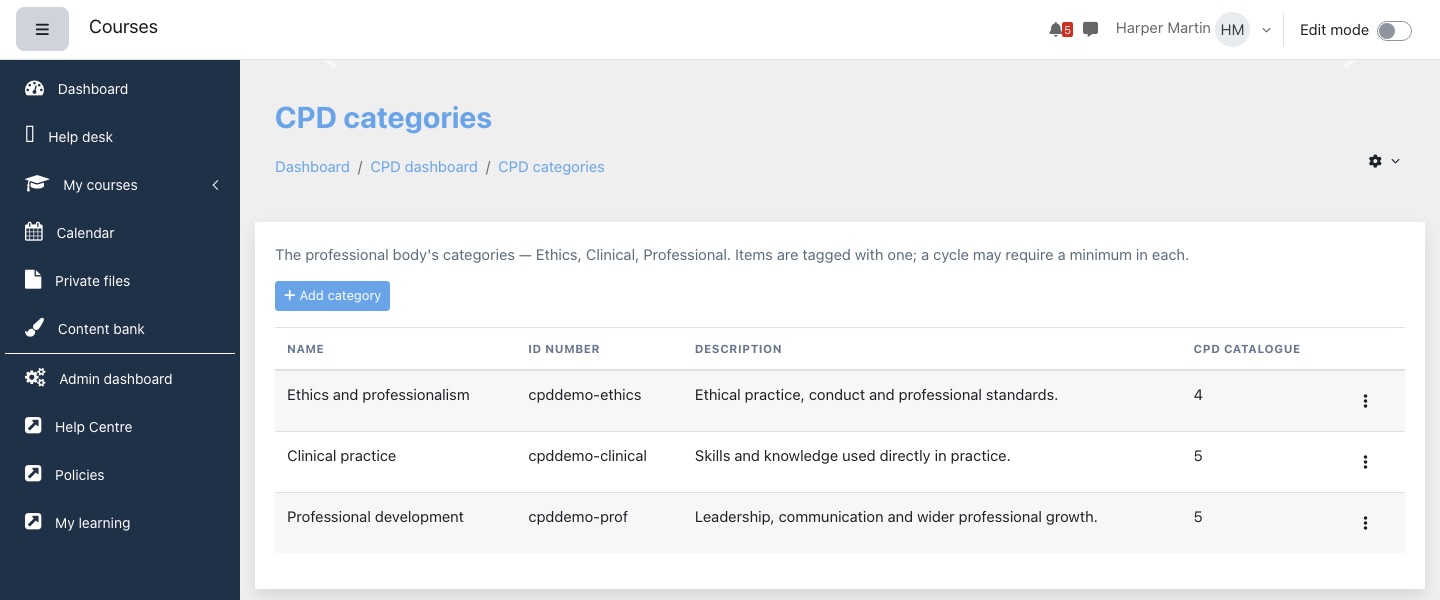
Categories
- From the cog menu, choose CPD categories, then Add category.
- Enter Name and ID number (both required), and optionally Description.
- Press Save changes.
- Categories are optional. Without them, a person has one undifferentiated total.
- They list in the order you created them. There is no way to reorder them.
- Deleting a category removes the tag from its items and removes any minimums for it. The CPD stays, and shows as Uncategorised.
You can change a category's name, description or ID number at any time, and its items stay attached. Each category needs its own ID number: a number already in use is refused.
The list shows each category's Name, ID number and Description, and under CPD catalogue how many items are tagged with it. Use the menu on a row to edit or delete it.
Catalogue: course and activity items
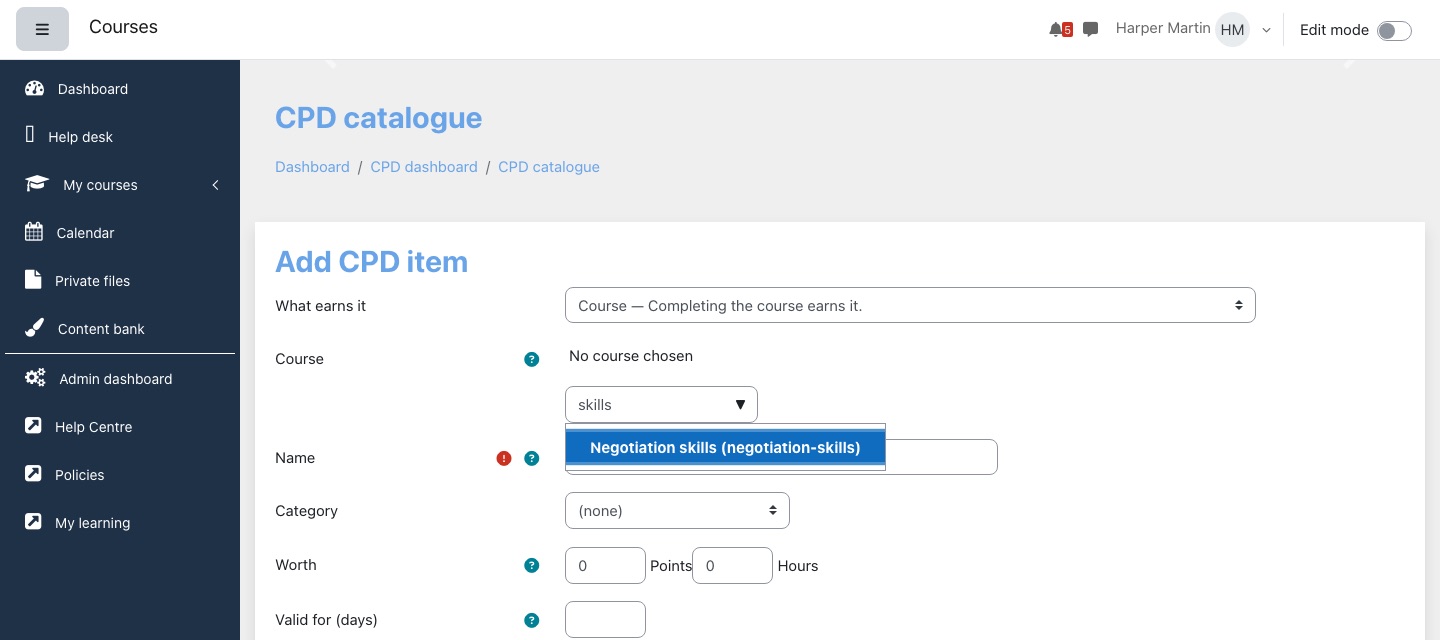
- From the cog menu, choose CPD catalogue, then Add CPD item.
- In What earns it, choose Course or Activity.
- In Course, type part of the full or short name and pick a course. The list shows up to 50 matches, and only courses with completion tracking on. A course tagged "no completion conditions yet" has tracking on but cannot complete until you set its conditions.
- For an activity, press Show activities, then choose from Activity. Only activities with completion tracking are listed.
- Enter Name, as it should read on dashboards and statements. It is not filled in for you.
- Choose a Category if you use them.
- Under Worth, enter points, hours or both.
- Enter Valid for (days) if the credit expires. Leave it empty if not.
- Choose Offered to and, if needed, Which. Only people in this audience earn the item. See Audiences.
- Leave Active ticked and press Save changes.
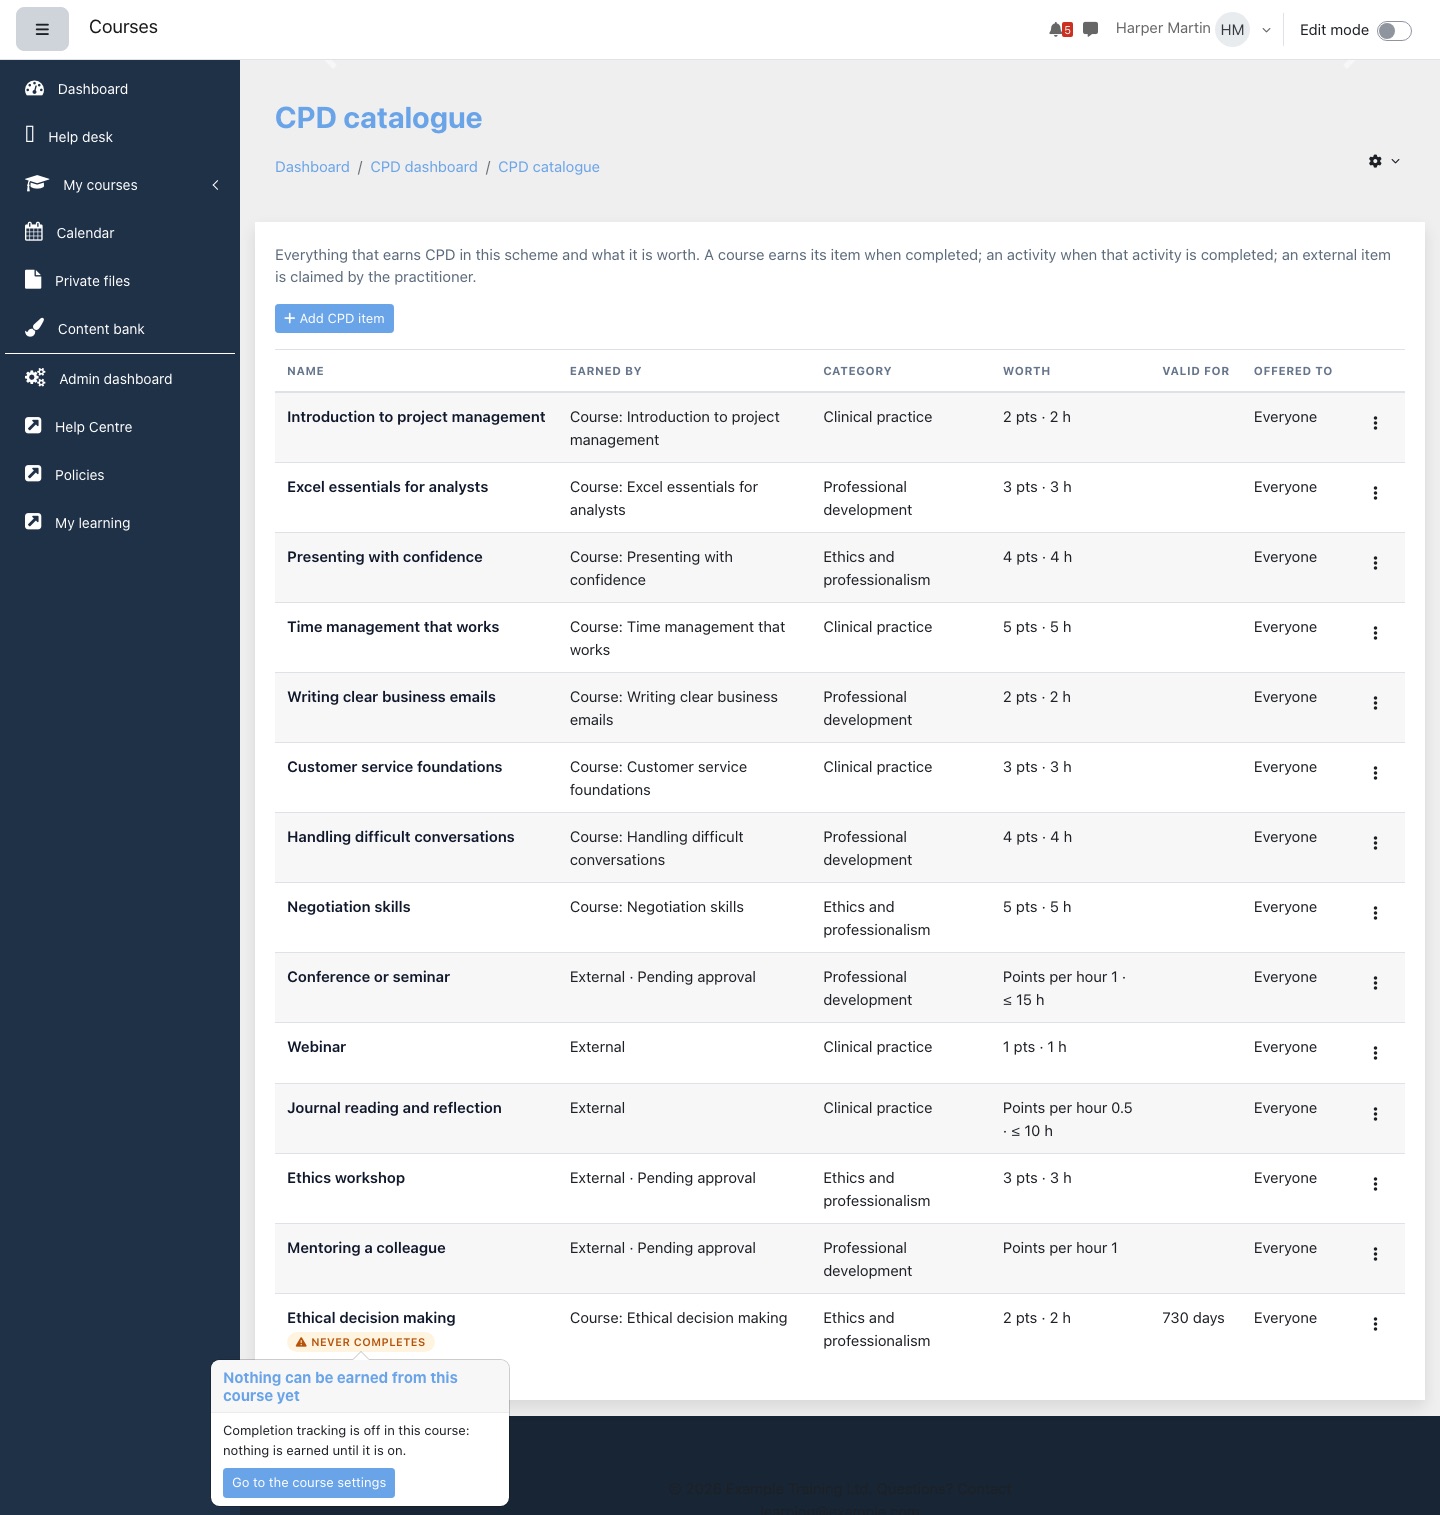
The catalogue flags a course that cannot earn anything with a Never completes badge. Click the badge for the reason and a link to fix it: Go to the course settings when tracking is off, or Go to course completion when a course item has no conditions.
The catalogue shows each item's Name, what it is Earned by (the course or activity, or External), Category, Worth, Valid for and who it is Offered to. External items that need approval read "External · Pending approval", and those that require evidence add "Required". An item that is switched off is marked inactive. Use the menu on a row to edit or delete the item.
Catalogue: external items
An external item describes a kind of CPD, such as "Conference or seminar" or "Self-directed reading", not one event.
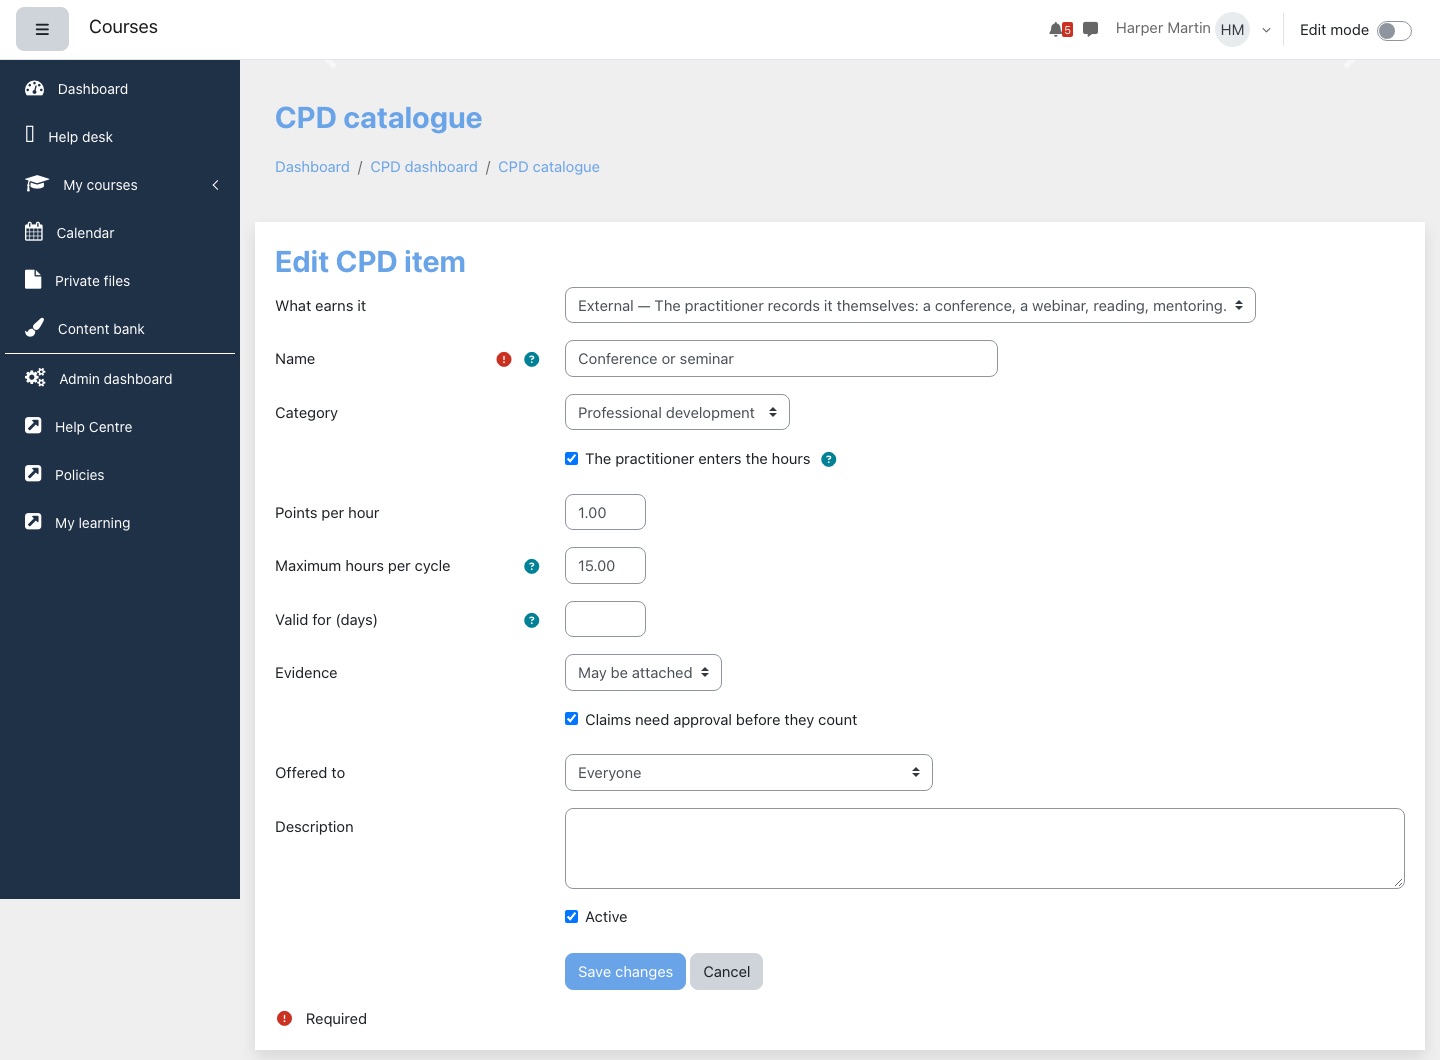
- Choose Add CPD item, and External in What earns it.
- Enter Name and choose a Category.
- Set the worth in one of two ways:
- a fixed Worth in points, hours or both; or
- tick The practitioner enters the hours and set Points per hour (starts at 1). Points are hours multiplied by this rate.
- Enter Maximum hours per cycle if the professional body caps this kind. Leave it empty for no cap.
- Set Evidence: Not needed (the starting value), May be attached or Required.
- Tick Claims need approval before they count if someone should vouch for it. It starts unticked, and an unticked item's claims count as soon as they are saved.
- Choose Offered to, then press Save changes.
A cap can only be set on external items, and only applies when an entry has hours. The most recent entries are counted first. The In this cycle list and the statement show an entry at what it counted for, with a note of the hours recorded. An entry with nothing left to count says so, and the All list shows what was recorded.
What changing an item does
| You change | Course and activity CPD | Claims |
|---|---|---|
| Worth | Every entry changes, including past ones and closed cycles. To change the worth from a certain day, delete the item and add a new one: earlier completions stay at the old worth. | Keep the worth from when they were saved, until the claim is next edited. |
| Category or validity | Every entry changes. | Every claim on that item changes. |
| Offered to | Every completion is judged against the new audience, including past ones and closed cycles. | Existing claims stay. Only who can make new claims changes. |
| Untick Active | Stops earning from that moment. Earlier completions still count. Ticking it again also credits completions made in between. | No longer offered for new claims. Existing claims still count. |
| Delete the item | Leaves the catalogue and earns nothing from then on. Entries already earned stay, including in closed cycles and statements. | Keep their title, worth, category and cap, and still count. |
| Hide the course | Course item entries disappear until it is visible again. Activity items are not affected. | No effect. |
| Delete the course or activity in Moodle | The item is removed automatically. Its entries disappear. | No effect. |
Deleting a catalogue item keeps what was earned, and there is no screen to bring a deleted item back. Deleting the course or activity itself, hiding the course or resetting its completion data does remove the CPD, because the plugin keeps no copy of the completion.
- One completion earns once. If several items name the same course or activity, an item that has since stopped earning comes first for completions it covered, then an item for a particular audience, then the first in the catalogue. Use this to give different audiences different worth. A course item and an activity item in that course are separate completions, and both earn.
- The course picker can offer hidden courses, but a hidden course's item earns nothing.
- The catalogue lists 25 items a page. It has no search and no way to reorder items.
Cycles
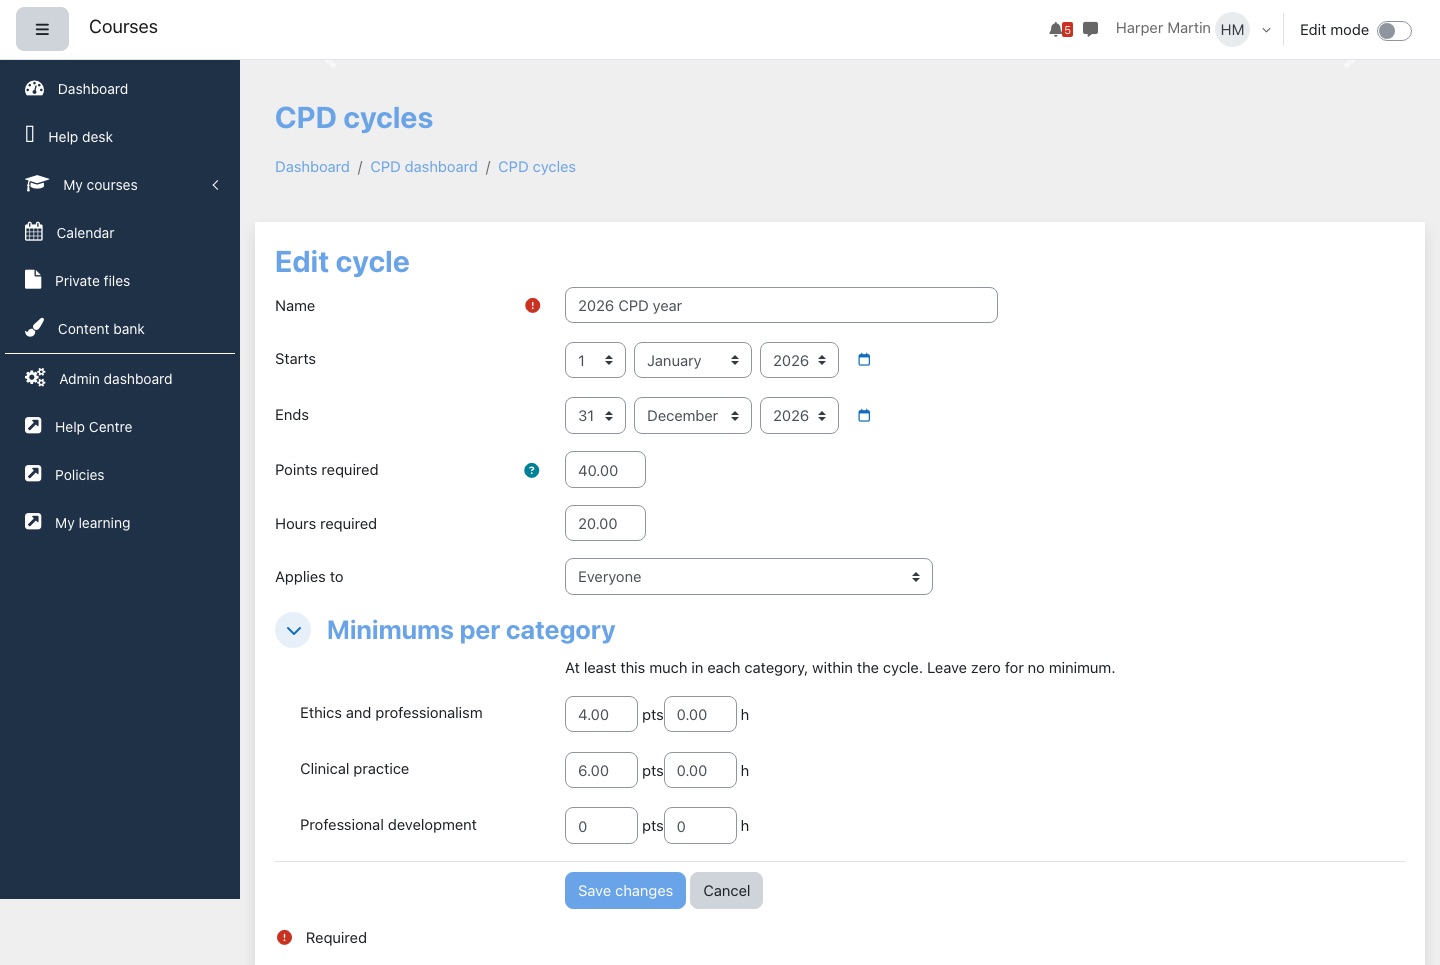
- From the cog menu, choose CPD cycles, then Add cycle.
- Enter Name, Starts and Ends. The last day counts in full.
- Enter Points required, Hours required or both.
- Choose Applies to and, if needed, Which.
- Under Minimums per category, enter the least needed in each category. Zero means no minimum. This section only appears once categories exist.
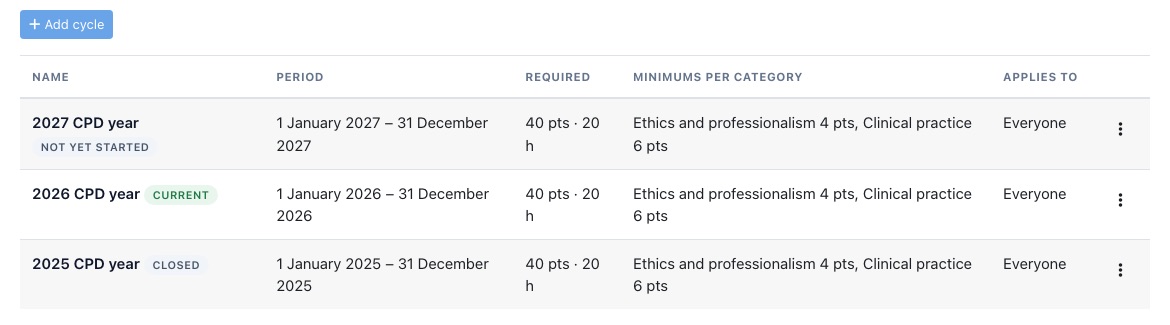
- Press Save changes. The list marks each cycle current, closed or not yet started.
The list of cycles shows each one's Period, what is Required, its Minimums per category and who it Applies to. Use the menu on a row to edit or delete it.
- Which cycle is current: the one whose dates include today. A cycle for a cohort, team or unit beats one for Everyone, whatever their dates. Among equals, the latest start date wins. The plugin does not warn about overlaps.
- No automatic rollover: create the next cycle before the current one ends. It takes over on its start date. Until then, people see No cycle.
- Limits: a cycle must end on a later day than it starts, so a one-day cycle is not possible.
- Time zone: dates are saved in the time zone of the person saving the cycle.
- Editing: changes to dates or requirements apply straight away, including to closed cycles.
- Deleting: this removes the cycle, its minimums and its individual targets. Entries stay, but that cycle's statement is gone.
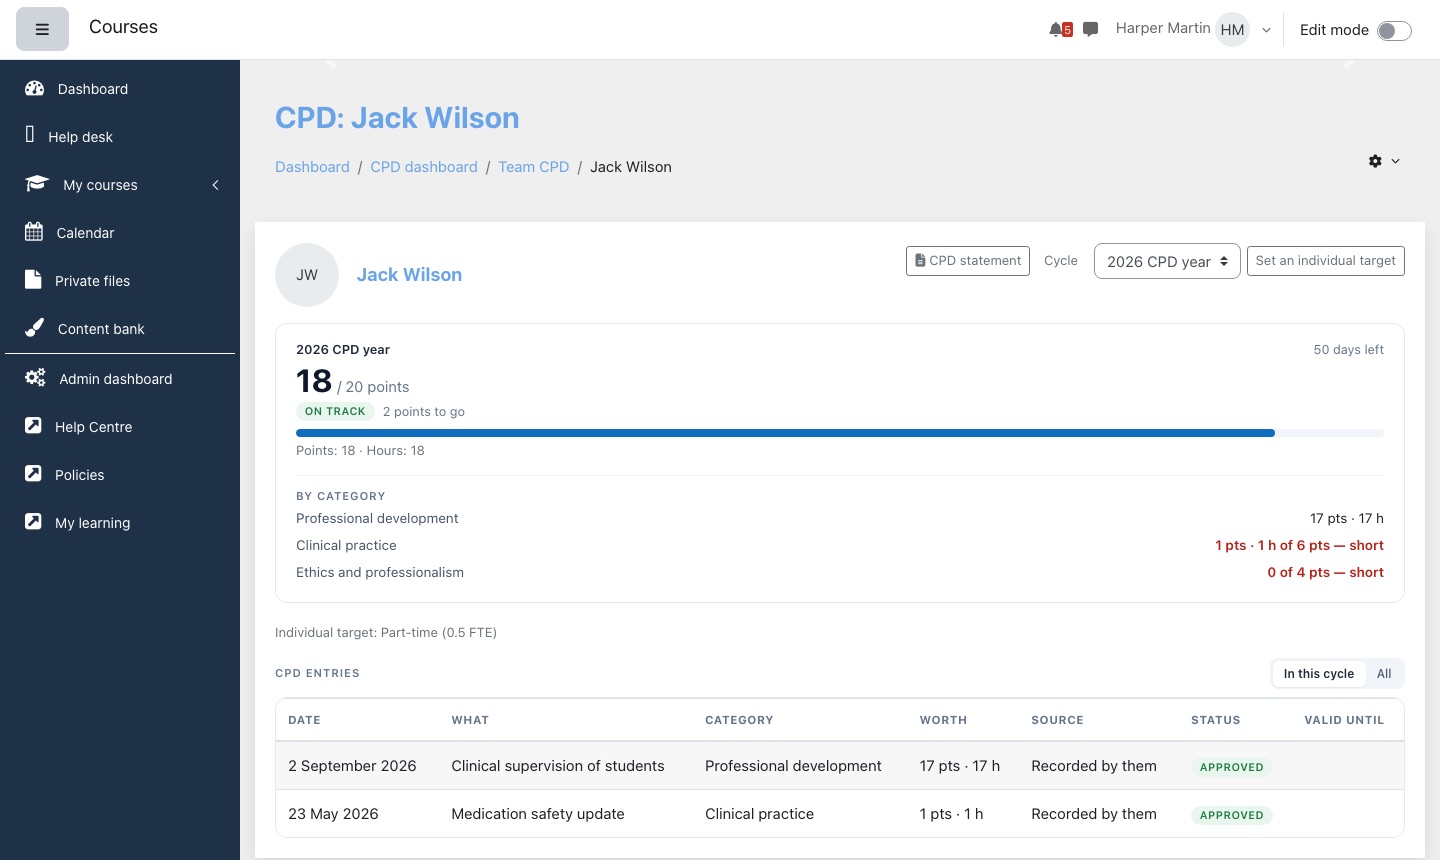
Individual targets
Use these for people whose requirement differs in one cycle, such as part-time or newly registered practitioners.
- Open the person's dashboard, from Team CPD or the View CPD record link on their profile.
- If needed, use Cycle to show the right cycle.
- Press Set an individual target.
- Enter Points required, Hours required and Reason, then press Save changes.
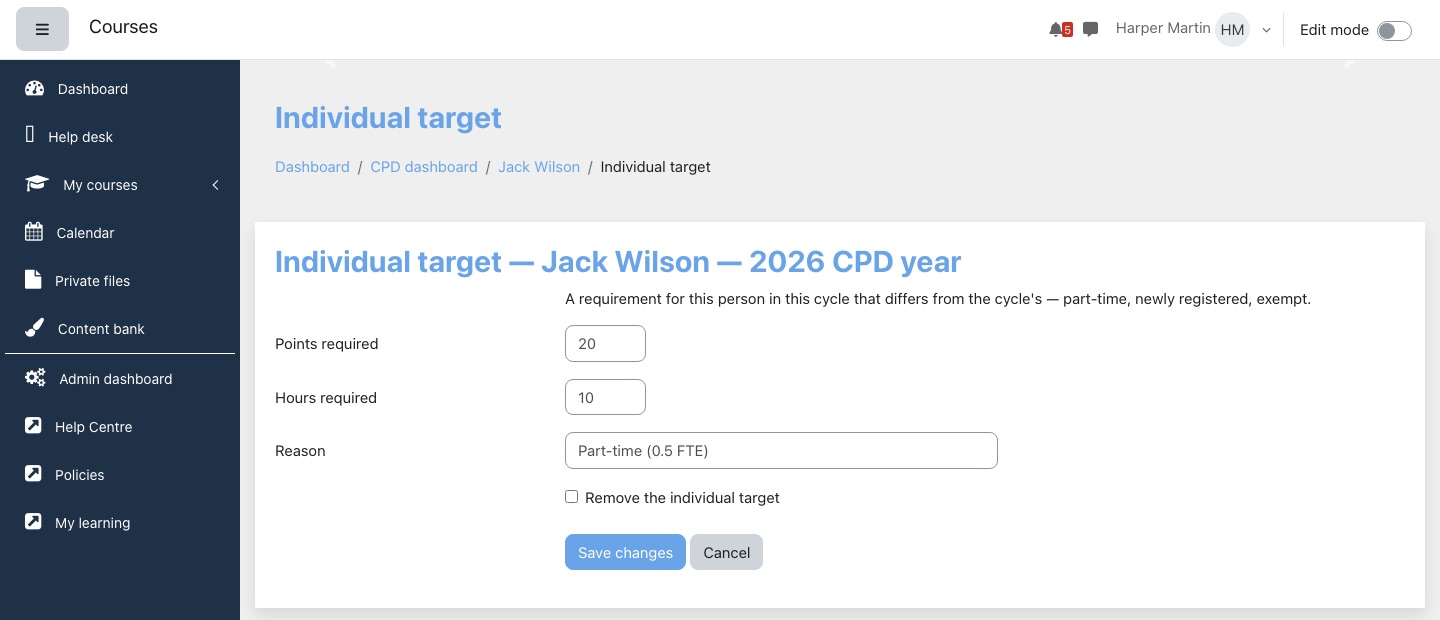
- To go back to the cycle's requirement, open the same form, tick Remove the individual target and save.
- To exempt someone, set both figures to zero. They then show Requirement met, unless the cycle has category minimums, which still apply to them.
- The person's dashboard shows Individual target and the reason. The statement shows the label only, not the reason.
- Nobody can set their own target: the button is not on your own dashboard and the page refuses it. Targets are set one person at a time, for a cycle that applies to that person.
Approver tasks
Nobody is told when a claim arrives or when it is decided. Approvers need to check the page regularly, and people see the result on their dashboard.
- Open CPD approvals from the "waiting for approval" button in the block, the Claims pending tile on Team CPD, or the cog menu.
- Read the claim: Person, What (with the kind, category and notes), Date, Worth and Submitted. Open any files under Evidence.
- Press Approve, or type a Reason and press Reject. A rejection without a reason is refused.
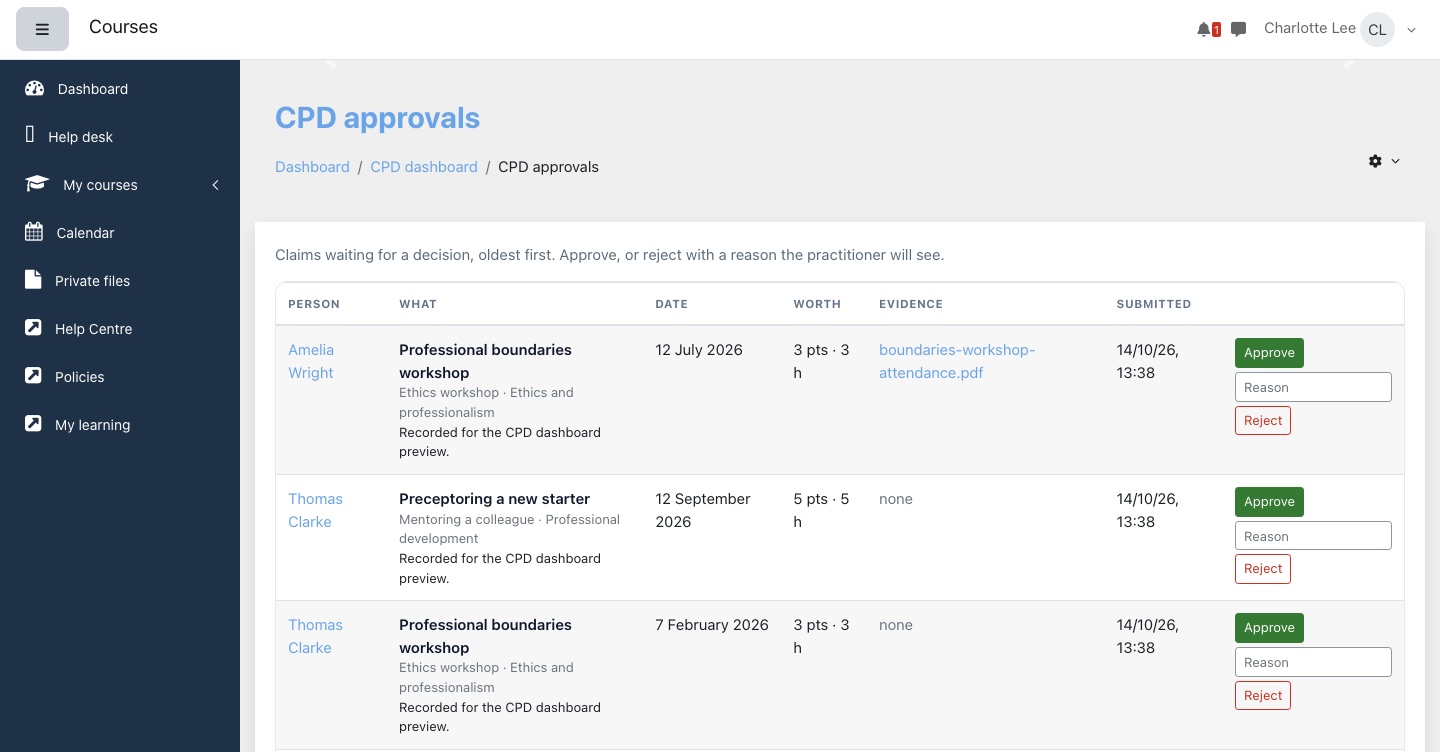
- Claims appear oldest first, 25 to a page, only within your scope.
- You never see your own claims, so someone else must approve them.
- You cannot change a claim's hours or worth. Reject it with a reason so the person can correct it.
- A decision cannot be reversed. Decided claims leave the page and no screen reopens them. The person would have to remove the claim and record it again.
- An approved claim counts on its activity date, so it may land in a closed cycle.
- Decisions are recorded in Moodle's logs as CPD claim approved and CPD claim rejected. Dashboards and statements do not show who decided.
Team manager tasks and the Team CPD page
Team CPD shows where people stand in their current cycle, listed by name. It needs viewotherscpd and Team Management. Without Team Management, the link does not appear and the page shows a message saying the plugin is needed.
Check your team
- Open Team CPD from the block, the cog menu, or the cog on a Team Management report page.
- Read the tiles: People, Requirement met, On track, Behind and No cycle. Approvers also get Claims pending, which opens the approvals page. The tiles can be up to 5 minutes old.
- Tick Only people behind to narrow the table. It applies at once. The tiles keep counting everyone. This option is not offered above 5,000 people in scope.
- Choose Rows per page under the table: 10, 25, 50 or 100. The default is 10, and your choice is remembered for you.
- Click a name to open that person's dashboard, read-only. From there you can open their statement and evidence.
- Use Export as CSV or Export as Excel at the foot of the page.
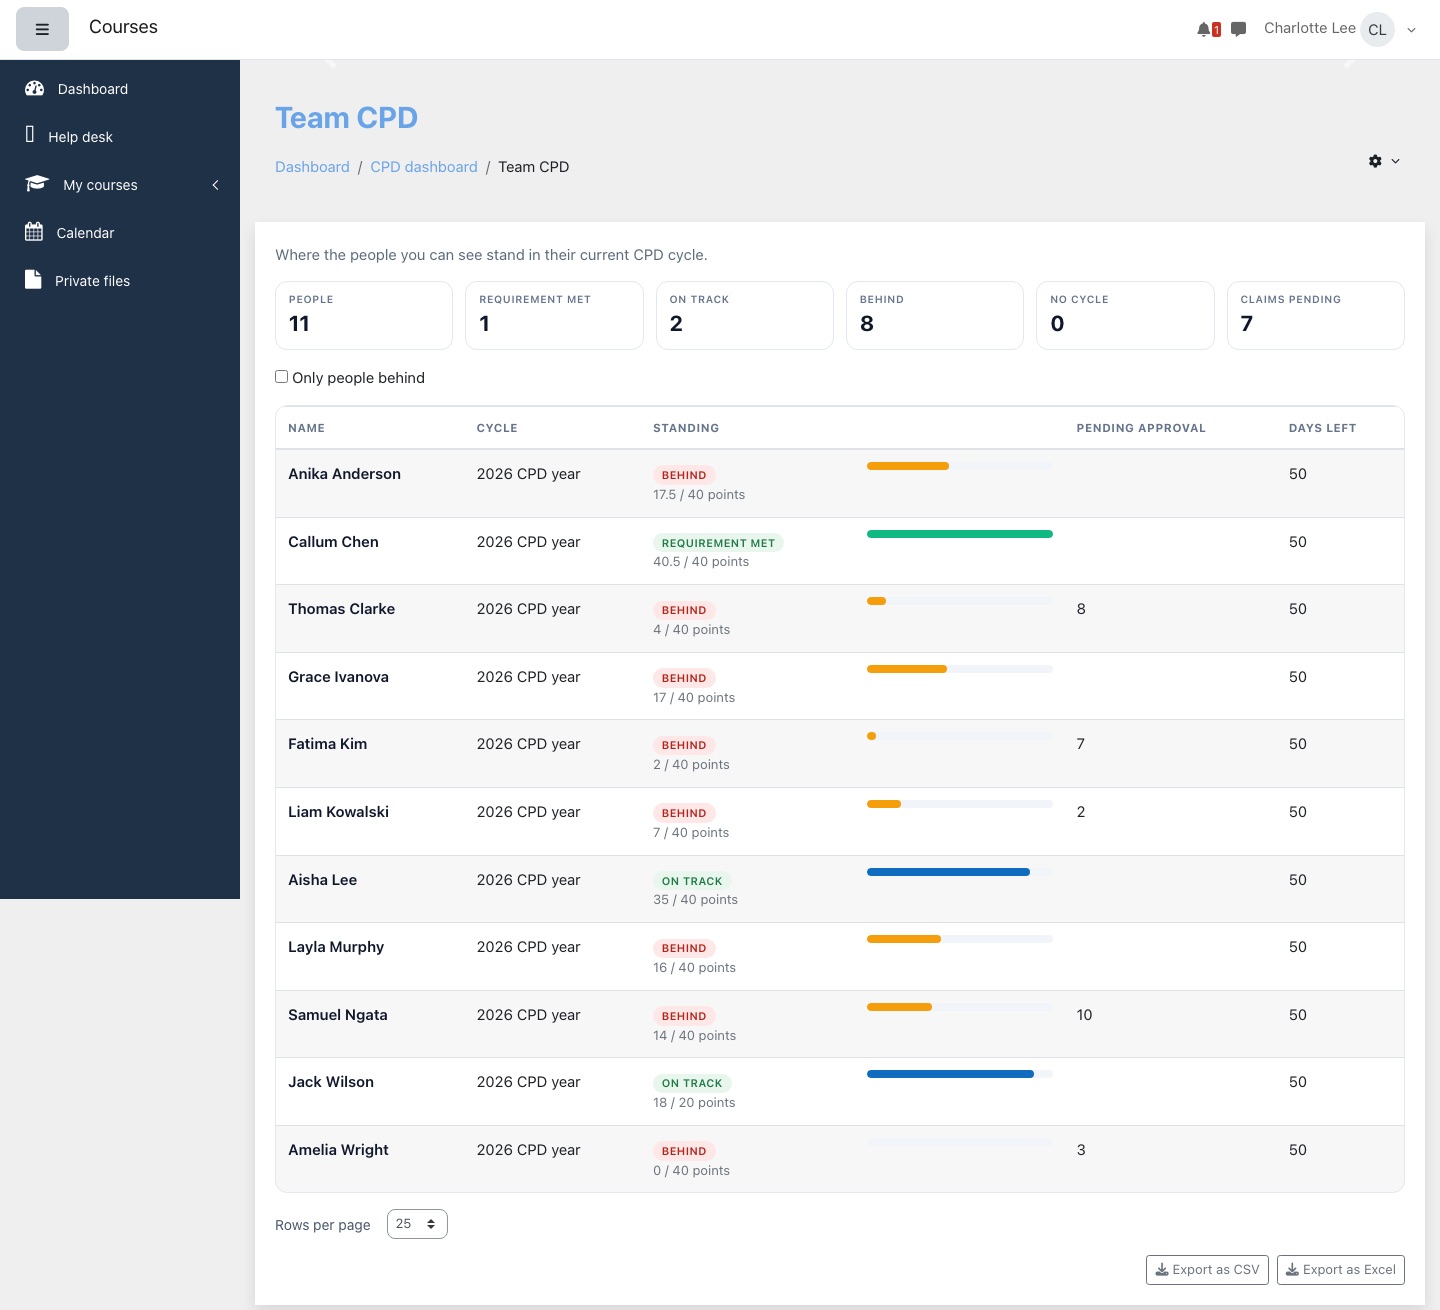
The Team Management person report also links to the person's CPD dashboard for anyone allowed to see it.
- Order: by last name, then first name. To see who needs attention, use Only people behind.
- Who is listed: active accounts in your scope. Deleted and suspended accounts and guests are left out, whether you see everyone or only your teams and units, and you never appear in your own list.
- Paging and exports keep the filter.
- Empty lists: "Nobody in your scope." means you have nobody to oversee. "Nobody is behind." means the filter found nobody. Export and rows per page are hidden when the table is empty.
- Tiles and the filter: these need everyone's standing, so they are worked out in batches and kept for 5 minutes. Changing the catalogue, or a course's completion settings, clears them sooner. The table itself is worked out fresh for each page, so it can briefly disagree with the tiles. The filter uses the same saved list, so someone who has just caught up may still appear.
- Above 5,000 people in scope: the page shows only the People tile (and Claims pending for approvers) with a message, and Only people behind is not offered. The table and the export still work, and the export lists everyone with their standing.
What the export contains
The export contains every row that matches the filter, not only the current page. Its file name is "Team CPD" plus the date.
| Column | Contents |
|---|---|
| Name, Email address | The person. Treat the file as personal data. |
| Cycle | Their current cycle, or empty. |
| Standing | Requirement met, On track, Behind or No cycle. |
| Points, Hours | What counted in the cycle, after any caps. |
| Required | The figure and measure, such as "40 points". |
| Pending approval | Pending claims, in the cycle's measure. |
| days left | Days to the end of the cycle. |
It has no closed cycles, no detail of which category minimum is short, and no individual entries. For those, open each person's dashboard or statement. There is no bulk statement download.
Learner tasks
Read your CPD dashboard
- Press View details in the block, or choose My CPD from the cog menu.
- The top shows your cycle, achieved against required, your badge, what is left ("to go"), what is pending, days left and a progress bar.
- By category shows your CPD per category. A minimum you have not reached is marked "short".
- Under CPD entries, choose In this cycle or All. In this cycle shows entries as they counted there, and All shows what was recorded. Long lists are split into pages.
- If more than one cycle applies to you, use Cycle to switch. This includes closed cycles and those not yet started.
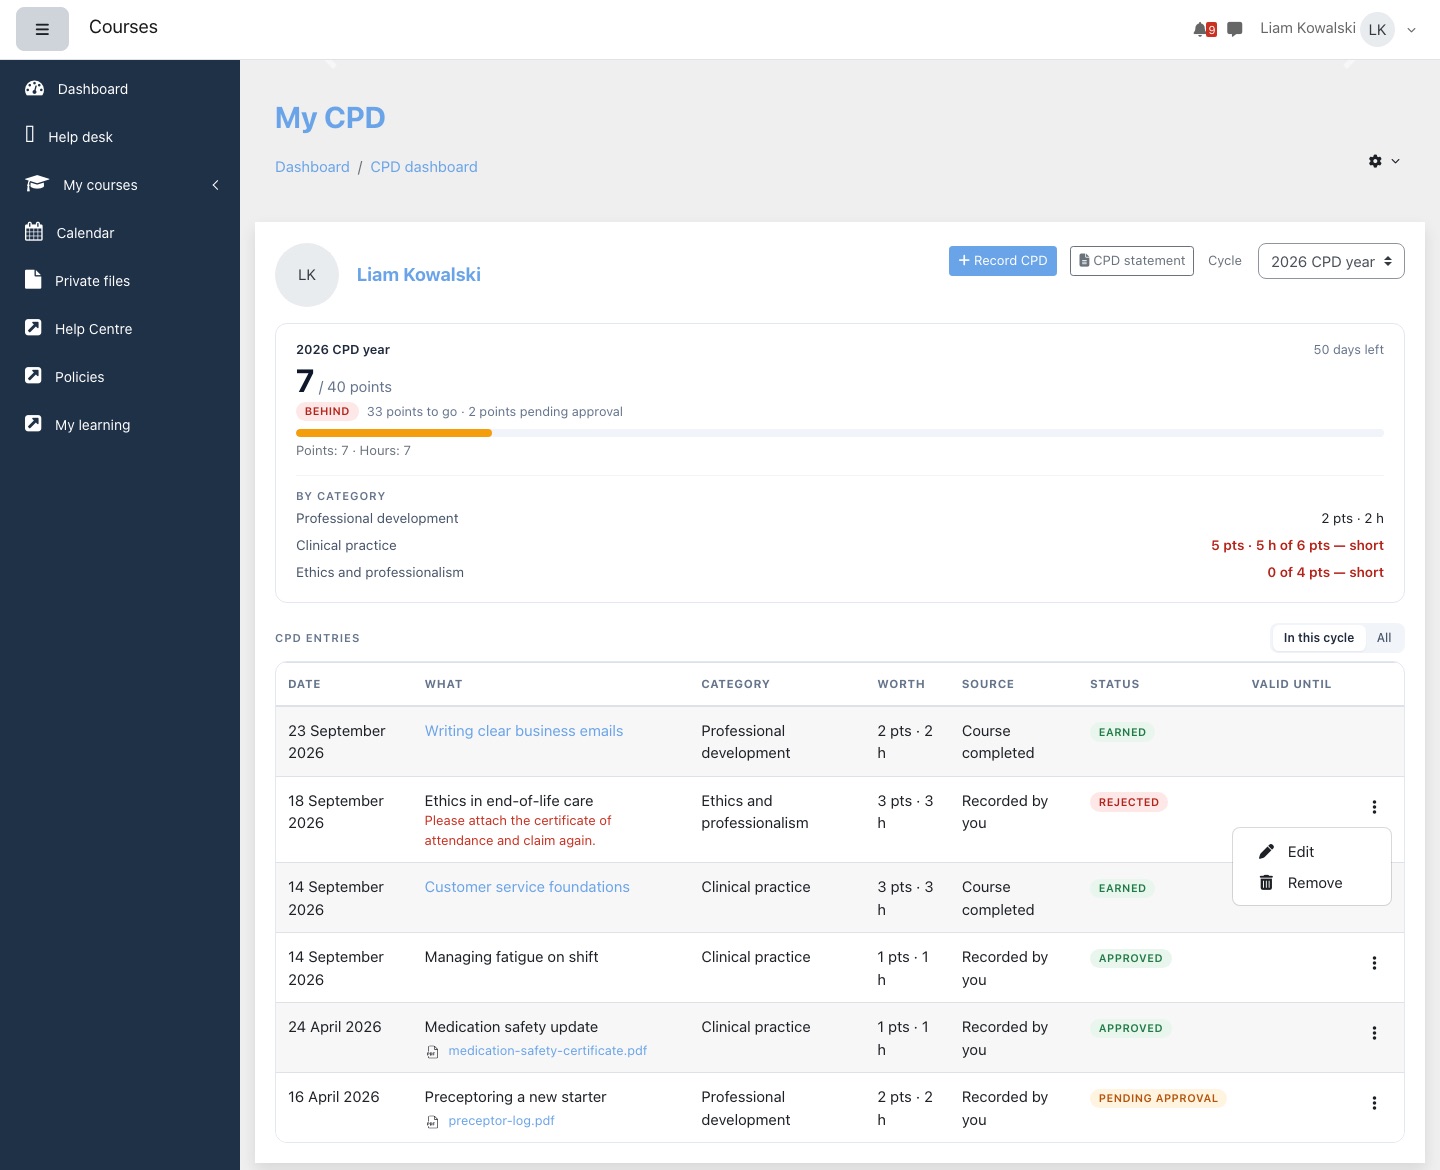
| Status | Meaning | Counts? |
|---|---|---|
| Earned | A course or activity you completed. | Yes |
| Approved | A claim that needed no approval, or was approved. | Yes |
| Pending approval | A claim waiting for a decision. | No, shown apart |
| Rejected | A claim turned down. The reason appears under its title. | No |
| Expired | Past its Valid until date. | No in an open cycle. In a closed cycle, it counts if it was valid when the cycle ended, and is listed there as earned or approved |
Record CPD done elsewhere
People record only their own CPD. A manager or administrator cannot record CPD for someone else, or change or remove someone else's claim.
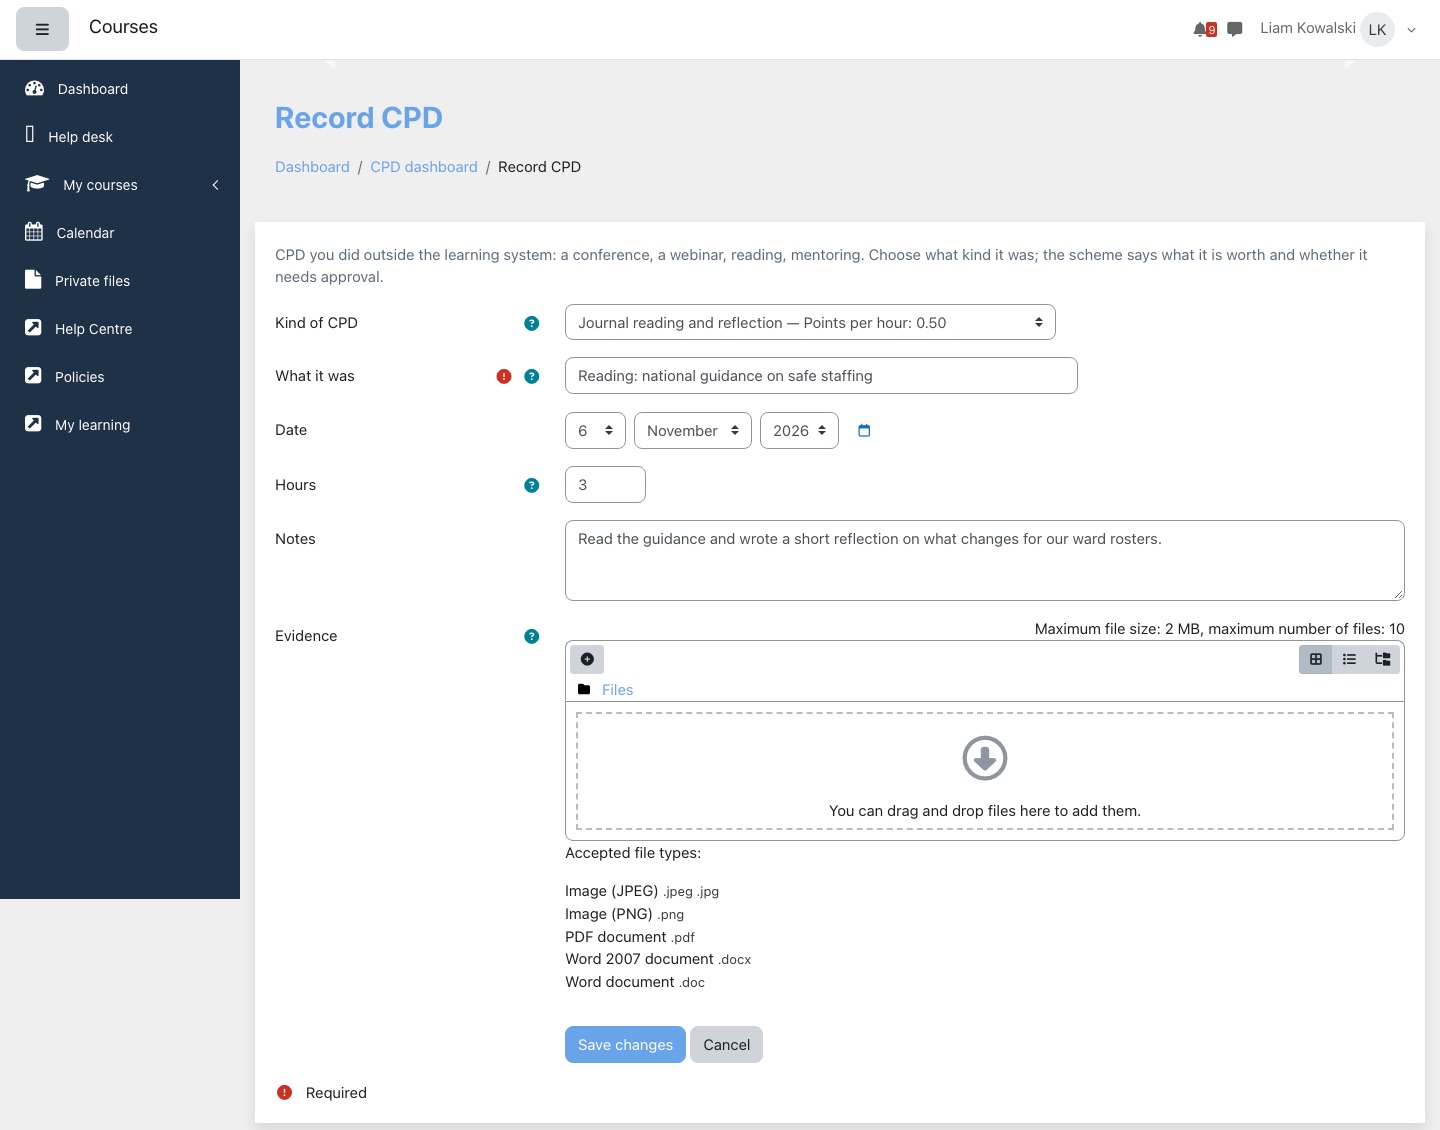
- Press Record CPD in the block or on your dashboard. It appears only if at least one active external item is offered to you.
- Choose Kind of CPD. The list holds the active kinds offered to you. Each option shows its name and worth, either a fixed worth or the points per hour. A kind that needs approval adds "Pending approval", and one that requires evidence adds "Required".
- Enter What it was, as it should read on your statement.
- Set Date. It cannot be in the future.
- Enter Hours if the kind asks for them. They must be above zero.
- Add Notes if useful, and attach files under Evidence. A kind that requires evidence cannot be saved without a file.
- Press Save changes. The message says either "CPD recorded." or "CPD recorded. It counts once approved."
To change a claim, use the menu on its row in CPD entries:
- Edit is offered on pending and rejected claims. Saving sends the claim for approval, whichever kind you choose, so changing the kind cannot avoid a review.
- Remove is offered on every claim of your own, including approved ones. The claim and its evidence are deleted permanently, and Moodle's logs record CPD claim removed.
- An approved claim cannot be changed. To correct it, remove it and record it again.
- A person can still remove a rejected claim and record it again under a kind that needs no approval, where it counts at once. The log shows the removal, but nothing flags the pair to an approver. Keep kinds that need no approval to those you are happy to accept on trust.
- Edits to a pending or rejected claim are not logged.
- There is no date limit on the past, so a claim can be added to a closed cycle, and its statement will change.
Get a CPD statement
- On your dashboard, choose the cycle with Cycle if needed.
- Press CPD statement. The button appears when a cycle is showing.
- Press Print, and print or save as PDF from the browser. Back to the dashboard returns you.
The statement shows the issue date and time, the person, the cycle and its dates, the Requirement (marked if it is an individual target), what was Achieved with the badge, and the standing by category. It then lists CPD entries that counted, at what they counted for, with evidence links. A separate Not counted list follows, with pending and rejected claims (and any reasons), expired entries, and entries over a cycle cap.
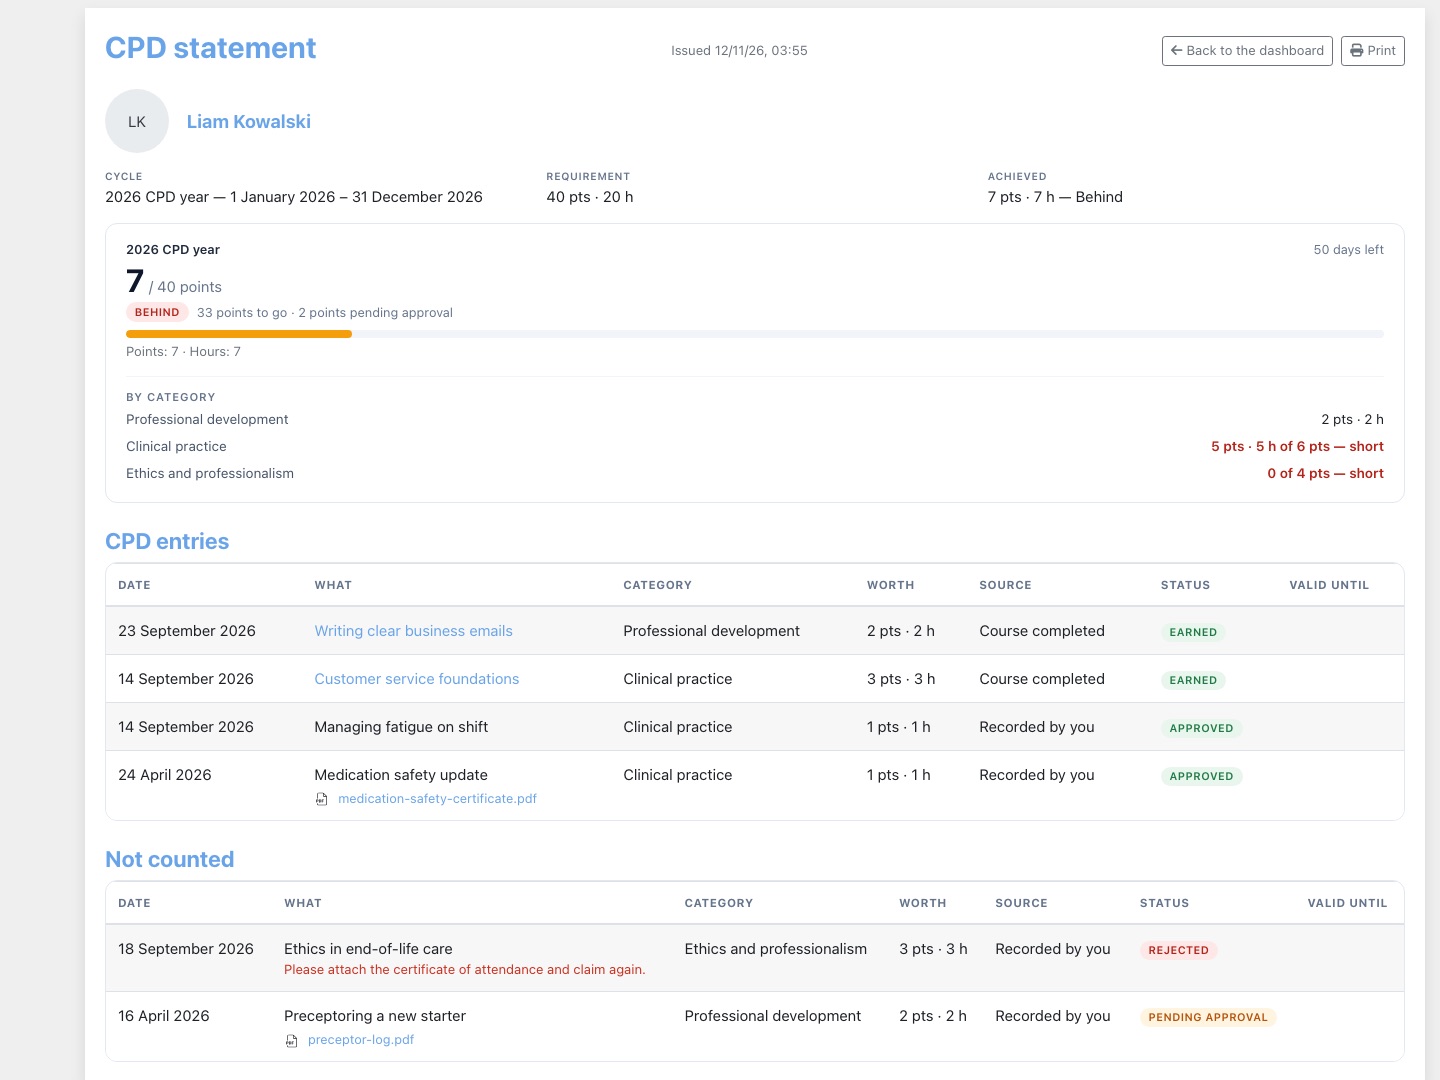
Nothing is stored, and "Issued" is simply the moment you opened it. Time passing alone does not change a closed cycle, but changes to items, audiences, cycles, claims or completions will. If you need a fixed record for an audit, save the PDF at the time.
The profile page section
Turn on CPD on the profile page in the settings. It is off by default.
- A CPD section appears first after the person's name.
- It shows the current cycle, the badge, the figure such as "22 / 40 points", the days left and a progress bar, then a View CPD record link.
- With no current cycle, it says "No CPD cycle applies at the moment."
- People see it on their own profile if they hold
view. On someone else's, they see it only if they may see that person's CPD under the rules in scope. - Guests never see it.
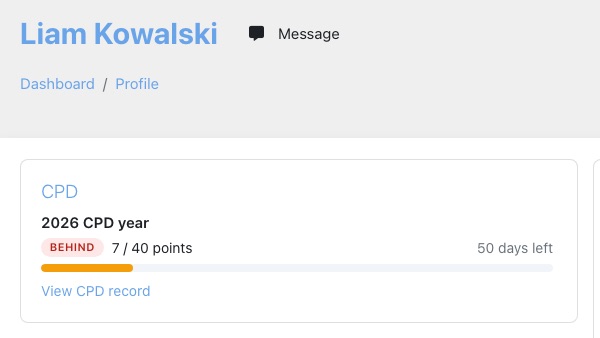
What updates totals
Totals are worked out when a page is drawn, and no background job maintains them. The plugin has no scheduled tasks, and it sends no reminders. Each person's ledger is cached for up to 10 minutes, and the events below clear that cache straight away.
| What happens | Effect |
|---|---|
| A course is completed | That person's cache is cleared. |
| An activity's completion changes | That person's cache is cleared. |
| An enrolment is created, updated or deleted | That person's cache is cleared. Enrolment itself does not decide CPD: only the completion record does. |
| A claim is saved, removed, approved or rejected | The claimant's cache is cleared. |
| A course's completion settings change | Everyone's cache and the Team CPD tiles are cleared. |
| A catalogue item is saved or deleted | Everyone's cache and the Team CPD tiles are cleared. |
| A course or activity is deleted | Its items are removed, and everyone's cache and the Team CPD tiles are cleared. |
| A user is deleted | Their claims, evidence and targets are deleted, and their name is cleared from decisions they made. |
- Changes to cycles, minimums and individual targets show straight away, because they are not cached.
- The Team CPD table reads completion records directly, so it can briefly be more up to date than a person's own dashboard. Its tiles can be up to 5 minutes old.
- Joining or leaving a cohort, team or unit does not clear the cache, so a course or activity item's credit can take up to 10 minutes to change on a person's dashboard.
- Moodle marks courses complete through its own completion scheduled task, which runs every minute by default. If course CPD has not arrived after a few minutes, check the course's completion report, then contact your usual Lingel Learning contact.
- Using course reset to delete completion data removes the matching CPD entries, including from closed cycles. Check before resetting courses that earn CPD.
- Moodle's logs record CPD claim submitted when a claim is first saved, not when it is edited or resubmitted. They also record CPD claim approved, CPD claim rejected and CPD claim removed.
Privacy
The plugin implements Moodle's Privacy API. Course and activity CPD is Moodle's own completion data and is covered by Moodle. The plugin itself stores:
| Data | Contents |
|---|---|
| Claims | Title, notes, activity date, hours, points, status, rejection reason and who reviewed it. |
| Evidence files | Files attached to claims, held in Moodle's file storage. |
| Individual targets | Points, hours and reason. |
| User preference | The Team CPD rows per page choice. |
- Data export: includes the person's claims with evidence, their individual targets and their preference. It does not list claims they reviewed for other people.
- Deletion request: removes the person's claims, evidence and targets, so their total falls. Where they reviewed someone else's claim, their name is cleared and the decision stands.
- Deleted account: their claims, evidence and targets are removed, and their name is cleared from decisions they made on other people's claims.
- Evidence access: files open only for the owner, people who may see the owner's CPD, and approvers with the owner in scope.
- Logs: the log entry for a removed claim keeps its title, status, worth and date, under Moodle's own log retention.
- Retention: there is no retention period or automatic clean-up. Claims and evidence stay until the owner removes them, the account is deleted or a deletion request is processed.
Downloads
| What | Where | Who | Format |
|---|---|---|---|
| Team standing | Team CPD, foot of the page | viewotherscpd, within scope | CSV or Excel, with every matching person rather than one page |
| CPD statement | Dashboard → CPD statement → Print | The person, or anyone who may see their CPD | Browser print or PDF. The plugin does not create a file itself |
| Evidence | Links on entries, statements and approvals | As in Privacy | The original file |
| In-app documentation | Cog menu → Documentation | view | On screen, with a Print button |
Upgrading from the custom field version
Earlier versions read points and validity from two custom fields on each course. The upgrade turns every course with a positive points value into a Course item worth those points, valid for the validity field's days where set. People's earned CPD is carried across because it comes from completion records.
- Review CPD catalogue after upgrading. Names come from the courses, and categories are empty.
- Add categories, external items and cycles. Until a cycle exists, people see what they have earned but not what is required.
The two custom fields stay on the courses, but nothing reads them. Editing them has no effect.
If your site already uses the CPD dashboard
This update corrects several rules, so some figures change even though no data is lost. Check the following after upgrading:
- Course and activity items with an audience: people outside the audience lose those entries. Before, anyone who completed earned the item.
- Items already switched off: these now stop earning from when they were last saved. Later completions drop out.
- Several items on one course or activity: a completion now earns once, not once per item.
- Requirement met: people short on a category minimum, or on hours where both are set, move to On track or Behind.
- Expired entries: these no longer count in an open cycle.
- Team CPD: the list is now by name rather than Behind first.
Questions and troubleshooting
Where do I set the period and the target?
On CPD cycles, from the cog menu or the link at the top of the settings page. The block has no settings, and the plugin settings only control display and evidence uploads.
Why has my CPD total not gone up after recording a claim?
Approval is set for each kind of CPD, not for the whole site. If the kind needs approval, the claim shows as Pending approval and counts once approved. Otherwise, check that its date falls within the cycle you are looking at. The In this cycle list also says if the kind's Maximum hours per cycle has been reached. Approvers are not notified, so you may need to tell them.
Someone completed a course but no CPD shows. What should I check?
- Is there a catalogue item for that course? Completing a course earns nothing without one.
- Is the person in the item's Offered to audience now? Someone outside it earns nothing, even if they used to be in it.
- Was the item switched off or deleted before the completion? Completions after that moment earn nothing.
- Does the item show a Never completes badge?
- Is the course hidden? A hidden course's item earns nothing.
- Is the person really marked complete in the course's completion report? If they should be and are not after a few minutes, contact your usual Lingel Learning contact.
- Is the completion date inside the cycle, and has the entry not expired? Choose All under CPD entries to see entries from any date.
The dashboard can also take up to 10 minutes to catch up in rare cases.
Can a manager add CPD on somebody's behalf?
No. Claims can only be recorded by the person themselves, and no role can enter, edit or remove a claim for someone else. A manager can approve or reject a claim, and a CPD manager can set an individual target. If a person cannot record their own CPD, the only option within the plugin is a lower individual target with a reason.
What happens to accrued CPD when a period ends?
Entries stay, and count only in the cycle their date falls in. Nothing rolls over. The next cycle starts with its own total, provided you have created one. Otherwise people show No cycle. They can still open a closed cycle and its statement through Cycle, as long as the cycle still applies to them.
A learner changed team mid-cycle. Do they keep their CPD?
Claims stay, and so does credit from course and activity items offered to Everyone or to an audience they are still in. Credit from a course or activity item offered to an audience they have left is removed. Their cycle may change too: if the cycle was for a cohort, team or unit they have left, it stops applying, and their entries are measured against whichever cycle applies now. Putting them back in the group restores the credit and access to the old cycle's statement.
Why does someone who has reached the total not show Requirement met?
Requirement met needs every requirement: points and hours where each is set, and every category minimum. Check By category for anything marked "short", and the notes beside the badge for hours to go. Team CPD and its export show the badge but not which minimum is short, so open the person's dashboard to find out.
Does an expired course still count?
Not in an open cycle once its Valid until date has passed: it appears under In this cycle as Expired, and on the statement under Not counted. In a closed cycle, it counts if it was still valid when the cycle ended.
Why don't I see Team CPD, or why do I see a message about the plugin?
Team CPD needs both viewotherscpd in a system-level role and the Team Management plugin, which Lingel Learning enables for your site. Without Team Management, you can still open a person's dashboard from their profile if the profile section is on, or from the approvals page.
A team manager sees "Nobody in your scope." Why?
That message means nobody is in their scope. Confirm they are the manager of a team with members, or the head of a unit with current placements. Holding the capability alone gives them no people unless they also hold manageteams. Suspended accounts are not listed. If a filter finds nobody, the page says "Nobody is behind." instead.
Why did someone lose CPD after leaving a cohort or team?
A course or activity item's Offered to audience is judged by who is in it now, and the plugin has no record of past membership. Leaving the audience removes that credit, including from closed cycles. Change the item's audience to include them, or offer it to Everyone, if the credit should stand. Save a statement before moving people if you need a record of it.
Why is Team CPD not sorted with the people behind at the top?
The list is by name so that each page can be worked out on its own, however many people are in scope. Tick Only people behind to see just those people, or sort the export. The filter is not offered above 5,000 people in scope.
Can an approval be undone?
No. An approver cannot reopen a decided claim. The person who made it can remove it and record it again, and if the kind needs approval it then waits for a new decision.
Why can a person not attach their evidence?
Check the file type (PDF, JPG, JPEG, PNG, DOC or DOCX), Evidence file size limit, Evidence files per claim and Moodle's site upload limit. The file picker shows the size that applies.
A statement shows different figures from last month. Why?
Statements are calculated when opened. The figures change if an item's worth or audience changes, the person joins or leaves an audience, a cycle is edited, a course is hidden, completions are reset, or a claim is added, removed or approved. An entry that had expired by the end of a closed cycle stays out, and time passing alone does not change a closed cycle. Keep a saved PDF if you need a fixed copy.
Can we report on CPD across the whole organisation?
For current standing, yes: someone with viewotherscpd and manageteams sees everyone on Team CPD and can export it. Above 5,000 people, the export is how you get the totals, as the tiles are not shown. Advanced Reporting does not read CPD data. Reports on closed cycles, categories or individual entries are not available as a site-wide view, so you would use each person's dashboard or statement.
Team Management
Teams with a manager who sees their learning, kept in step by hand, from cohorts or from rules, with an organisation structure underneath on the enterprise level.
Team Management gives your site teams: named groups of people, each with a manager who sees their team's learning without needing administrator rights. Teams can be built by hand, kept in step with cohorts, or made automatically from a rule. On the enterprise level, an organisation structure of units and positions sits underneath, and managers see the part of it they head.
- Name in Moodle
- Virtual Slate Team Management (a block and a set of pages)
- Managing teams
- Site administration → Users → Team Management → Manage teams
- Settings
- None. Everything is set on the plugin's own pages
- In-app help
- Documentation, in the cog menu on Manage teams
- Organisation structure
- Part of the enterprise level, enabled by Lingel Learning
- Works with
- CPD Dashboard (Team CPD, team and unit audiences) and Learning Pathways (pathway counts on the team page)
- How it works
- Capabilities
- The block
- Create a team by hand
- Teams from cohorts
- Teams from a rule
- The team page
- Team reports and the person page
- The organisation structure
- Rules from the organisation
- Who sees what
- How current the figures are
- Privacy
- Questions we get asked
How it works
A team is a named group of people with one manager. The manager opens the team page to see each person's enrolments, completions, progress and, where Learning Pathways is installed, their pathways. A person can be in several teams, and a manager can manage several.
People get into a team in three ways, and one team can use any mix of them:
| How | Where you set it | Kept in step by |
|---|---|---|
| By hand | Manage teams → the team's Members page | You |
| From cohorts | Edit the team → Cohorts | Straight away, as people join or leave the cohort |
| From a rule | Manage teams → Manage team auto-creation | The nightly run, shortly after midnight |
Capabilities
Assign these through roles in Site administration → Users → Permissions → Define roles. Site administrators hold them all.
| Capability | Default roles | Allows |
|---|---|---|
block/vslate_team_management:manageteamsManage Team Management block | Manager | Every management page: creating, editing and deleting teams, their members and the auto-creation rules, the organisation structure, and every team's page and report. Holders also see every unit of the organisation. |
block/vslate_team_management:addinstanceAdd Virtual Slate Team Management block | Manager | Add the block to a page. |
block/vslate_team_management:myaddinstanceAdd Virtual Slate Team Management block to my dashboard | Manager | Add the block to a Dashboard. |
A team's manager needs no capability to see their own team: being named as its manager is enough. manageteams is site-wide, so whoever holds it can manage every team.
The block
Add Virtual Slate Team Management to the Dashboard, for everyone through Site administration → Appearance → Default Dashboard page, or to any page. Its title is My Teams. It lists each team the viewer manages under Name and Members, and the team's name opens the team page. On the Virtual Slate dashboard it appears as the My teams tab.
- Who sees it. The block only appears for someone who manages at least one team, or who holds
manageteams. Everyone else does not see it at all, so it is safe to put on the default Dashboard. A holder ofmanageteamswho manages no team sees You have not been assigned a team yet. - My organisation appears on the enterprise level for anyone who heads a unit, and for holders of
manageteams. - Manage teams appears for holders of
manageteamswhile Edit mode is on. With editing off, use Site administration → Users → Team Management → Manage teams.
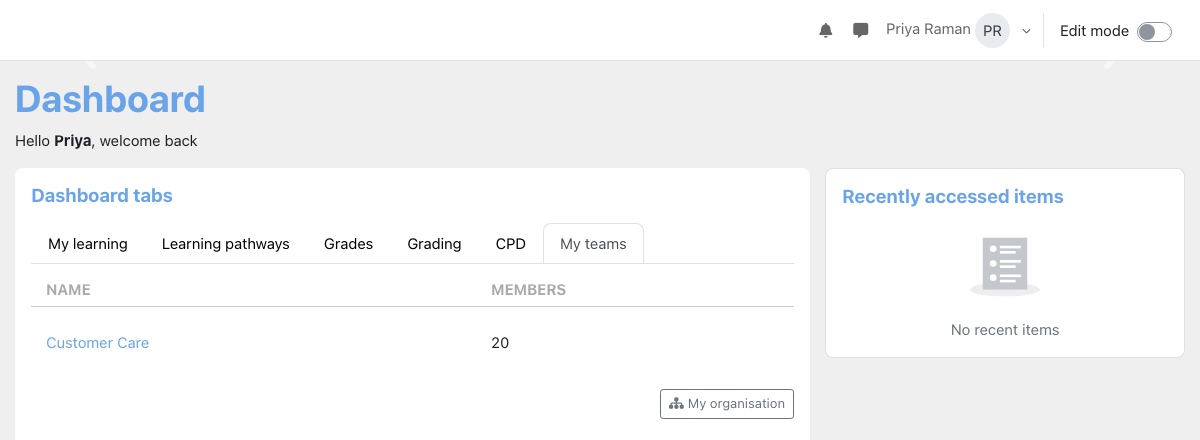
Create a team by hand
Manage teams is at Site administration → Users → Team Management → Manage teams. It lists every team, 30 to a page, with its Team manager, number of Members and Cohorts. Sort by name, manager or cohorts by pressing the column heading, and use Download table data as to save the list as CSV, Excel or another format. Each row has three icons under Action: manage the team's members, edit the team, and delete it. The cog menu at the top right holds Manage team auto-creation, Organisation structure (enterprise level) and Documentation.
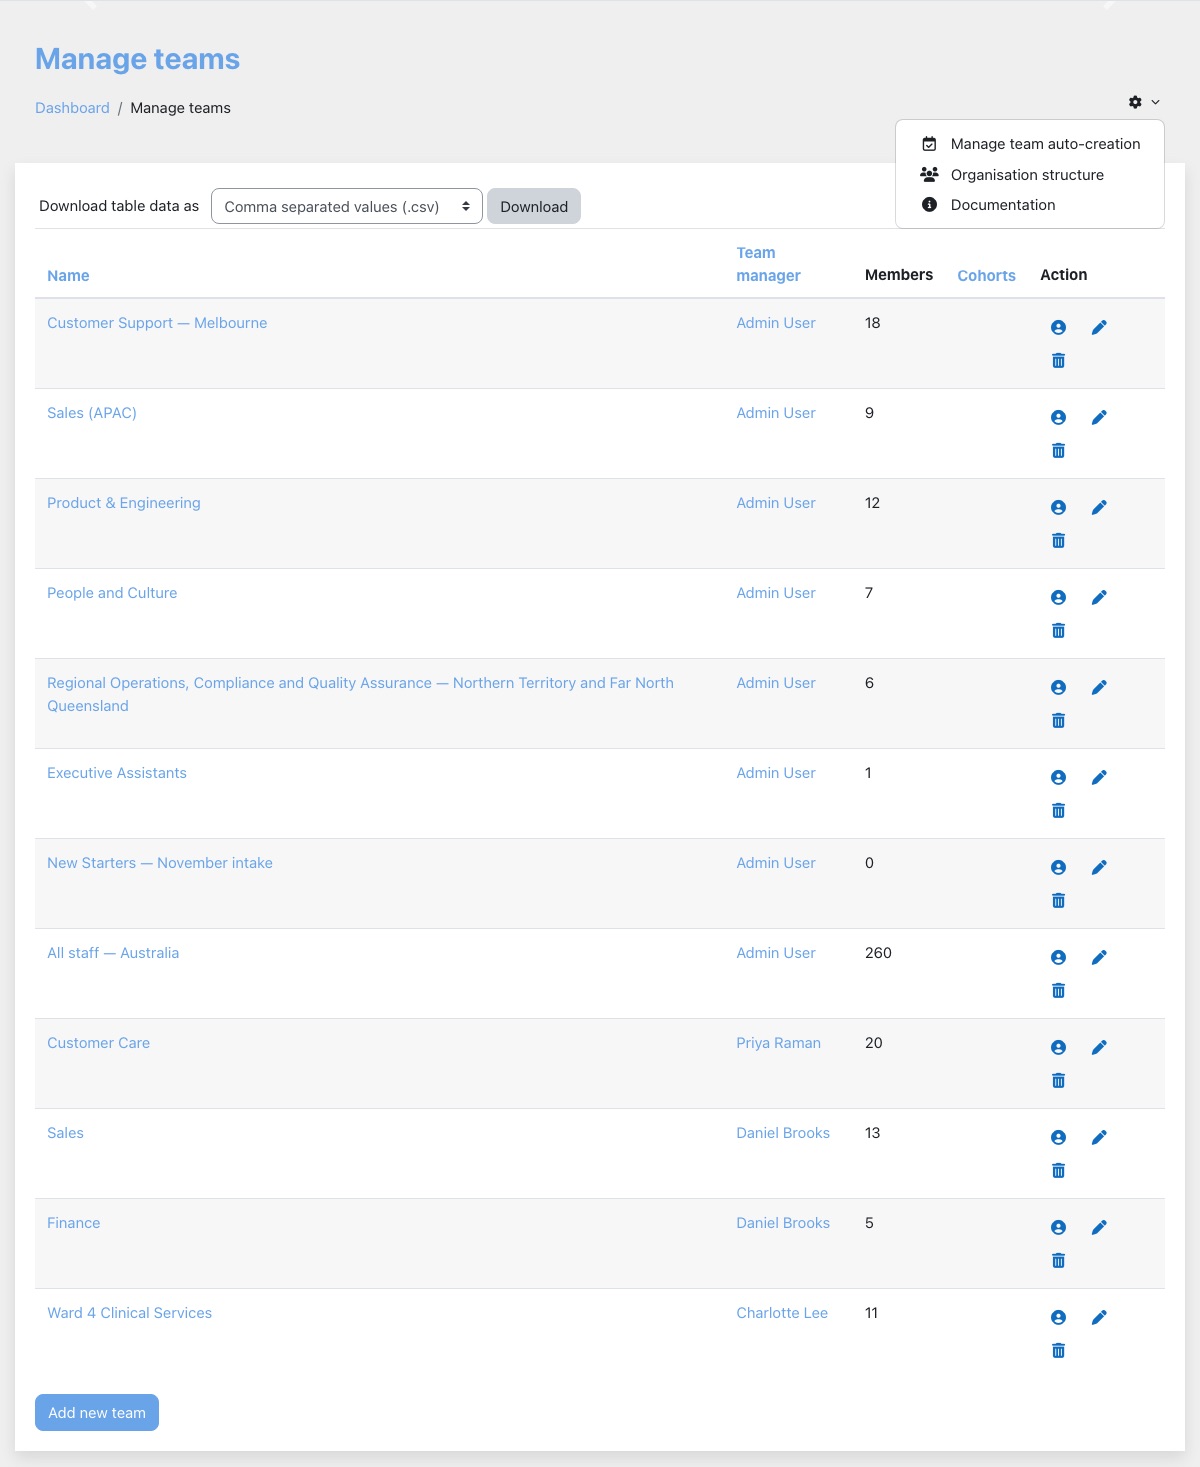
- Go to Manage teams and press Add new team.
- Enter a Name and choose the Team manager. Start typing to search for them. Both are required.
- Optionally choose Cohorts (see Teams from cohorts).
- Press Save.
- To add people one at a time, press the person icon for the team on Manage teams. This opens Manage team members.
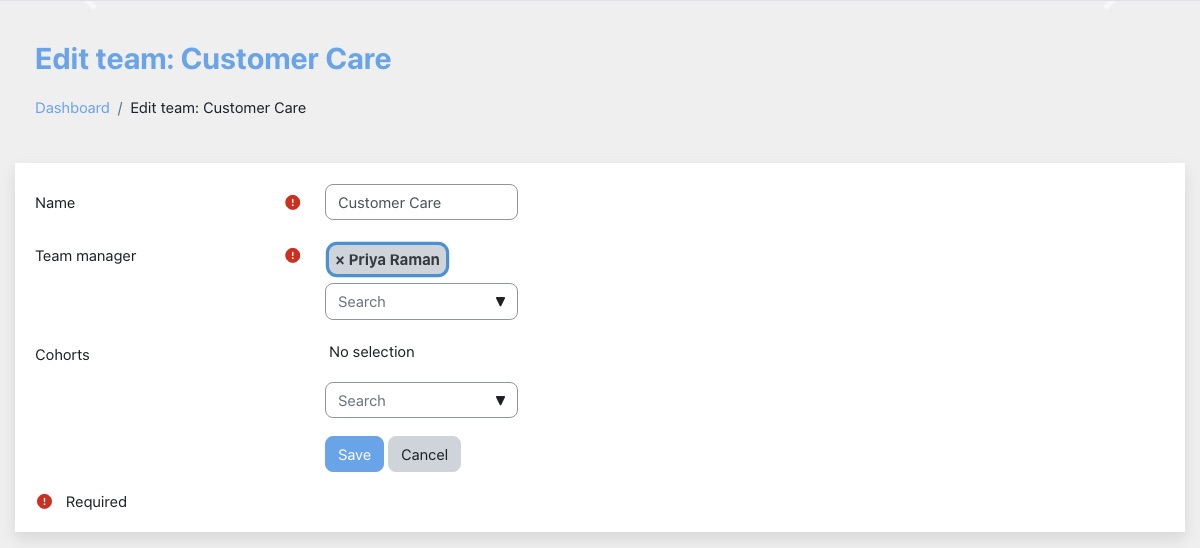
Manage team members has two lists. Existing team members is on the left and Potential team members on the right. Search the right-hand list, select one or more people (hold Ctrl or Cmd to pick several) and press Add. Select people on the left and press Remove to take them out. On a large site the right-hand list says Too many users to show until you search.
- Remove only undoes a hand addition. Someone who is in the team through a cohort or a rule stays when you press Remove. Take them out of the cohort, or change what the rule reads.
- Deleting a team (the bin icon, then confirm) removes its memberships. The people and their learning are not affected.
- Changing the manager on the team form hands the team page to the new manager straight away.
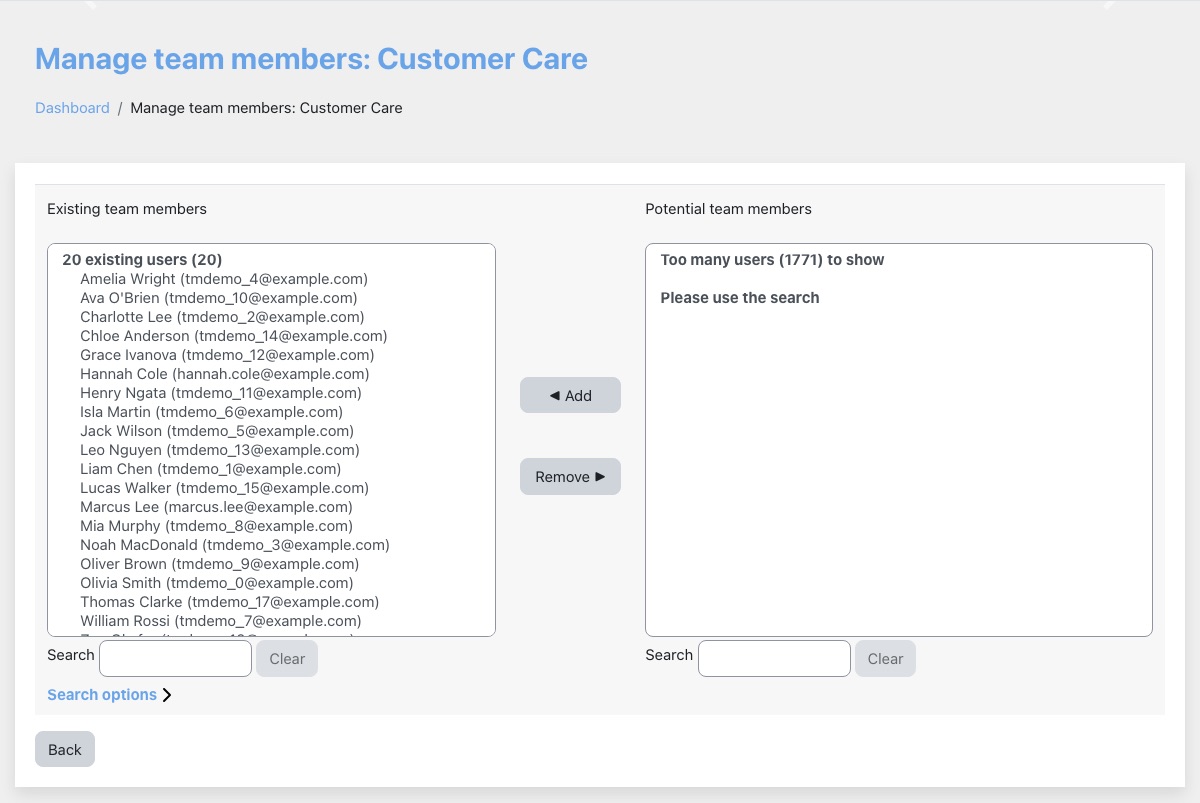
Teams from cohorts
A team linked to one or more cohorts contains every member of those cohorts, and stays in step as membership changes. Adding someone to the cohort adds them to the team at once, and removing them removes them.
- Someone in two of a team's cohorts stays in the team until they have left both.
- Deleting a cohort removes its members from the team, unless another of the team's cohorts still contains them.
- People added by hand are never removed because of a cohort.
Teams from a rule
A rule turns a user profile field into teams. Each person's value in the field is looked up against a column of the user accounts (ID, username, ID number or email address) to find their manager. The manager gets a team named after them ("Jane Smith's team") if they do not have one, and the person is placed in it.
For example, a text profile field Manager email holds j.smith@example.com and the rule matches it to email address. The nightly run finds the account with that address, makes Jane Smith's team if needed, and adds the person.
- On Manage teams, open the cog menu and choose Manage team auto-creation. Press Add rule.
- Tick Active. It starts unticked, and a rule that is not active does nothing.
- Choose the profile field under Select User Profile Field.
- Under Select User Mapping Field, choose which column of the user accounts the value is matched against: id, username, idnumber or email.
- Press Save. The rule runs that night; existing teams are not touched until then.
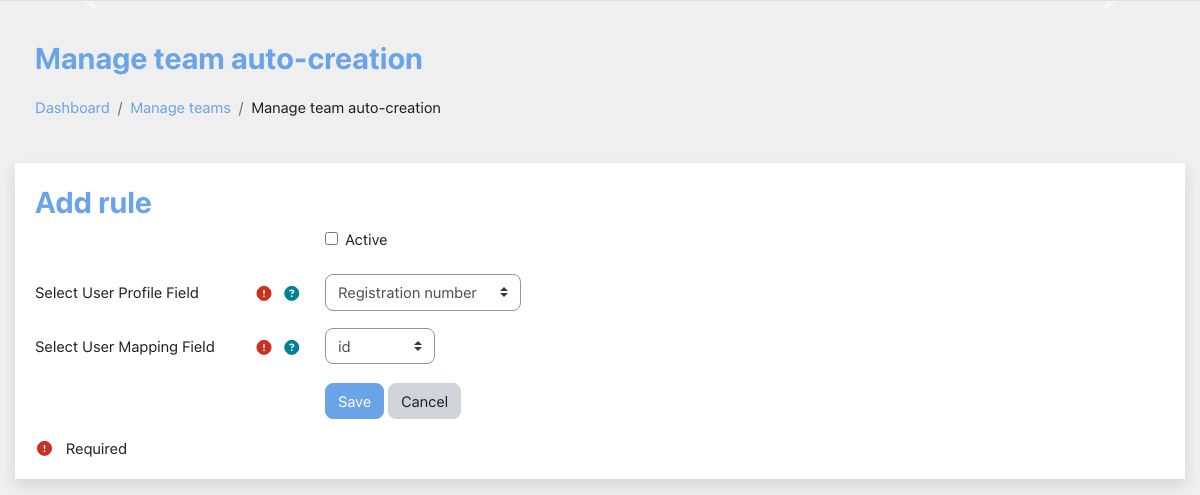
Manage team auto-creation lists every rule with its Type (Profile field or, on the enterprise level, Organisation), a plain description of what it does, whether it is Active, and Edit and Delete links. Deleting a rule asks you to confirm. Its memberships are removed on the next nightly run, unless another rule still wants them.
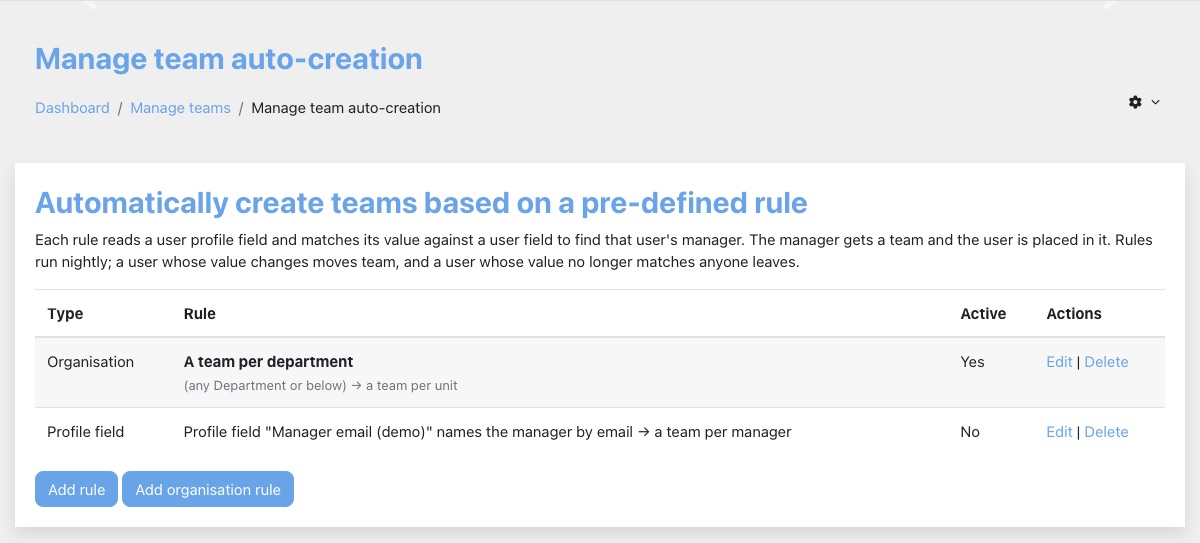
- One rule per profile field. Saving a rule for a field that already has one edits that rule. Rules on different fields, such as Manager and Mentor, each make their own teams.
- A rule only removes what it placed. Someone added by hand, from a cohort or by another rule is never removed by a rule that does not want them. That is what makes disabling or deleting a rule safe: on the next run its own memberships go, and nothing else changes.
- People who move are moved. When someone's profile value changes, they move from the old manager's team to the new one on the next run. If the value stops matching anyone, they leave.
- Memberships from before September 2026 made by a rule cannot be told apart from ones added by hand, so they are treated as hand-added and never removed automatically. This sorts itself out as rules place those people again.
The team page
Open a team from the block or from Manage teams. The page lists the team's people as cards or as a list, a page at a time, with Team learning health above them: how many people, their average progress and the courses they have completed between them.
- Search matches part of a name or an email address.
- Sort by name, A to Z or Z to A, or by progress, high to low or low to high.
- People per page: 10, 25, 50 or 100, where your site's theme shows the choice. It is remembered in your browser.
- Organisation (enterprise level): choosing a unit keeps the people who sit at it or beneath it, and the panel shows how many of the team sit at each unit. Each person's card says where they sit: their position, then their unit in each hierarchy.
- Progress is the courses a person has completed out of the courses they are enrolled in.
- Team learning health counts everyone the search and the unit filter keep, not just the page on screen. Choosing a department shows that department's figures.
- Each card shows the person's progress, how many courses they are Enrolled in and have Completed, and their Last access in your own time zone (Never if they have not logged in). Report opens the person's page.
- Where Learning Pathways is installed, each card also shows how many pathways the person is on, and on themes that show it, such as Autumn, how many they have finished.
The page asks for one page of people at a time, so it opens quickly however large the team is.
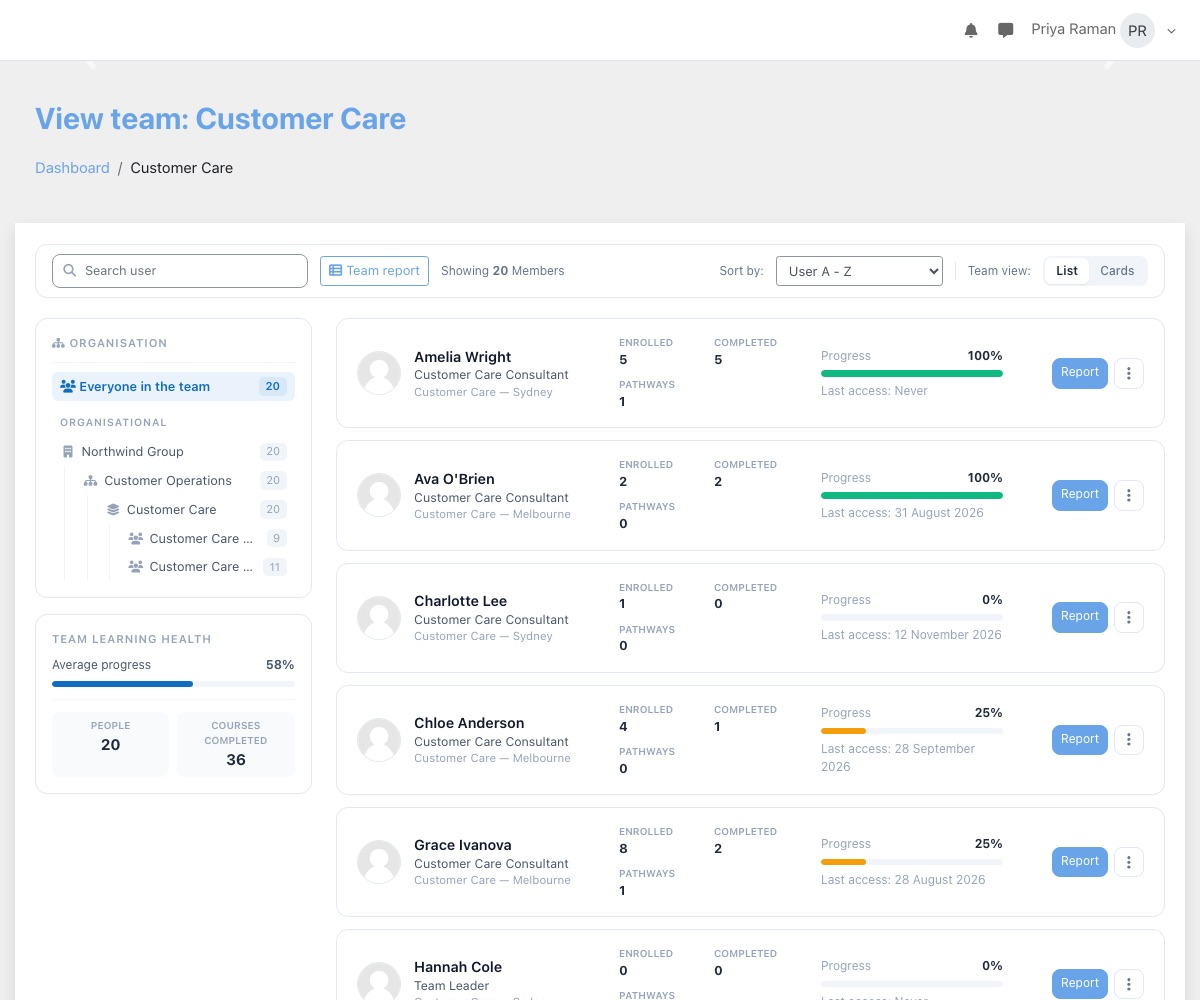
Use Team view to switch between List and Cards. The figures are the same; cards show more people side by side on a wide screen.
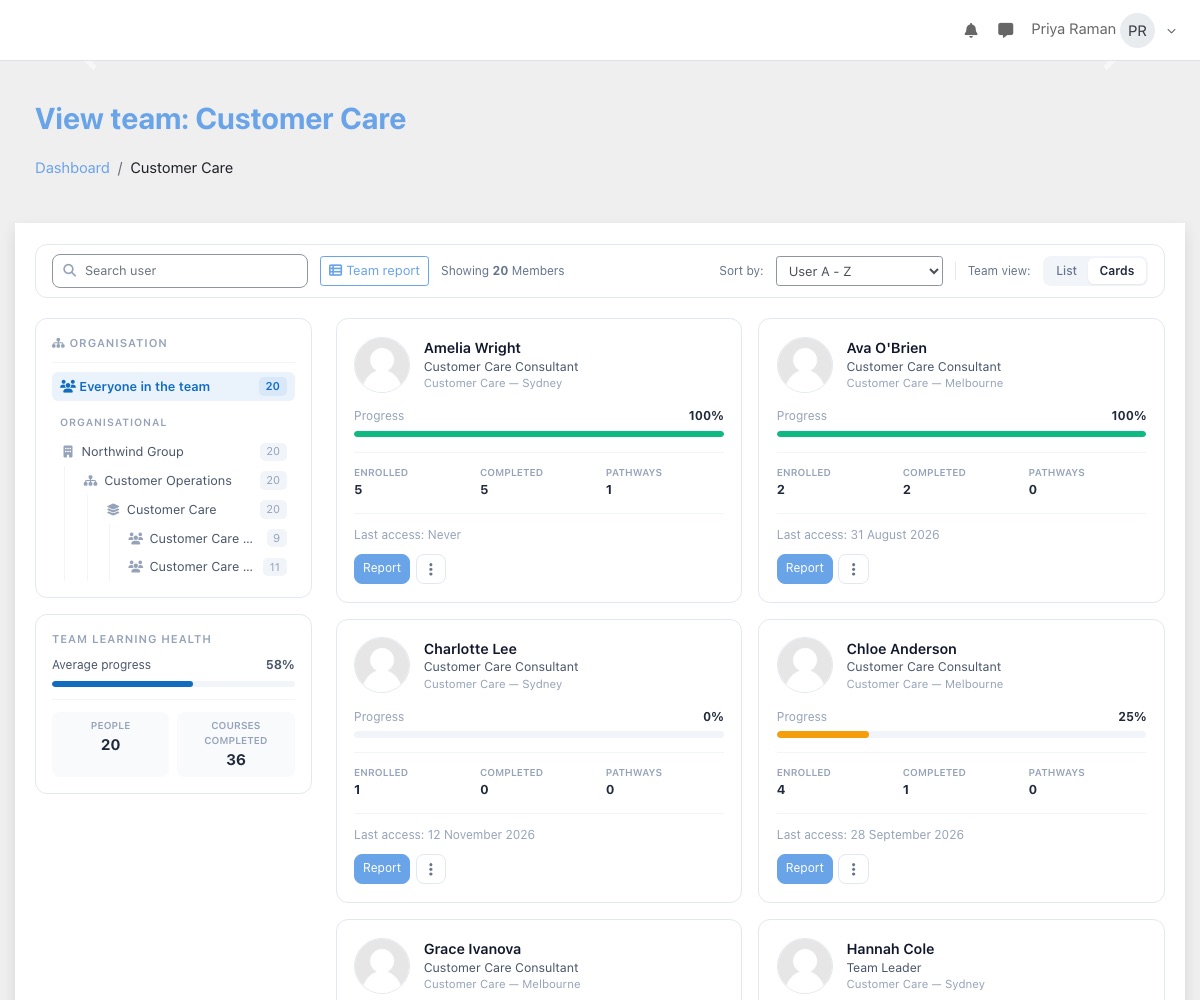
The three-dot button beside Report opens a short menu: View profile, Grades (the person's course grades), Completed (the courses they have completed, with dates) and, where Learning Pathways is installed, Pathways.
On the enterprise level, choose a unit in the Organisation panel to narrow the page to the people at it or beneath it. A Filtered by bar shows the unit's path; press the cross on it, or Reset in the panel, to see everyone again. Team learning health follows the filter.
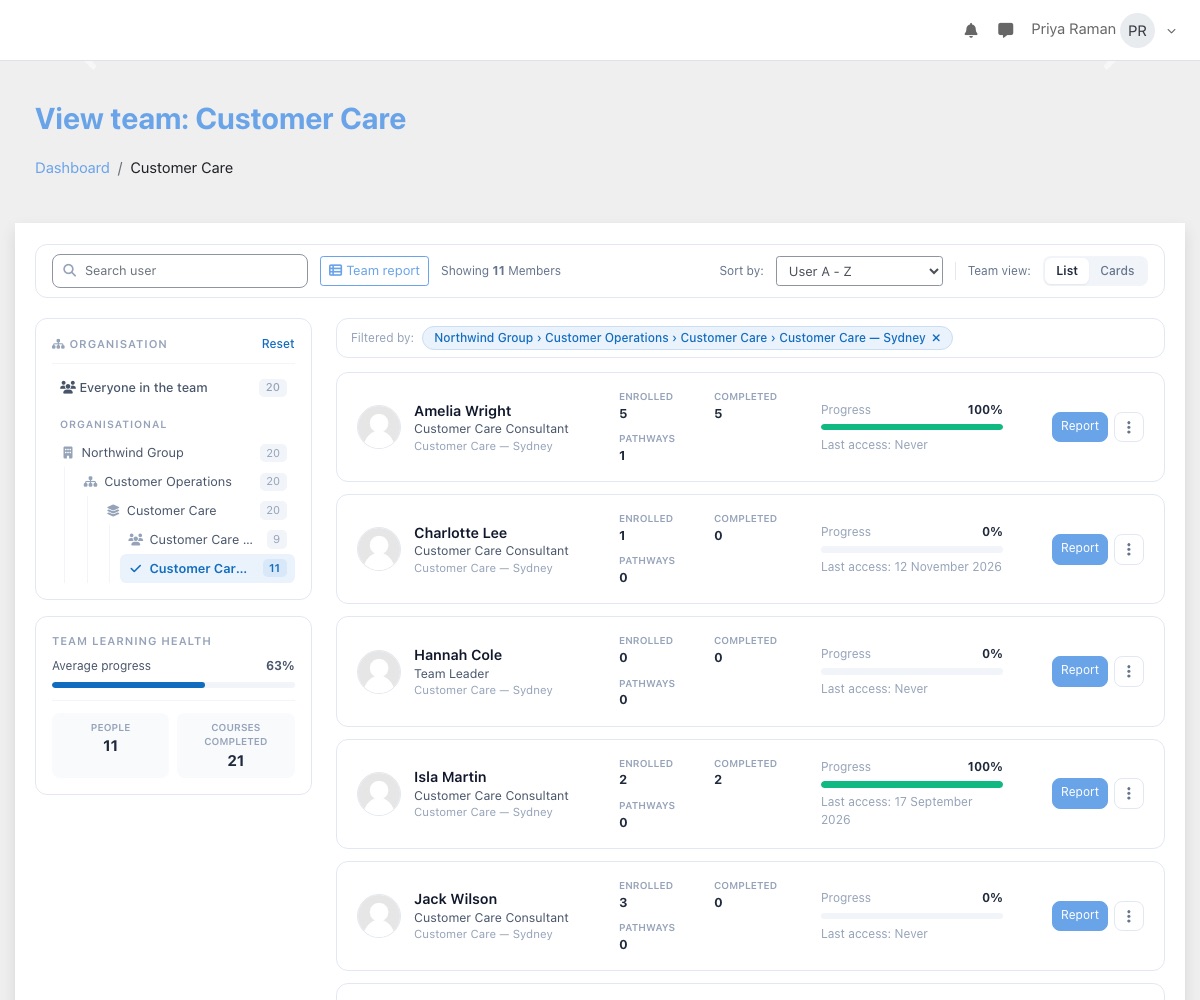
A team bigger than one page shows a pager at the bottom: how many people are showing, and Previous, page numbers and Next. A page holds 25 people unless your theme offers the People per page choice.
Team reports and the person page
Every team page has a Team report: people down, every course anyone in the team is enrolled in across, and in each cell where that person stands: not started, in progress, or completed with the date and the course grade. A dash means not enrolled.
- Figures across the top: how many people, the completion rate over all their enrolments, how many have nothing outstanding, how many have not logged in for 30 days, and the average course grade.
- Narrow it to a unit of the organisation, or tick Only people with something outstanding. Sort by name or by any course.
- Export as CSV or a spreadsheet: exactly the rows the report is showing, every page of them.
- A course heading opens that course on its own: everyone in it, their status, when they started and finished, their grade, and their time in the course where your site measures it.
- A name opens the person: where they sit and who they report to, every course with the same detail, their learning pathways where that plugin is installed, and a link to their CPD dashboard where CPD is installed and you may see it.
- The same report exists for a unit of the organisation, from the unit's people page, covering everyone at it or beneath it.
The figures come straight from Moodle's enrolments, course completions, gradebook and access records, so the report never says something different from the course itself.
Open the report with Team report on the team page. The report shows 50 people to a page; the course columns scroll sideways when there are many. Under each name it shows the person's position and unit on the enterprise level.
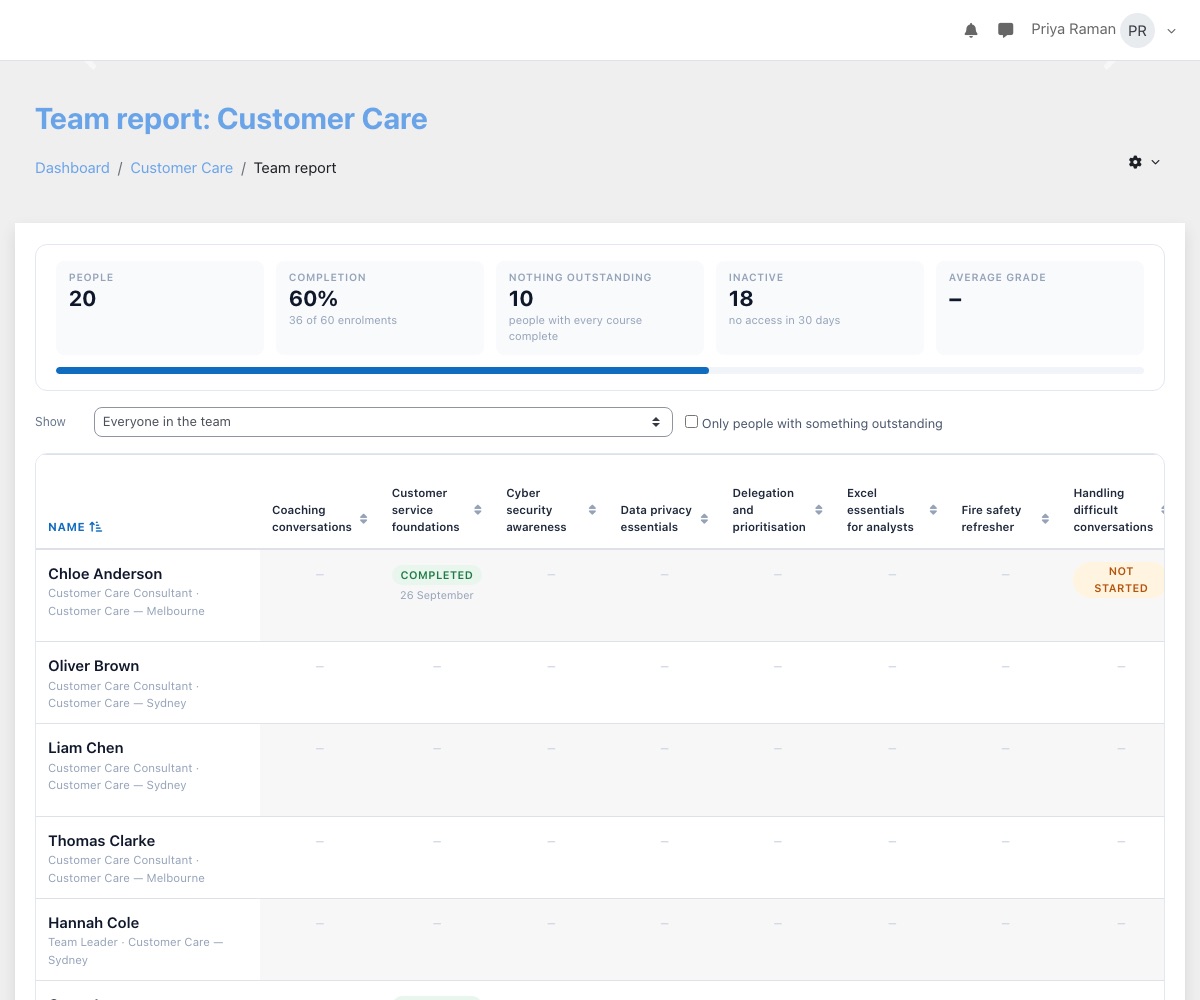
A course heading opens the course on its own for this team: tiles for Enrolled, Completed, In progress, Not started and Average grade, then one row per person with Status, Started, Completed on, Grade, Time in course and Last access. Columns stay empty where Moodle holds nothing to show, such as a grade on a course with no graded activities.
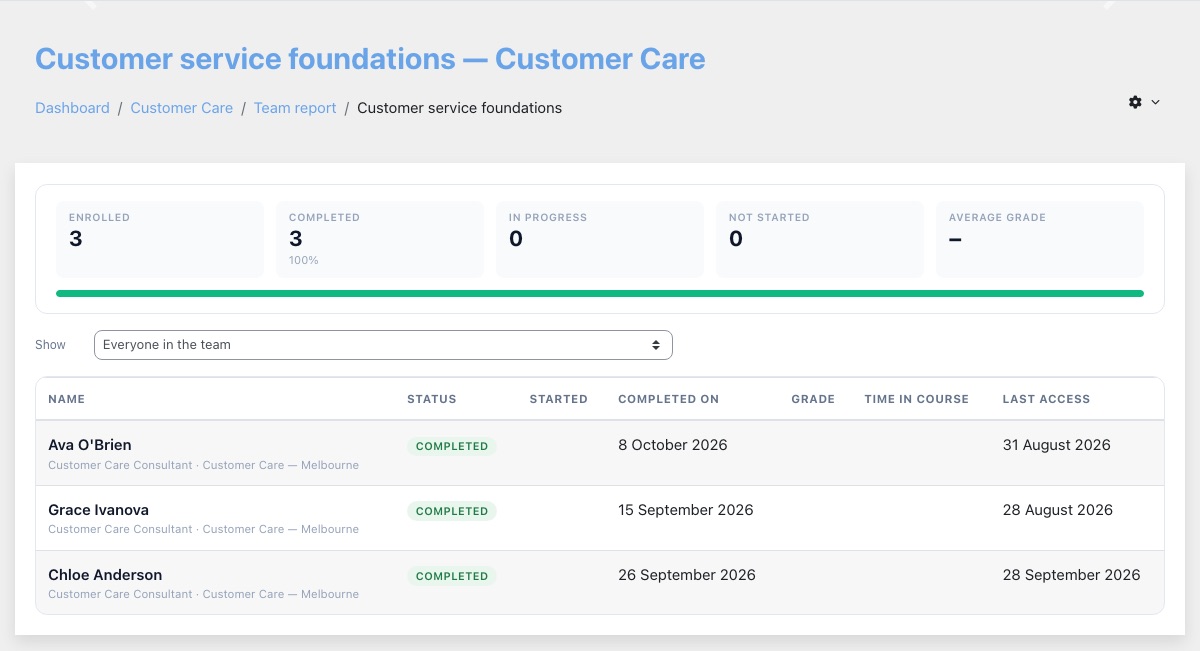
A name opens the person's page. It shows their Position, where they are Placed at, who they Reports to, their email address and last access, and a View profile button. Below are tiles for Enrolled, Completed and Average grade, the Courses table and, where Learning Pathways is installed, their Pathways with status and progress.
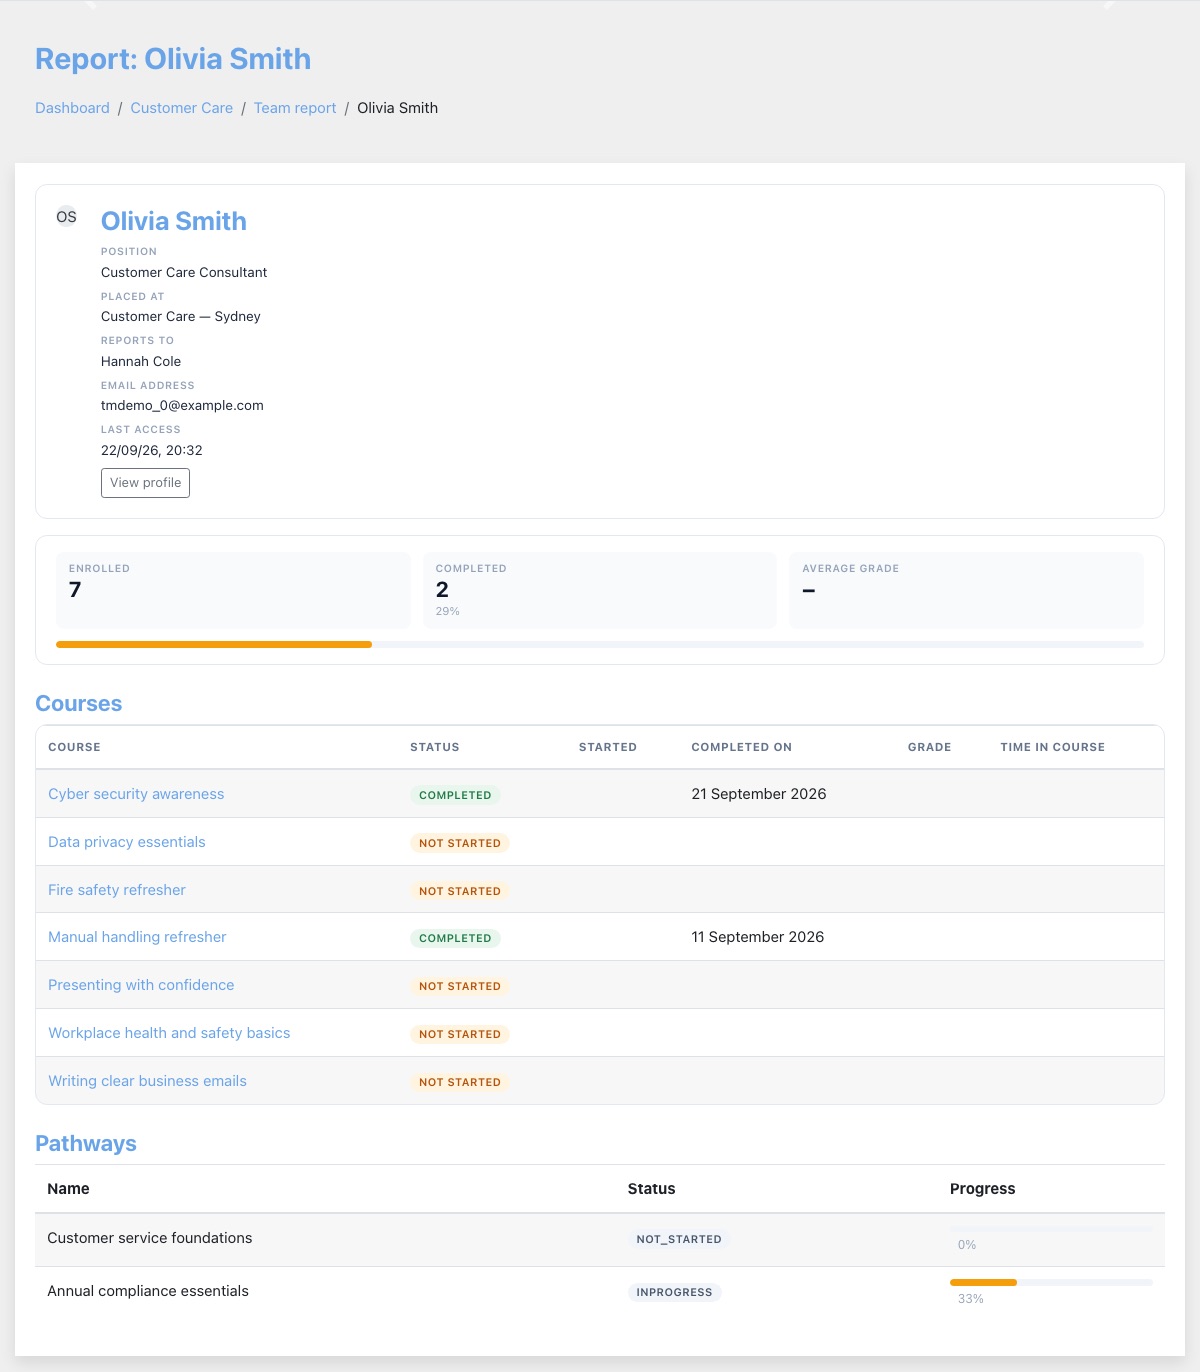
The organisation structure
On the enterprise level, Manage teams → Organisation structure holds a model of how your organisation is arranged. Where it is not enabled, these pages are not offered, and teams, cohorts and profile-field rules work as described above.
- Hierarchies: one or more trees of units. Organisational is there from the start; Geographic, Legal entity or others can be added.
- Kinds of unit: each hierarchy lists its kinds from the top down, such as Company › Division › Department › Team or Country › State › Site. Every unit is one of them. A kind is a label rather than a level, so a Team can sit straight under a Company.
- Positions: job titles, kept as a flat list. A position may report to another: a Registered Nurse reports to the Nurse Unit Manager.
- Assignments: what connects a person to all this: the position they hold, who they report to, where they sit in each hierarchy, and from and until when. A move on 1 July can be entered in June. A person can hold more than one.
Someone whose assignment names no manager reports to whoever holds the position above theirs at their own unit, or the nearest unit above it. Replace a unit manager and everyone under them follows on the next run. A manager written on the assignment always wins.
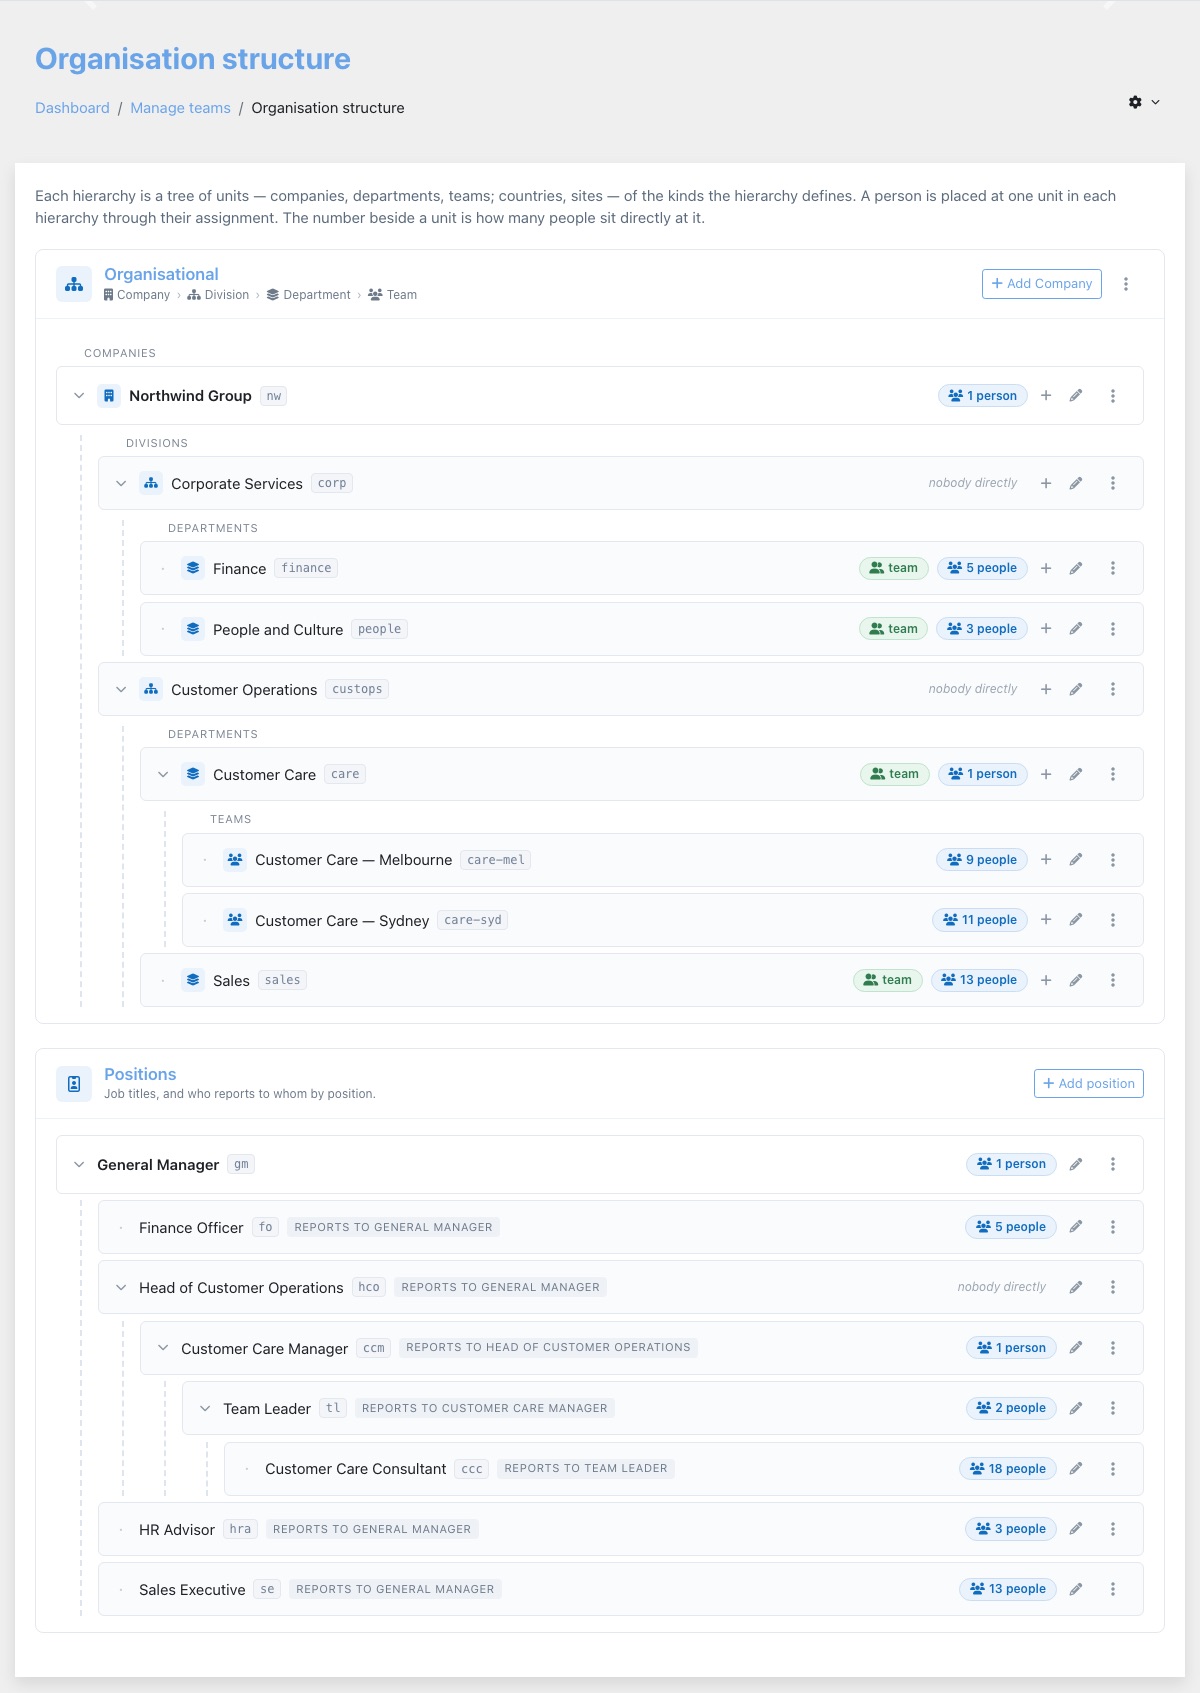
Each unit row has a plus icon to add a unit beneath it (it offers the next kind down, such as Add Team beneath), a pencil to edit it, and a menu with View people, Place someone here and Delete. Deleting a unit deletes everything beneath it too; people placed there lose that placement but keep the rest of their assignment. The cog menu at the top right holds Import organisation, Place a person, Add hierarchy and Add position.
A unit has a Name, an ID number, a Parent, a Kind of unit and a Description. A position has a Name, an ID number, the position it Reports to, and a Description. Choose ID numbers that never change, such as finance or rn: imports and HR feeds match on them.
To set a hierarchy's kinds of unit, choose Edit hierarchy from the hierarchy's menu. Enter one kind per line, top of the organisation first. Each kind can have its own icon. A kind still in use by a unit is kept even if you remove its line, and the page says which ones were kept. The Organisational hierarchy cannot be deleted.
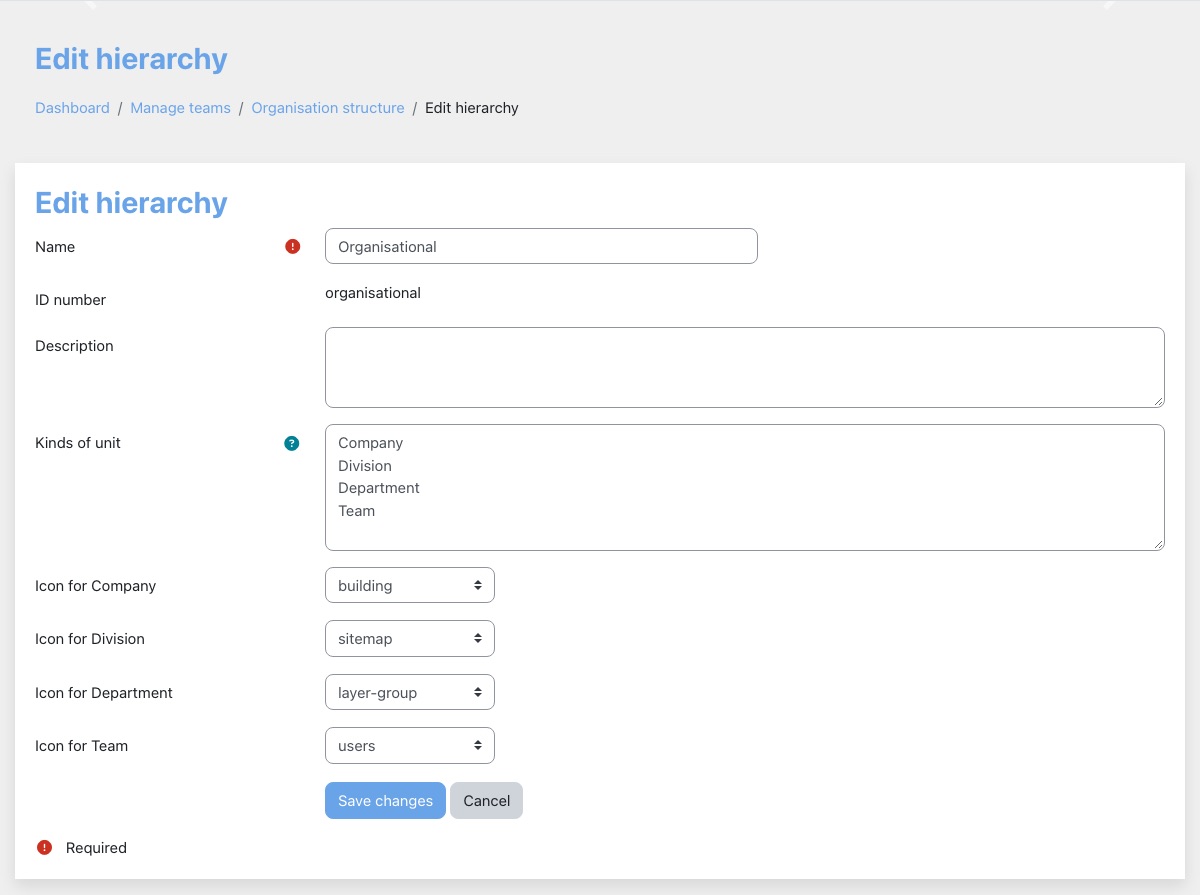
Building it
- On screen: add hierarchies and units on the organisation page, and place people with Place someone here on a unit or Give someone this position on a position. The count beside a unit opens the people there, with their position, manager and start date; edit or end a placement from that list.
- From files: Import organisation takes three CSV files, one at a time: units, positions, then assignments. The page offers a template for each and a download of your current data in the same format. Rows are matched on their ID numbers, so importing a file again updates it rather than duplicating it. Accounts are matched by their ID number or username, which should carry the employee ID from your HR system.
- From your HR system: ask your usual Lingel Learning contact about a feed. It writes through the same import.
The people page for a unit shows its path and kind at the top. Below that are any Teams a rule has made for it, then its People, with their Position, who they Reports to, where they are Placed at and Since when. by position beside a manager means the reporting line comes from the positions, not from a name on the assignment. Switch between Include everyone in units beneath and Only people directly at this unit. Use the pencil to edit a placement, or the end icon to end it today. An ended placement stays on record, and teams a rule built from it update on the next run.
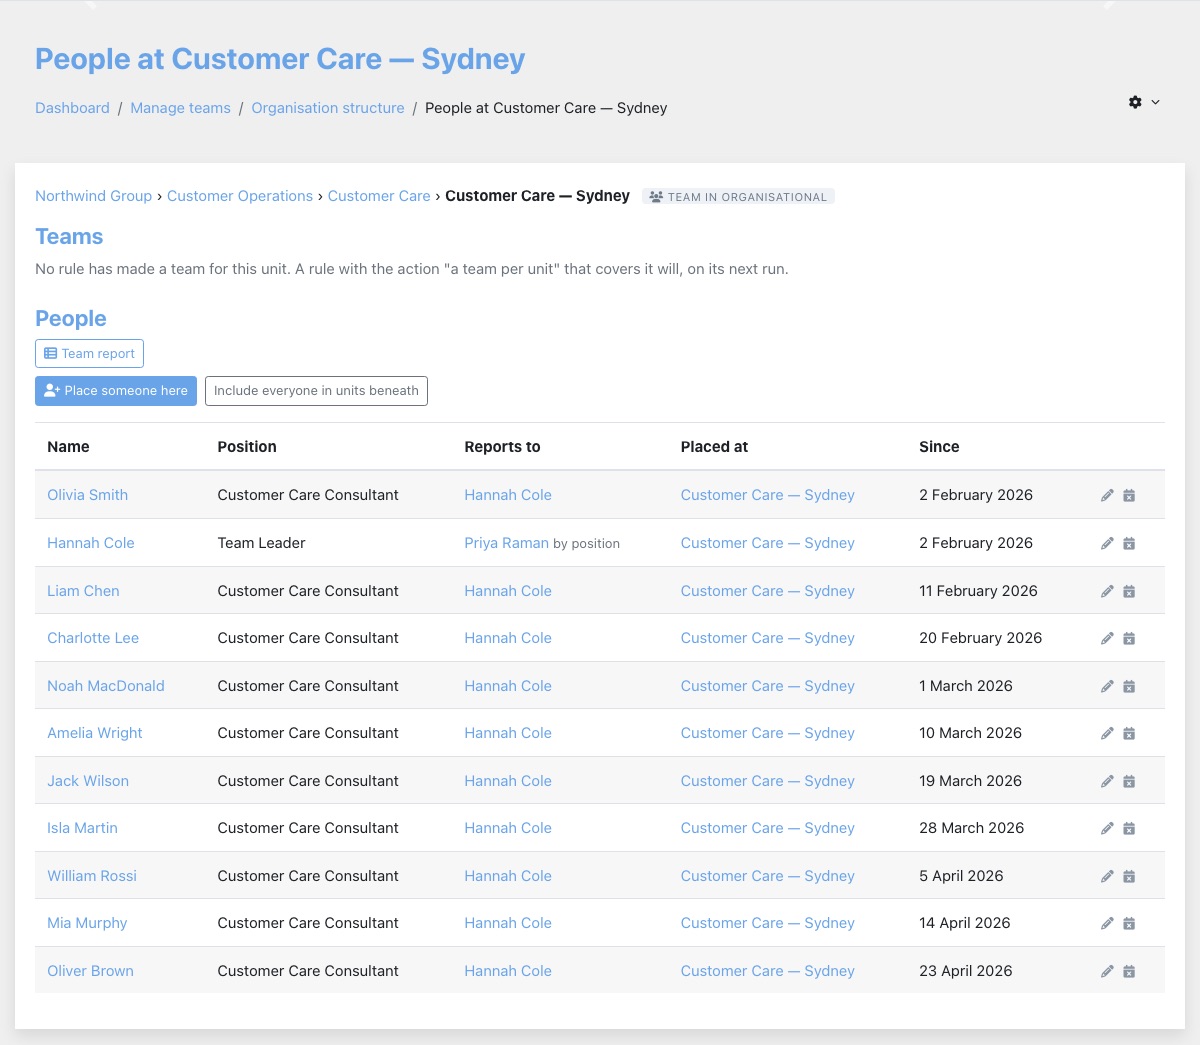
Place someone here opens Place a person: choose the Person and their Position. Leave Reports to as (as the position says), or name someone to override the positions. Then choose a unit in each hierarchy and the From date. Tick Until to give an end date. This is their main role decides which manager their team-per-manager membership follows. Saving a new main role ends the previous one the day the new one starts. Untick it for a second, concurrent role.
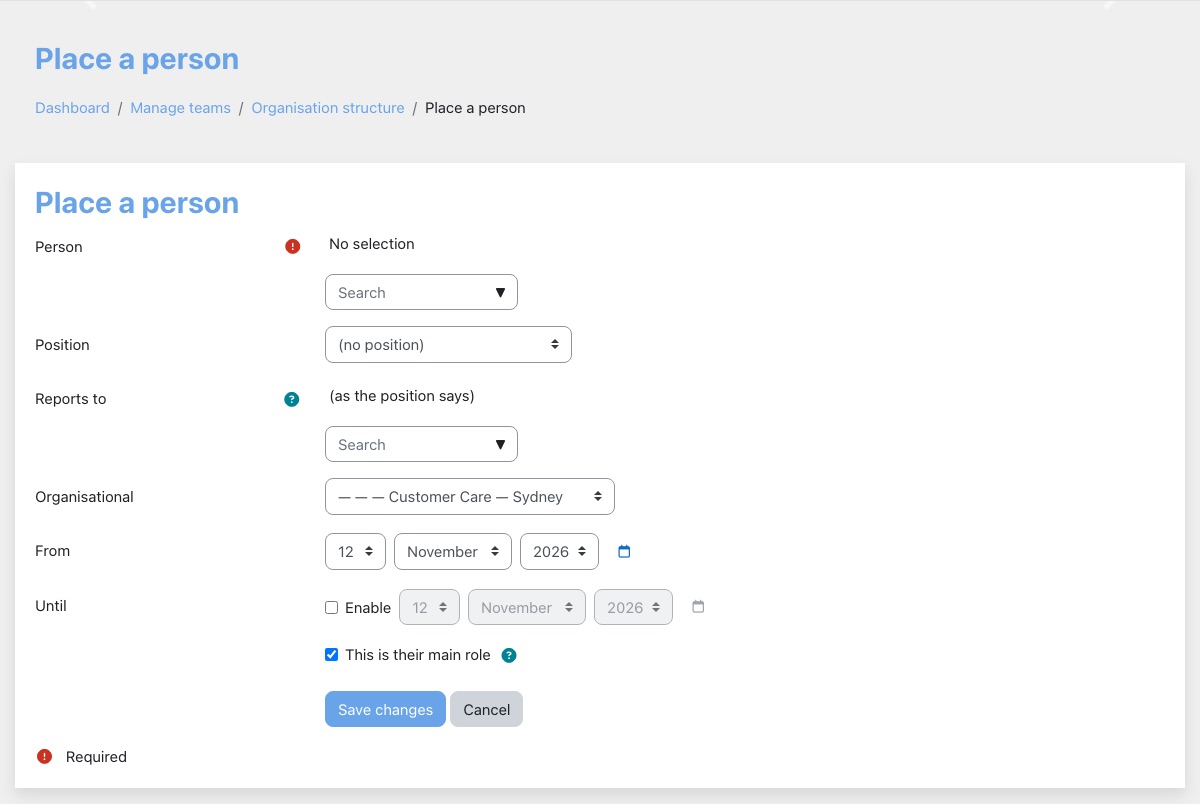
Import organisation describes each of the three files. Each has Download template, Download current data and Columns and an example. Choose the CSV file, its CSV separator and Encoding, and press Import. Tick Record as an HR system feed when the file is an export from your HR system, so it is clear later which assignments came from there. The result says how many rows were created, updated and skipped, with the line number and problem for each skipped row.
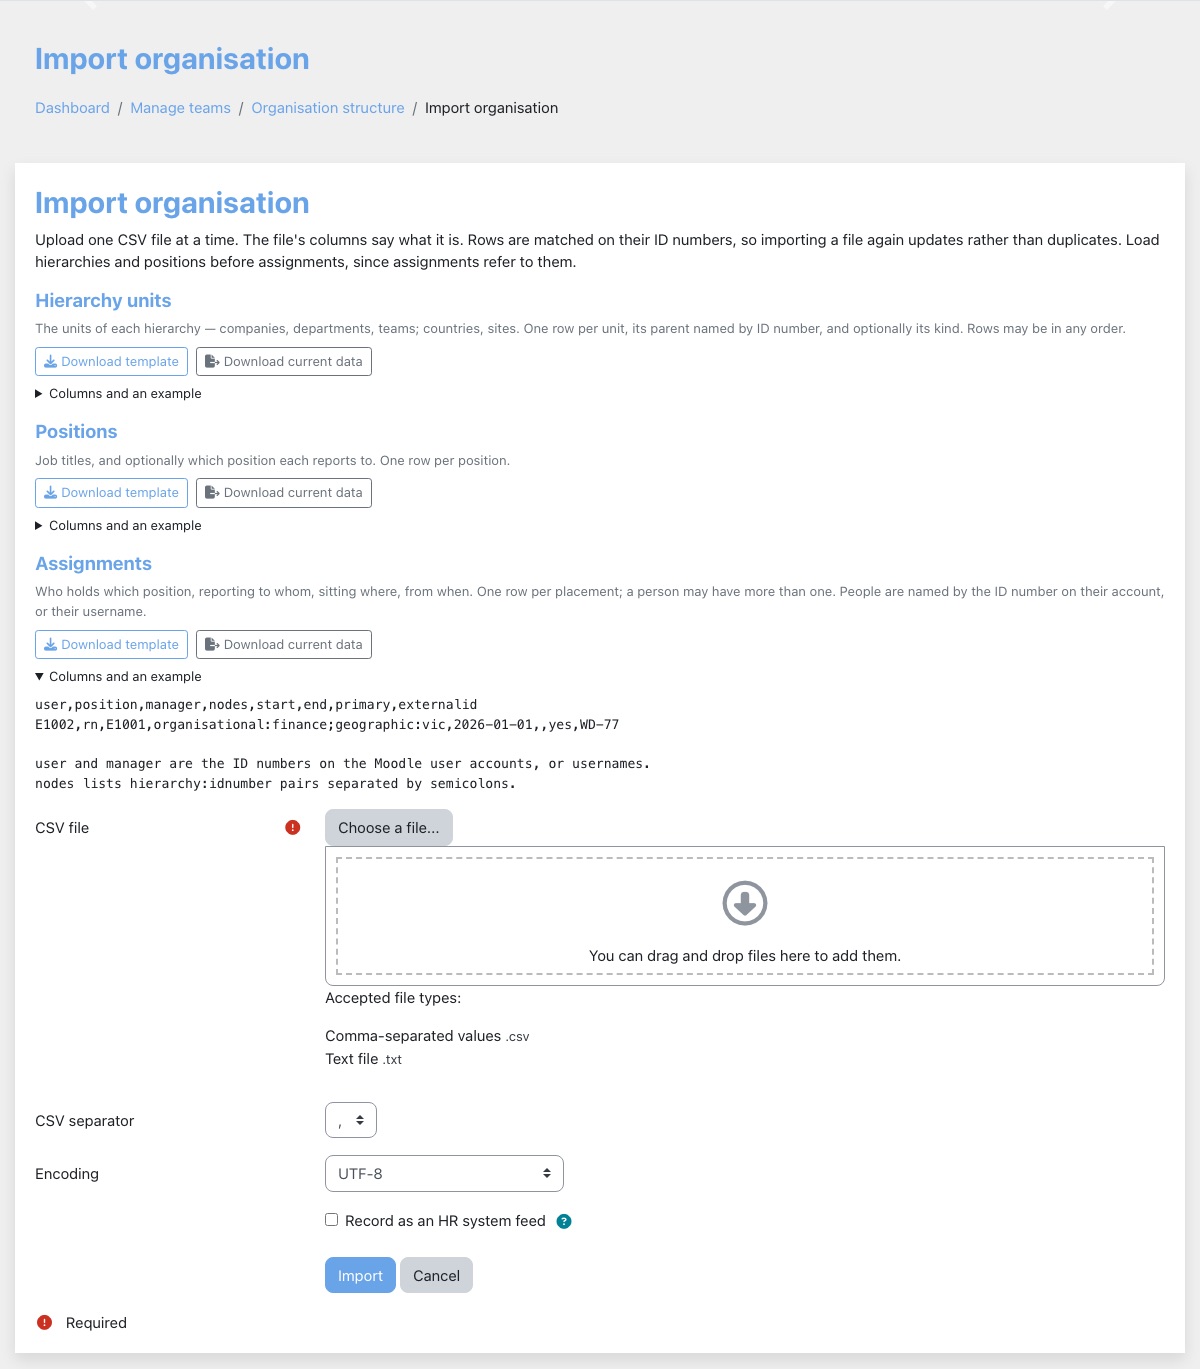
My organisation
A person heads a unit when they manage more people at or beneath it than anyone else, or when they manage the team made for it. My organisation, linked from the block, shows them the units they head and everything beneath, read-only, and the count beside a unit opens the people there. A green team badge opens the unit's team when they are its manager.
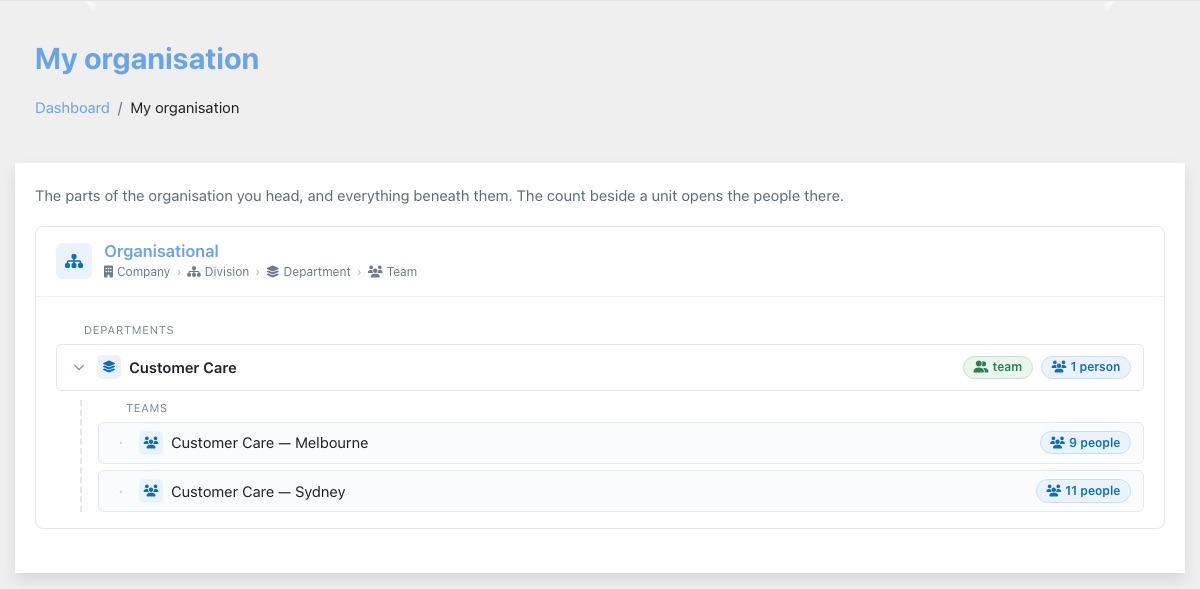
"Manage the most people" counts the people who report to each person directly. If a team leader has more direct reports than anyone above them, they can head the units above theirs too, and see everyone there. Keep reporting lines complete up to the top, by naming managers on assignments or through positions, so that senior managers are the heads of the units above.
Rules from the organisation
On the enterprise level, Manage team auto-creation also offers Add organisation rule. Its conditions pick people by where they sit (a unit, optionally with everything beneath it, or any unit of a kind), by position, or by a profile field value, combined with "all of" or "any of". It then does one of three things:
| Action | Produces |
|---|---|
| A team per manager | One team for each manager among the people matched. |
| A team per unit | One team for each unit the people sit at, or, naming a kind, one for each unit of that kind, including units added later. With "anywhere beneath it", each team also holds everyone under its unit, so a division head's team contains every department below. The manager is whoever manages the most people at that unit, unless you have set one by hand. |
| Everyone into one team | Everyone matched, into a team you choose. |
A person who changes unit or position moves team on the next run. As with every rule, an organisation rule only ever removes the memberships it made.
The form asks for a Rule name and whether it is Active (ticked to start with). Under Who, Match is all of the following or any of the following. Then come Placed at (a unit), Placed at any (a kind of unit), or anywhere beneath it, Holding position, and Profile field with the value it equals. Choose at least one. Under Then, Create is a team per manager, a team per unit or add everyone to one team, with the Team to use for the last. Advanced: conditions as JSON is for rules the fields cannot express, such as two units; anything entered there replaces the fields above, so leave it to us if you are unsure.
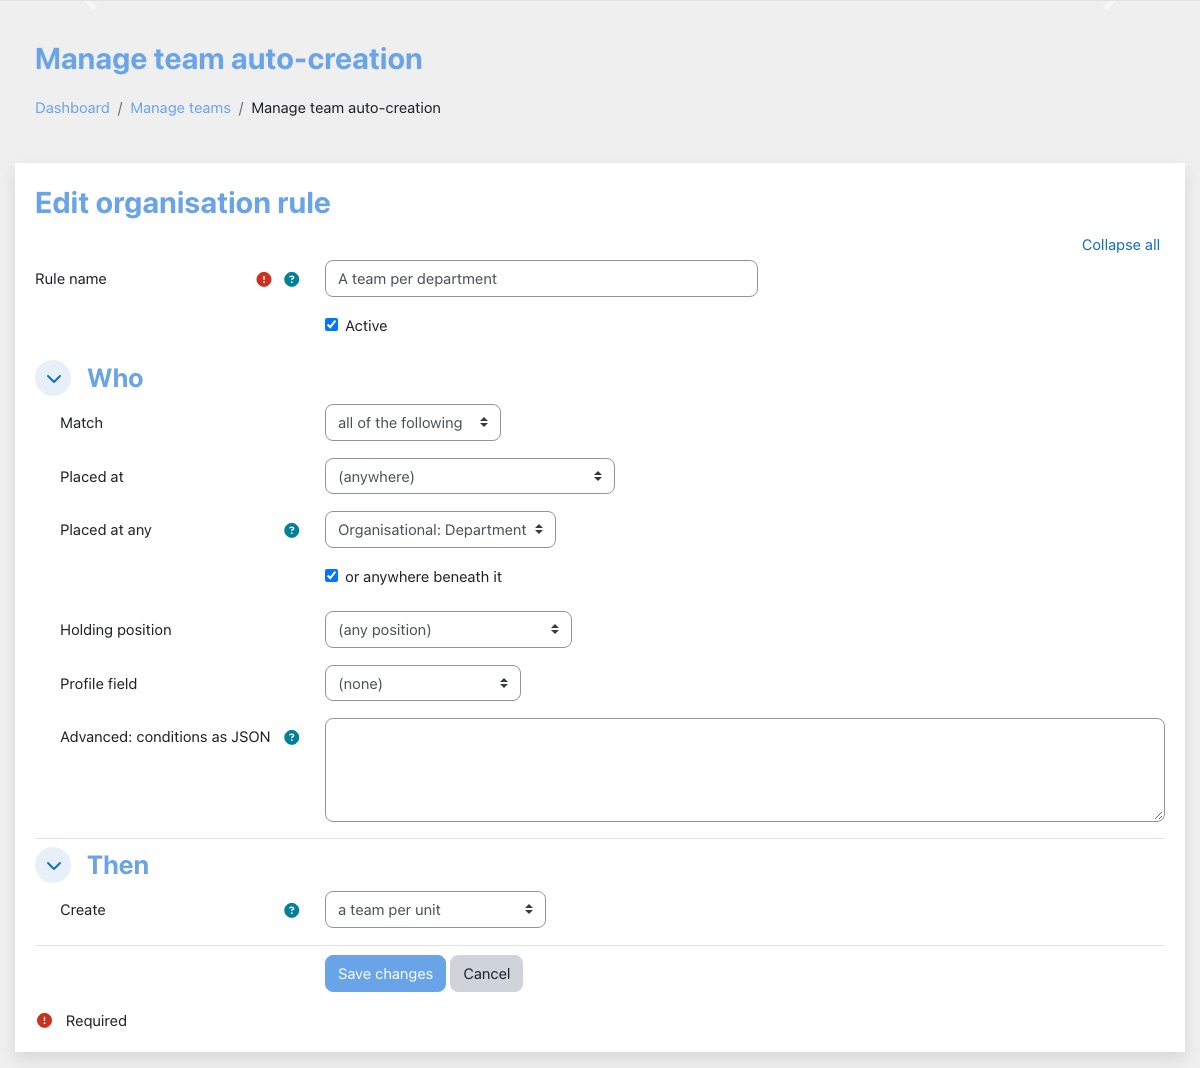
Who sees what
| Page | Opens for |
|---|---|
| A team's page and report | The team's manager, and holders of manageteams |
| A unit's people and report | Whoever heads the unit or a unit above it, and holders of manageteams |
| A person's page | Anyone who manages a team the person is in or heads a unit they sit beneath, and holders of manageteams |
| Manage teams, auto-creation, organisation structure | Holders of manageteams |
The limits are enforced in what the site fetches, not only in what it shows, so there is nothing to un-hide. CPD Dashboard uses the same teams and units to decide whose CPD a manager can see.
How current the figures are
- Membership by hand or from a cohort shows straight away.
- Membership from a rule changes on the nightly run, shortly after midnight. A rule you have just saved does nothing until then.
- Team learning health is kept for up to two minutes, so a new enrolment or completion can take that long to appear in it. Adding someone to the team or removing them, by any route, updates it straight away. The people on the page are always current.
- Deleting an account removes its memberships straight away. A nightly check catches any that were missed.
- If membership still looks out of date the next day, contact your usual Lingel Learning contact.
Privacy
The plugin implements Moodle's Privacy API. It records which teams a person belongs to, which teams they manage and, on the enterprise level, their organisation assignments, including where they are named as someone's manager. All of these appear in a data export. When a person's data is deleted, their memberships are removed. A team they managed is kept with the manager left empty, because the team exists for its members and deleting it would remove their data too. Choose a new manager for it on Manage teams.
Team Management: questions we get asked
A manager cannot see somebody they manage.
Check how the person gets into the team. A rule places people on the nightly run, so a profile value changed today shows tomorrow. A cohort or a person added by hand shows straight away. If the team is right, check the manager: a team has one manager, and only they and holders of manageteams open its page. On the enterprise level, a manager also sees the people beneath the units they head, under My organisation.
I made a rule and no teams appeared.
Rules run overnight, shortly after midnight. Check the next morning. If teams still do not appear, check that people's profile values match a user account in the column you chose: a value matching nobody is skipped. If that looks right, contact your usual Lingel Learning contact.
Will disabling or deleting a rule empty our teams?
Only of the memberships that rule made. People added by hand, from a cohort or by another rule stay. The teams themselves are not deleted.
Why do the Team learning health figures not match a course I just checked?
They are kept for up to two minutes, so a completion from the last two minutes may not be in them yet. They also count everyone your search and unit filter keep, so clear both to see the whole team.
Can a manager enrol or edit the people they manage?
Not through Team Management, which shows a manager their people's learning. What else a manager may do, such as enrolling people, comes from the roles they hold on your site, and we can help you set those up.
How is this different from Moodle cohorts?
A cohort is a flat set of people, used mainly for enrolment. A team has a manager who sees its learning, and the organisation structure adds units, positions and who reports to whom. A team can be filled from cohorts, so you can keep using the cohorts you have.
We cannot find the Organisation structure page.
It is part of the enterprise level, which Lingel Learning enables for your site. Without it, teams, cohorts and profile-field rules work as usual.
An import says it does not recognise a person.
People are matched on the ID number or username of their account. Make sure each account's ID number holds the employee ID from your HR system, then import the file again. Rows already imported are updated, not duplicated.
The person who managed a team has left. What happens to the team?
It stays with its members. Edit the team on Manage teams and choose a new manager.
Lifecycle Notifications
Set up messages once and let Moodle send them at the right moment: when someone joins, falls behind, has something due, finishes a course or earns a badge.
This page describes Lifecycle Notifications 1.0.3 on Moodle 4.5 and 5.0. On a Virtual Slate site the plugin is enabled in the site's configuration, which Lingel Learning does for you. The screenshots come from a demonstration site, so your names and colours will differ.
How it works
Lifecycle Notifications is an admin tool for Moodle. Each notification is a rule: a trigger (for example "enrolled in a course" or "7 days before an activity is due"), an audience, a message and delivery settings. Moodle's scheduled tasks and event observers send it to the people it applies to.
- 1. Something happensA learner is enrolled, earns a badge or gets a grade, or a date or a number of days is reached.
- 2. The rule checks whoCourses, groups, cohorts and audience conditions decide who receives it. People who opted out, suspended accounts and similar are skipped.
- 3. The message goes outAs a Moodle message or a direct email, inside its send window, with placeholders filled in. Every send, failure and skip is logged.
There are 18 trigger types. Five are site types that only site notification managers can create. The others are course types, which teachers can also manage in their own courses when their role allows it.
Every message is sent by a scheduled or ad hoc task, so it goes out on that task's next run rather than the moment something happens.
Site administrators
Site configurationGetting started
Lingel Learning enables the plugin for your site. The Certificate issued trigger also needs Custom certificate or Simple certificate on your site. Neither is required, and without one the trigger is not offered. To add one, ask your usual Lingel Learning contact.
- Review the settings under Site administration > Plugins > Admin tools > Lifecycle Notifications > Lifecycle Notifications settings.
- Create your first notification from Manage notifications.
The Admin dashboard has two shortcuts. Lifecycle notifications, under User management, opens Manage notifications. It is shown to anyone with tool/notification:manage, so a manager who cannot change site settings sees it too. Lifecycle notifications settings, under Advanced settings, opens the settings page and is shown to users with moodle/site:config.
Your notifications are kept when your site is updated. Notifications created before 1.0 keep the direct email channel, and their old unsubscribe links keep working for 180 days after the update.
Settings
Go to Site administration > Plugins > Admin tools > Lifecycle Notifications > Lifecycle Notifications settings (needs moodle/site:config).
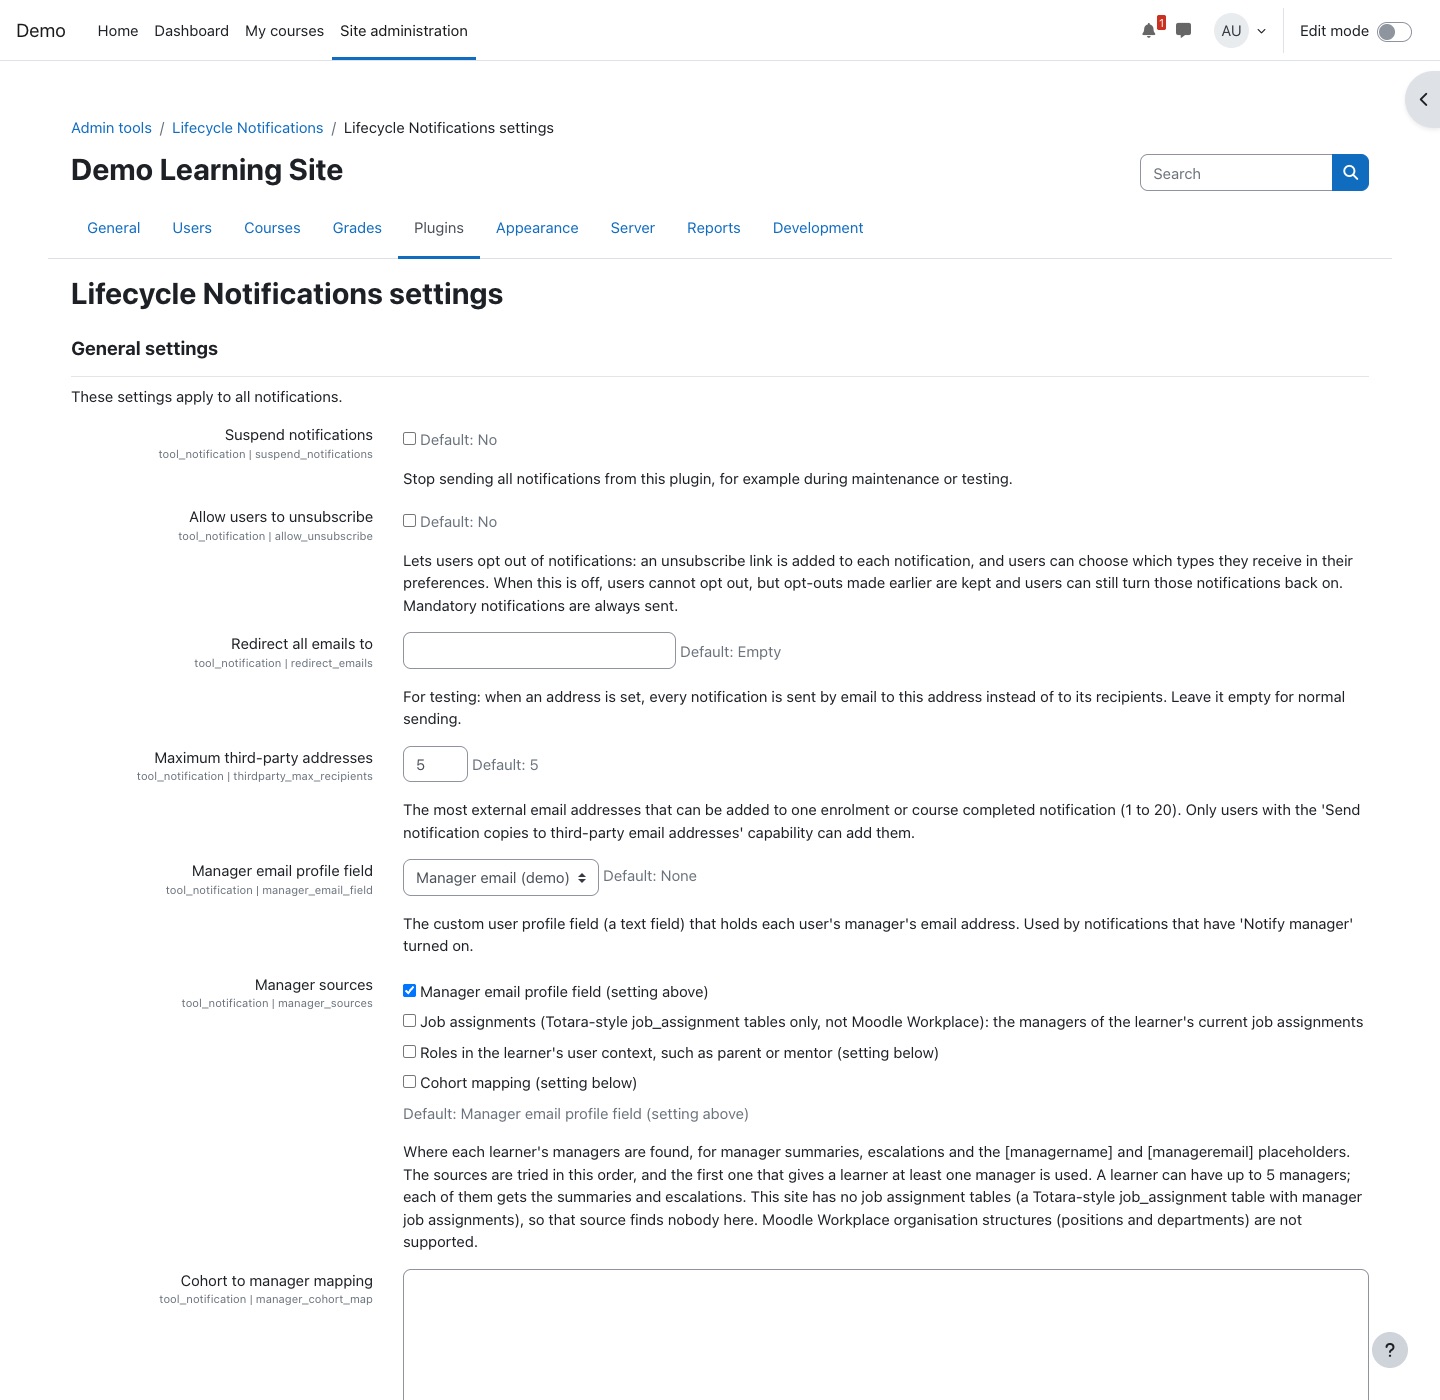
| Setting | Default | Effect |
|---|---|---|
| Suspend notifications | No | Stops all sending from the plugin, for example during maintenance. Skipped sends are logged with the reason. |
| Allow users to unsubscribe | No | Adds an unsubscribe link to each message and one-click unsubscribe headers to emails. |
| Redirect all emails to | Empty | For testing: every notification is emailed to this one address instead of its recipients. |
| Maximum third-party addresses | 5 | Limit for third-party summary addresses, and for CC and BCC addresses together (1 to 20). |
| Manager email profile field | None | A text profile field holding each learner's manager's email address. |
| Manager sources | Manager email profile field | Where managers are looked for, in order. See Finding managers. |
| Manager roles | None | Roles held in the learner's user context (for example parent or mentor) that count as managers. |
| Cohort to manager mapping | Empty | Lines of cohort idnumber = manager, manager. |
| Setting | Default | Effect |
|---|---|---|
| Default delivery channel | Moodle message | The channel new notifications start with: Moodle message (follows notification preferences) or Direct email. |
| Default From name | Empty | Used when a notification sets none. Empty uses the support or no-reply user's name. |
| Default From address | Empty | Used when a notification sets none. Empty uses the no-reply address. |
| Maximum sends per run | 1000 | A run stops after this many messages; an ad hoc task carries on. 0 means no limit. |
| Time limit per run | 10 minutes | A run stops after this time; an ad hoc task carries on. 0 means no limit. |
| Maximum sends per second | 0 | Throttles sending. 0 means no limit. |
| Daily send time | 01:00 | Server time at which time-based notifications without their own send window are sent, or Every run. |
| Quiet hours start | No quiet hours | Nothing is sent from this time, in each recipient's timezone. |
| Quiet hours end | 07:00 | When the quiet hours end. |
| Keep delivery log for | 365 days | Choices: Forever, 30, 90, 180, 365, 730, 1095, 1825 or 2555 days. |
| Keep the change history for | Forever | How long the audit trail is kept. |
| Setting | Default | Effect |
|---|---|---|
| Use the branded email layout | No | Wraps HTML notifications in the layout below. |
| Logo | None | GIF, JPEG or PNG, shown at most 240 × 80 px. Public, so it shows in email clients. |
| Header text | Empty | Text in the header bar. |
| Footer | Empty | Text under the message. |
| Brand colour | #0f6cbf | Header bar and accents. |
| Background colour | #f4f4f4 | Background around the message. |
Capabilities
Assign these through roles in Site administration > Users > Permissions. Site pages check them in the system context; course pages check them in the course.
| Capability | Default roles | Allows |
|---|---|---|
tool/notification:manage | Manager | Manage all notifications on the site pages: delivery log, change history, unsubscribed users, import and export. |
tool/notification:manageenrolnotification | Manager, Teacher, Non-editing teacher | Course enrolment and unenrolment notifications. |
tool/notification:managecompletednotification | Manager, Teacher, Non-editing teacher | Course completed notifications. |
tool/notification:manageactivitynotification | Manager, Teacher | Activity completed notifications. |
tool/notification:managecoursereminders | Manager, Teacher | Course reminders and course events: course completion, enrolment expiry, course end, not started, course inactivity, course progress, activity due date, certificate issued and grade released. |
tool/notification:managethirdparty | Manager | Third-party summary addresses, From address, Reply-To, CC and BCC. Without it, these addresses are hidden in reports. |
tool/notification:setmandatory | Manager | Mark notifications mandatory, so they reach users who unsubscribed. |
tool/notification:managecategory | Manager (category) | The Course notifications page of a category, and the course notifications of its courses. |
The settings page itself needs moodle/site:config.
The permissions pages show a spam risk and a cross-site scripting risk on manage, the four course-level capabilities and managecategory, because anyone holding them can write messages that go to many people. Assign them with that in mind. managethirdparty shows a spam risk and a personal data risk, and setmandatory a spam risk.
Finding managers
Manager summaries and escalations go to each learner's manager. Manager sources are tried in the order listed, and a learner can have up to 5 managers.
- Manager email profile field: a text profile field with the manager's email address.
- Job assignments: Totara-style
job_assignmenttables only. Moodle Workplace is not supported. - Roles in the learner's user context: the roles chosen in Manager roles, such as a parent or mentor role.
- Cohort mapping: one line per cohort,
cohort idnumber = manager, manager. A manager is an email address orcohort:idnumber(all members of that cohort, up to 50).
Branded email layout
Turn on Use the branded email layout and set a logo, header text, footer and two colours. HTML notifications are then wrapped in a table-based layout with inline styles that email clients display reliably. The plain text version gets the header and footer as text. Colours are adjusted so text keeps WCAG 2.2 AA contrast.
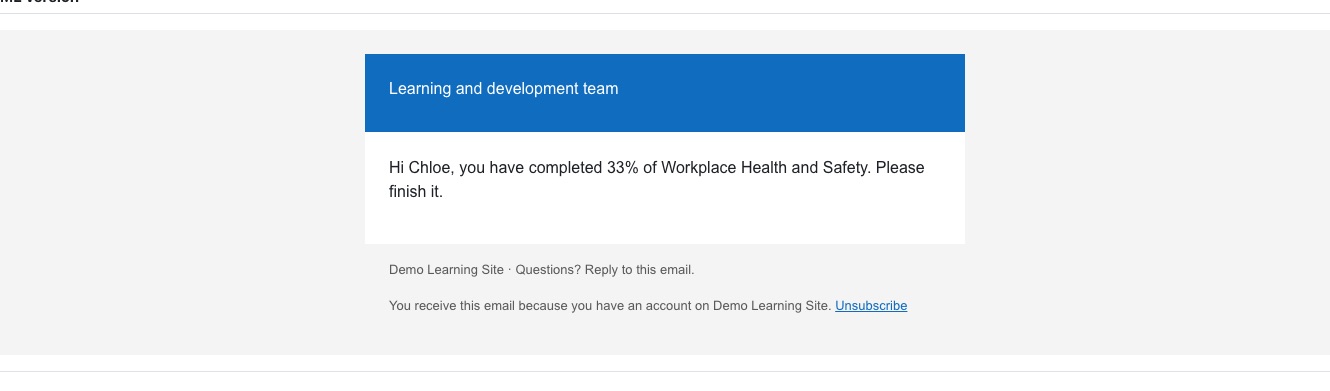
Each notification can opt out by unticking Use the branded email layout in its Message section. Plain text notifications are never wrapped.
Quiet hours and daily send time
- Quiet hours (Quiet hours start and Quiet hours end) stop sending at night in each recipient's own timezone. Messages wait until the quiet hours are over. Each notification can follow them, ignore them or use its own.
- Daily send time controls when time-based notifications without their own send window go out: once a day at this server time (default 01:00), or at every run. The task runs every hour, so the time is honoured as long as the task keeps its hourly schedule.
When a notification's send window lies inside the quiet hours, the window wins.
Scheduled tasks
| Task | Default schedule | Sends |
|---|---|---|
| Send daily notifications and reminders | Every hour at :30 | Time-based notifications (once a day at the daily send time unless they have a window), certificate issued and activity due date at every run, daily and weekly summaries. |
| Send enrolment and completion notifications | Every 30 minutes | Queued event messages. |
| Send follow-up sequence steps | Every 15 minutes | Sequence steps that are due. |
| Clean up old notification data | Daily, 03:00 to 04:00 | Removes old log and history entries. See Retention. |
| Continue sending notifications | Ad hoc | Carries on when a run reaches a limit. |
| Resend activity completion notifications | Ad hoc | After a failed activity completed message, or when the send window opens. |
Failed queued sends are retried after 15 minutes, 30 minutes, 1 hour and so on (at most a day apart), and given up after 6 attempts.
Privacy
The plugin implements Moodle's Privacy API. For each user it stores:
- the delivery log, with the address used;
- unsubscribe choices, and hashes of pre-1.0 unsubscribe tokens;
- queued sends, and learners waiting to be listed in a summary (with the summary address);
- follow-up sequence progress.
Log and queue entries can refer to the badge, certificate activity, grade item or cohort concerned. All of this is exported and deleted with data requests. Email and summaries are declared as external locations; messages sent on the Moodle message channel are stored by Moodle's own messaging. The change history and translations record who made each change; on deletion that person is anonymised and the history kept.
Images embedded in messages and the branded layout logo are served without login so they show in email clients. They stay public until the notification or setting is purged.
Retention
The Clean up old notification data task removes:
- delivery log entries older than Keep delivery log for. The latest successful send per notification and person is kept while the notification exists, so nobody is sent a once-only message twice;
- change history older than Keep the change history for;
- options, translations and images of deleted notifications and data of deleted users. A deleted notification is purged once its log is gone.
Import and export
Copy notifications between sites, for example a template set between tenants. Go to Lifecycle Notifications > Import and export (needs tool/notification:manage).
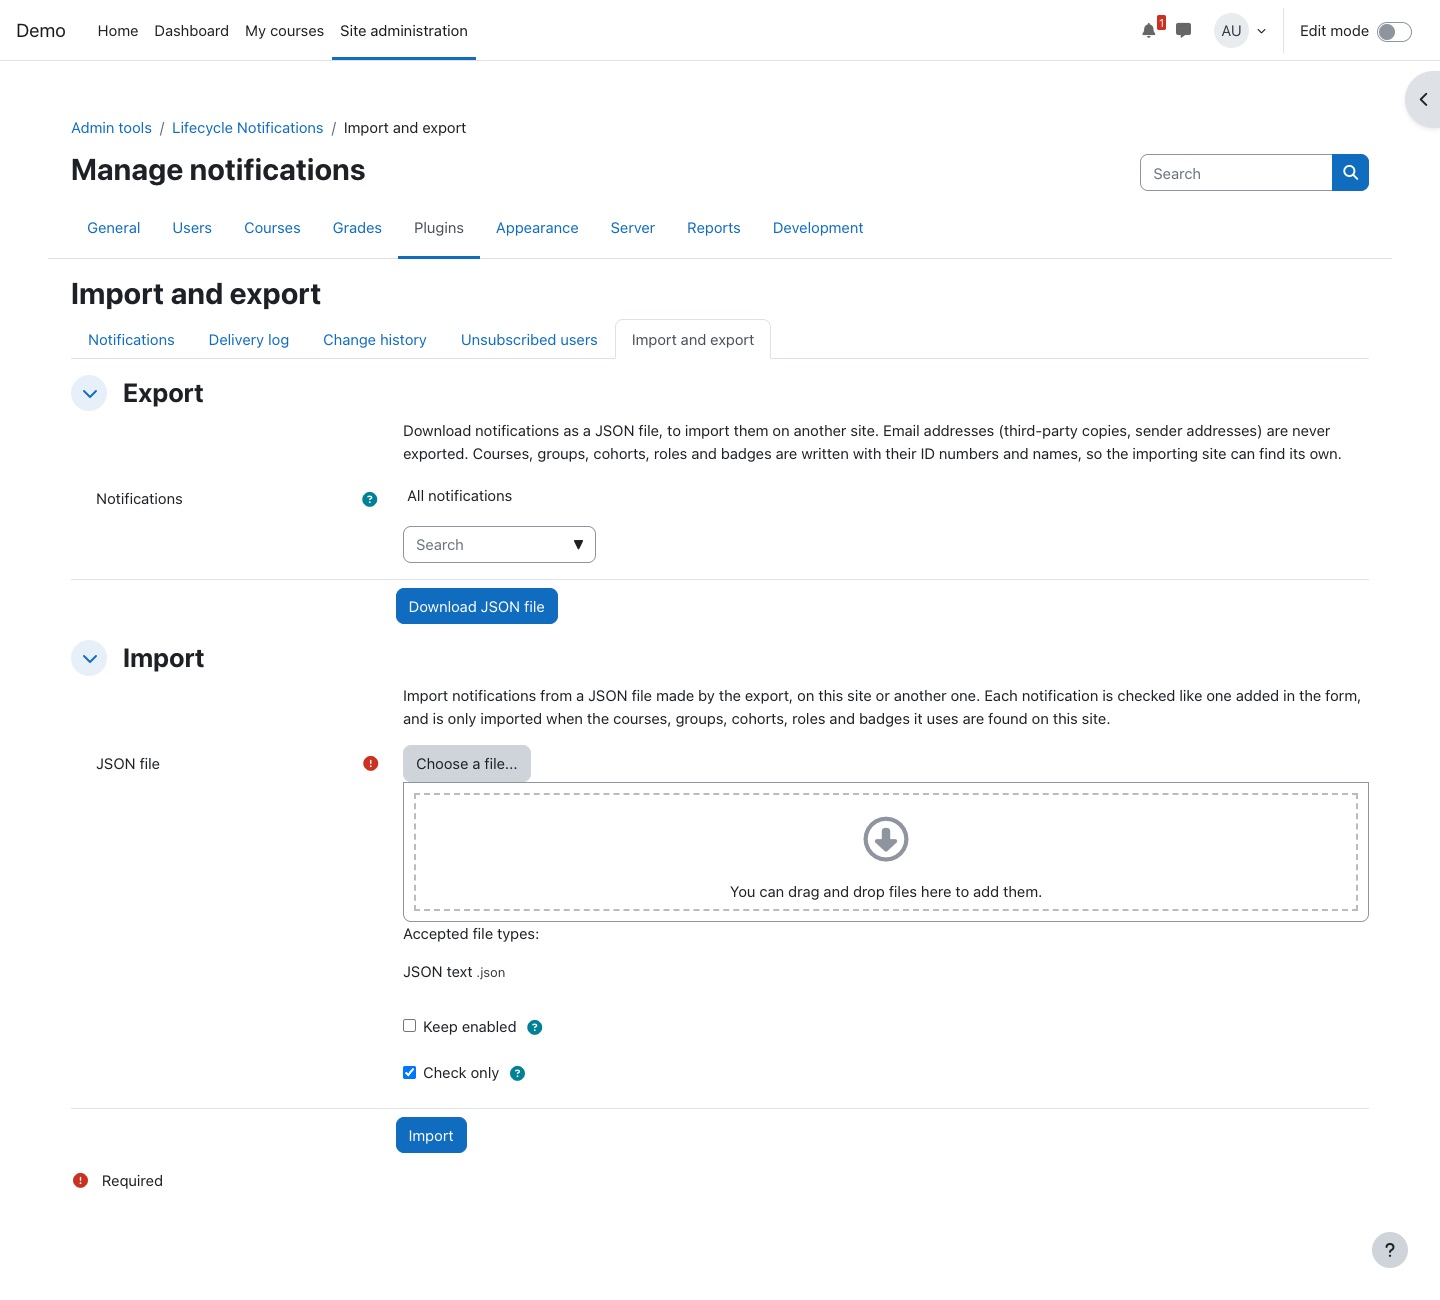
Export
- Under Export, choose the Notifications to include. Leave it empty for all.
- Select Download JSON file.
The file holds values, translations, embedded images, audience conditions and sequences. Courses, groups, cohorts, roles and badges are written with their id, idnumber and short name or name. From, Reply-To, CC, BCC and third-party addresses are never exported.
Import
- Under Import, choose the JSON file (up to 5 MB and 1000 notifications).
- Leave Check only ticked and select Import. Each notification is checked by its type's form, and the result tells you what would be imported.
- Fix anything reported, untick Check only, and select Import again.
- Imported notifications start disabled. Tick Keep enabled before importing to keep them as they were.
References are matched by id on the same site, otherwise by idnumber, then short name or name, and only when exactly one match exists. A notification with a missing reference is not imported; each notification is imported completely or not at all.
Backup and restore
Course backups include the course's course-level notifications with their options, translations, images, audience conditions and sequence steps. Addresses are included only with user data. On restore, groups and roles are mapped, and cohorts and categories are kept on the same site. A notification whose filters cannot be mapped is restored disabled, with a warning in the restore log. Delivery logs, queues and unsubscribe choices are not backed up, nor are site-wide notifications.
Web services
The service Lifecycle Notifications (shortname tool_notification) is disabled by default and open to authorised users only. Calls with courseid 0 work on site notifications and need tool/notification:manage; calls for a course need that type's course capability.
| Function | Purpose |
|---|---|
tool_notification_get_notifications | List notifications of the site or a course, by type, optionally enabled only. |
tool_notification_get_notification | One notification with its values and translations. |
tool_notification_create_notification | Create from name and value pairs, checked by the type's form. validateonly checks without saving. |
tool_notification_update_notification | Change values, checked by the form. |
tool_notification_toggle_notification | Enable or disable. |
tool_notification_delete_notification | Delete. The log is kept until retention ends. |
tool_notification_get_delivery_log | Read the log, filtered and paged by afterid (up to 1000 rows per call). |
tool_notification_set_audience_conditions | Set or clear audience conditions (JSON). |
tool_notification_get_sequence | Sequence settings and steps. |
tool_notification_save_sequence_settings | Turn a sequence on or off; set Start again. |
tool_notification_save_sequence_step | Add or change a step. |
tool_notification_delete_sequence_step | Delete a step. |
tool_notification_get_unsubscribe_status | The types a user unsubscribed from. |
Notification managers
Users with tool/notification:manageThe manage page
Go to Site administration > Plugins > Admin tools > Lifecycle Notifications > Manage notifications. Tabs at the top lead to Notifications, Delivery log, Change history, Unsubscribed users and Import and export.
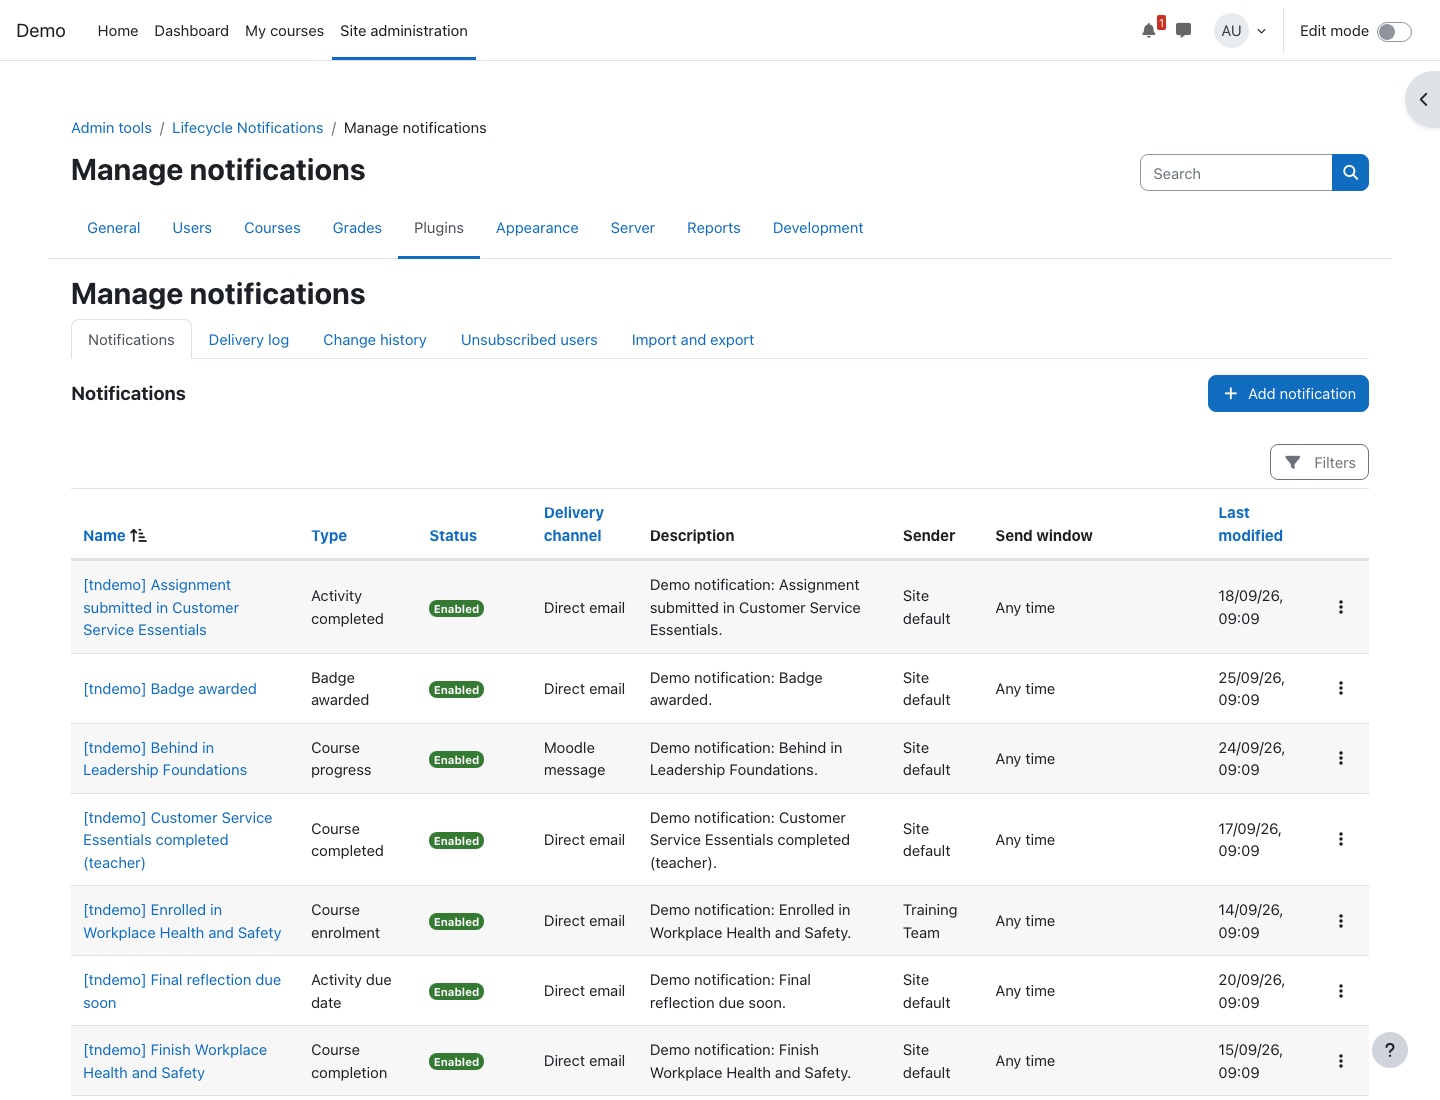
The report shows each notification's name, type, status, delivery channel, description, sender, send window and last change. Filter by name, type, enabled, mandatory or channel. Select a name to edit it, or open the action menu for more. A banner warns you when sending is suspended, emails are redirected, or the site has email turned off.
The list comes first on the page. To create a notification, press Add notification, beside the Notifications heading above the list. It opens the notification types in a dialog; without JavaScript, the button shows the same list on the page. If you cannot add any type there, the page says You cannot add notifications here.
Create a notification
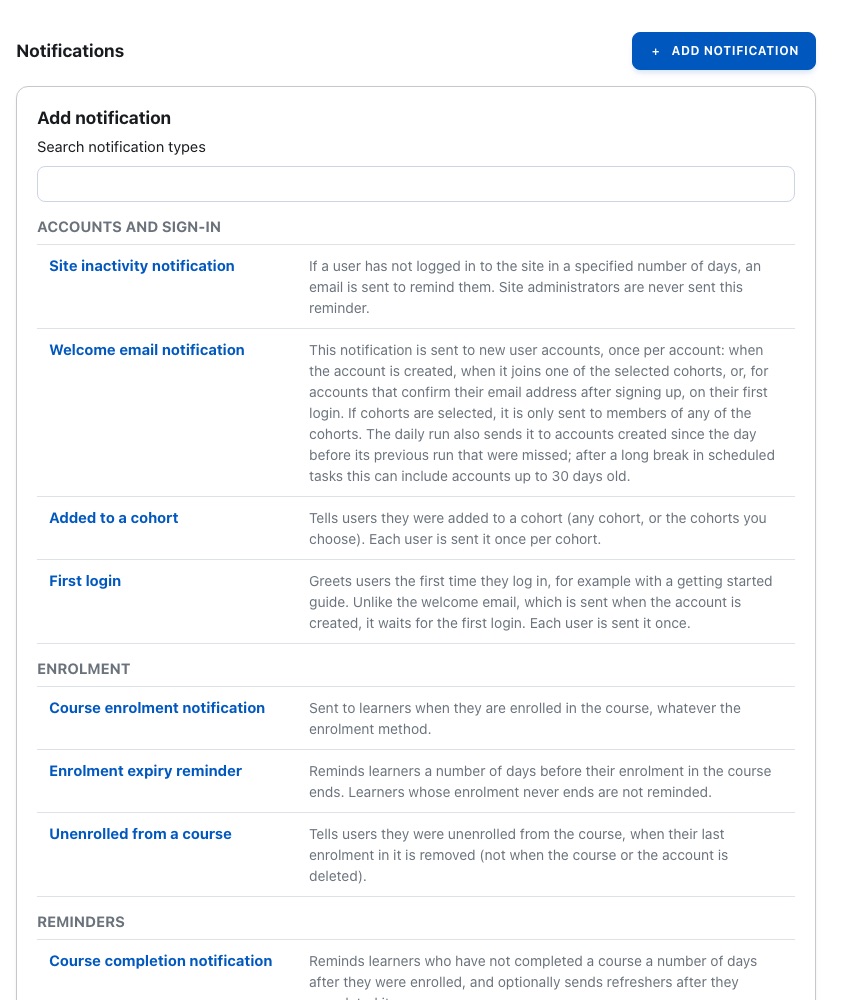
Every type uses the same form, with sections in this order. These steps apply to all types; the trigger types below describe what goes in Trigger and audience.
- On the manage page, press Add notification and choose the trigger type. The types are grouped into Accounts and sign-in, Enrolment, Reminders and Completions and achievements, with each type's name on the left and what it does on the right. Click anywhere on a row. Type in Search notification types to narrow the list by name or description; a count under the box shows how many types match, and No notification types match your search. when none do.
- General: enter a Name (shown in reports) and an optional Description.
- Message: choose HTML email or plain text, enter the Email subject and Email message, and add placeholders. Untick Use the branded email layout if this message should go without it.
- Manager summary: optionally tick Notify manager, choose how often to Send summaries, and write the summary subject and message.
- Trigger and audience: set the type's trigger, courses, groups and cohorts. The Audience count shows how many users it applies to now.
- Reminder limits and escalation (reminder types only): set repeats, a maximum and escalation.
- Delivery: tick Enabled, choose the Delivery channel, and set a send window and quiet hours if needed.
- Sender and copies: optionally set the sender, Reply-To, CC and BCC.
- Select Save changes. Then preview it and send yourself a test.
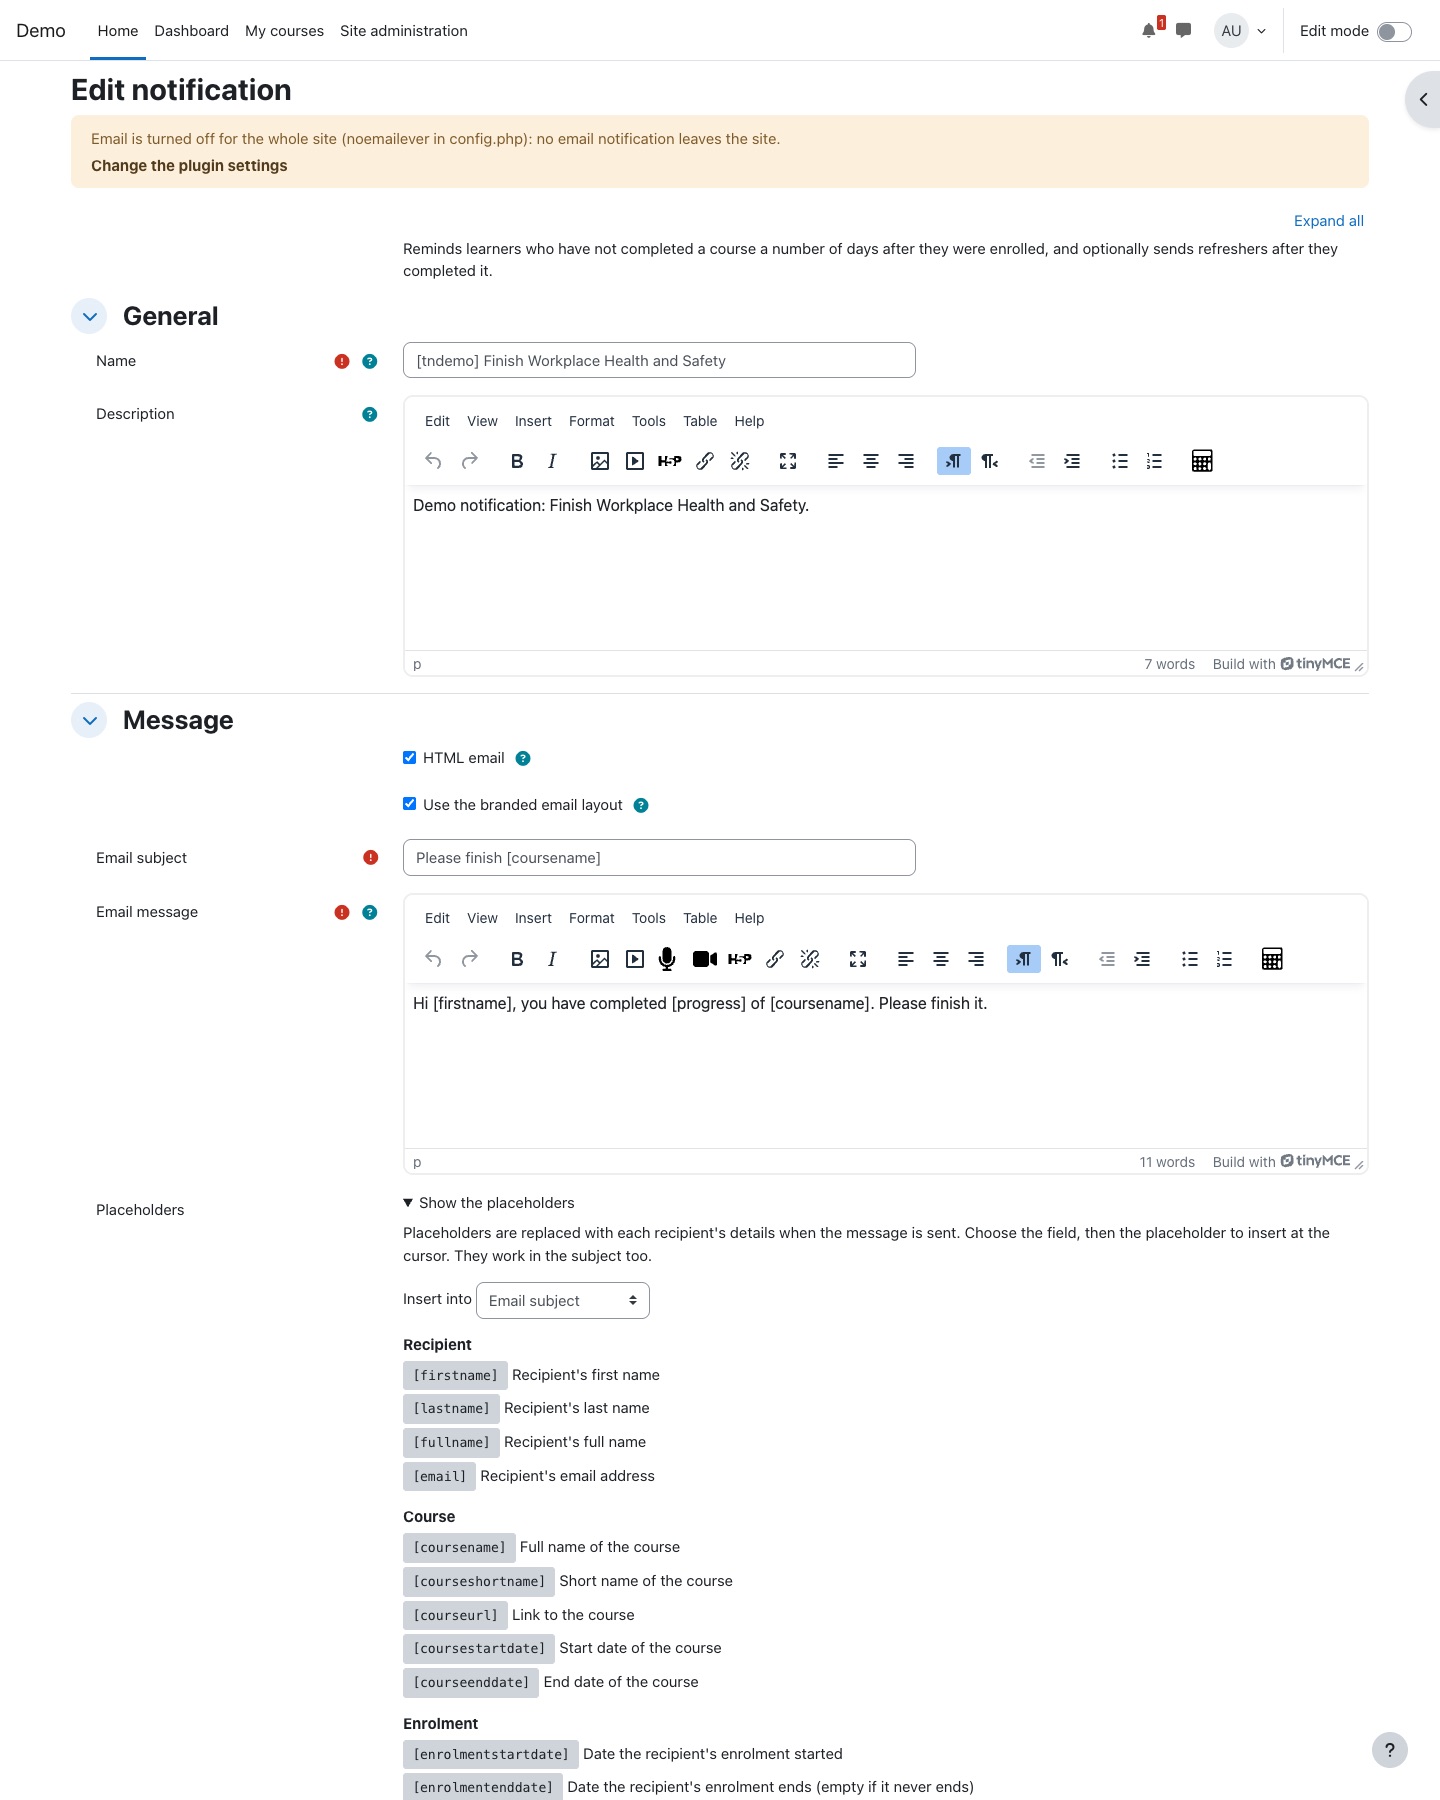
Messages can embed GIF, JPEG, PNG or WebP images. They are served without login so they appear in email clients.
Trigger types
| Type | Sent when | Scope |
|---|---|---|
| Site inactivity | No login for a number of days | site |
| Welcome email | Account created | site |
| First login | First time a user logs in | site |
| Badge awarded | A badge is awarded | site |
| Added to a cohort | A user joins a cohort | site |
| Course enrolment | A learner is enrolled | course |
| Course completed | A learner completes the course | course |
| Unenrolled from a course | A learner's last enrolment is removed | course |
| Activity completed | Learners complete activities (tells teachers) | course |
| Grade released | A learner can see a new grade | course |
| Certificate issued | A certificate activity issues a certificate | course |
| Course completion | Not completed some days after enrolment | course |
| Course inactivity | Course not opened for some days | course |
| Not started | Course not opened some days after enrolment | course |
| Course progress | Progress below a percentage | course |
| Enrolment expiry | Days before the enrolment ends | course |
| Course end | Days before or after the course end date | course |
| Activity due date | Days before or after an activity is due | course |
The steps below cover the Trigger and audience section. Wherever Cohorts or Groups appear, leave them empty for everyone. Groups can only be chosen when exactly one course is selected.
Site inactivity
Reminds users who have not logged in for a number of days. Users who never logged in count from when their account was created. It is sent once per period of inactivity and never to site administrators.
- Set Days since last login (30 by default).
- Optionally choose Cohorts.
- To remind again, tick Repeat, set Repeat every (days) and a Maximum number of sends (0 for no limit).
- Optionally set escalation to the manager.
Welcome email
Sent once to each new account: when it is created, or when it joins one of the selected cohorts. Accounts that confirm their email address are welcomed at their first login (within 30 days). The daily run catches up on accounts missed in the last 30 days.
- Optionally choose Cohorts. With cohorts, the email goes when the account joins one of them.
First login
Greets users the first time they log in, for example with a getting started guide. Unlike the welcome email, it waits for the login. Sent once per user.
- Optionally choose Cohorts.
Badge awarded
Congratulates users on a site or course badge. Sent once per user and badge, and skipped if the badge is revoked before sending.
- Under Badges, keep Any badge or choose specific badges.
- Optionally choose Cohorts.
- Add
[badgename],[badgedescription]or[badgeurl]to the message.
Added to a cohort
Tells users they were added to a cohort. Sent once per user and cohort, and skipped if they are removed first.
- Under Cohorts, leave it empty for any cohort or choose the cohorts that send it.
- Add
[cohortname]to the message.
Course enrolment
Sent to learners when they are enrolled in the course, whatever the enrolment method. Each course can have one enrolment notification.
- Choose the Course. Start typing to search.
- Optionally choose Cohorts, and add Third-party email addresses (needs
managethirdparty) to send a summary of names. - Under Stop conditions, tick Do not send once the learner has completed the course or Do not send once the learner has visited the course if a waiting message should be dropped.
- Add a follow-up sequence for onboarding tips over the following days.
Course completed
Sent to learners when they complete the course. One per course.
- Choose the Course.
- Optionally choose Cohorts and Third-party email addresses.
- Tick Do not send once the learner has left the course if needed.
- Use
[completiondate]in the message.
Unenrolled from a course
Sent when a user's last enrolment in the course is removed. It is not sent when the course or the account is deleted, and is skipped if the user is enrolled again first.
- Choose the Course.
- Optionally choose Cohorts.
Activity completed
Tells chosen course roles, such as teachers, when learners complete activities. Messages can list the learners with [user_list] and name the group with [groupname].
- Choose the Course and, optionally, Groups.
- Under Roles, choose who is told. Student roles cannot be chosen.
- Under Activity types, choose types or Any activity with completion tracking. Only activities with completion tracking count.
- Tick Assignment submissions to also report submissions before they are graded.
Two activity completed notifications in one course cannot cover the same activity type.
Grade released
Tells learners they have a grade they can see, for activity grades and manual grade items (not totals). It is sent when the grade is given, when assignment grades are released, when a hidden item is shown, or on its "hidden until" date.
- Choose the Course and, optionally, Cohorts.
- Tick Send again when the grade changes to notify on every new grade. Left off, each learner gets it once per grade item.
- Use
[gradeitemname],[grade]and[gradeurl].
Certificate issued
Congratulates learners when a Custom certificate or Simple certificate activity in the course issues them a certificate. New certificates are looked for at every hourly run. Sent once per learner and certificate activity. Only offered when one of those plugins is installed.
- Choose the Courses and, optionally, Cohorts.
- Use
[activityname]and[activityurl]to link to the certificate.
Course completion reminder
Reminds learners who have not completed a course some days after enrolment. It can also send refreshers to learners who must complete the course again later. Courses need completion tracking turned on.
- Choose one or more Courses, and optionally Groups (one course only) and Cohorts.
- Set Days to wait after enrolment.
- To remind again, tick Repeat and set Repeat every (days) and Maximum number of sends.
- For refreshers, set Refresher period (days) and write the Refresher subject and Refresher message. 0 sends no refreshers.
- Optionally set escalation to the manager.
Course inactivity reminder
Reminds learners who have not opened a course for a number of days, counted from their last visit, or from enrolment if they never opened it. Sent once per period of inactivity.
- Choose the Courses, and optionally groups and cohorts.
- Set Number of days (days without opening the course).
- Tick Only learners who have not completed the course if finished learners should be left out.
- Optionally set Repeat, Maximum number of sends and escalation.
Not started reminder
Reminds learners who have not opened (or completed) the course a number of days after enrolment.
- Choose the Courses, and optionally groups and cohorts.
- Set Number of days after enrolment.
Course progress reminder
Reminds learners whose progress (the share of activities with completion tracking they completed) is below a percentage. Learners who completed the course are never reminded.
- Choose the Courses (completion tracking on), and optionally groups and cohorts.
- Set Progress below (%).
- Under When, choose days after the learner was enrolled, or days before the course ends, and set Number of days.
- Use
[progress],[activitiescompleted]and[activitiestotal].
Enrolment expiry reminder
Reminds learners a number of days before their enrolment ends. Learners whose enrolment has no end date are not reminded.
- Choose the Courses, and optionally groups and cohorts.
- Set Number of days before the enrolment ends.
- Use
[enrolmentenddate]in the message.
Course end reminder
Reminds learners a number of days before or after the course end date. Courses without an end date are never reminded.
- Choose the Courses, and optionally groups and cohorts.
- Under When, choose before or after the course ends, and set Number of days.
Activity due date reminder
Reminds learners of an assignment, quiz, lesson, forum, choice, feedback, workshop, SCORM or database due date, a number of days before it, or after it when they are overdue. Each learner is reminded about their own date, including extensions and user or group overrides. Hidden activities, and activities hidden by access restrictions, are left out. Due dates are read at every hourly run.
- Choose the Courses, and optionally groups and cohorts.
- Under Activity types, choose types, or leave it empty for All activity types with a due date.
- Under When, choose before the due date or after it (overdue), and set Number of days.
- Keep Leave out learners who are done ticked (the default) so learners who already submitted or completed are not reminded.
- Use
[activityname],[activityurl]and[duedate].
Enrolment expiry, course end, not started, course progress and activity due date reminders are sent once per learner per date, and again if the date moves. A reminder after a date is only sent within 7 days of becoming due.
Placeholders
Placeholders are replaced with each recipient's details. In the form, select Show the placeholders, pick the field under Insert into (subject or message), and select a placeholder button to insert it at the cursor. Each form shows only the groups that apply to its type.
| Group | Placeholders |
|---|---|
| Recipient | [firstname] [lastname] [fullname] [email] |
| Course | [coursename] [courseshortname] [courseurl] [coursestartdate] [courseenddate] |
| Enrolment | [enrolmentstartdate] [enrolmentenddate] |
| Completion | [completiondate] |
| Activity | [activityname] [activityurl] (activity completed, certificate issued, activity due date) |
| Due date | [duedate] (the learner's own date and time) |
| Progress | [progress] [activitiescompleted] [activitiestotal] [lastcourseaccess] (course inactivity, course progress) |
| Badge | [badgename] [badgedescription] [badgeurl] |
| Grade | [gradeitemname] [grade] [gradeurl] |
| Cohort | [cohortname] |
| Summary | [groupname] [user_list] (activity completed and manager summaries) |
| Manager | [managername] [manageremail] |
| Learner (escalations) | [learner_firstname] [learner_lastname] [learner_fullname] [learner_email] [reminder_count] |
| Profile fields | [profile_shortname], for any custom profile field, using its short name |
| Site | [sitename] [siteurl] [loginurl] |
| Unsubscribe | [unsubscribe_link] [unsubscribe_url] |
Values are escaped in HTML messages, and subjects and messages pass through Moodle's filters.
Audience conditions
Audience conditions narrow who receives a notification beyond its courses, groups and cohorts, for example only the Sales department. Open the action menu and select Audience conditions.
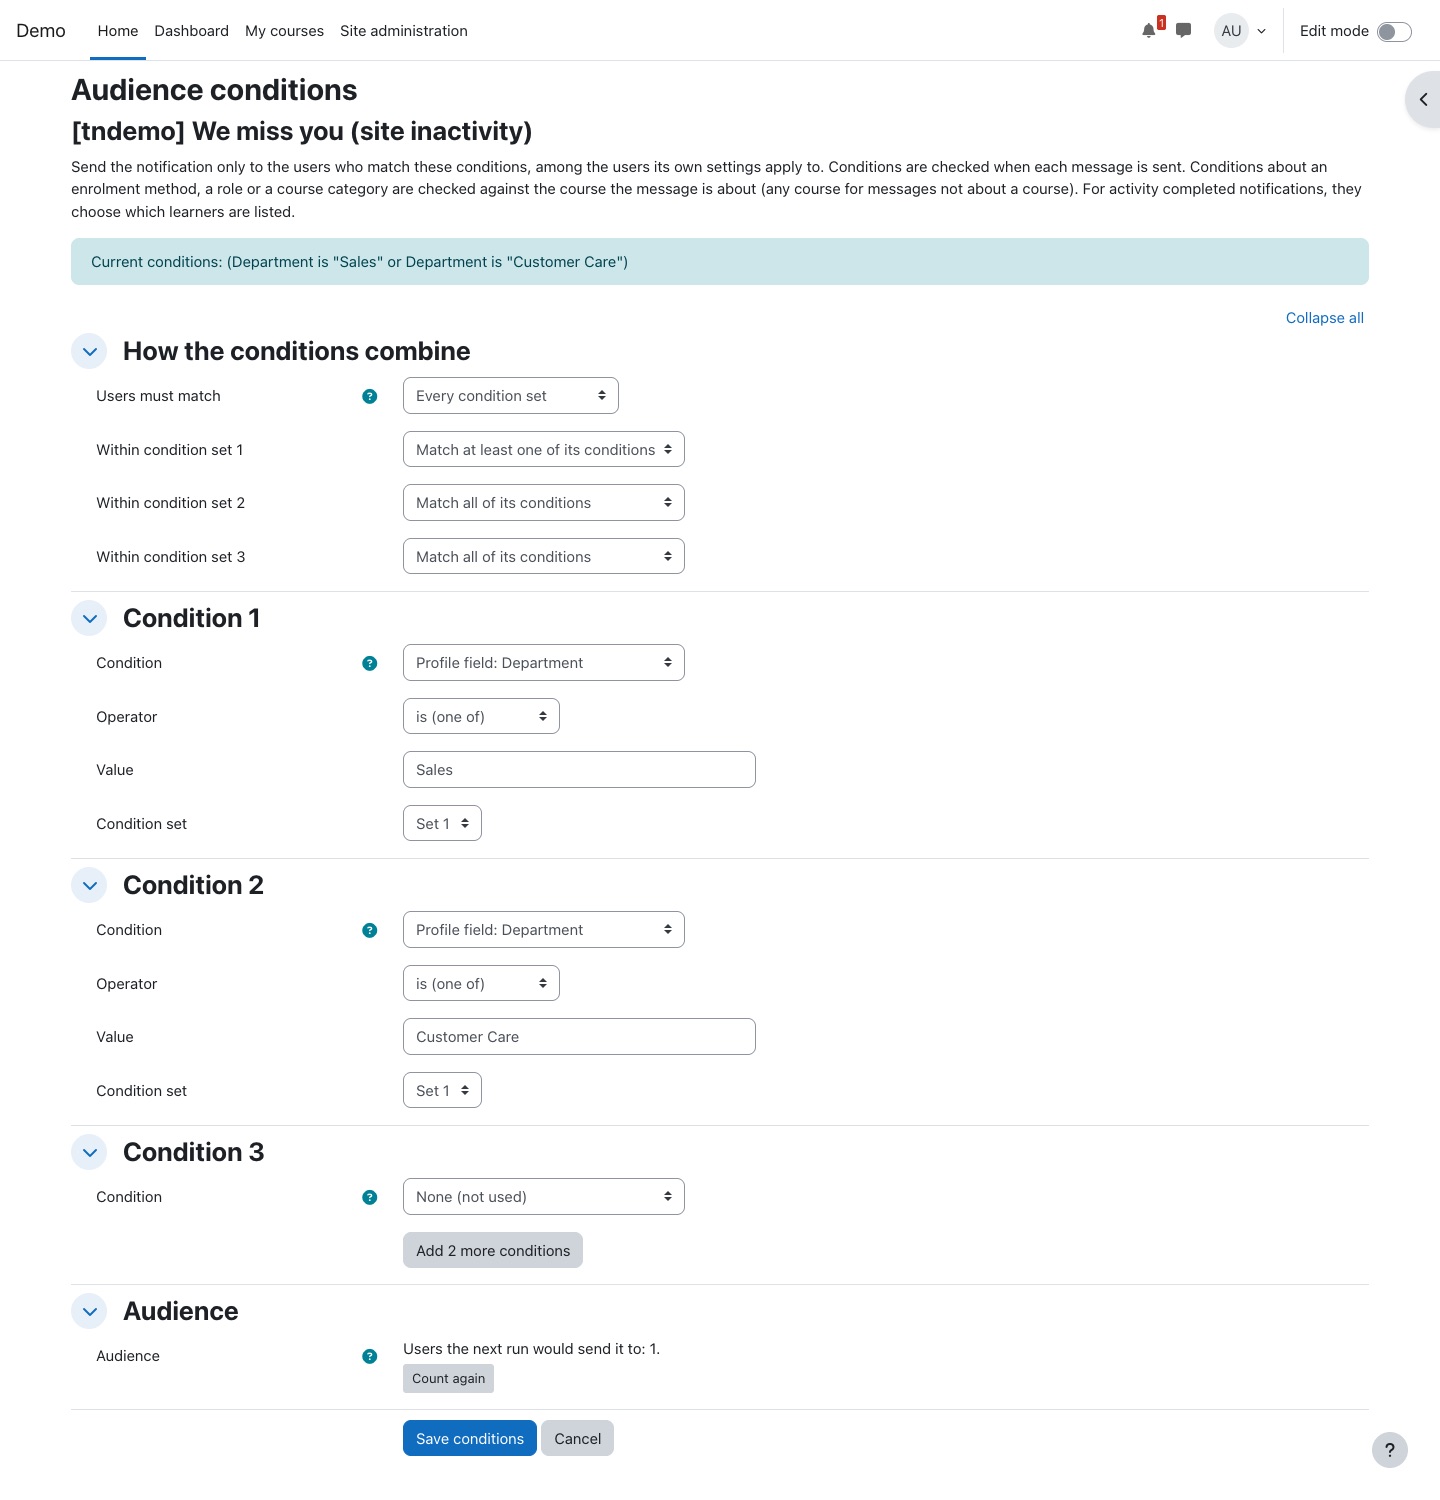
- For each row, choose a Condition: a Profile field (standard fields such as department, city, country, institution, language, authentication or timezone, or a custom field), Enrolment method, Role, Cohort, Group or Course category (site notifications only, with subcategories).
- Choose an Operator: is (one of), is not (none of), contains, does not contain, starts with, ends with, is empty or is not empty. Text matching ignores case.
- Enter the values, and choose which Condition set the row belongs to (up to 3 sets).
- Under Within condition set N, choose Match all of its conditions or Match at least one of its conditions.
- Under Users must match, choose Every condition set or At least one condition set.
- Check the Audience count, then select Save conditions.
You can use up to 20 conditions with up to 100 values each; select Add 2 more conditions for more rows. To remove a condition, set it to None (not used). The page is a plain form that works with the keyboard and without JavaScript. Event messages for users who do not match are logged as skipped.
Follow-up sequences
A sequence sends further messages after the notification, for example tips 2 days after enrolment and a check-in a week later. Open the action menu and select Follow-up sequence.
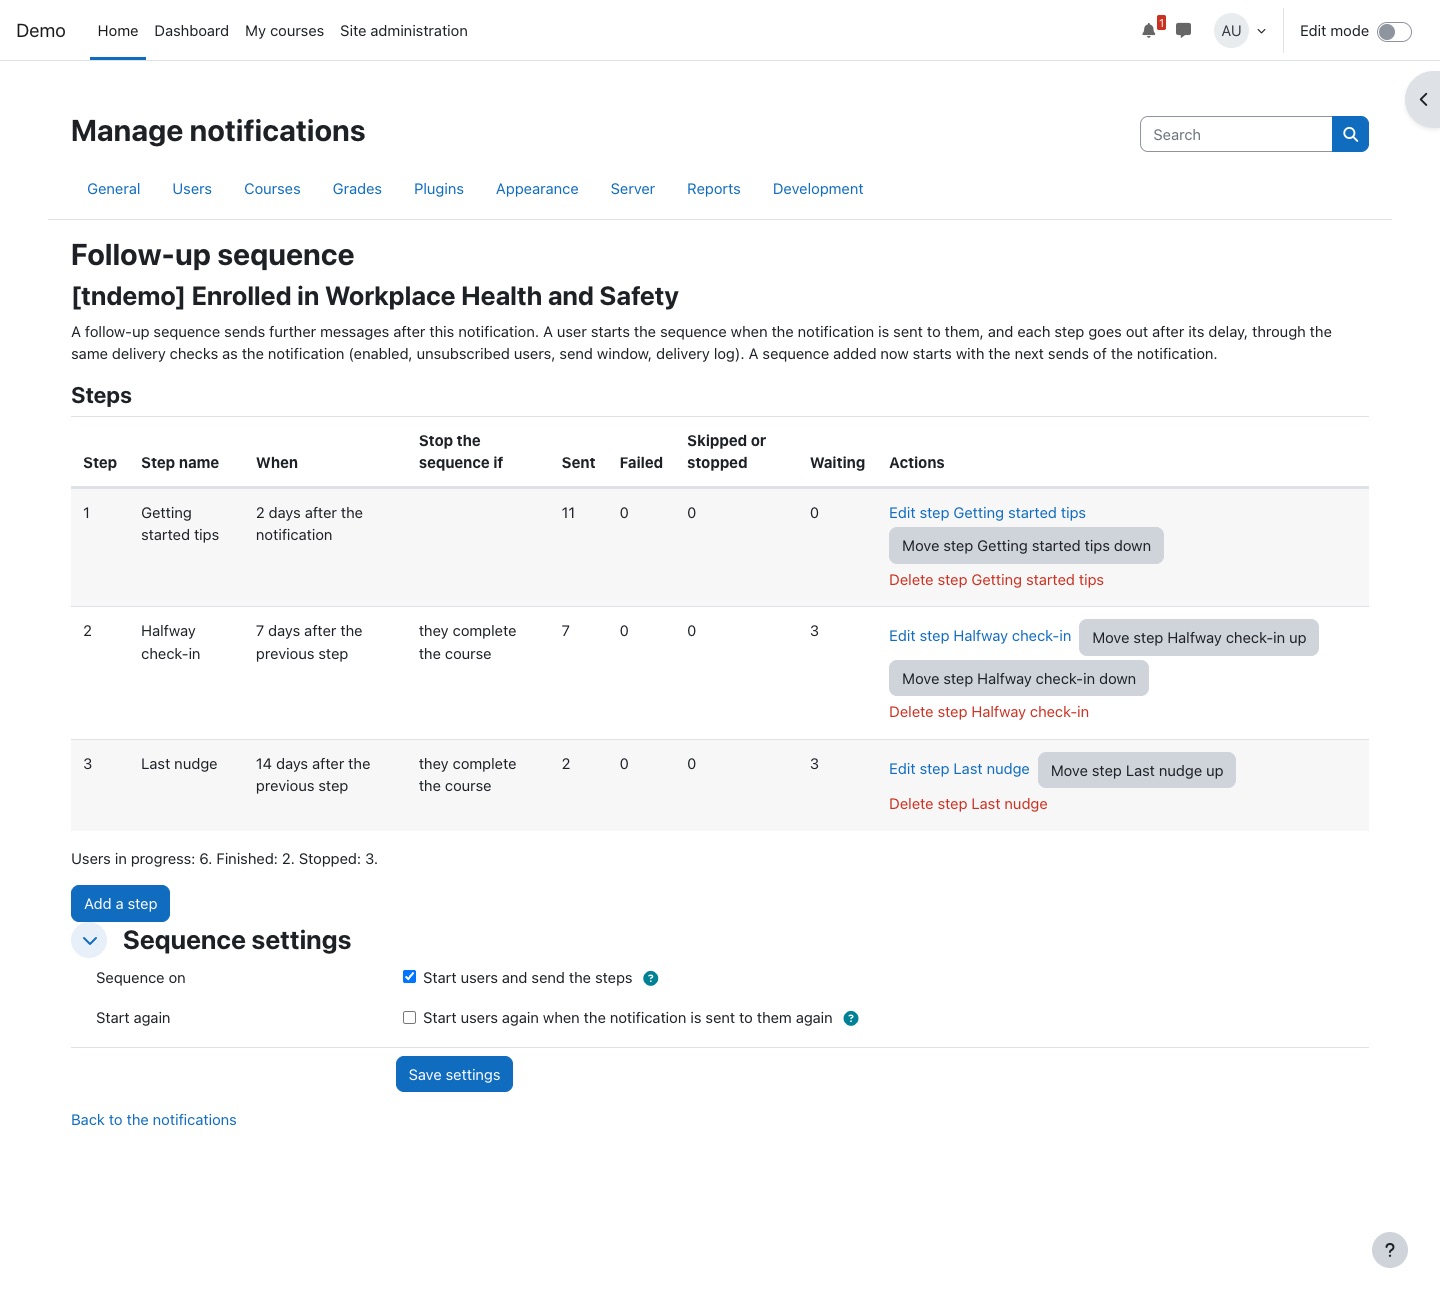
- Select Add a step.
- Enter a Step name.
- Set Send after in hours, days or weeks (up to 365 days), and Counted from: the previous step, or the notification that started the sequence.
- Write the Email subject and Email message.
- Choose Stop the sequence if: never, they complete the course, they visit the course (or the site) after the sequence started, they complete a chosen Activity, or they are no longer enrolled.
- Select Save step. Add up to 20 steps, and reorder them with the move actions.
- Under Sequence settings, tick Sequence on. Tick Start again if users should restart when the notification is sent to them again. Select Save settings.
Users join a sequence when the notification is sent to them after the sequence exists. Steps use the notification's channel, sender, branding, send window, quiet hours and unsubscribe rules. Users who stop matching the audience conditions leave the sequence. Failed steps are retried, then skipped. The table shows sent, failed, skipped and waiting counts for each step, and how many users are in progress, finished or stopped.
Delivery channel, send window and quiet hours
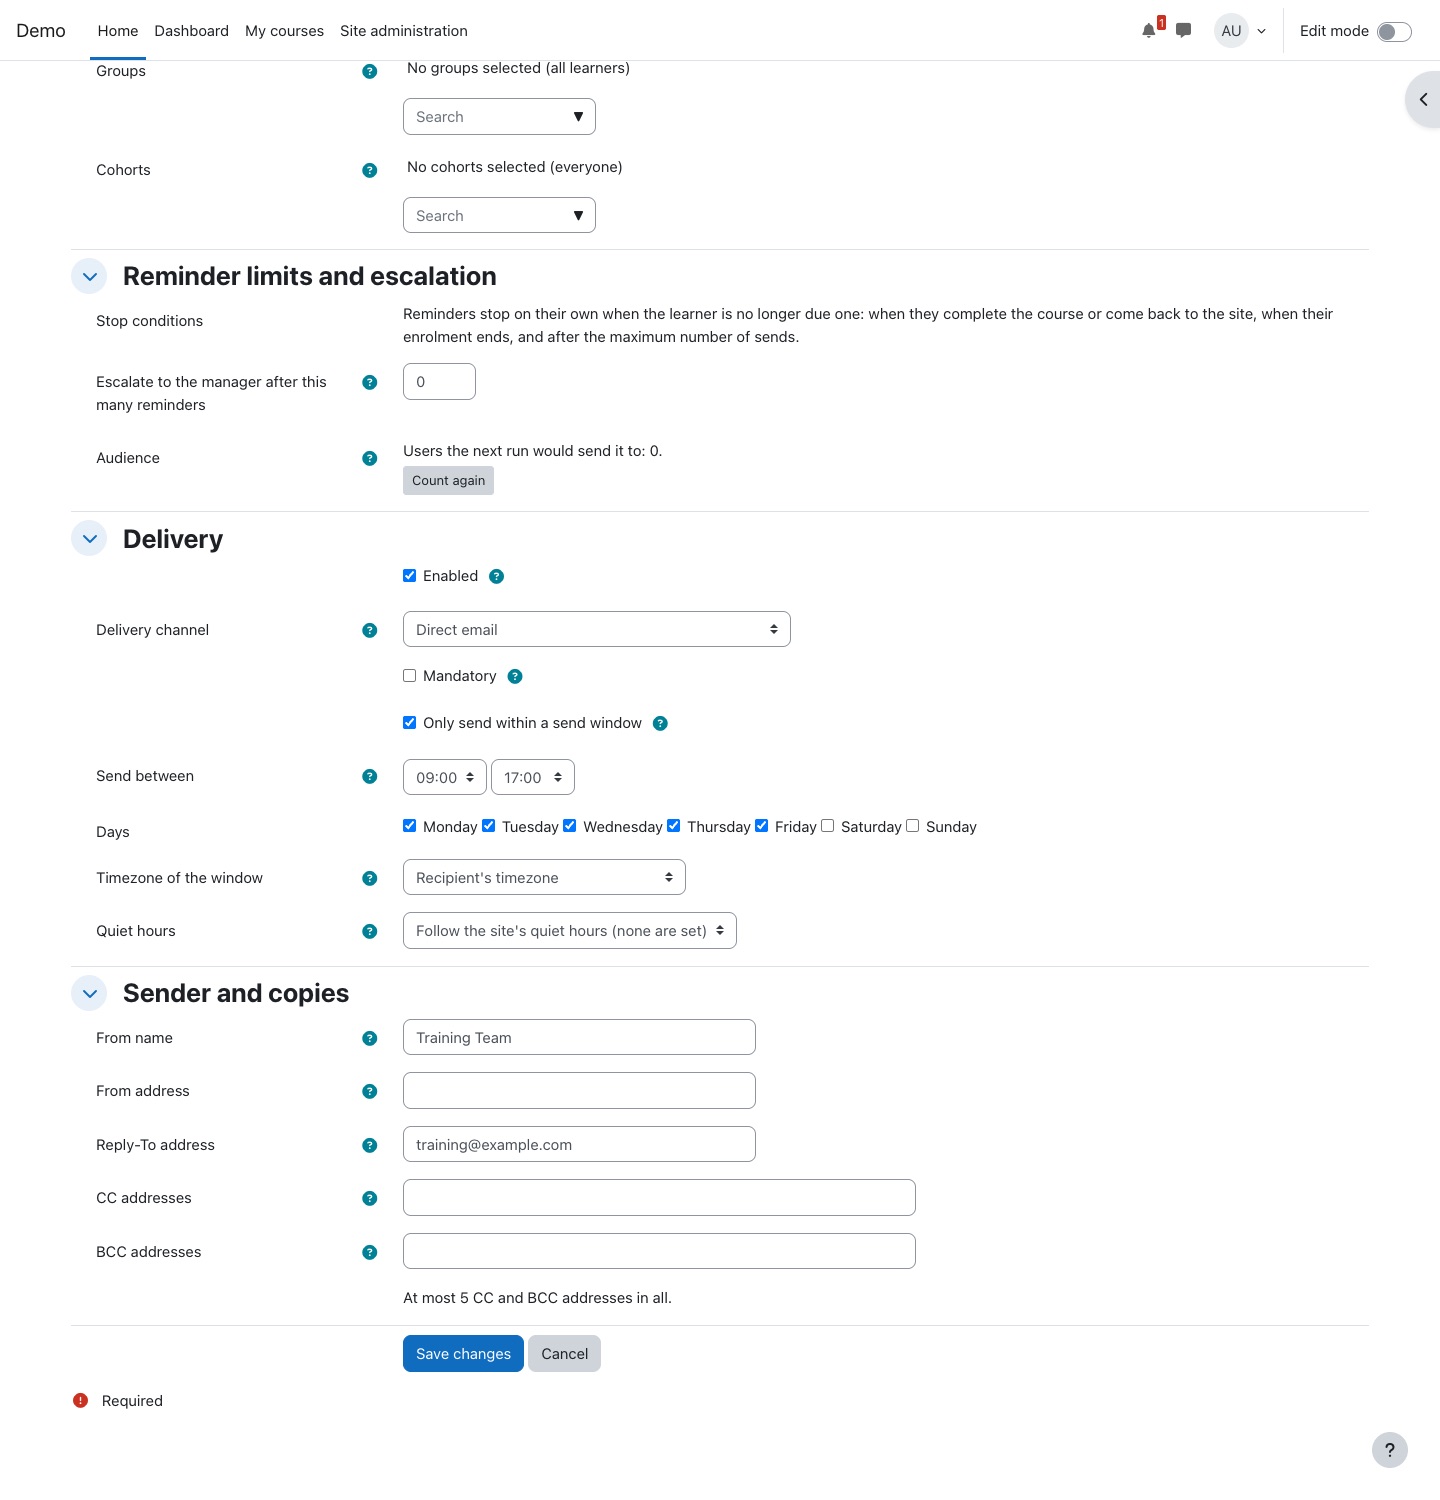
- Delivery channel: Moodle message (follows notification preferences) reaches the notification menu, the mobile app and email, as each user chooses. Direct email always emails. While emails are redirected for testing, direct email is used.
- Send window: tick Only send within a send window, set Send between (whole hours; a window can run past midnight, for example 22:00 to 06:00), the Days, and the Timezone of the window (Recipient's timezone or a fixed zone). 00:00 to 24:00 limits by day only.
- Quiet hours: follow the site's quiet hours, Send during quiet hours, or Use this notification's own quiet hours in the recipient's timezone.
Messages due outside the window wait for it. The one exception is a reminder before a date: if the window would not open before the date passes, it is sent at once rather than lost.
A Moodle message costs more database work than a direct email. For very large audiences, consider direct email.
Sender, Reply-To, CC and BCC
In Sender and copies, anyone who can edit the notification can set a From name. Users with tool/notification:managethirdparty can also set a From address, Reply-To address, CC addresses and BCC addresses (5 CC and BCC addresses in all, by default).
- If the From address's domain is not in Moodle's Allowed email domains, the message comes from the no-reply address under your From name, and replies go to the From address.
- CC and BCC addresses get a separate copy of every message, without the unsubscribe link. Copies are logged and counted in the run limits.
- CC addresses are listed in an informational
X-Notification-Copies-Toheader on the recipient's email. BCC addresses are not shown anywhere.
Manager and third-party summaries
Tick Notify manager to send each learner's manager one summary listing their learners, rather than one email per learner. Send summaries sets how often: After each sending run, Once a day or Once a week. Course enrolment and course completed notifications can also send a summary of names to Third-party email addresses, such as an HR inbox. A learner is listed only after their own message was sent.
Escalation and stop conditions
- Escalation: in Reminder limits and escalation, set Escalate to the manager after this many reminders and write the Escalation subject and Escalation message using the learner placeholders. The manager is sent it once. 0 turns it off. Date reminders are sent once per date, so they can only escalate with the reminder: enter 1.
- Reminder limits: recurring reminders stop at the Maximum number of sends, and on their own when the learner completes the course, comes back or is no longer enrolled.
- Stop conditions on queued messages are checked at sending time: Do not send once the learner has completed the course, Do not send once the learner has visited the course (enrolment) and Do not send once the learner has left the course (course completed).
Translations
- Open the action menu and select Translations.
- Under Add a translation in, choose an installed language and select Add translation.
- Translate the subject and message, and the refresher, manager summary and escalation texts where the type has them. Save.
Each recipient gets their language, else its parent language (French for French (Canada)), else the notification's own text, field by field. Multilang markup (<span lang="fr" class="multilang"> and {mlang fr}) also works in any subject or message.
Preview, test and audience count
The form's Audience count updates as you change settings; select Count again to refresh it. Counting stops at 5,000.
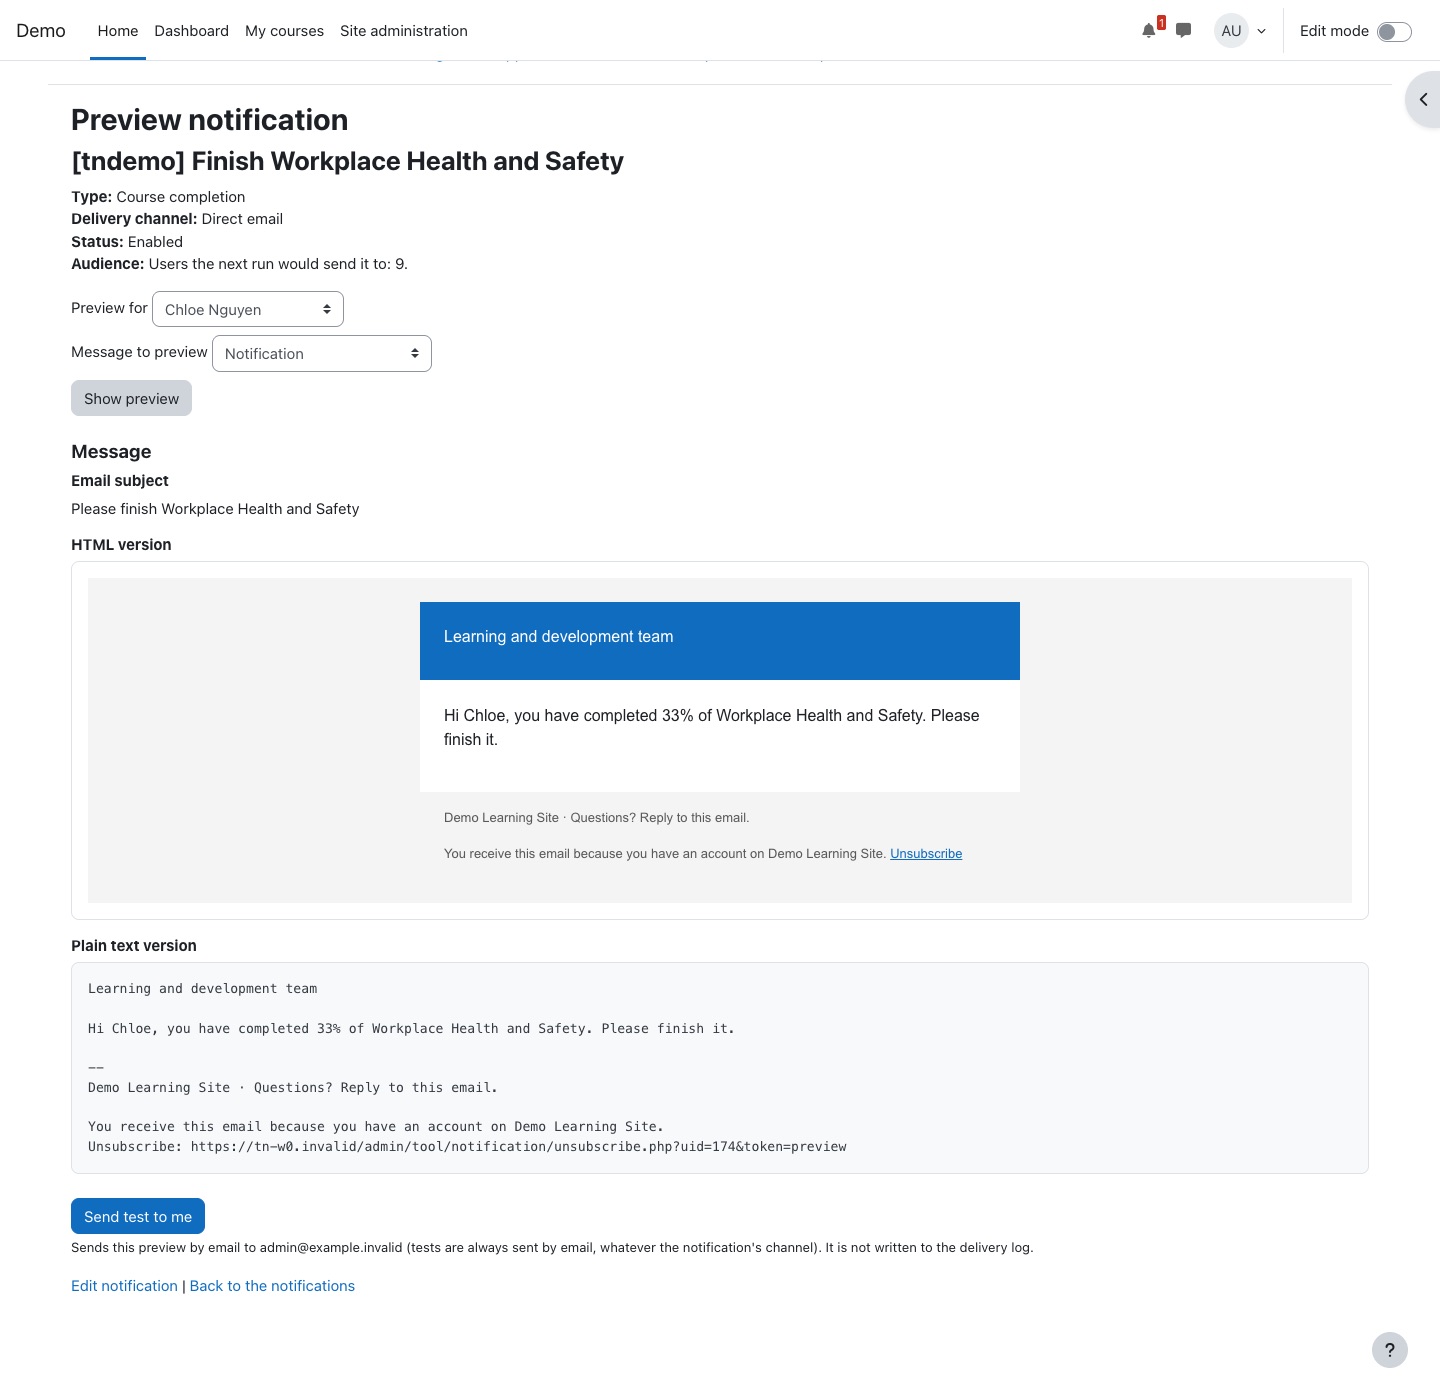
- Open the action menu and select Preview.
- Under Preview for, choose yourself or one of up to 20 of the notification's own users.
- Choose the Message to preview (notification, refresher, manager summary or escalation) and, when several are installed, the Language.
- Select Show preview to see the subject, HTML version and plain text version.
- Select Send test to me. The test always goes by email, its subject starts with [Test], it is not logged, and it follows the redirect setting. You can send one test every 10 seconds.
Enable, disable, duplicate and delete
- Enable or disable from the action menu, or with Enabled in the form. Disabling pauses sending without losing settings or the log.
- Duplicate opens a copy that starts disabled. When you save it, translations, audience conditions and the follow-up sequence are copied too.
- Delete removes the notification. Its delivery log is kept until the retention period ends.
Delivery log
Every send, failure and skip is logged with its reason. Open the Delivery log tab for all notifications, or Delivery log in a notification's action menu for one.
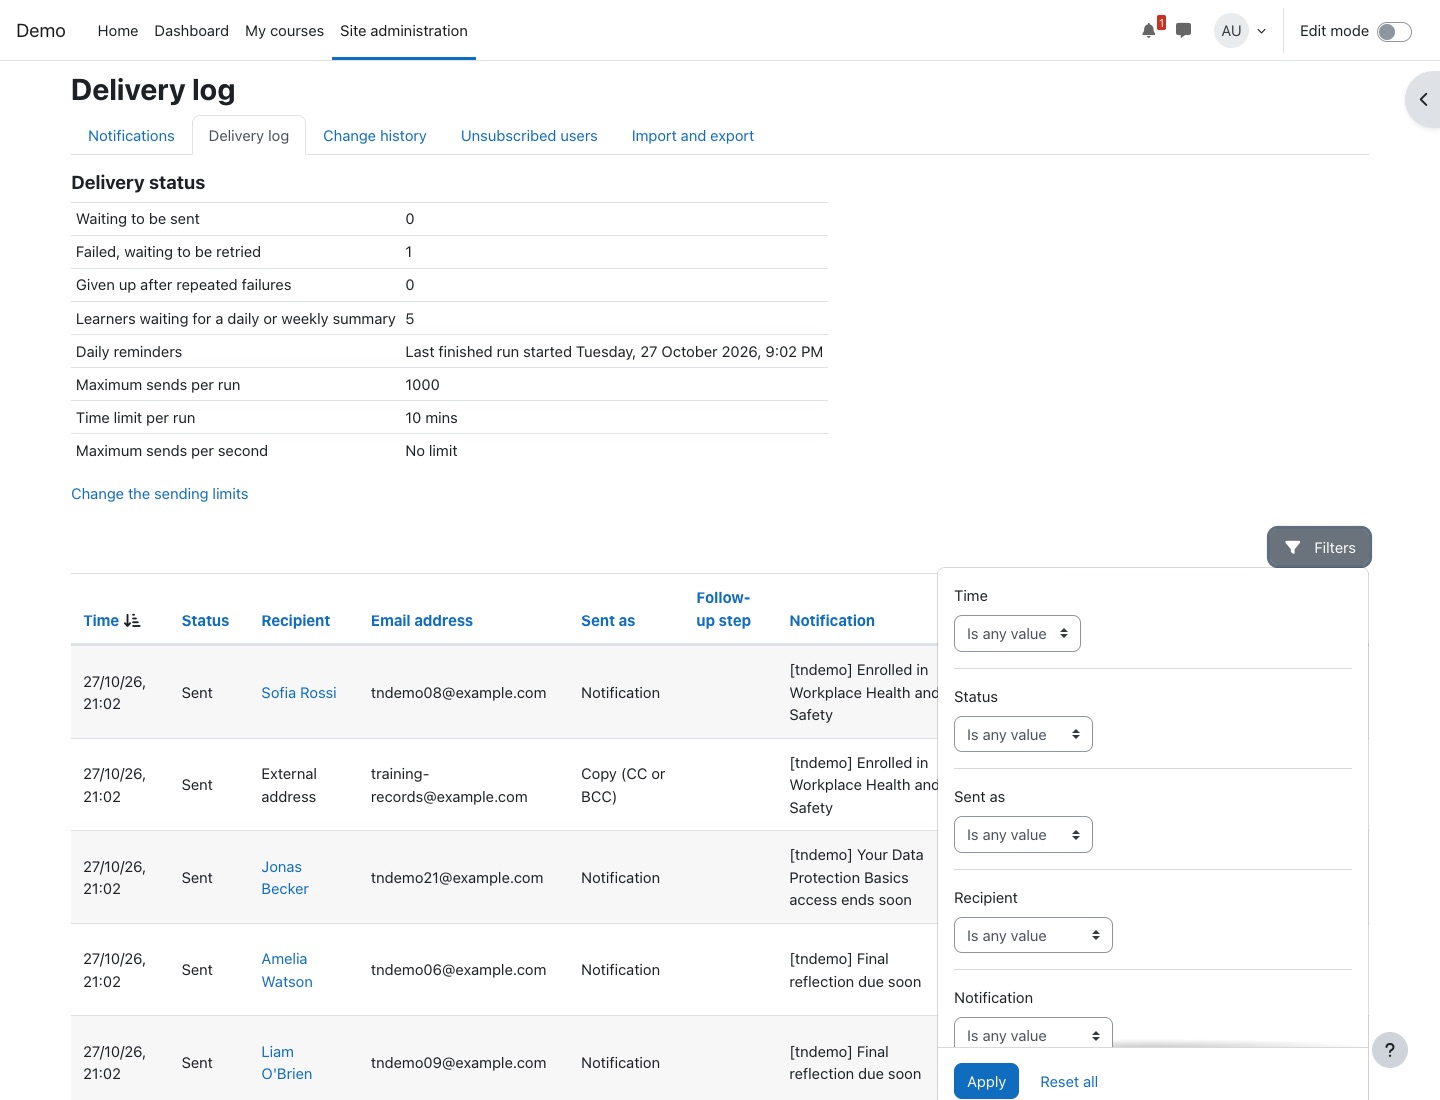
- Columns: time, status, recipient, email address, Sent as (the notification, a summary or a copy), follow-up step, notification, type, course and reason.
- Filter by time, status, sent as, recipient, notification, type or reason, and download the results.
- Retry appears on failed entries of queued types (course enrolment, course completed, welcome email, badge awarded, grade released, added to a cohort, unenrolled, first login). A notification's own log also has Retry all failed sends.
- Site administrators see Delivery status: messages waiting, failed and given up, learners waiting for a summary, the last daily run and the sending limits.
Change history
Every creation, change, enable, disable, deletion and purge of a notification, its options, translations and sequence steps is recorded, with who made it, when, and the old and new value of each field.
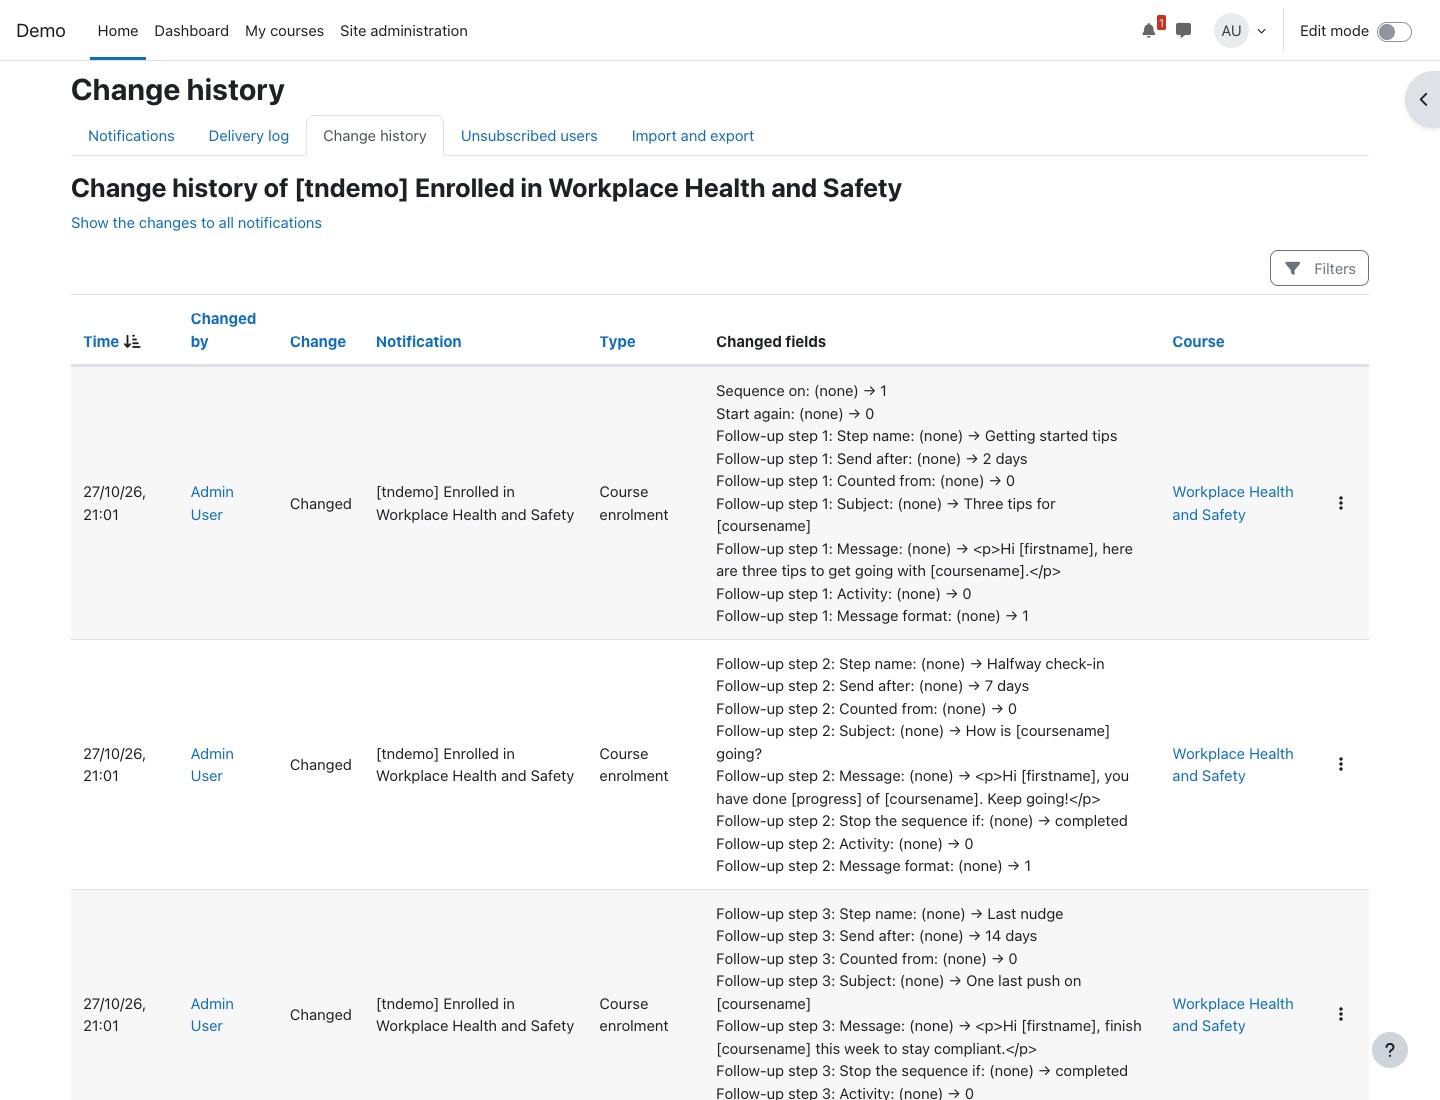
Filter by time, change, user, notification or type, and download it. Email addresses are hidden from users without managethirdparty.
Unsubscribed users
The Unsubscribed users tab lists who unsubscribed, from which type or from everything, and when. Filter and download it.
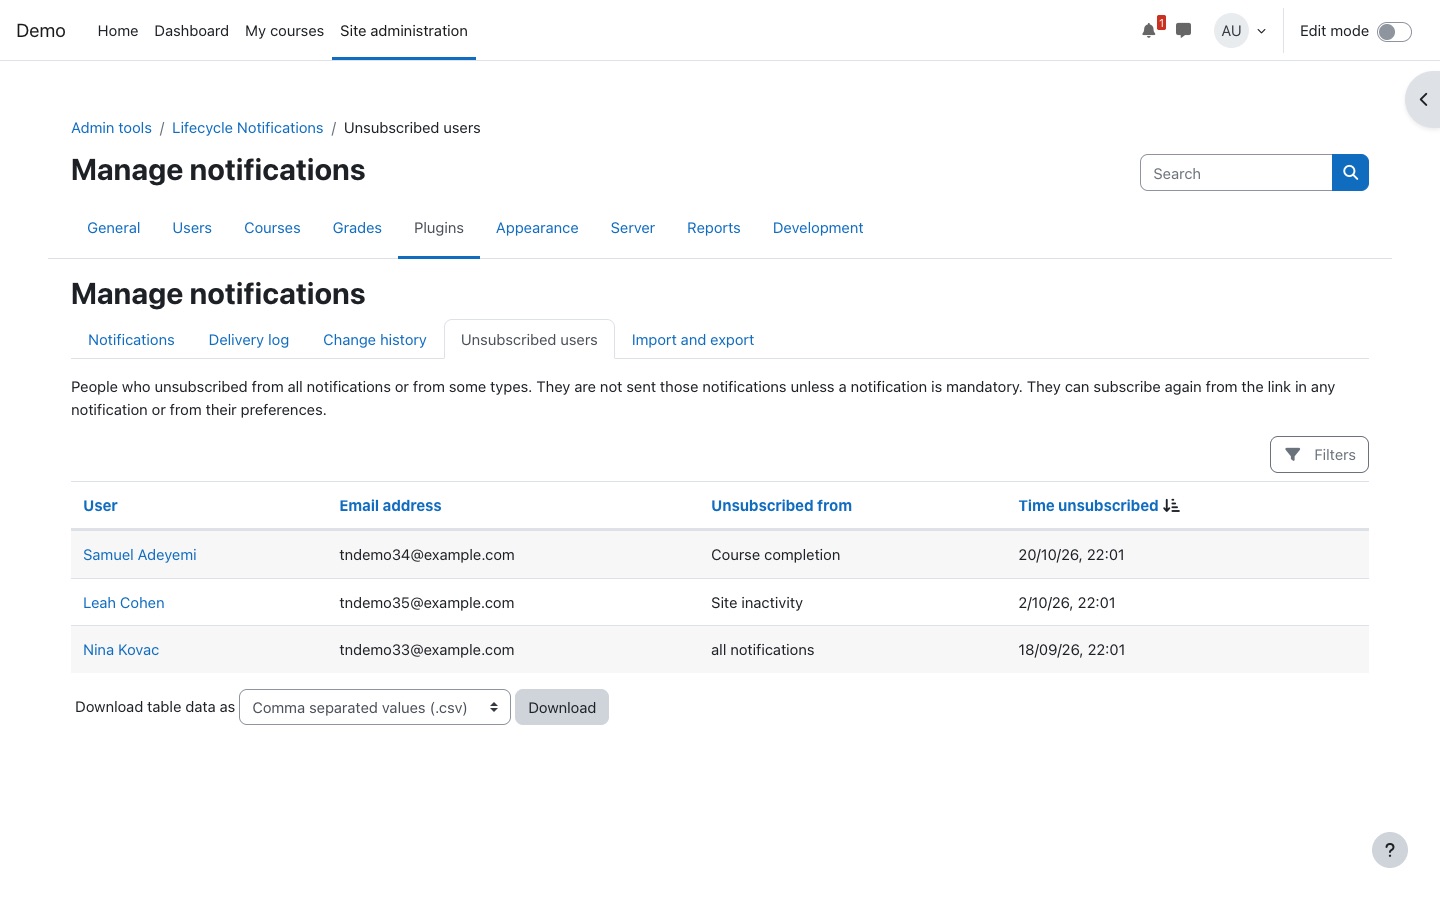
Category managers
Users with tool/notification:managecategory in a category get a Course notifications page in the category's settings. It lists the courses of the category and its subcategories with their enabled and total notification counts, with search and paging. Each course links to its own notifications page. This suits multi-tenant sites that give each tenant a category.
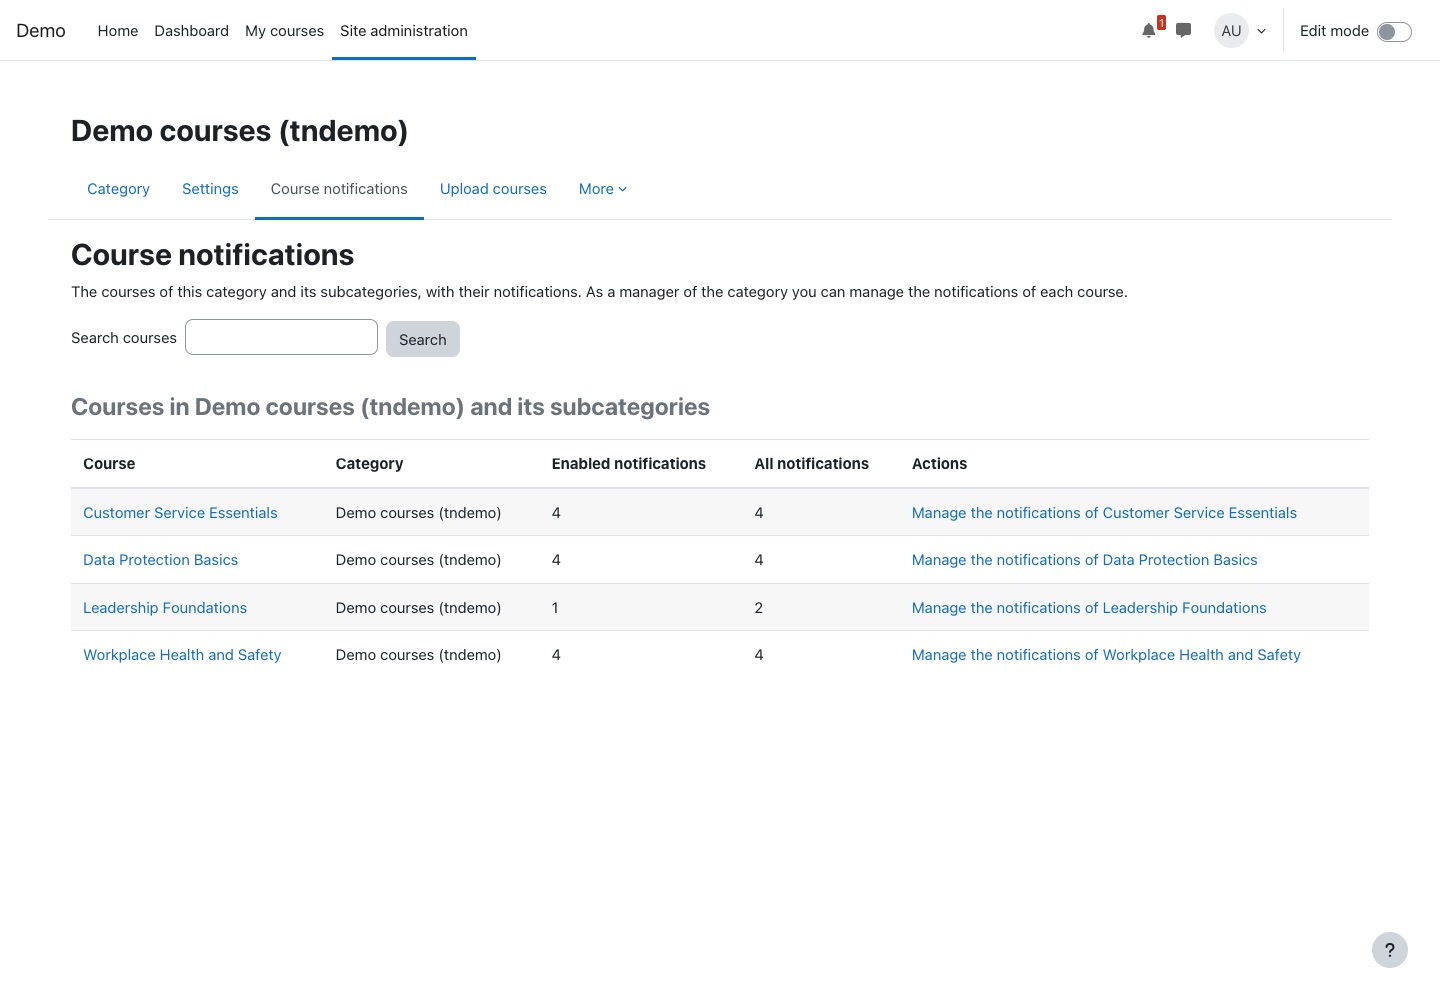
Teachers
Course roles with a notification capabilityTeachers manage notifications for their own course from the course page.
- Open the course and select More in the course menu.
- Select Notifications.
- Press Add notification, choose a type, fill in the form as described in Create a notification, and save. Only the types you can add in that course are listed; if the course does not track completion, the completion types are left out.
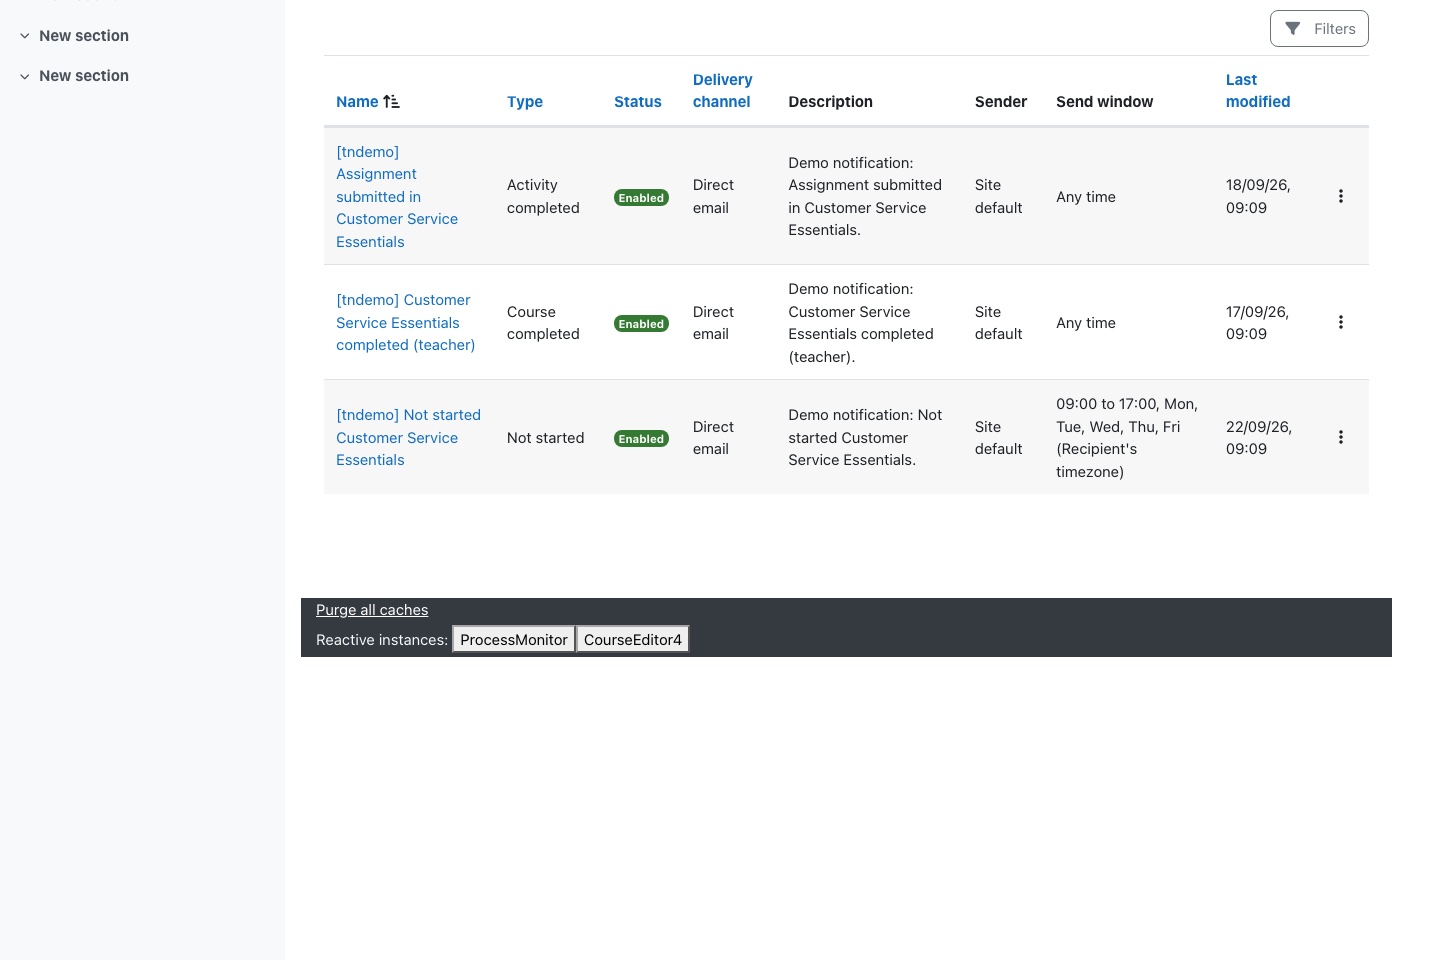
What teachers can and cannot do
| Can | Cannot |
|---|---|
|
|
If completion tracking is off in the course, the types that need it are hidden and the page says so. Turn it on in the course settings to use them.
Learners
Everyone with an accountWhat you receive
Your site may send you messages when you join, enrol in a course, have an activity due, fall behind, get a grade, finish a course or earn a badge. Depending on how each one is set up, it arrives in the notification menu (the bell), in the Moodle app, by email, or several of these.
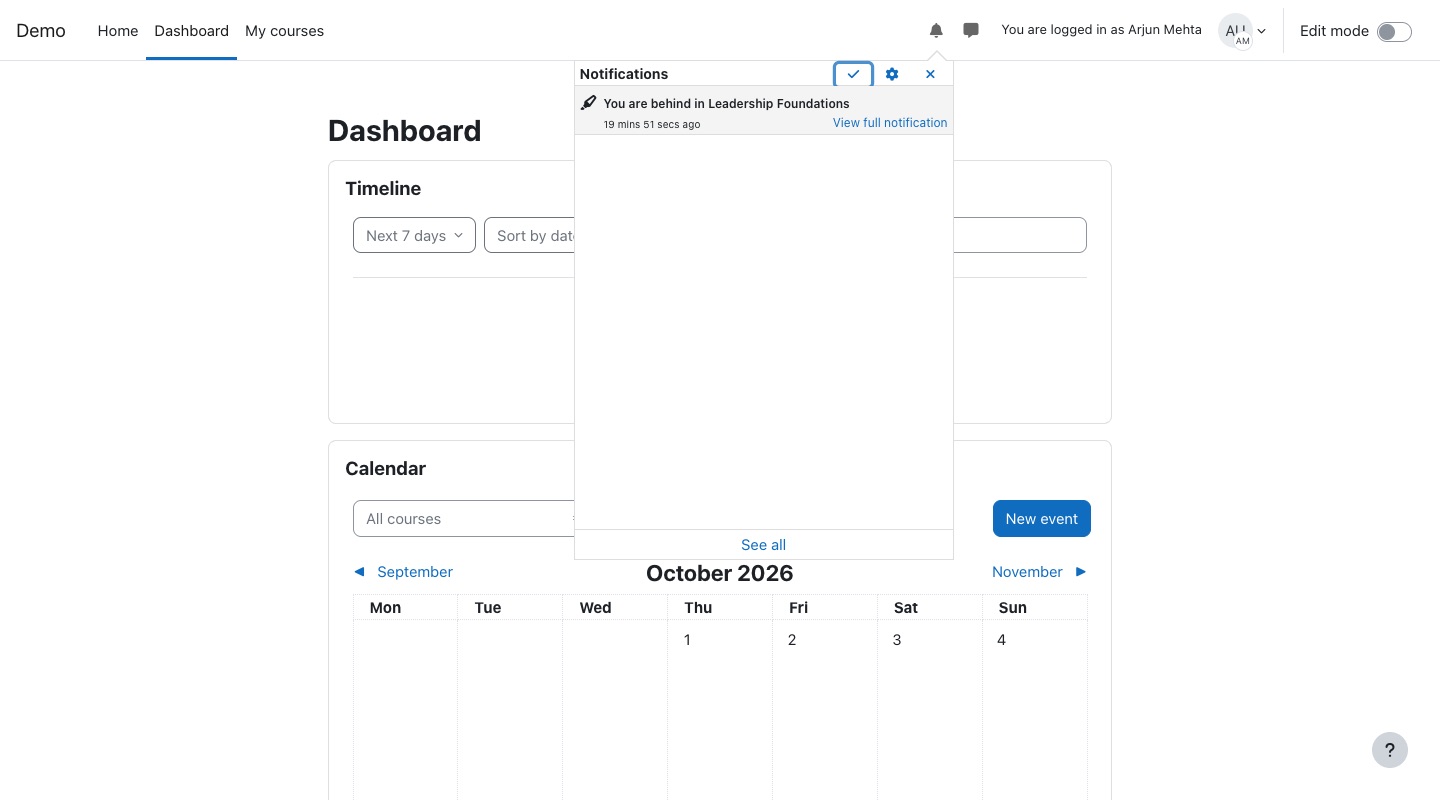
Choose how you receive them
- Open the user menu and select Preferences, then Notification preferences.
- Find the Lifecycle Notifications section. Each notification type has its own row.
- Turn web, email or mobile on or off for each type.
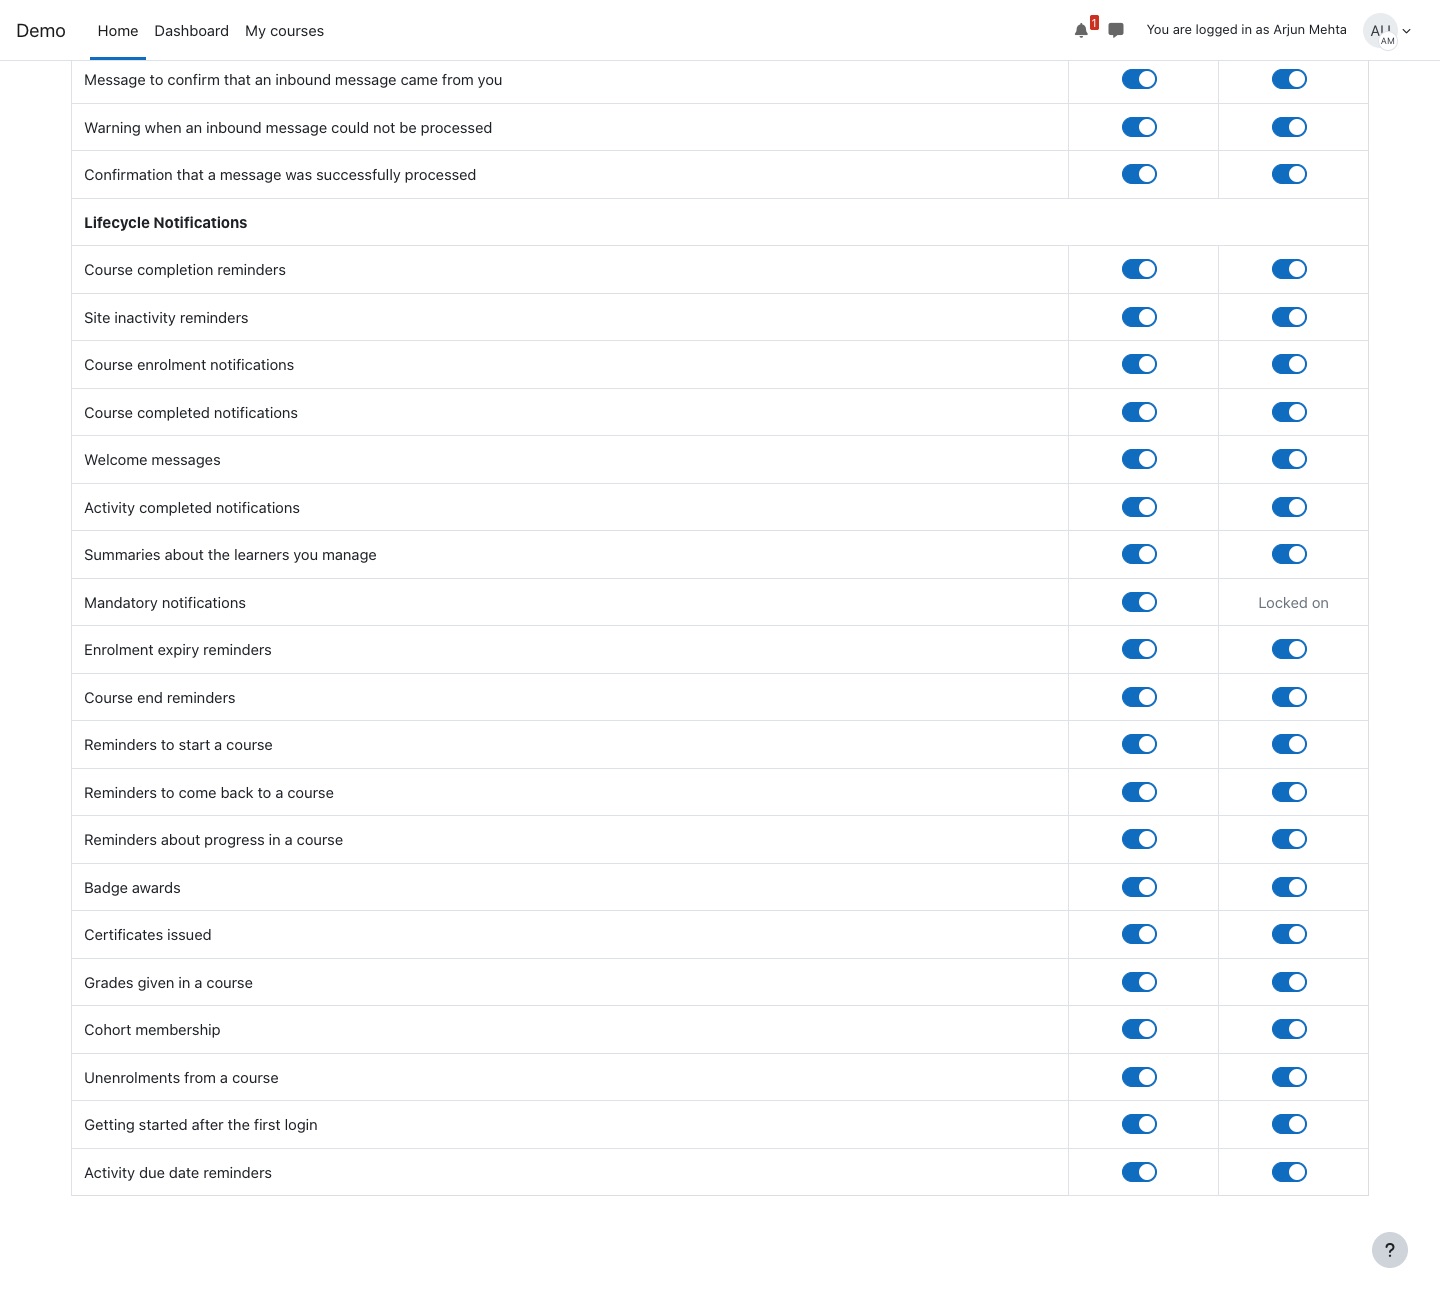
These preferences apply to notifications sent as Moodle messages. Notifications sent as direct emails ignore them; use the unsubscribe options below instead.
Unsubscribe and resubscribe
When your site allows it, each message ends with an Unsubscribe link. You do not need to log in to use it.
- Select Unsubscribe at the bottom of the message.
- Choose Only '…' notifications for that type, or All notifications from this site.
- Select Unsubscribe, or Keep receiving notifications to change your mind.
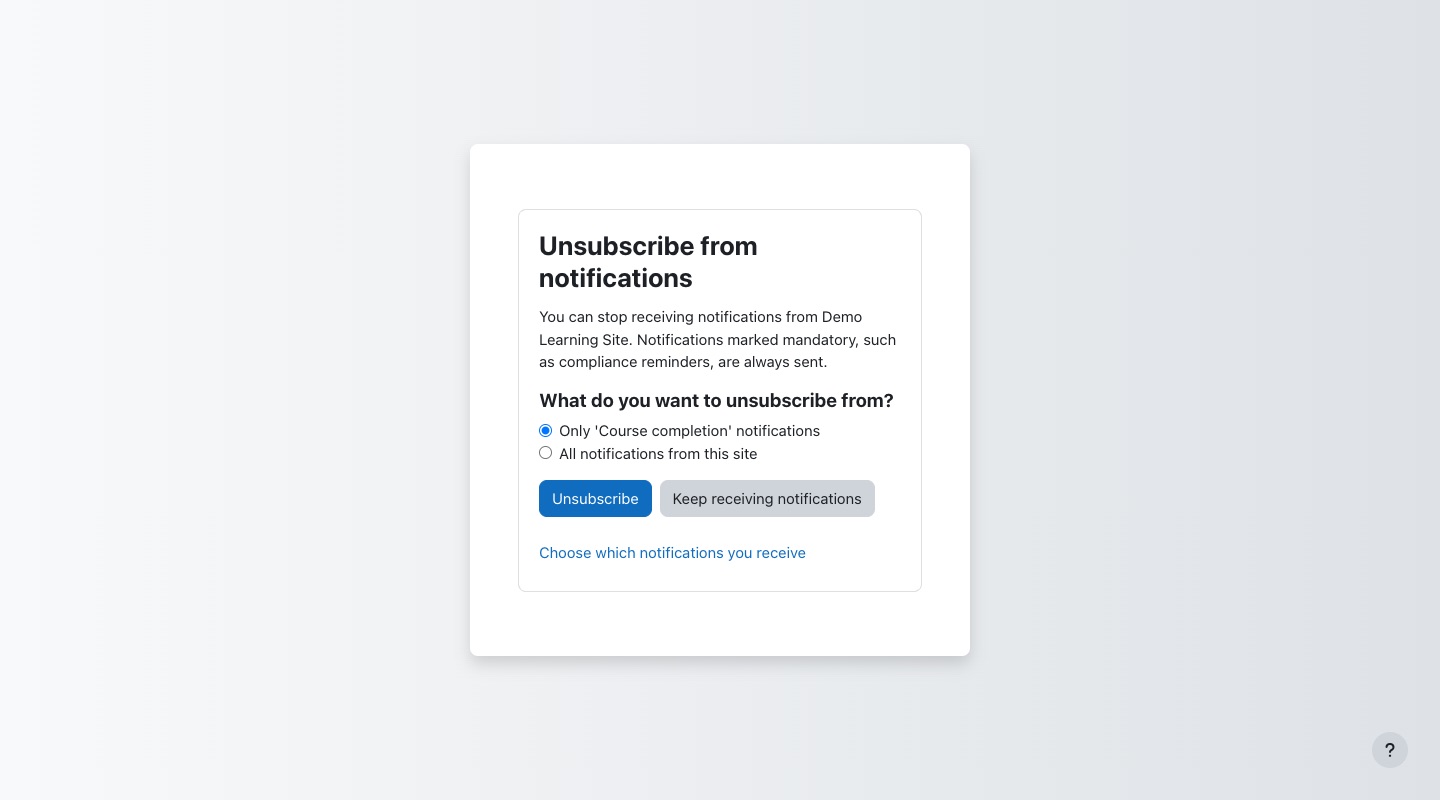
Many email apps also show their own unsubscribe button; it unsubscribes you from that email's type. Unsubscribe links expire after a year.
To resubscribe, open the same link and choose Receive '…' notifications again or Receive all notifications again. Or go to Preferences > Lifecycle notification preferences and tick Send me '…' notifications for the types you want.
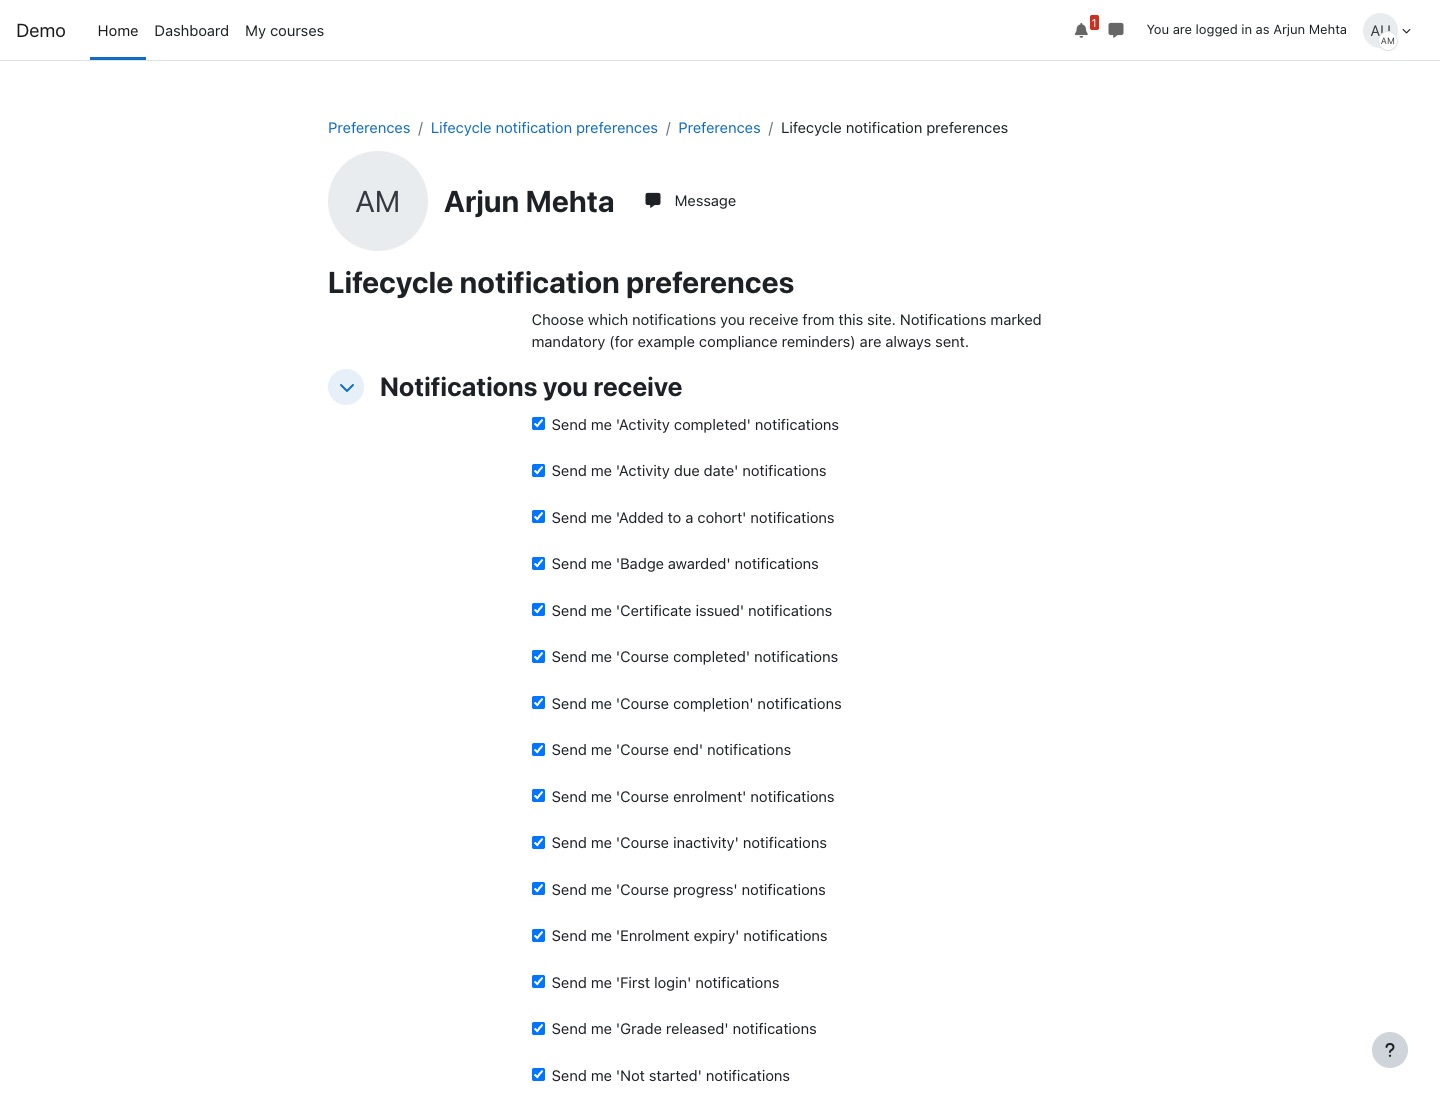
This page appears when unsubscribing is allowed, or when you opted out of something earlier. If your site has since turned unsubscribing off, you can still turn back on what you opted out of.
Mandatory notices
Some messages, such as compliance reminders, can be marked mandatory. They reach you even if you unsubscribed, have no unsubscribe link, and their email cannot be turned off in your notification preferences (shown as Locked on).
Questions and troubleshooting
Nothing is being sent.
Work through these in order. The delivery log usually names the reason.
- Is the notification Enabled? Check its status on the manage page.
- Is Suspend notifications on in the settings? A banner on the manage page says so.
- Is Redirect all emails to set? Then every email goes to that address only.
- Is email turned off for the site? A banner says so. If you did not expect that, ask your usual Lingel Learning contact.
- Does the notification have a send window, or do quiet hours apply? Messages wait until they open.
- Time-based notifications without a window go out at the Daily send time (01:00 server time by default), not straight away.
- Are the plugin's scheduled tasks enabled? Check Site administration > Server > Tasks > Scheduled tasks. If they are and nothing is going out, contact your usual Lingel Learning contact.
- Does the Audience count show anyone? Check courses, groups, cohorts and audience conditions.
The delivery log shows "skipped". Why?
The reason column says why. Common reasons: the user unsubscribed, the account is suspended, unconfirmed or set to No login, the email address is invalid or bouncing, the user does not match the audience conditions, or sending was suspended.
A learner already got this reminder. Will they get it again?
Only if the notification repeats. Without Repeat, reminders go once. Date reminders go once per date, and again only if the date moves.
Why didn't a learner get a course end or enrolment expiry reminder?
The course or the enrolment has no end date, so there is nothing to remind about.
I can't choose a course for a completion or progress reminder.
Only courses with completion tracking turned on can be chosen.
I can't choose groups.
Groups can only be chosen when exactly one course is selected.
The Certificate issued type is missing.
It needs Custom certificate or Simple certificate on your site, and without one of them the type is not offered. To add one, ask your usual Lingel Learning contact.
Users say they get messages they unsubscribed from.
Check whether the notification is mandatory. Mandatory notifications are sent to users who unsubscribed.
Emails come from the no-reply address, not the From address I set.
Moodle only sends from addresses whose domain is in Allowed email domains (Site administration > Server > Email > Outgoing mail configuration). Otherwise it uses the no-reply address with your From name, and replies go to your From address.
Managers don't get summaries or escalations.
Check Manager sources in the settings and that the learner's manager can be found there (for example the profile field is filled in). Learners without a manager are not escalated.
Sending is slow on a large site.
Review Maximum sends per run, Time limit per run and Maximum sends per second. The delivery status on the delivery log shows what is waiting. Direct email is lighter than Moodle messages for very large sends.
An imported notification is disabled.
Imported notifications start disabled unless Keep enabled was ticked. Check it, then enable it from the manage page.
External Activities
Record learning that happens outside Moodle, have it checked by a marker, and count it towards learning areas, course grades and competencies.
This page describes External Activities 2.0 on Moodle 4.5. On a Virtual Slate site the plugin is enabled in the site's configuration, which Lingel Learning does for you. The screenshots come from a demonstration site, so your names and colours will differ.
How it works
Learners often complete training outside Moodle: a first aid course, a conference, a webinar, a workshop run by a supplier. External Activities gives that learning a home in Moodle.
Every learning activity has one of three statuses:
| Status | What it means | What the learner can do |
|---|---|---|
| Pending | Waiting for a marker. | Edit or delete it. |
| Approved | Accepted with a score. The score counts towards the learning area total. | View it. It is locked so the evidence cannot change after approval. |
| Rejected | Not accepted. The marker explains why. | Edit and resubmit it, or delete it. |
For learners
Anyone with a site accountOpen the plugin
Go to your profile and choose External activities under Miscellaneous. Your site may also link to it from the dashboard or menu. The link shows only for people who can record or mark activities.
Record an activity
- On My learning activities, select Record a learning activity.
- Choose the Learning area the activity belongs to.
- Give it a short Activity name, such as the course or event title.
- Under What did you do?, describe the activity and what you learned. Markers use this to assess it.
- Set the Completion date. It cannot be in the future.
- Under Evidence, select the add button and upload your certificate, attendance record or other proof. You can add several files; the limit and allowed file types are shown above and below the box. At least one file is required.
- Select Submit for approval.
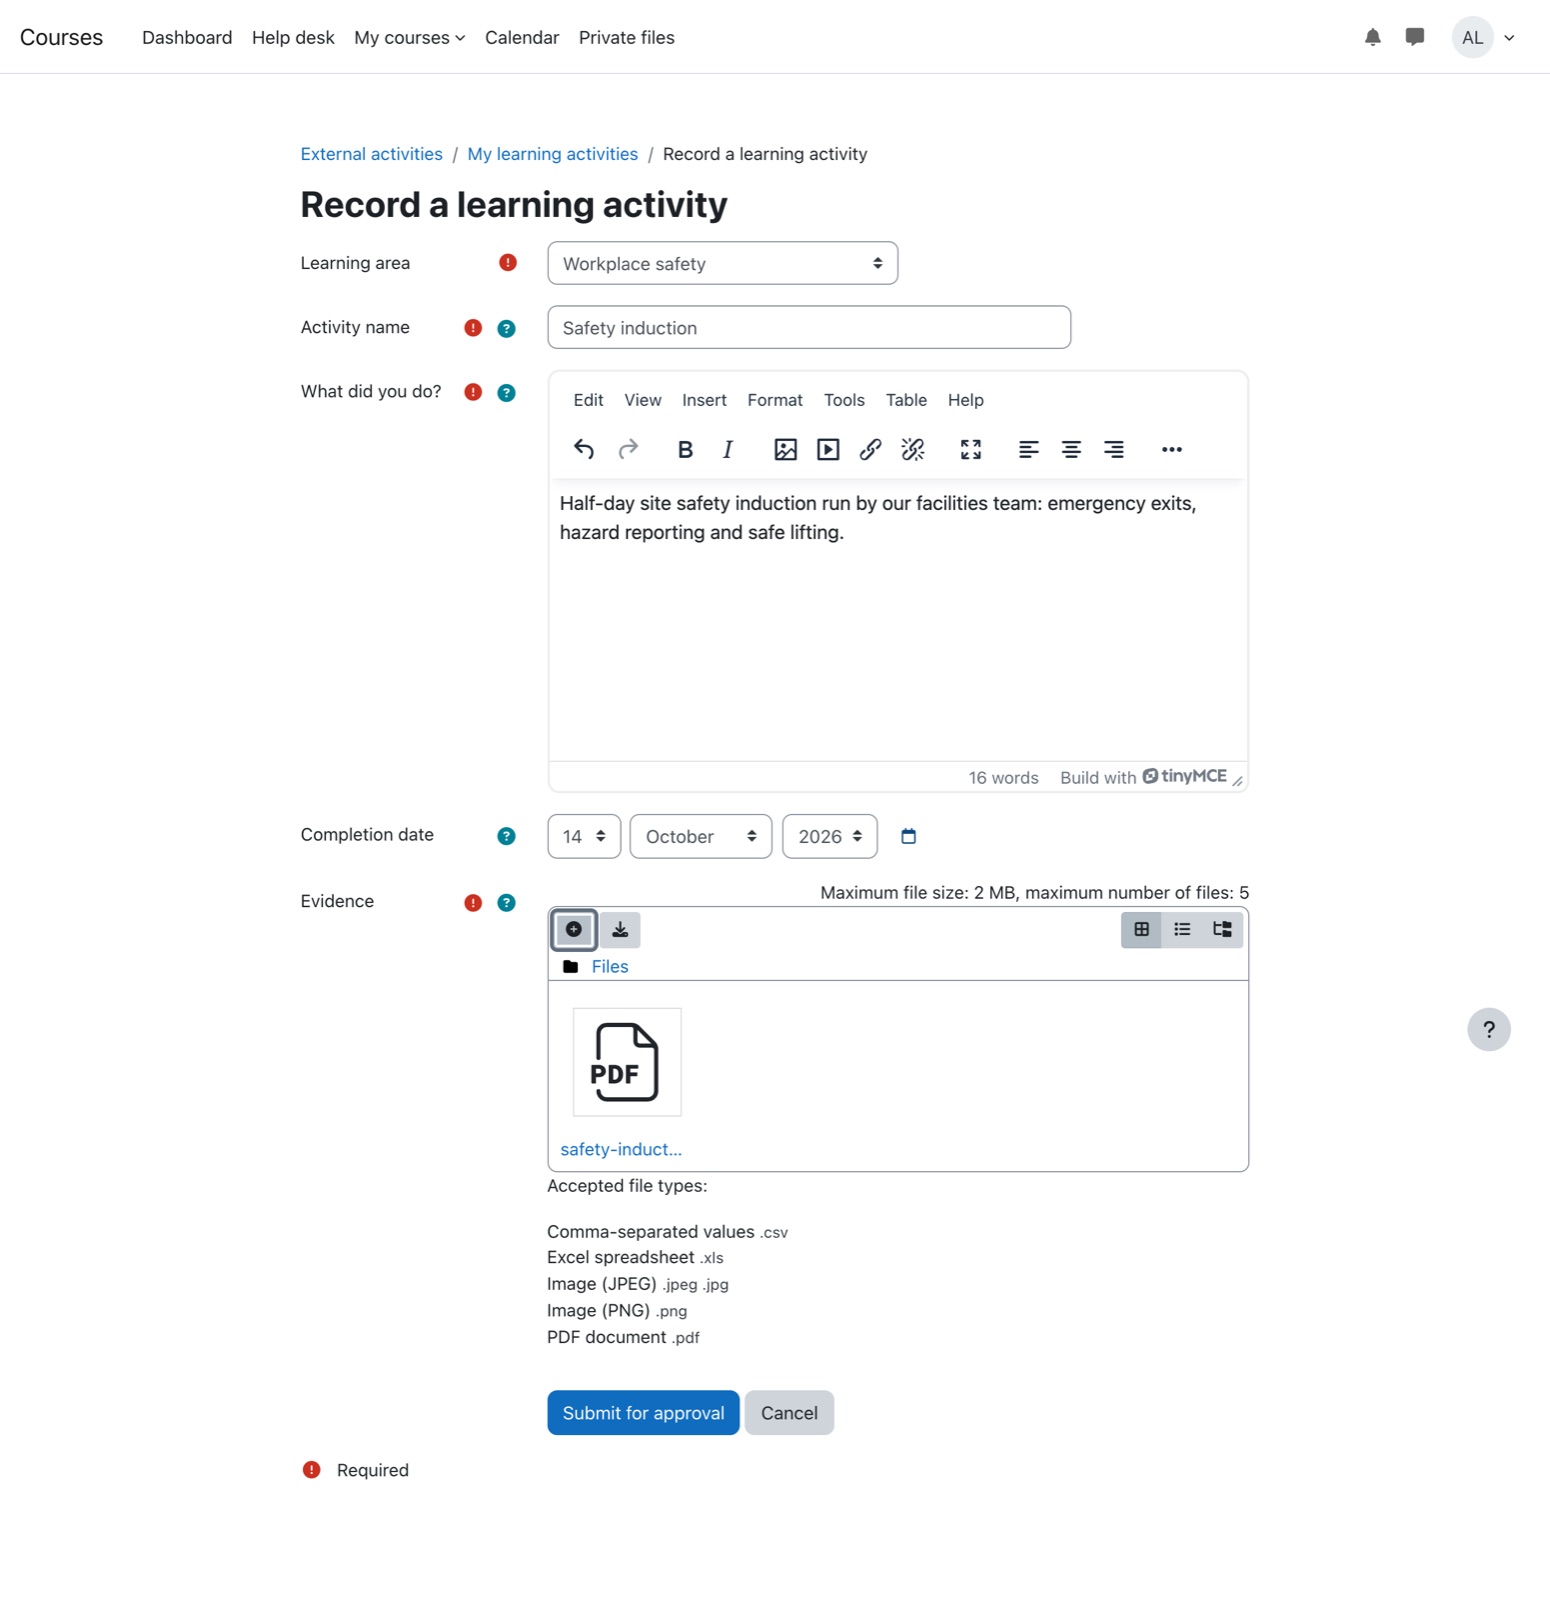
The activity opens with the status Pending. Markers are notified straight away.
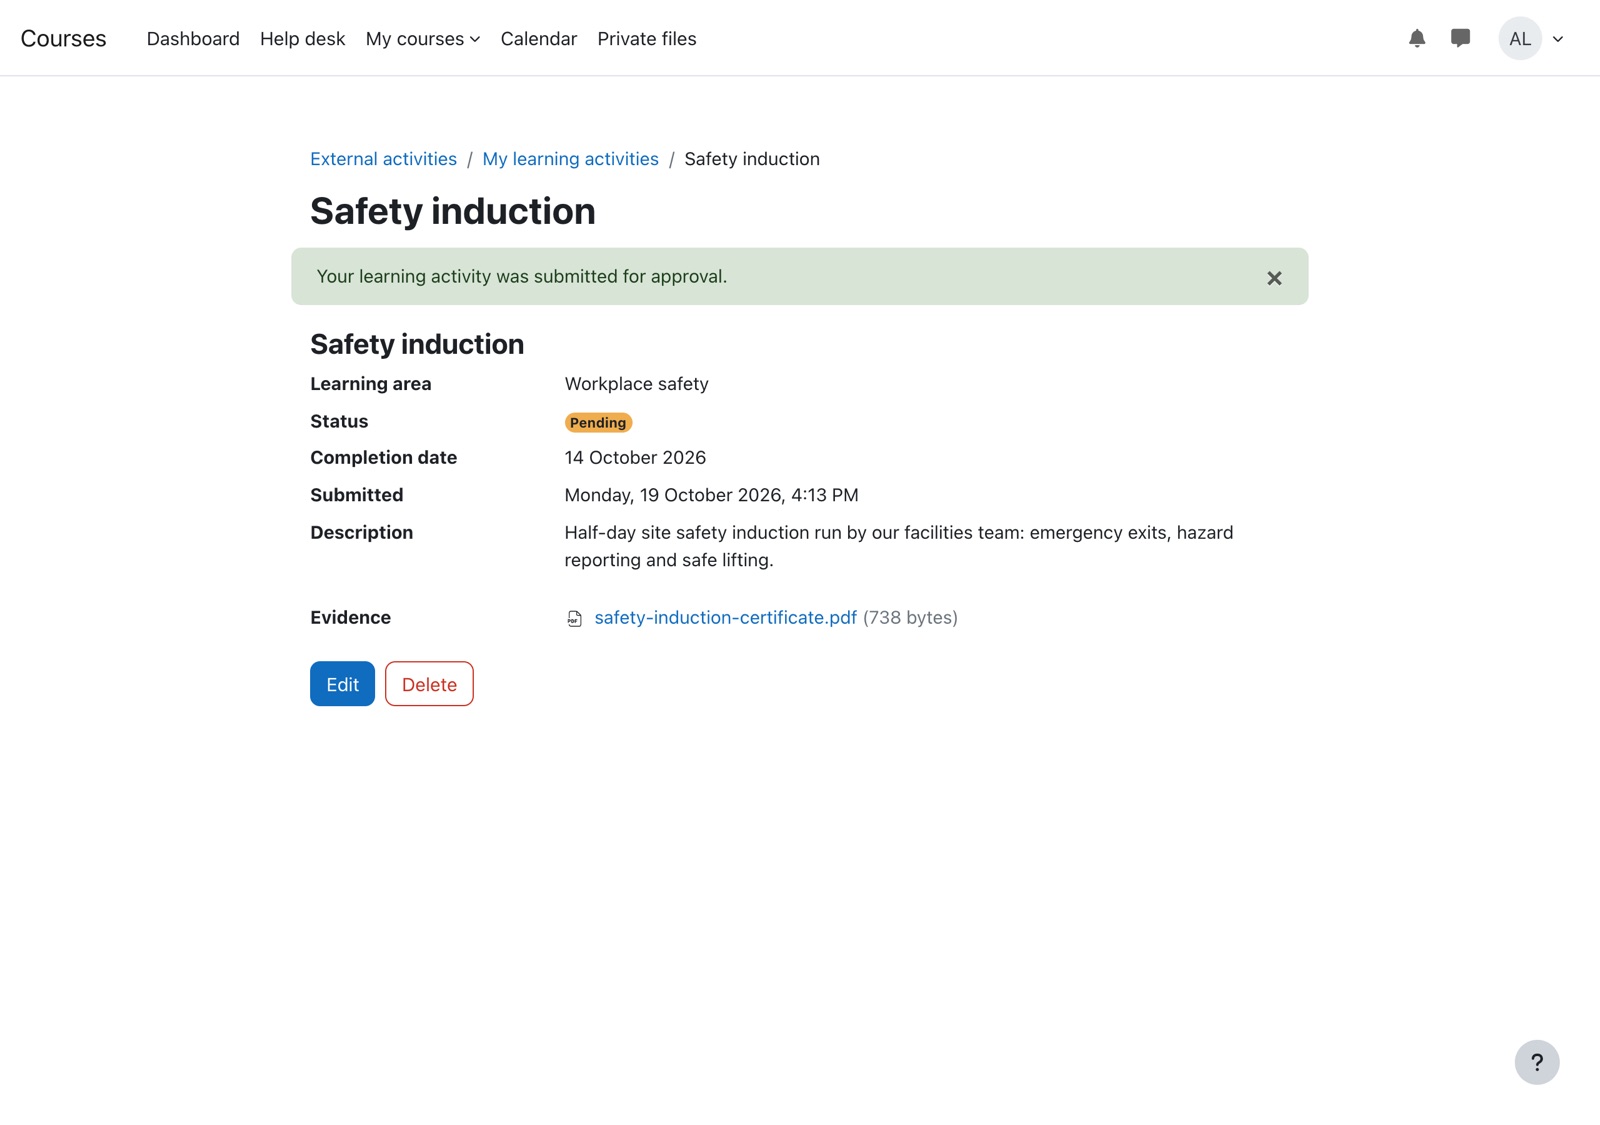
Track your totals
My learning activities shows two things:
- My totals by learning area: your approved score in each area, and how many activities are approved, pending and rejected. When an area has a target score, you see your progress towards it, for example 19 of 20.
- Learning activities: every activity you have recorded. Filter by learning area or status, and select Apply filters. Approved activities show their score under the status.
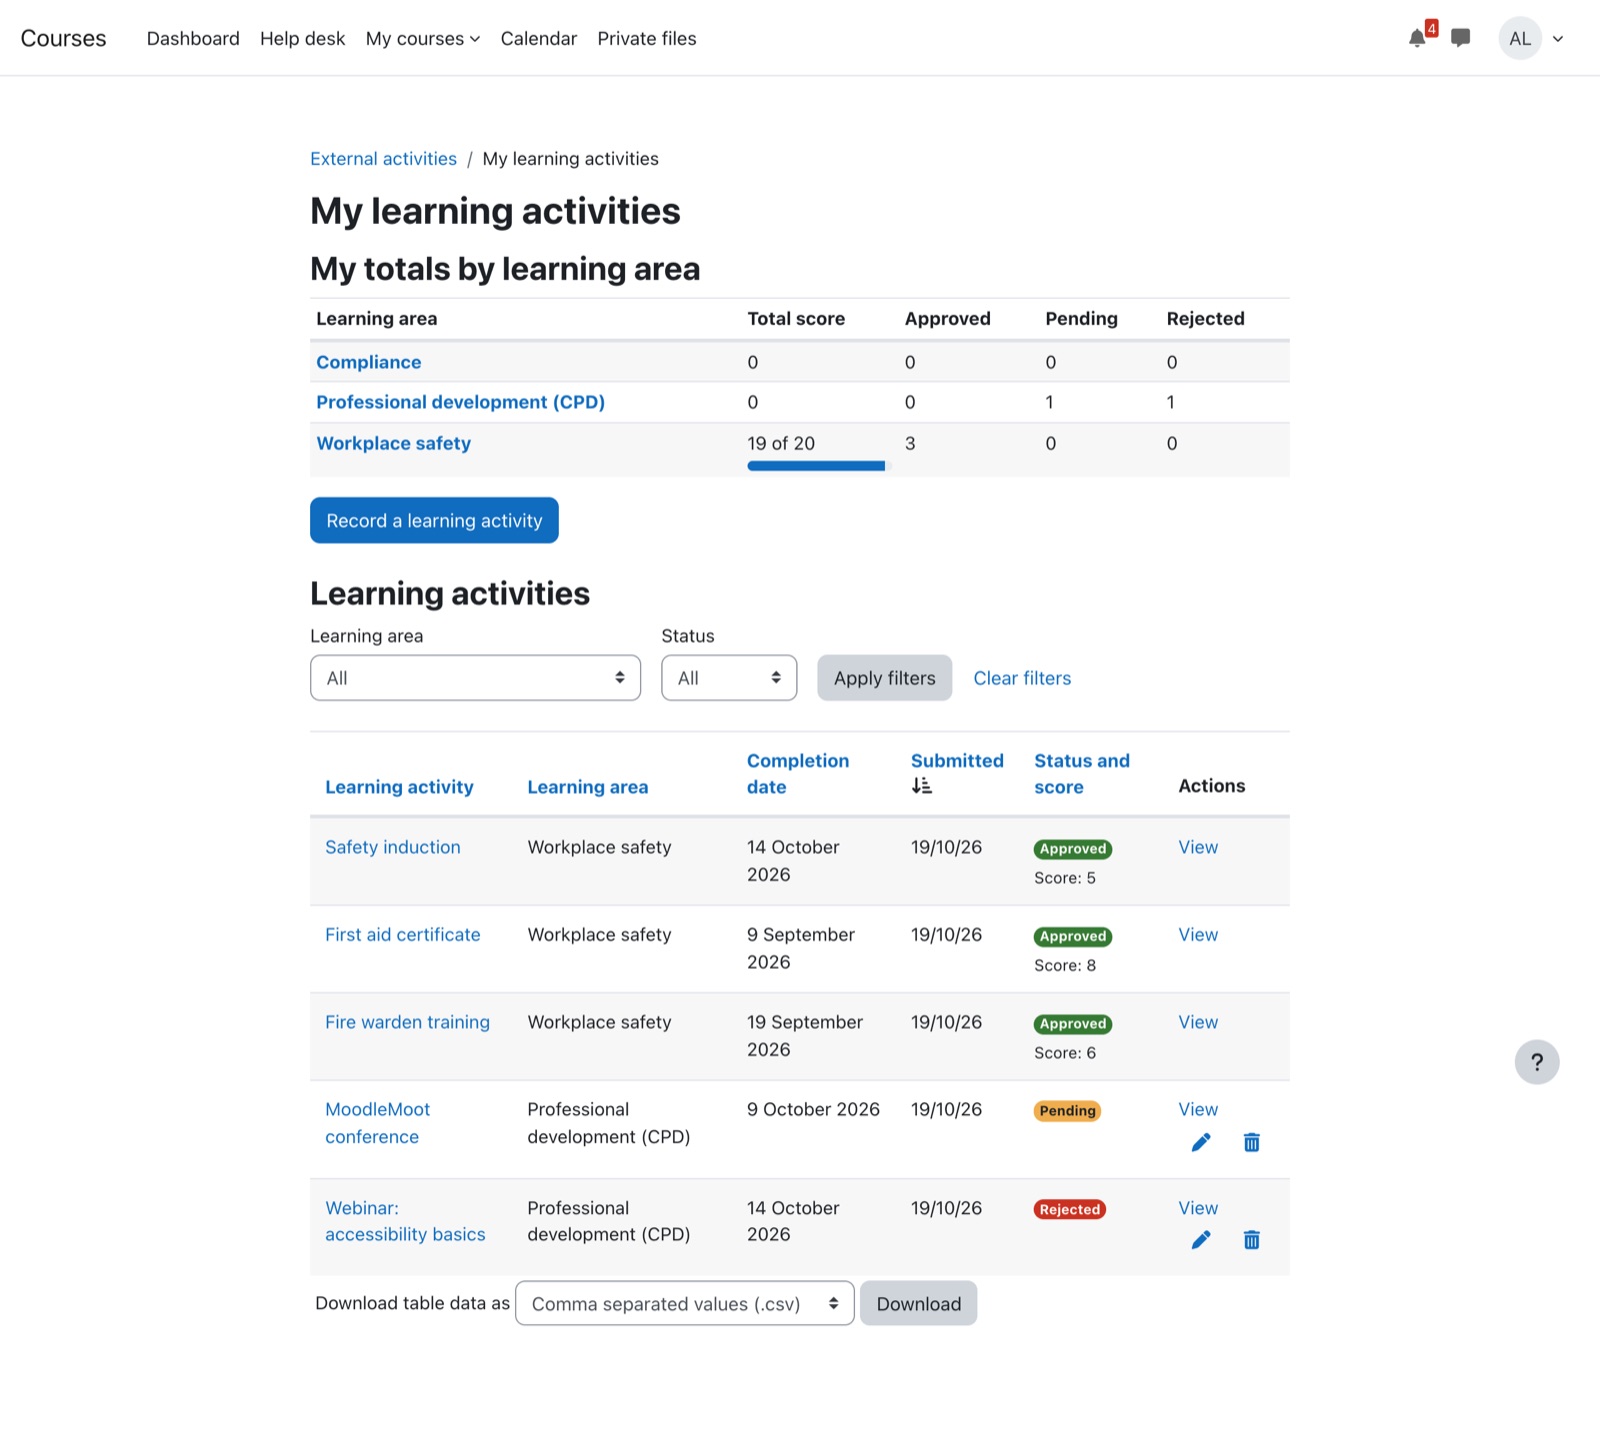
Notifications
Moodle tells you when an activity is approved, rejected or given a new score. You see these in the bell menu, and by email if your notification preferences allow it. Open Preferences → Notification preferences and look for External activities to change how you receive them.
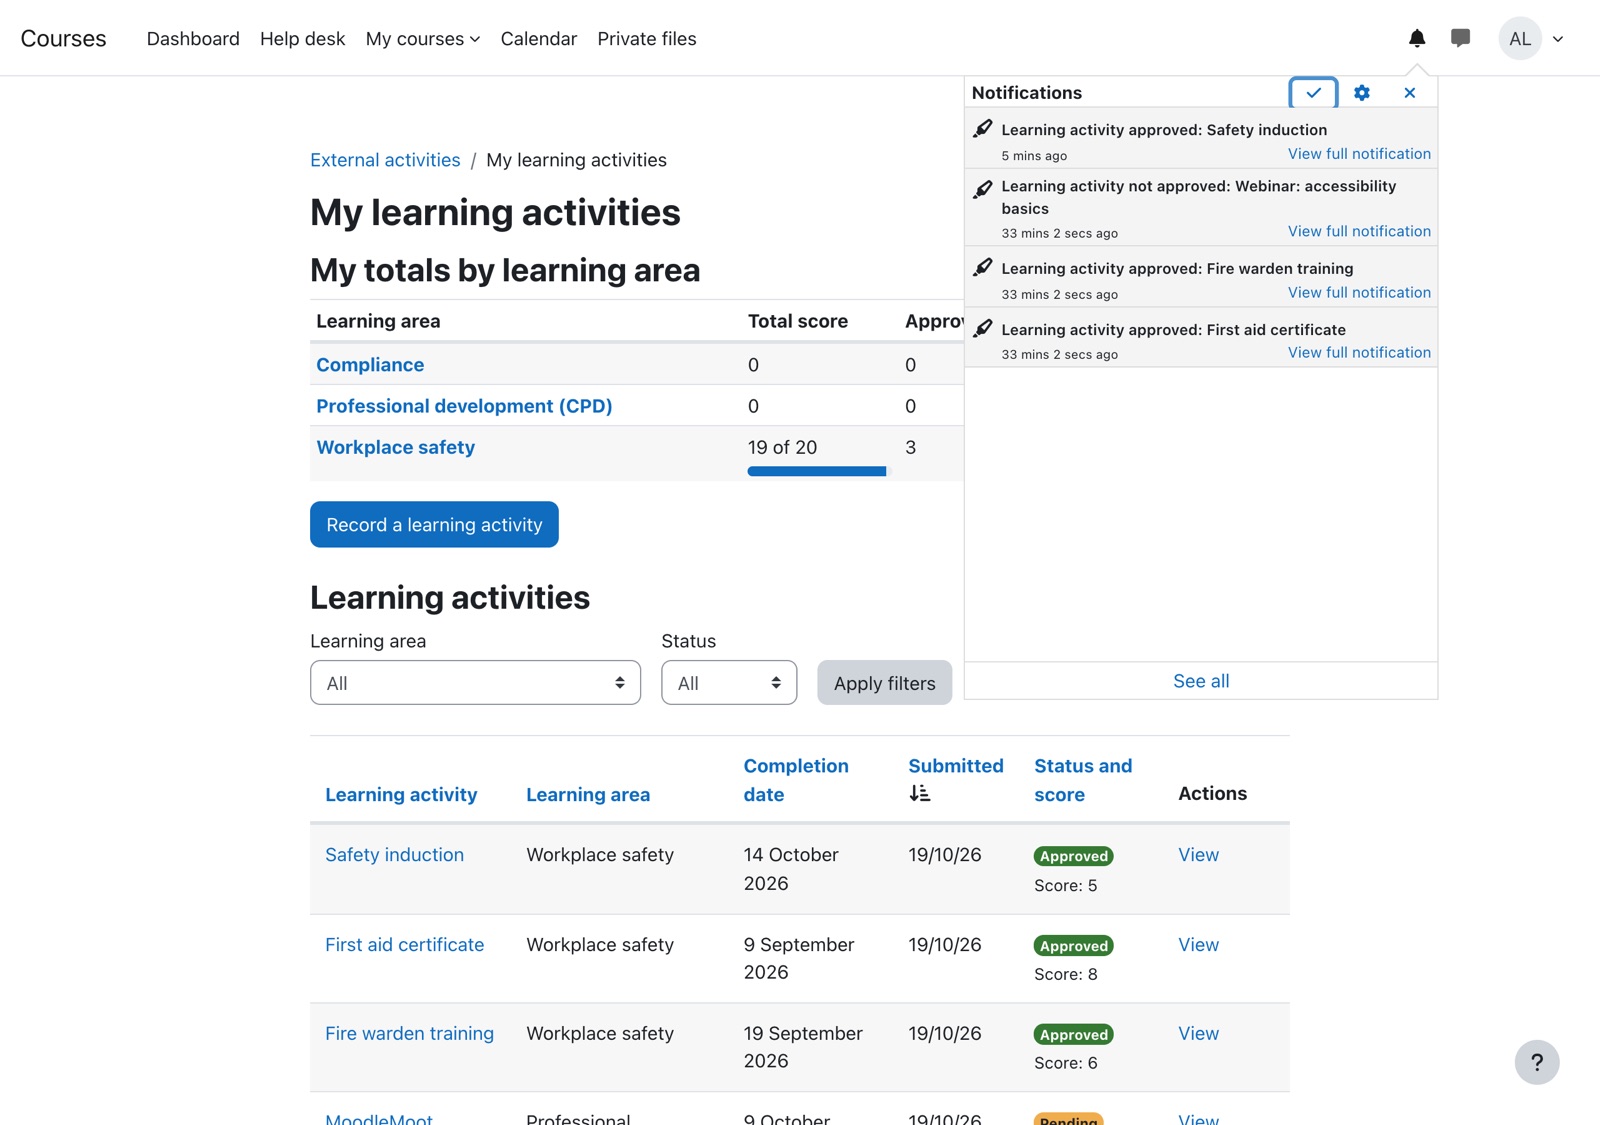
Fix a rejected activity
A rejected activity shows the marker's reason in Marking decision.
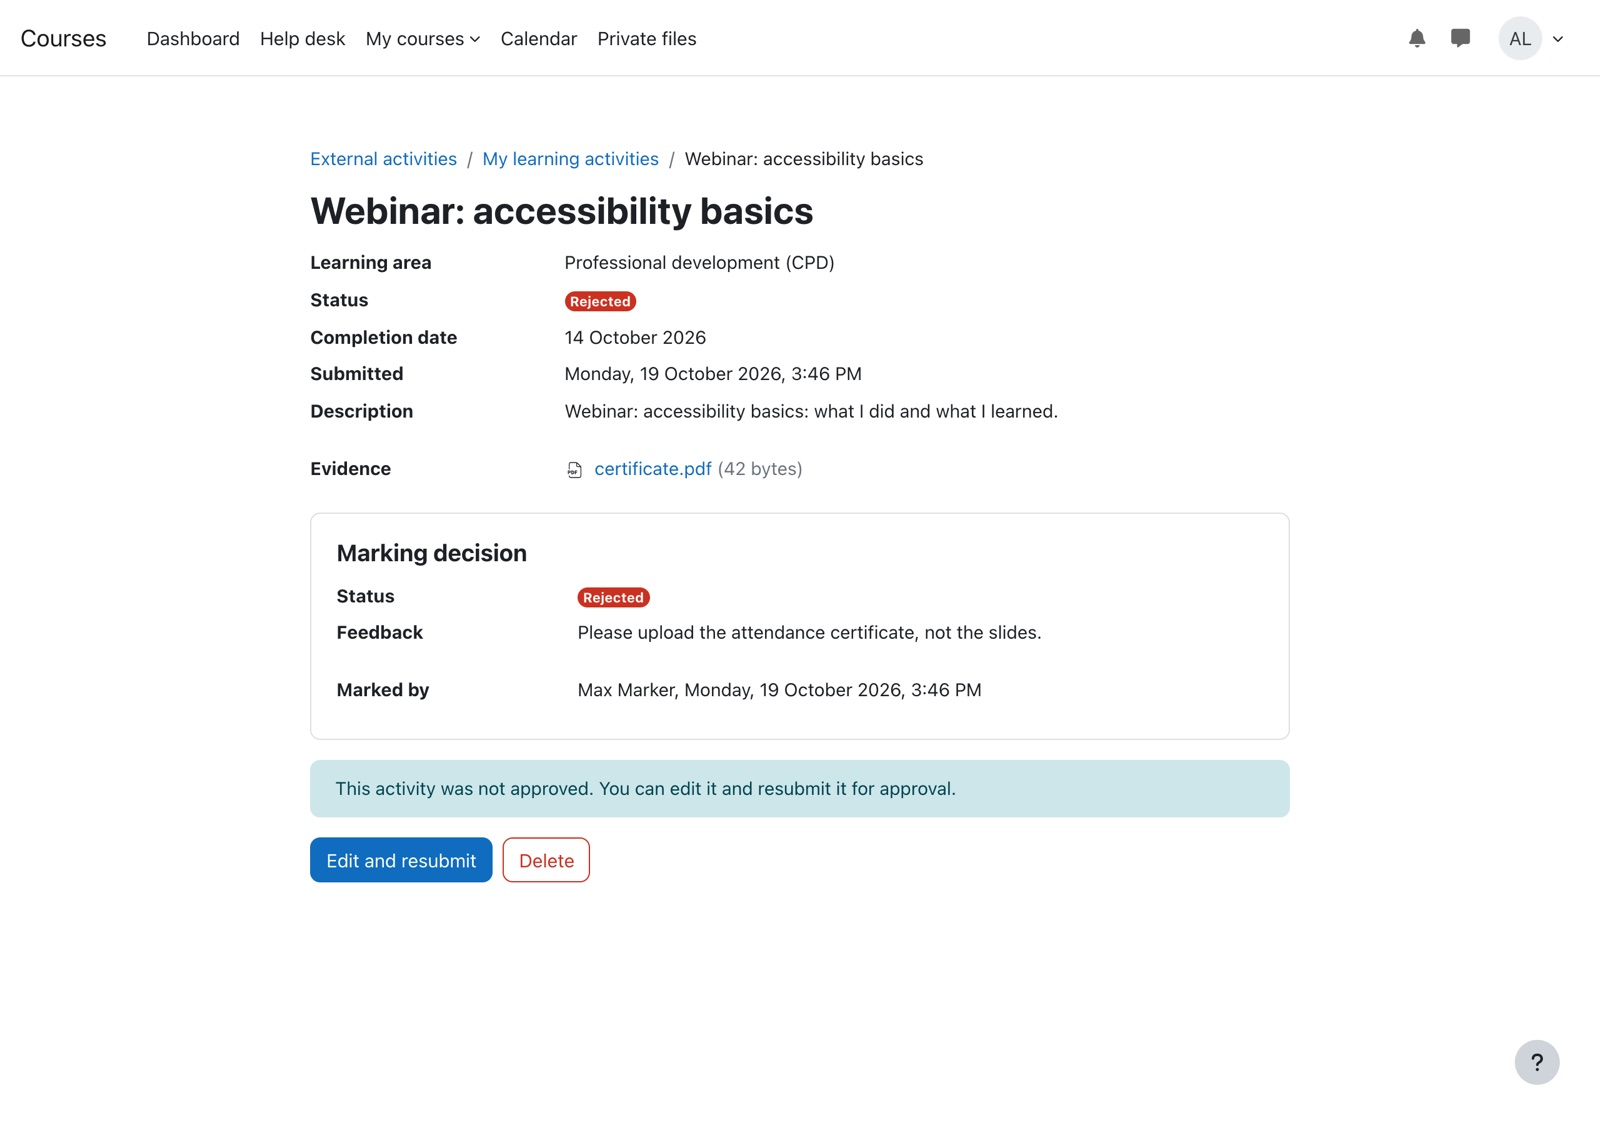
- Select Edit and resubmit. The marker's reason is shown at the top of the form.
- Make the changes, for example replace the evidence file.
- Select Resubmit for approval. The status goes back to Pending and markers are notified.
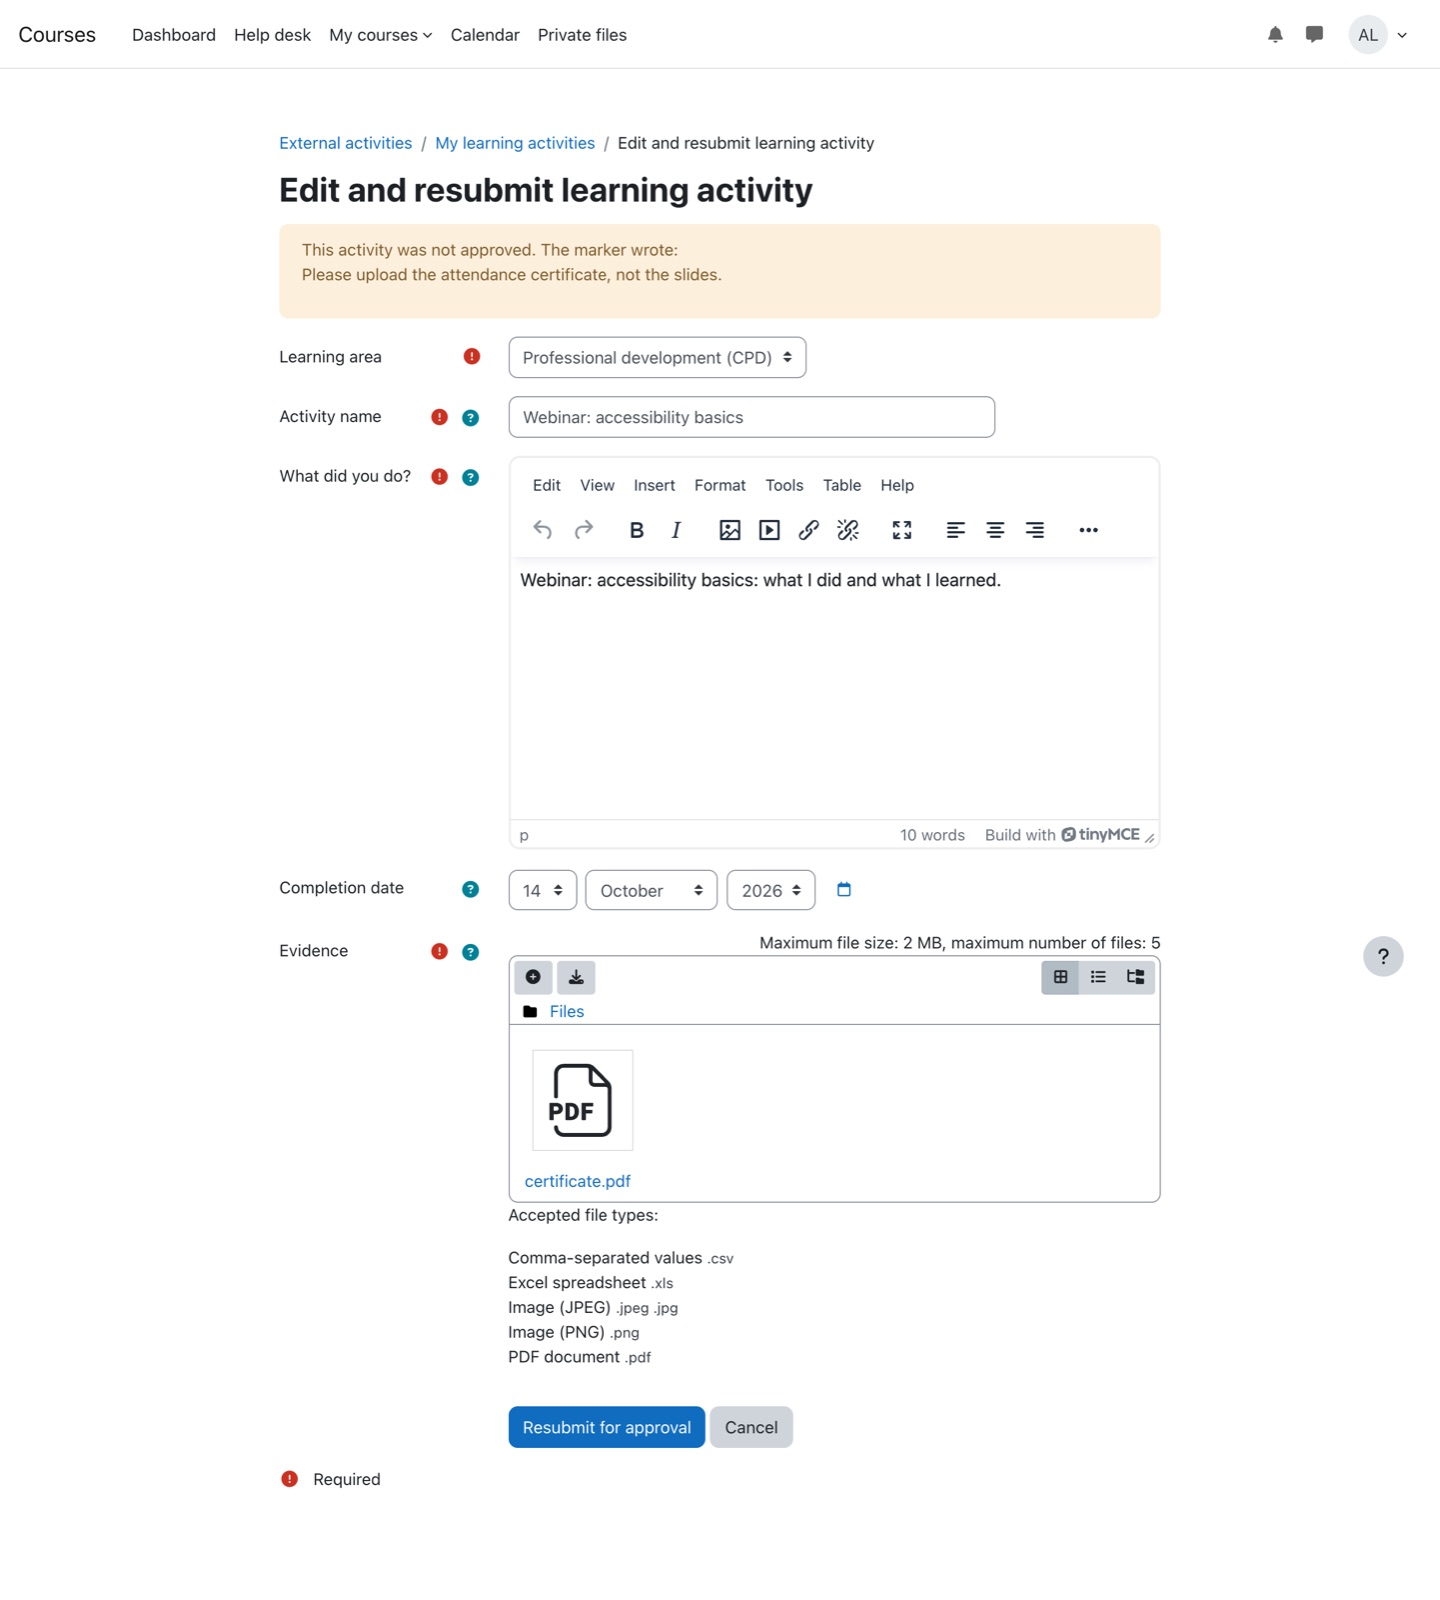
The earlier decision stays on the activity under Earlier decisions, so you and the marker can see what happened.
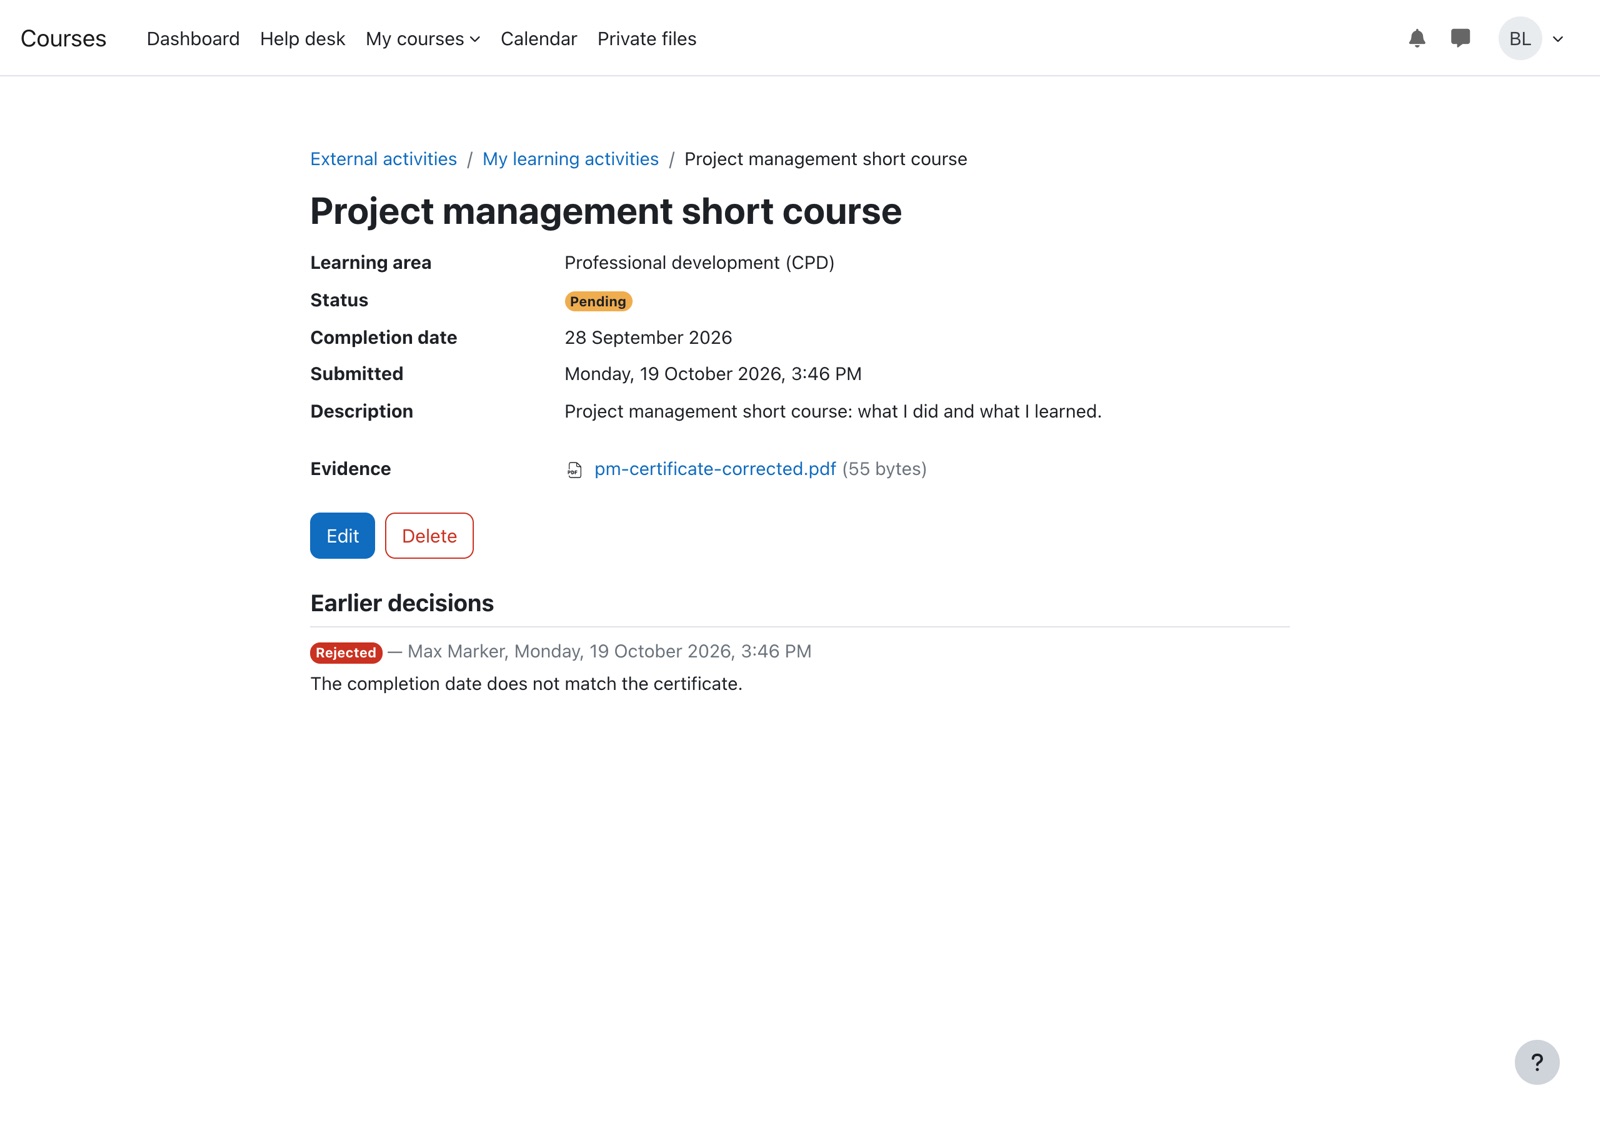
Edit or delete an activity
Use the pencil or bin icon in your list, or the buttons on the activity page. You can edit or delete activities that are Pending or Rejected. Approved activities are locked. If one needs to change, ask a marker.
Deleting an activity removes it and its evidence files. Moodle asks you to confirm first.
For markers
Users who can approve, reject and re-gradeThe marking queue
Open External activities from your profile. Markers land on the Marking tab; select My learning activities to record your own. The queue opens on activities waiting to be marked, oldest first, 20 to a page. Change the Status filter to All to see everything.
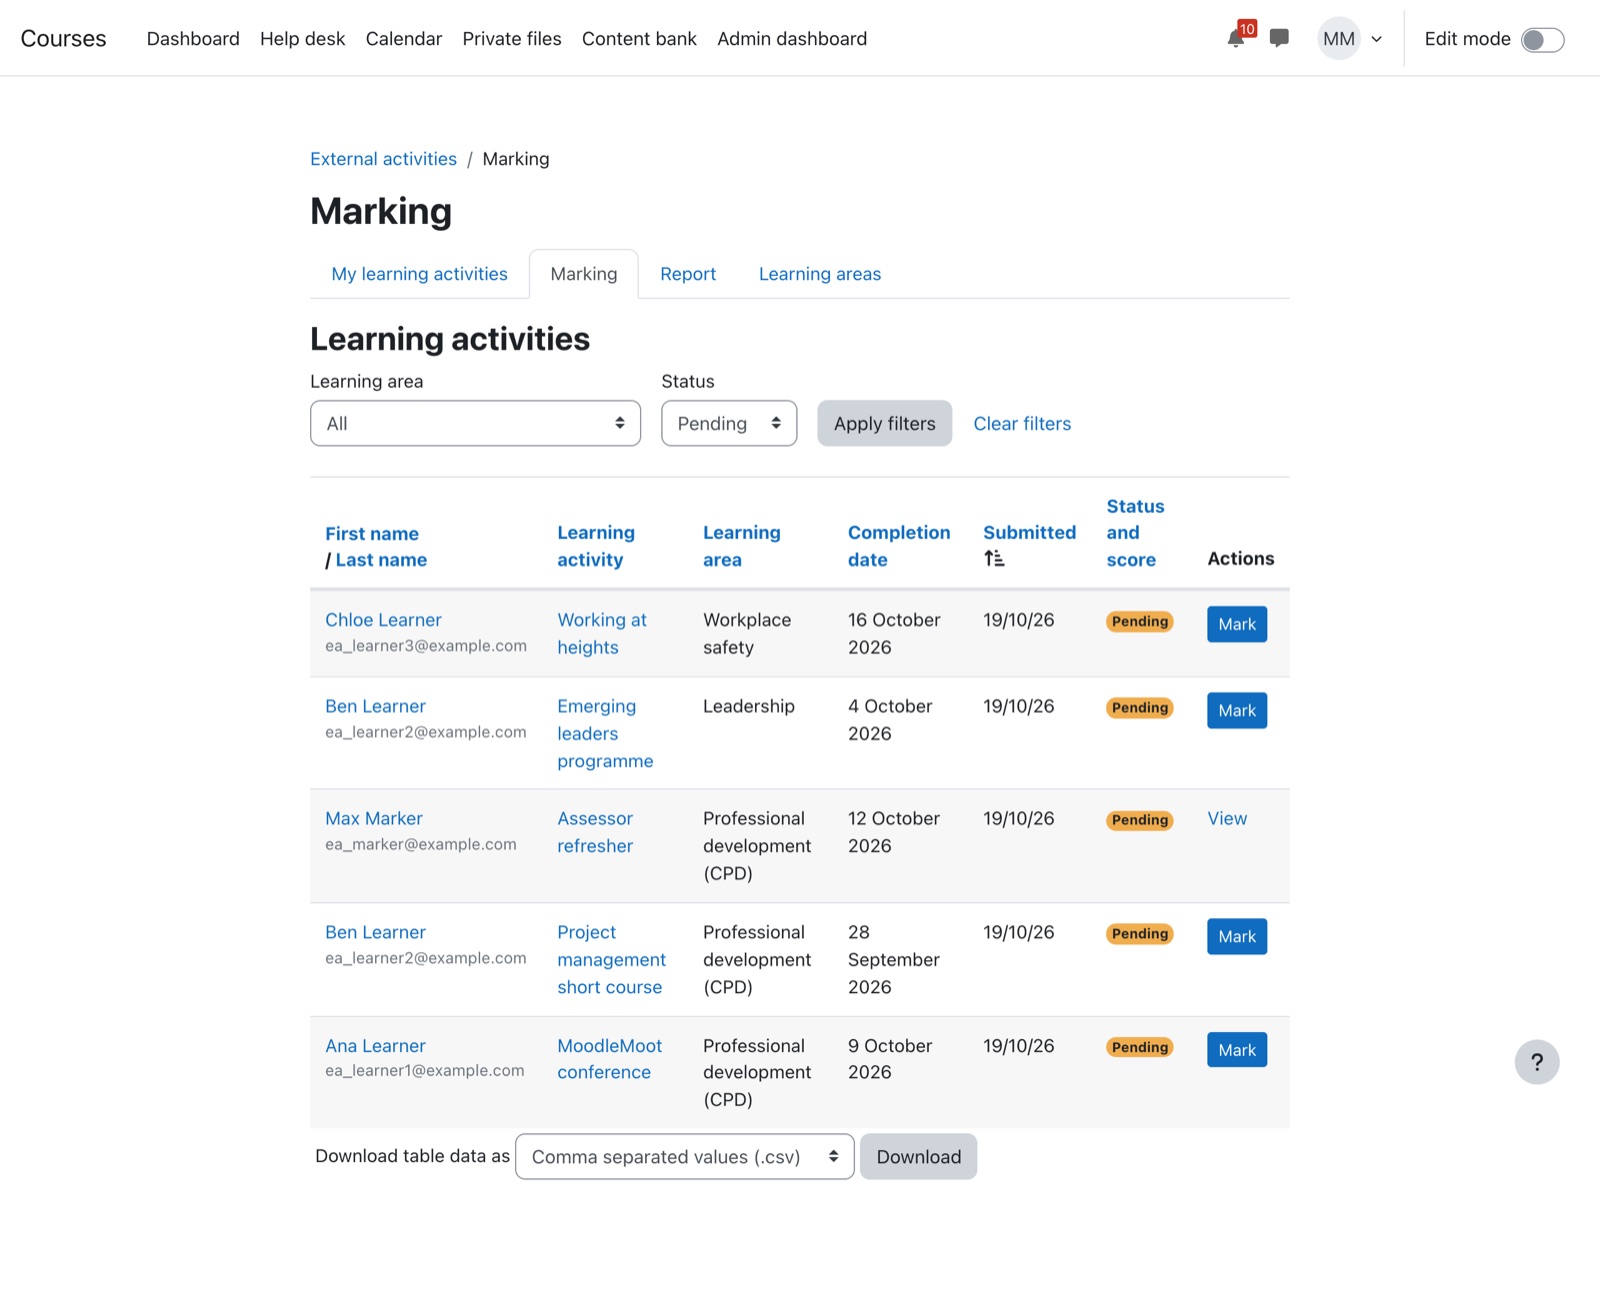
- Select a learner's name to see only their activities.
- Select Mark to open an activity.
- Your own activities appear with View instead of Mark. Nobody can mark their own work.
The activity page shows the learner's description and evidence files. Open each file to check it.
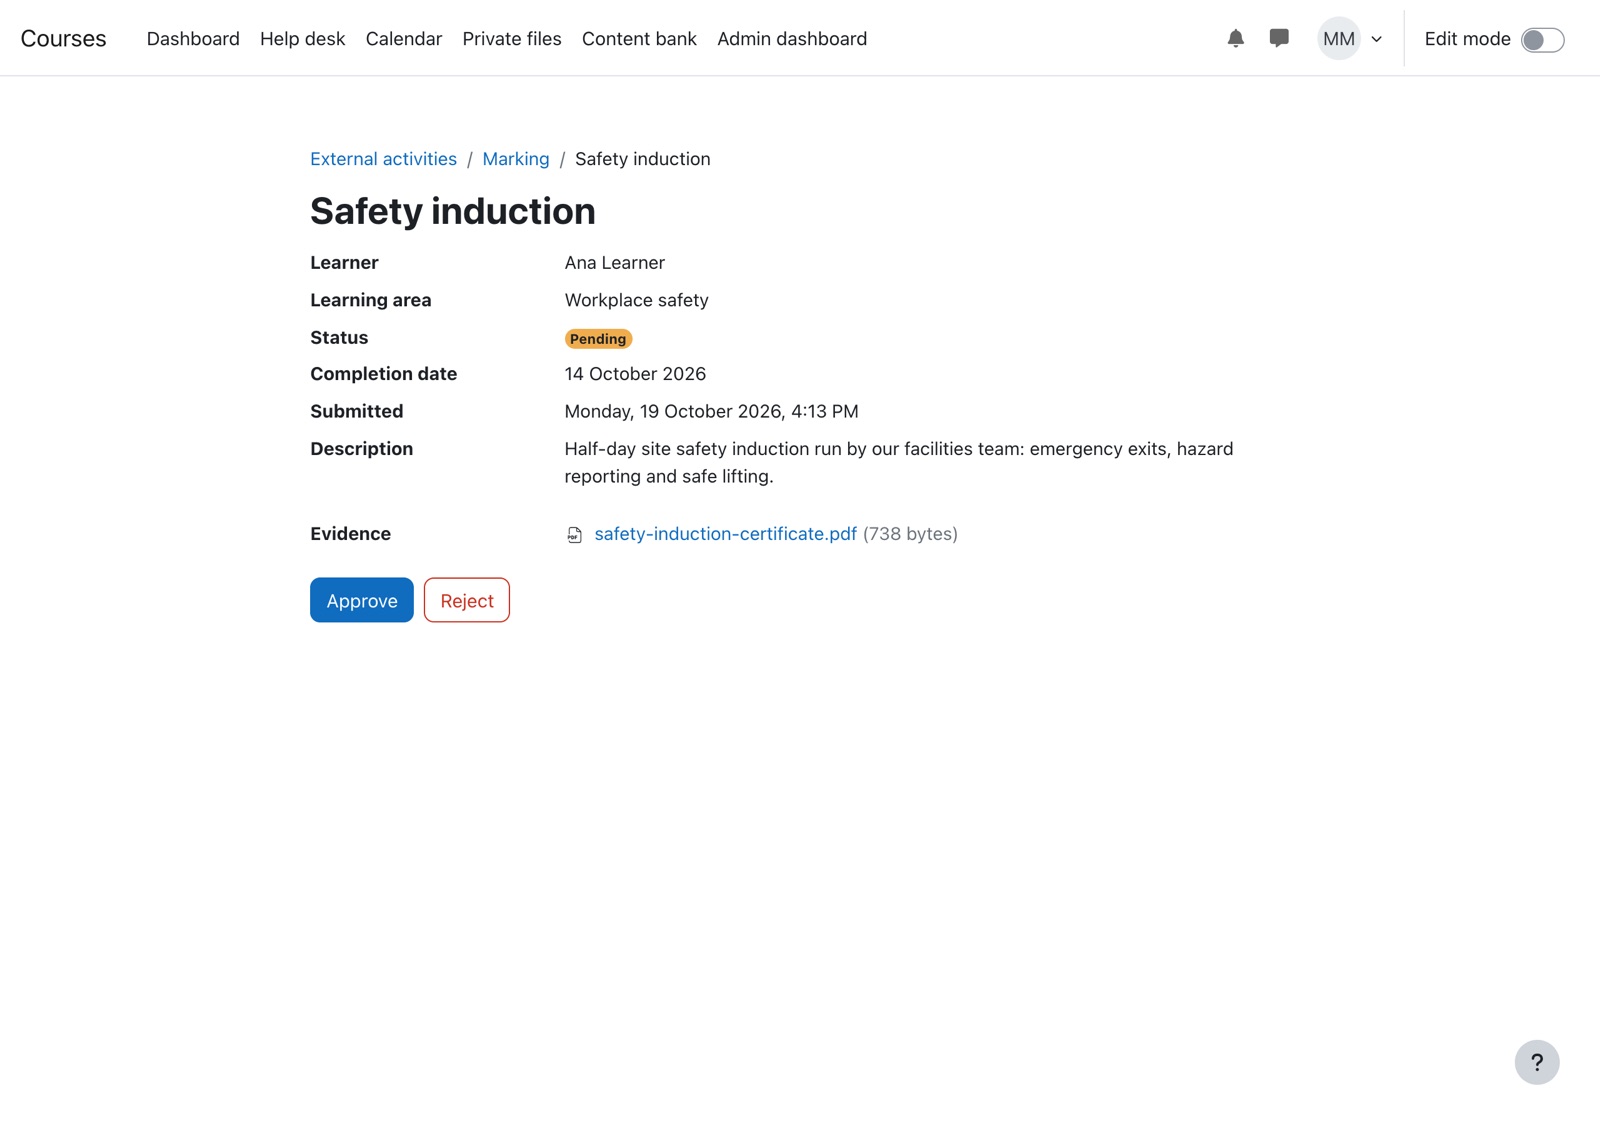
Approve an activity
- Select Approve.
- Enter a Score from 0 to the site maximum (100 unless your administrator changed it).
- Optionally add Feedback.
- Select Approve. The learner is notified and you return to the queue.
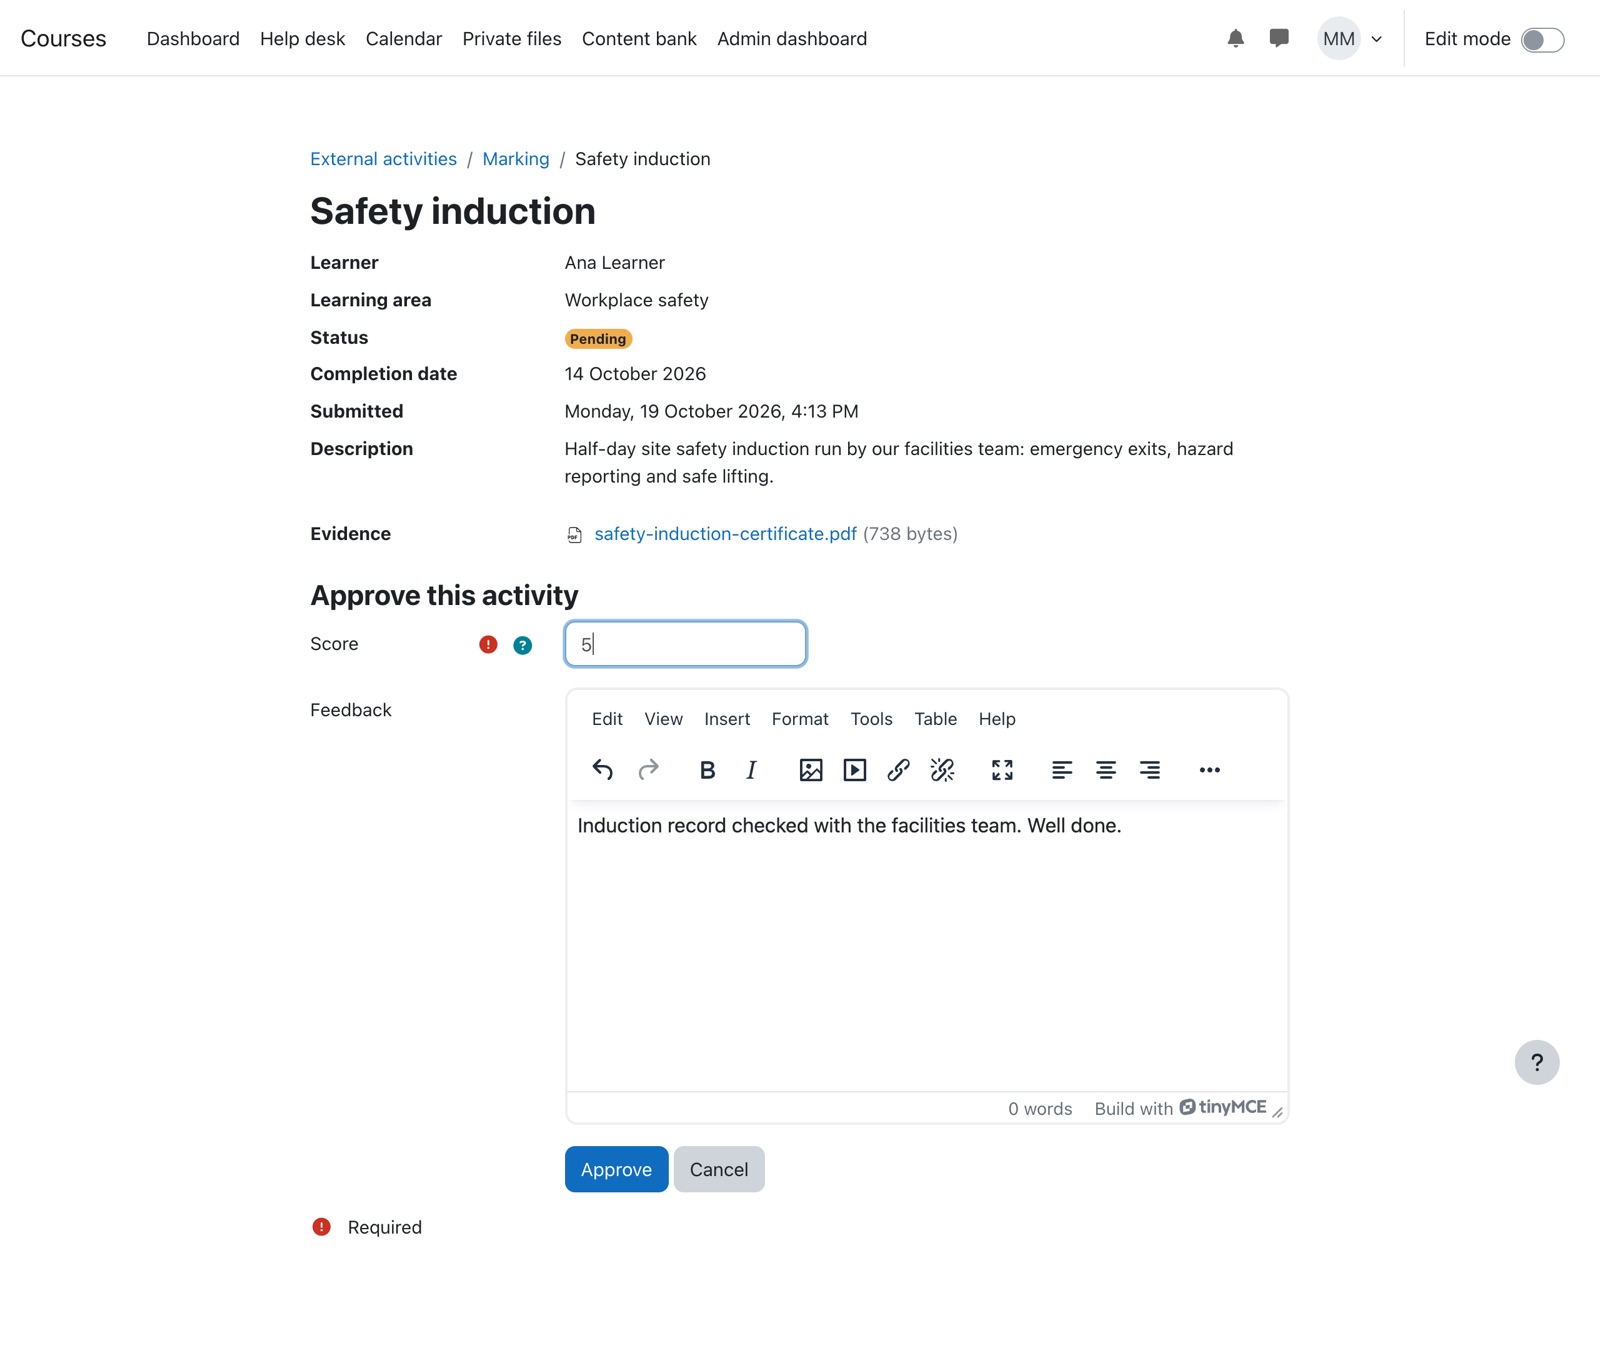
Reject an activity
Select Reject, write the Reason for rejection, and select Reject. The reason is required. Tell the learner what to change: they can edit the activity and resubmit it.
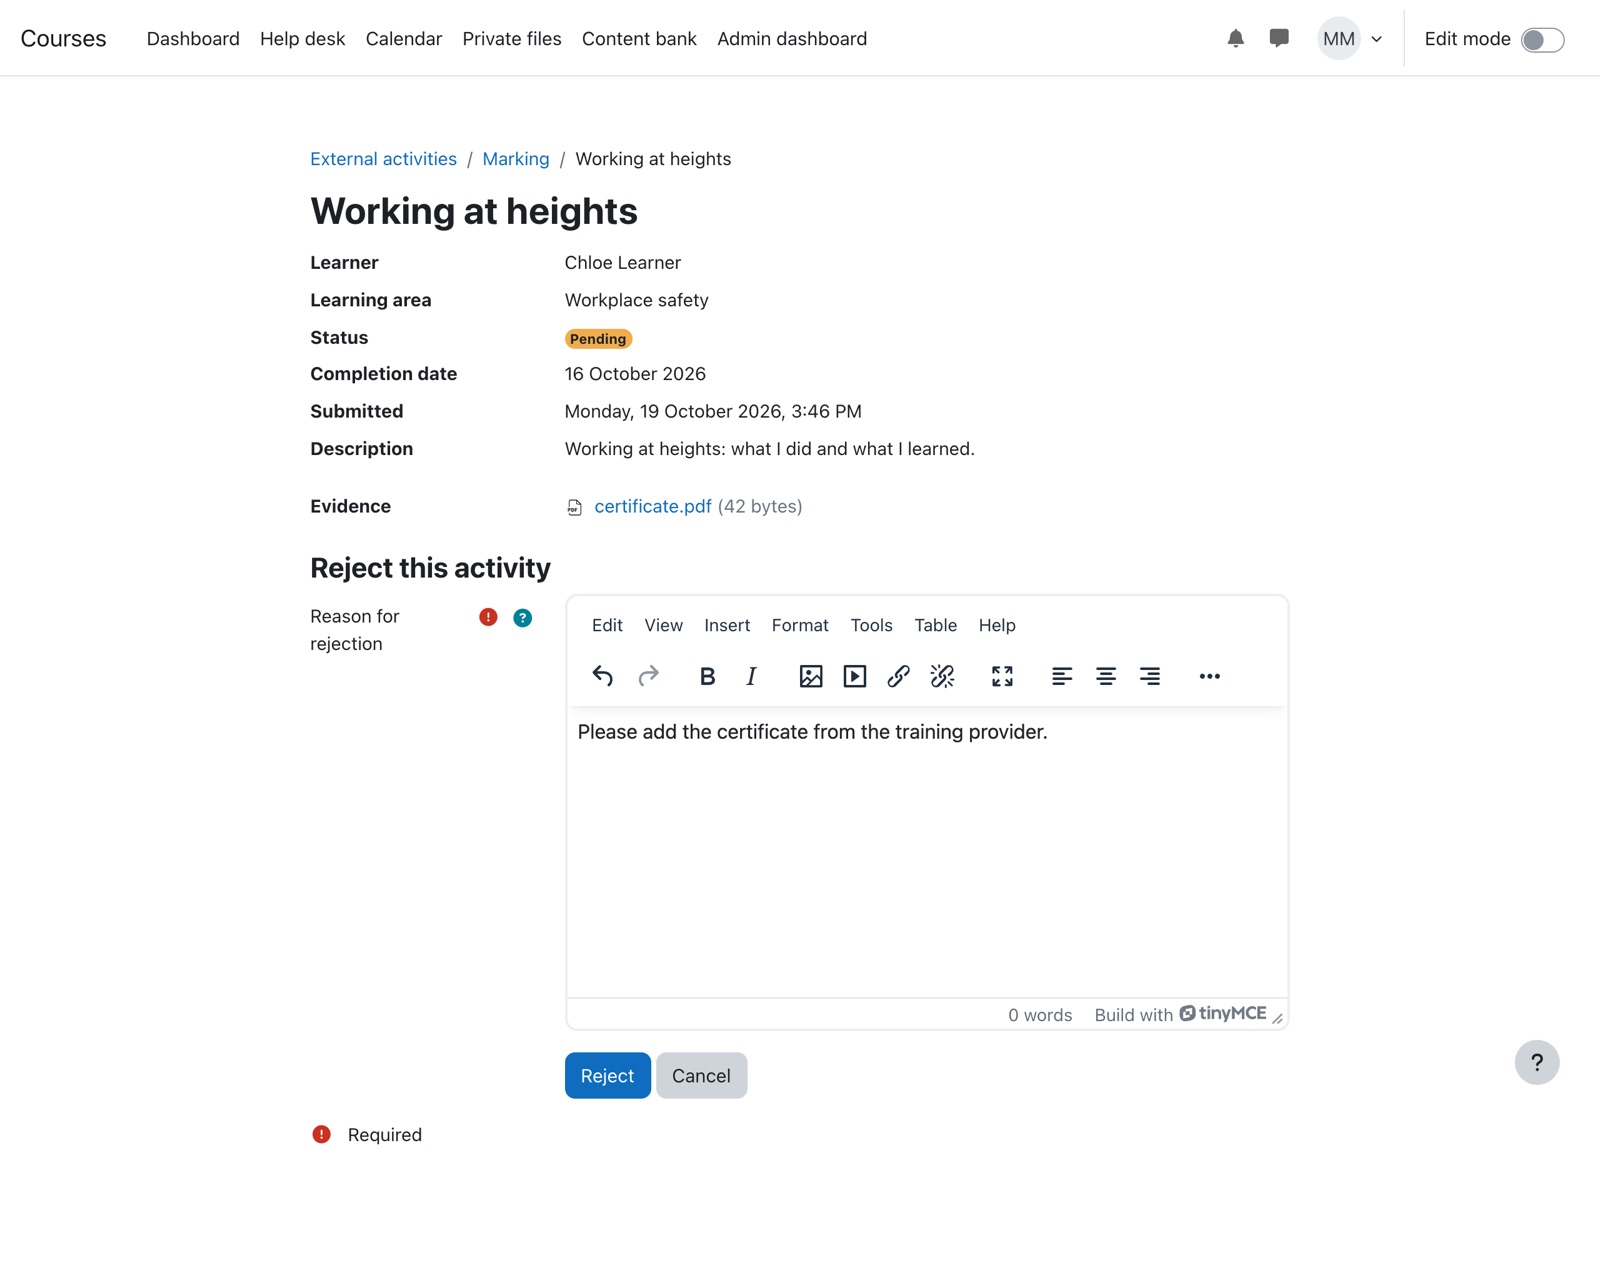
Change a grade
Open an approved activity and select Change grade. The form starts with the current score and feedback. Save to update the learner's totals and gradebook grade. The learner is notified.
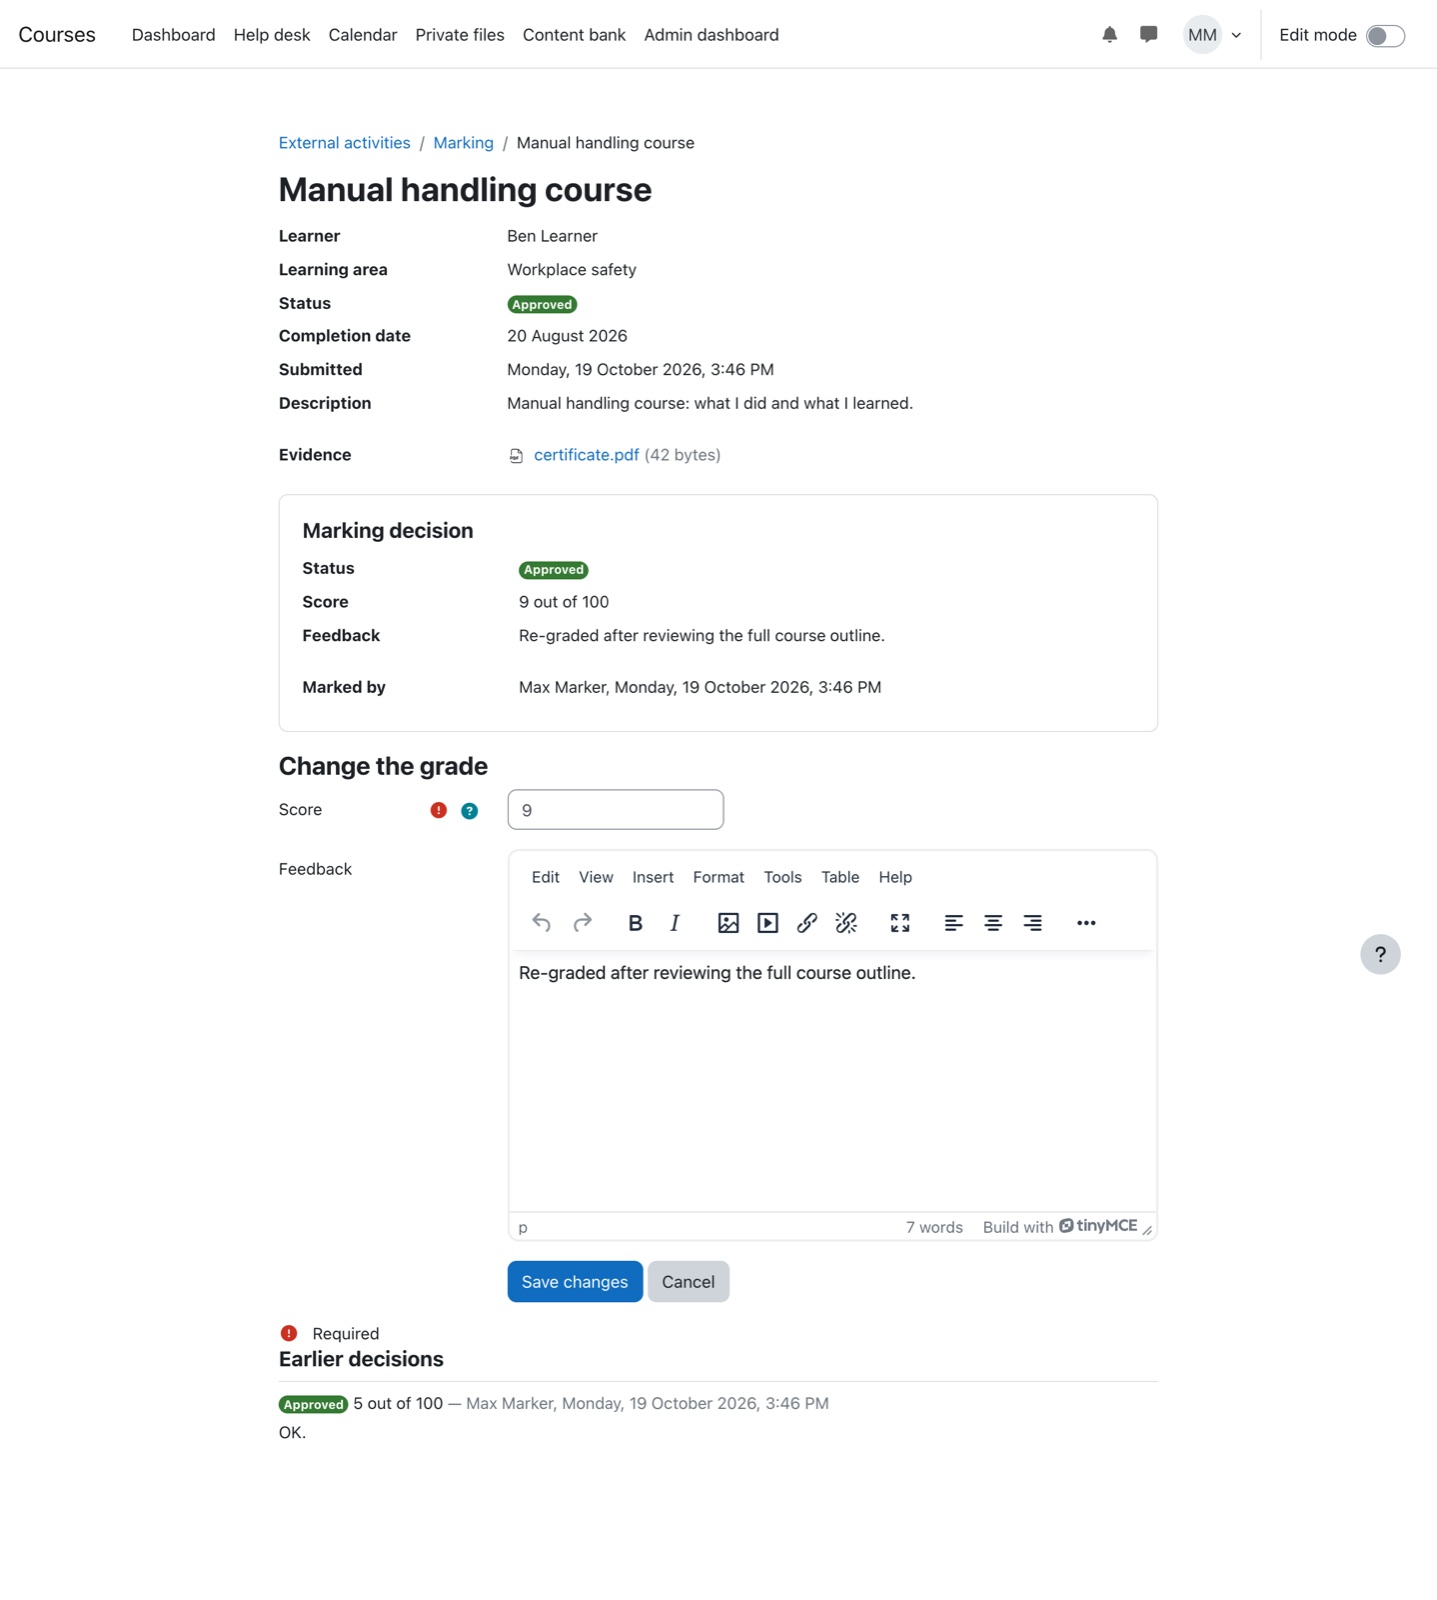
History
Every earlier decision is kept. When you change a grade, or a learner resubmits a rejected activity, the previous decision moves to Earlier decisions with who made it and when.
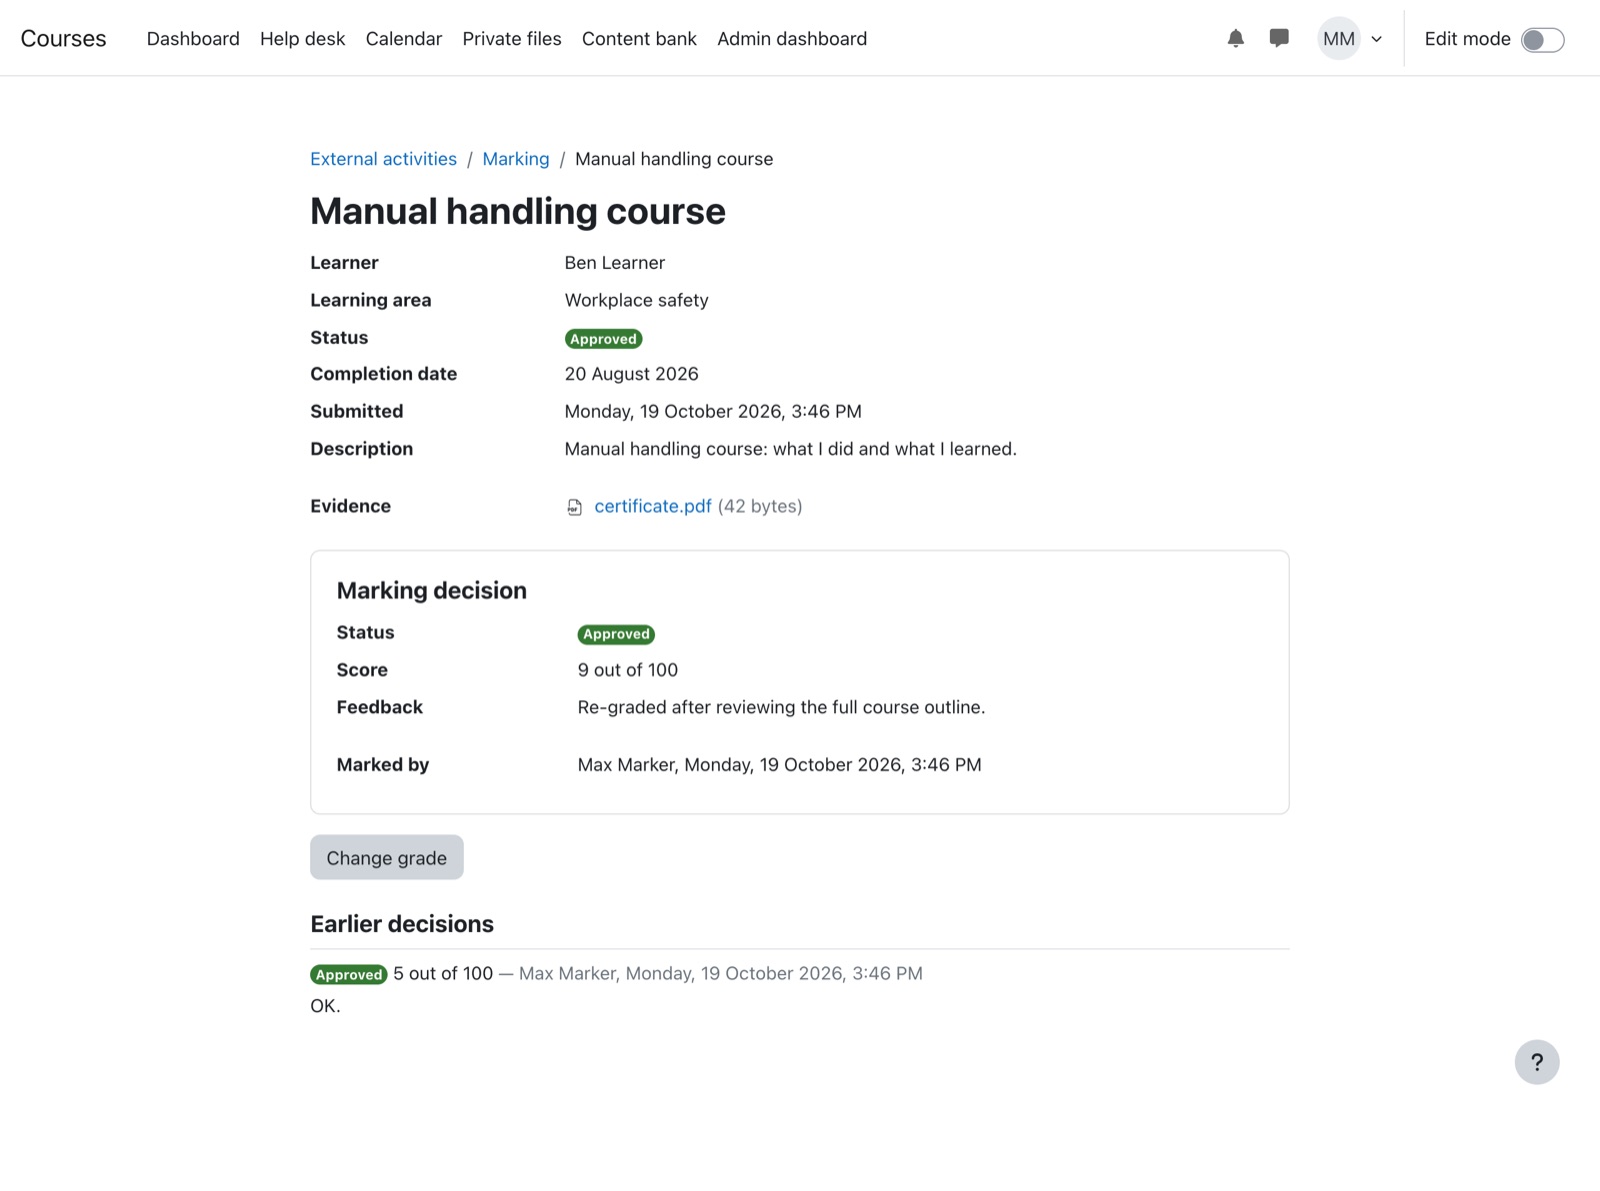
Download lists
Under each list, choose a format (CSV, Excel, ODS, JSON, HTML or PDF) and select Download. The file contains the rows that match your filters, with email and score in their own columns.
For managers
Users who manage learning areas or view the reportLearning areas
Learning areas group activities, for example Workplace safety or Professional development (CPD). Open the Learning areas tab.
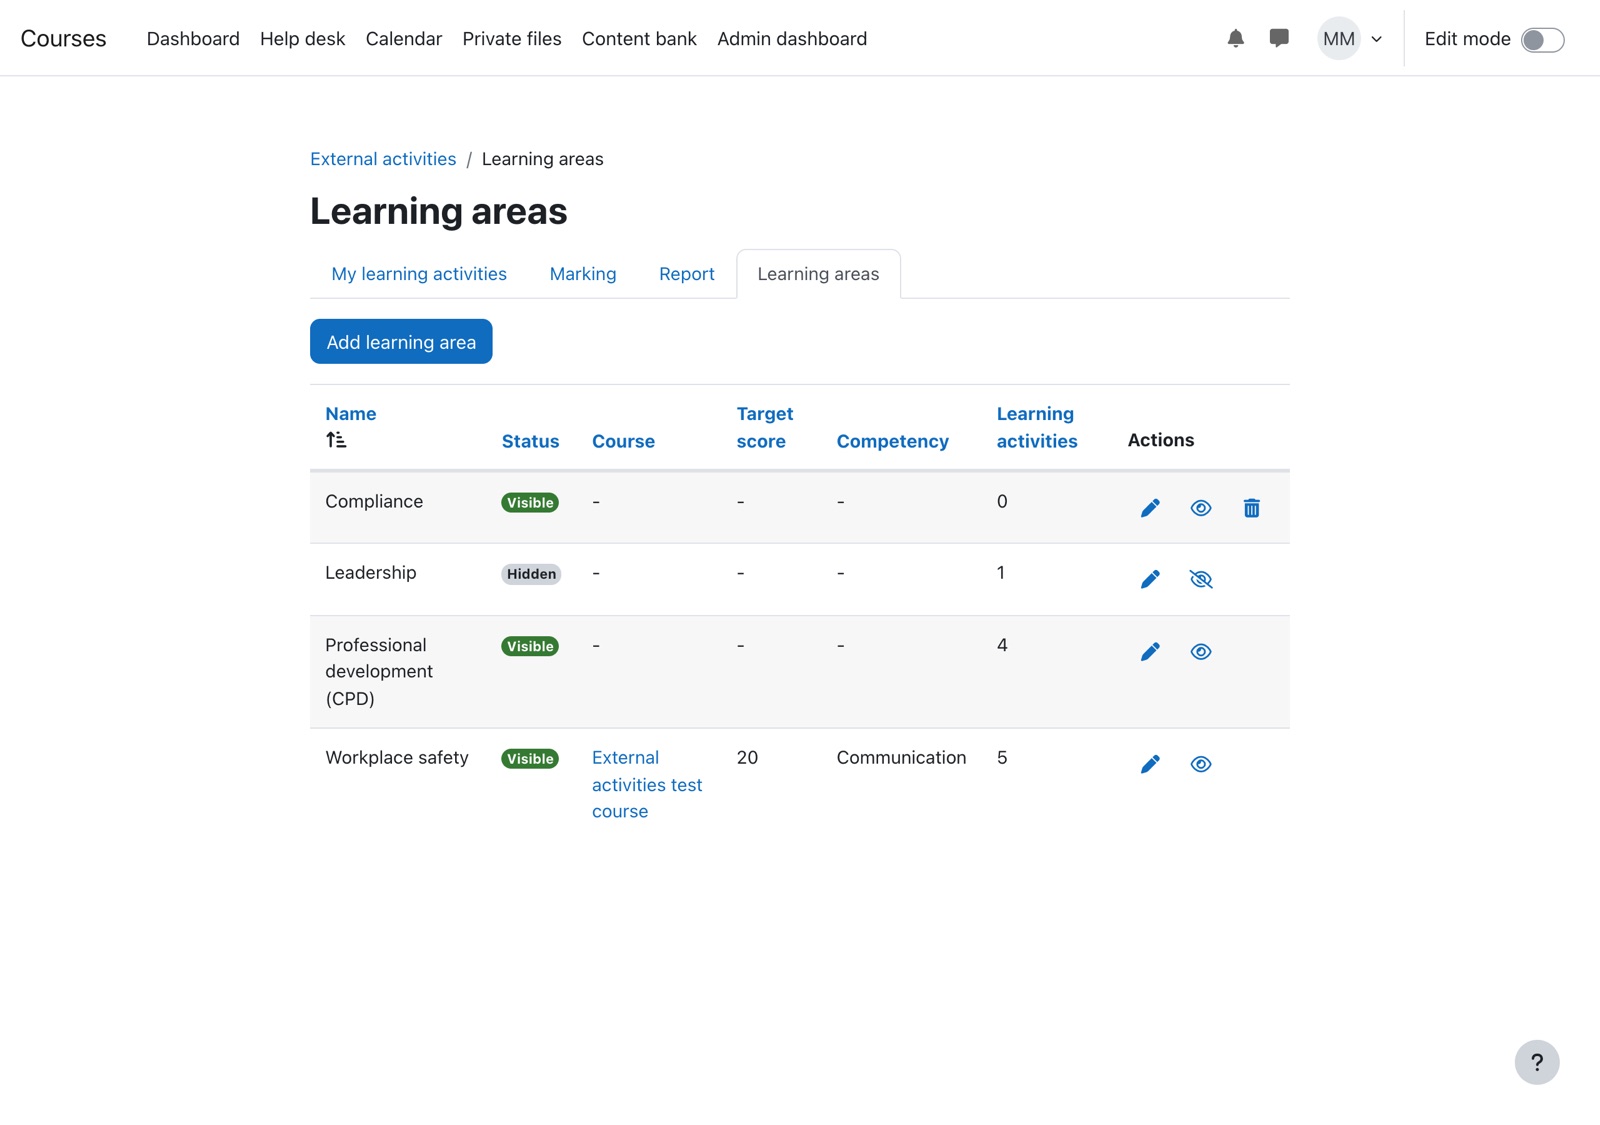
| Action | How | What happens |
|---|---|---|
| Add an area | Add learning area | Learners can record activities against it straight away. |
| Edit | Pencil icon | Change the name, description, gradebook link or competency. |
| Hide | Eye icon | Learners can no longer choose the area. Existing activities stay, and can still be marked. |
| Show | Crossed-out eye icon | Makes a hidden area available again. |
| Delete | Bin icon | Only shown while the area has no activities. Hide an area that is in use instead. |
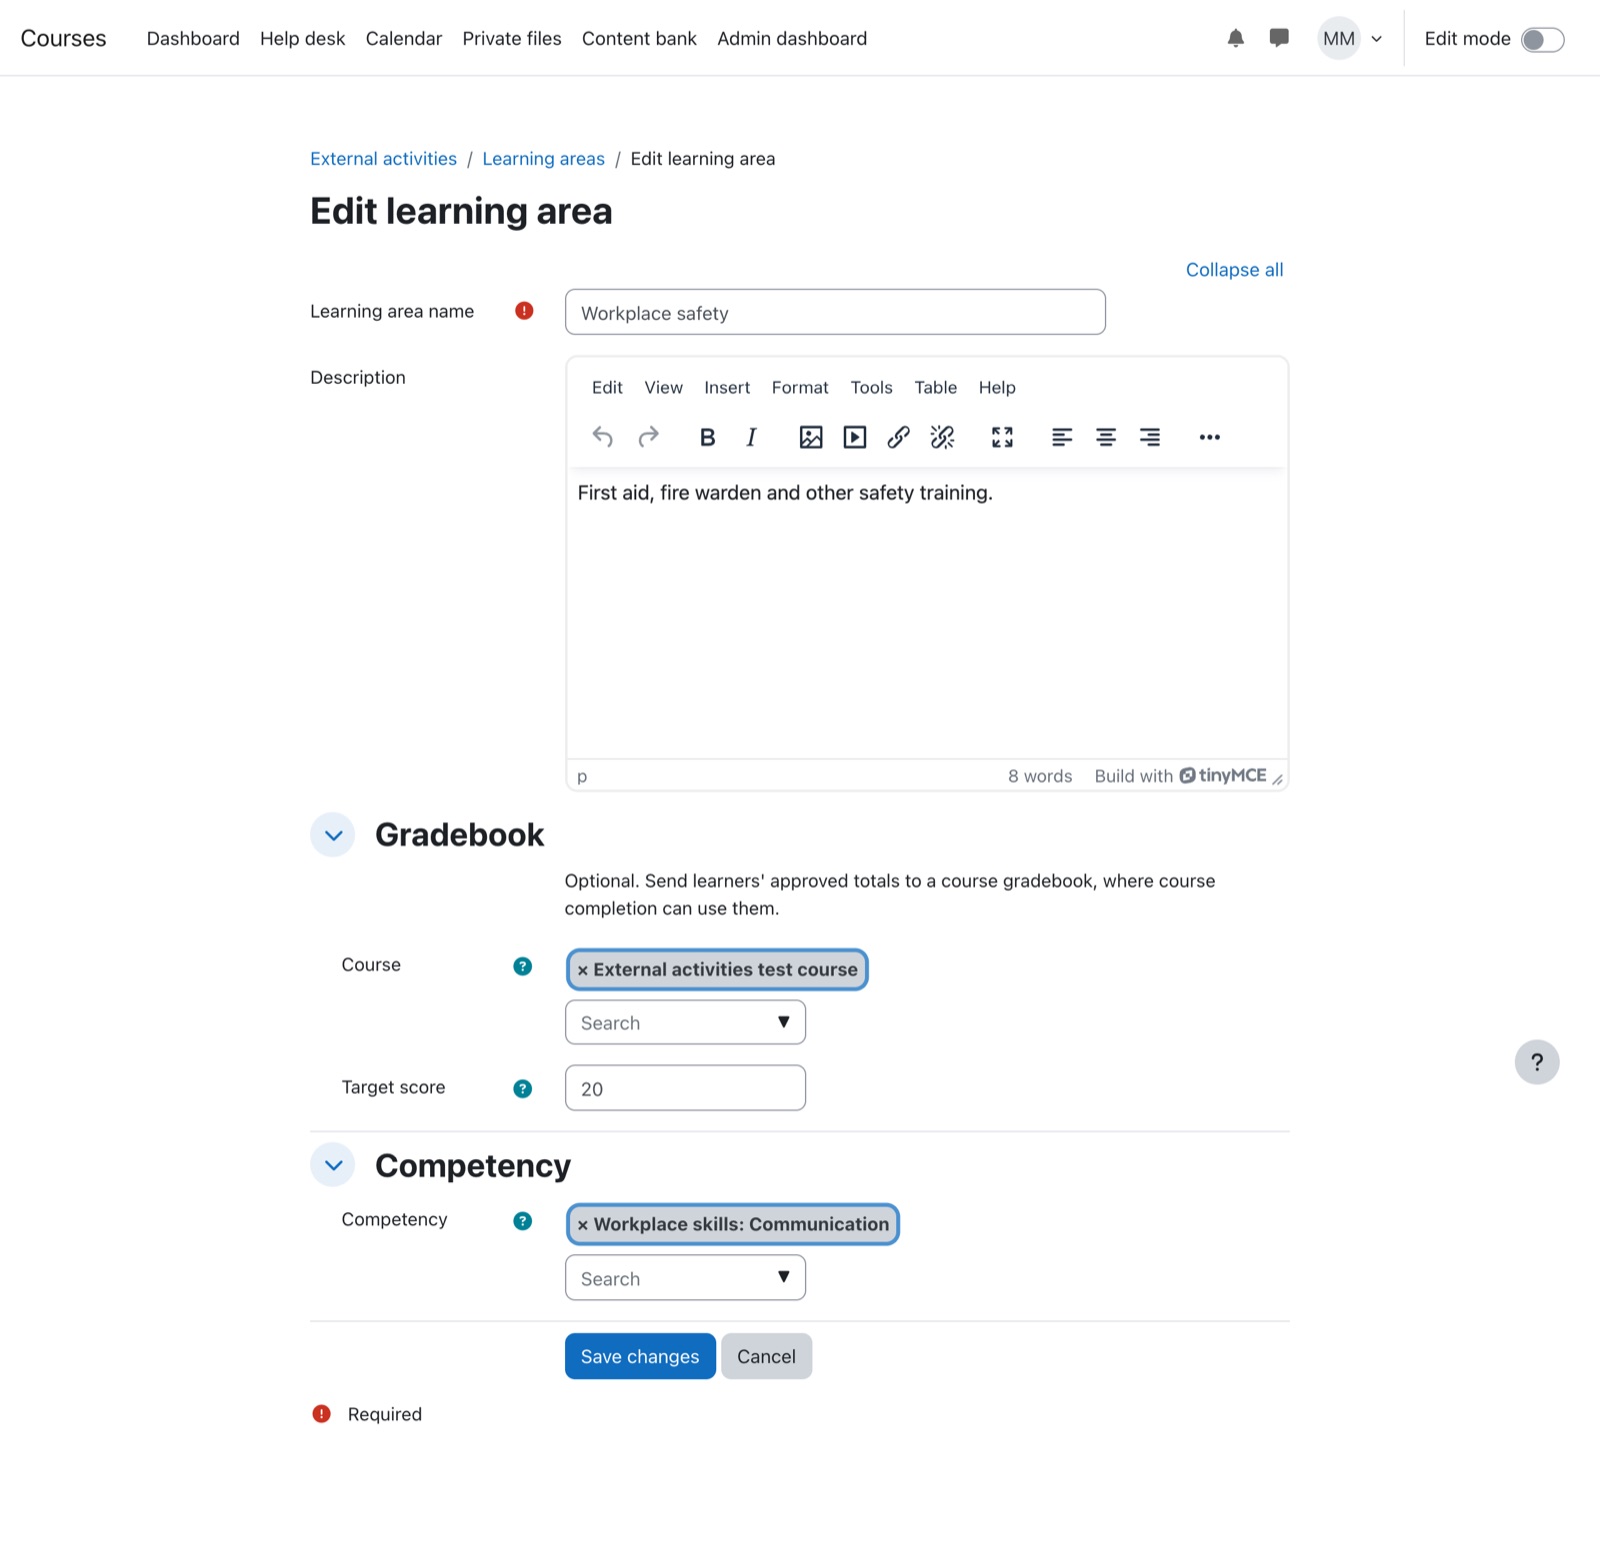
Link an area to a course gradebook
In the Gradebook section, choose a Course and set a Target score, the approved total a learner needs.
- The course gets a grade item named after the learning area. Its maximum and pass grade are the target score.
- Each learner's grade is their total approved score in the area, up to the target. Only learners enrolled in the course appear in its gradebook.
- Grades update whenever an activity is approved or re-graded, and when you change the link.
- To use it for course completion, add the Course grade condition in the course's completion settings.
- If the linked course is deleted, the area's gradebook link is cleared. The area and its activities stay; link it to another course if needed.
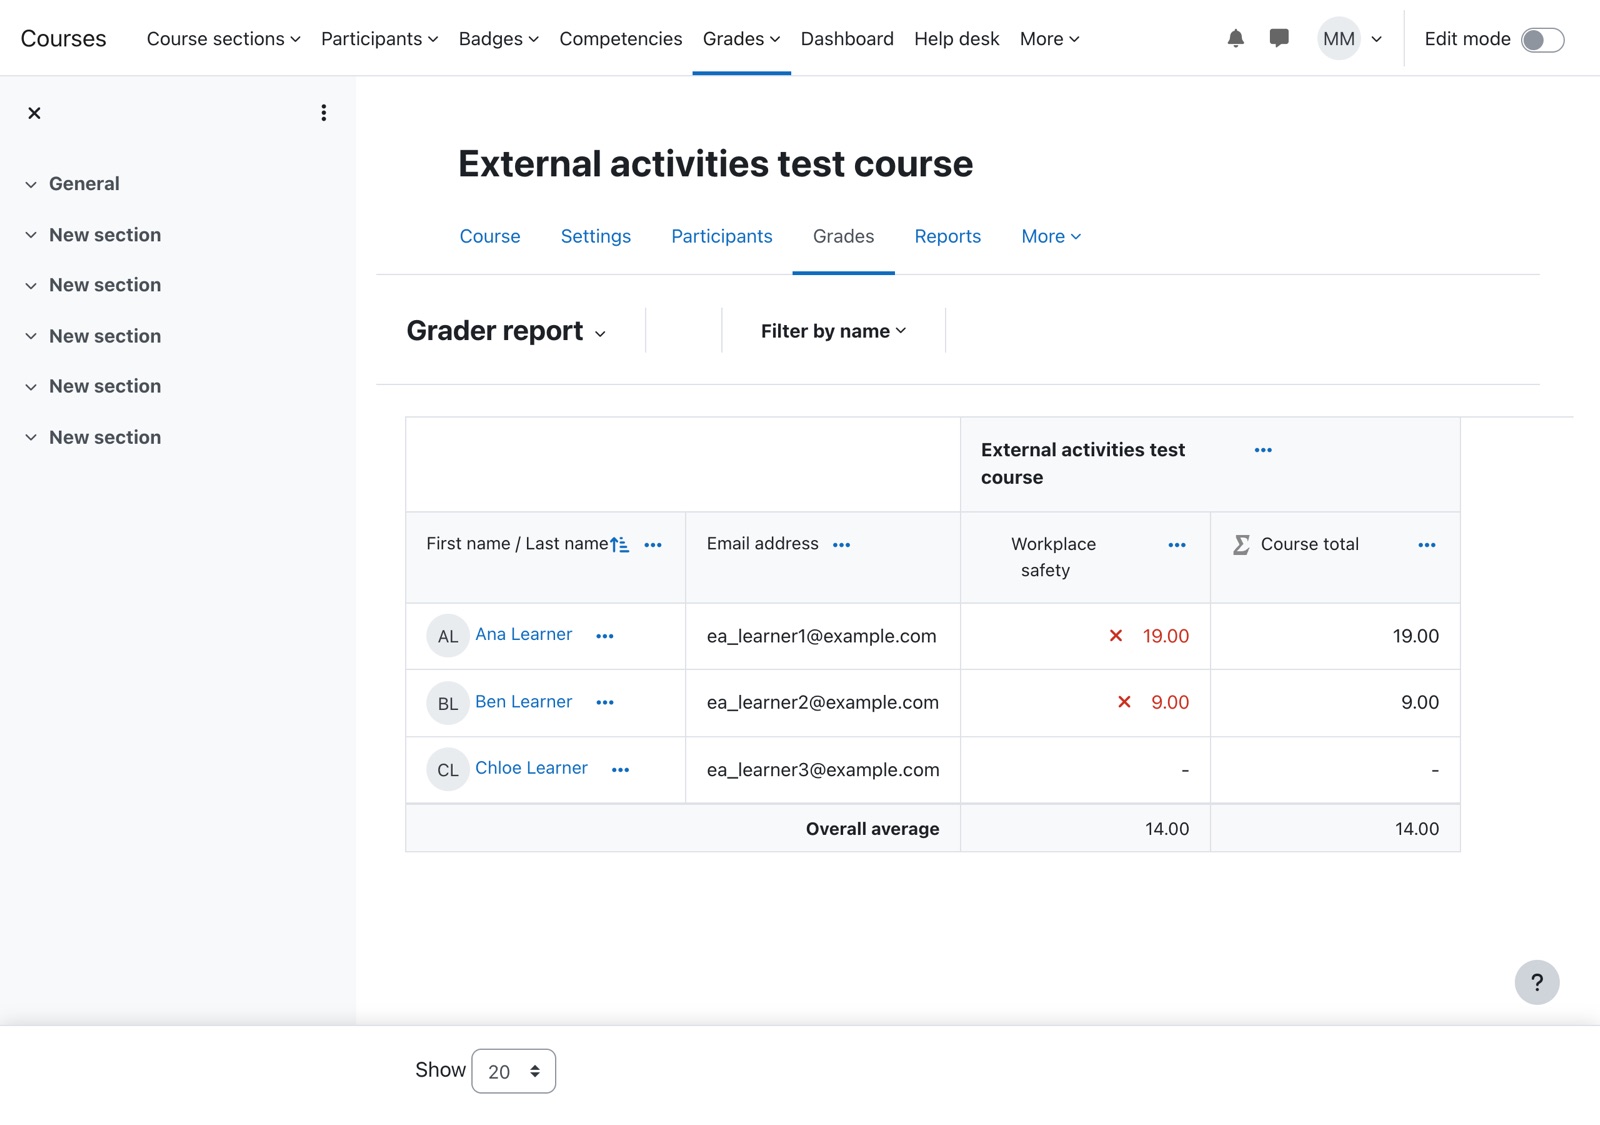
The plugin rewrites a learner's grade each time their activities change, so manual changes made in the gradebook are overwritten. Change the score on the activity instead.
Link an area to a competency
When competencies are enabled on the site, an area can be linked to one. Each time an activity in the area is approved, Moodle adds evidence to that competency for the learner, with a link back to the activity. Evidence appears in the learner's learning plans. It does not rate the competency; a reviewer still decides that.
Report
The Report tab shows each learner's numbers per learning area: approved activities, total score, target, pending and rejected. Filter by learning area, sort any column, and download it in the same formats as the other lists. It is also under Site administration → Reports, as External activities report, for anyone who can see the report.
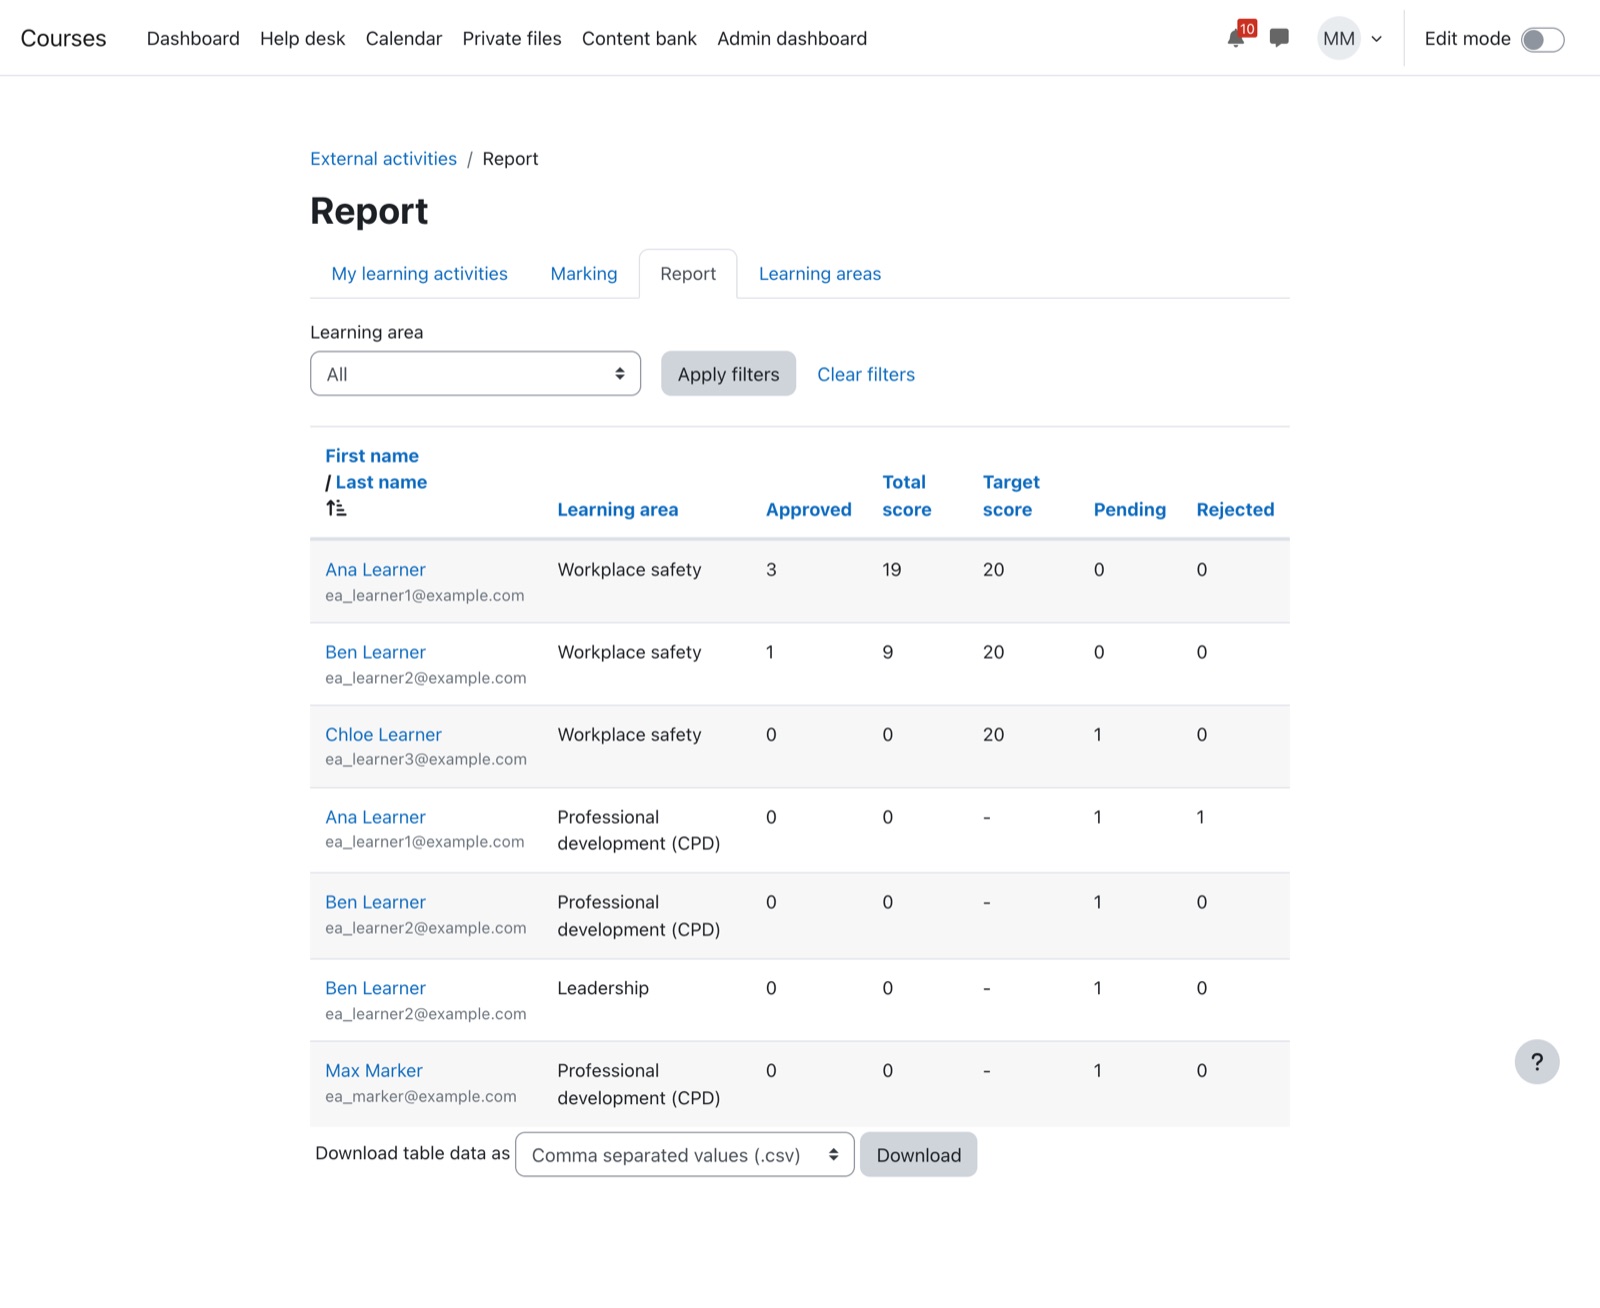
For site administrators
Site configurationSettings
Go to Site administration → Plugins → Local plugins → External activities → Settings.
| Setting | Default | Effect |
|---|---|---|
| Maximum score | 100 | The highest score a marker can give one activity. |
| Allowed evidence file types | PDF, PNG, JPG, Word, Excel, CSV | File types learners can upload. Leave empty to allow any type. |
| Maximum evidence files | 5 | Files per activity, from 1 to 20. |
| Maximum evidence file size | Site upload limit | Size limit per file. It cannot exceed the site limit. |
The same menu has a link to Learning areas.
Permissions
All capabilities apply at site (system) level. Assign them through roles in Site administration → Users → Permissions.
| Capability | Given by default to | Allows |
|---|---|---|
local/external_activities:submit_learning_activities | Authenticated user | Record your own activities. |
local/external_activities:mark_learning_activities | Manager | Approve, reject and re-grade. Receive submission notifications. |
local/external_activities:manage_learning_activities | Manager | See everyone's activities, evidence and the report. |
local/external_activities:manage_learning_areas | Manager | Add, edit, hide and delete learning areas. |
Create a role with mark_learning_activities (and manage_learning_activities if they should see the report), then assign it at system level under Assign system roles.
Privacy and data
- Learners' activities, decisions and evidence are included when you export a user's data through the Privacy API, and are removed when a user is deleted or their data deletion request is approved.
- For markers and area managers, deletion removes the link between their account and the decisions they made. The learner's record stays complete.
- Evidence files are stored with each learner's account (not in their Private files) and are only served to the learner and to people allowed to view or mark their activities. Only PDFs and images open in the browser; other files download.
Questions
I can't find a learning area when recording an activity.
The area may be hidden. Ask a manager to show it, or choose another area.
Why can't I edit my approved activity?
Approved activities are locked so the evidence a marker checked cannot change afterwards. Ask a marker if something needs correcting.
Why is there no Mark button on an activity in the queue?
Either the activity is not pending, or it is your own. Another marker needs to mark your activities.
A learner's grade isn't in the course gradebook.
Check that the learning area is linked to that course with a target score, and that the learner is enrolled in the course. Only approved activities count.
Markers aren't getting submission notifications.
Markers need the mark_learning_activities capability at system level. Each marker can also turn the notification on or off in their own notification preferences.
Upload fails with a file type error.
The file type is not in the allowed list. Save it as a PDF or image, or ask an administrator to allow the type.
Assessments
Workplace-based assessment programs: forms, trainees and their supervisors, and progress towards the number of assessments each program requires.
Assessments runs workplace-based assessment programs. A program is a list of assessment forms, each with a number to complete. Trainees are enrolled in a program with their supervisors, supervisors (and for some forms the trainee) fill in the forms as the trainee works, and everyone follows progress on the Assessment summary page.
- Name in Moodle
- Assessments
- Where to find it
- The Assessments menu in the top bar, shown to site administrators: Manage administrators, Assessment summary, Manage programs, Assessment types, Clinical Supervisor groups. Trainees and supervisors open the Assessment summary from a link your site provides
- Settings
- One, the source of the clinical supervisor groups, which Lingel Learning sets up for you
- Permissions
- No capabilities to assign. Access comes from the plugin's own administrator list and from who is named on each enrolment
- How it works
- Assessments administrators
- Set up a program
- Enrol trainees and assign supervisors
- Clinical supervisor groups
- Assessment types: forms, sections and questions
- The Assessment summary page
- Filling in an assessment
- Recognition of prior learning (RPL)
- The meetings report
- Settings
- Who sees what
- Questions we get asked
How it works
| Thing | What it is | Where you manage it |
|---|---|---|
| Assessment type | A form, such as a Mini-CEX, DOPS, CbD, a procedural checklist, a placement or reflection meeting, or an observation checklist, with its sections, questions and instructions | Assessments > Assessment types |
| Program | A named list of assessment types, each with a Number required, optional start and end dates, and the cohorts its trainees and supervisors are chosen from | Assessments > Manage programs |
| Enrolment | One trainee in one program, with their primary supervisors, clinical supervisors and clinical supervisor groups | The program's Enrol trainees, Assign supervisors and Manage supervisor assignments |
| Attempt | One completed form for one trainee, with its result (for example Competent or Not Yet Competent) | Filled in from the Assessment summary page |
Site administrators reach every page from the Assessments menu in the top bar.
Assessments administrators
Site administrators can do everything. To let someone else manage programs, enrolments, assessment types, RPL and attempts without making them a site administrator, add them under Assessments > Manage administrators: search for the person in Potential administrators, select them and choose Add. To take the role away, select them in Existing administrators and choose Remove. Only site administrators can open this page.
Assessments administrators do not see the Assessments menu; give them links to the pages they use (for example Manage programs and Assessment summary), or ask us to add them to your site's menu.
Set up a program
Assessments > Manage programs lists every program with its number of Trainees and its dates. Select a program's name to open it. The icons on each row move it up or down the list (the order of the tabs on the summary page), edit it, Copy program, View report (the meetings report), and Delete.
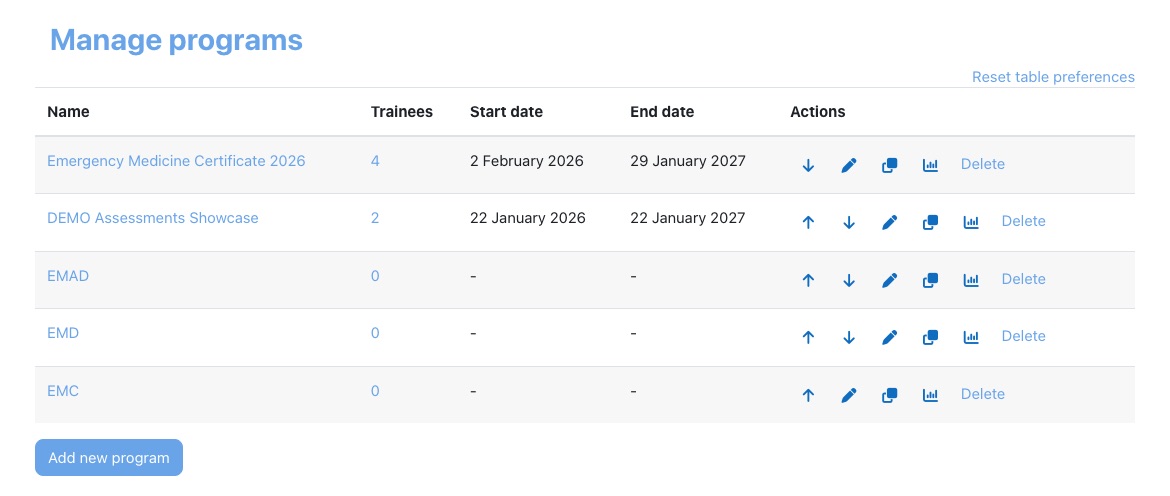
- Choose Add new program.
- Give it a Name (required) and a Description. The description is shown to trainees and supervisors above the program's table on the summary page.
- Set Start date and End date if the program has fixed dates (tick Enable beside each). A trainee or supervisor can open the summary only while at least one of their programs is running, so leave both off for a program with no fixed dates.
- Choose the Trainee cohorts, Primary supervisor cohorts and Clinical supervisor cohorts. These are not optional in practice: Enrol trainees offers only members of the trainee cohorts, and Assign supervisors offers only members of the supervisor cohorts. Set the cohorts up first under Site administration > Users > Cohorts.
- Choose Save changes.
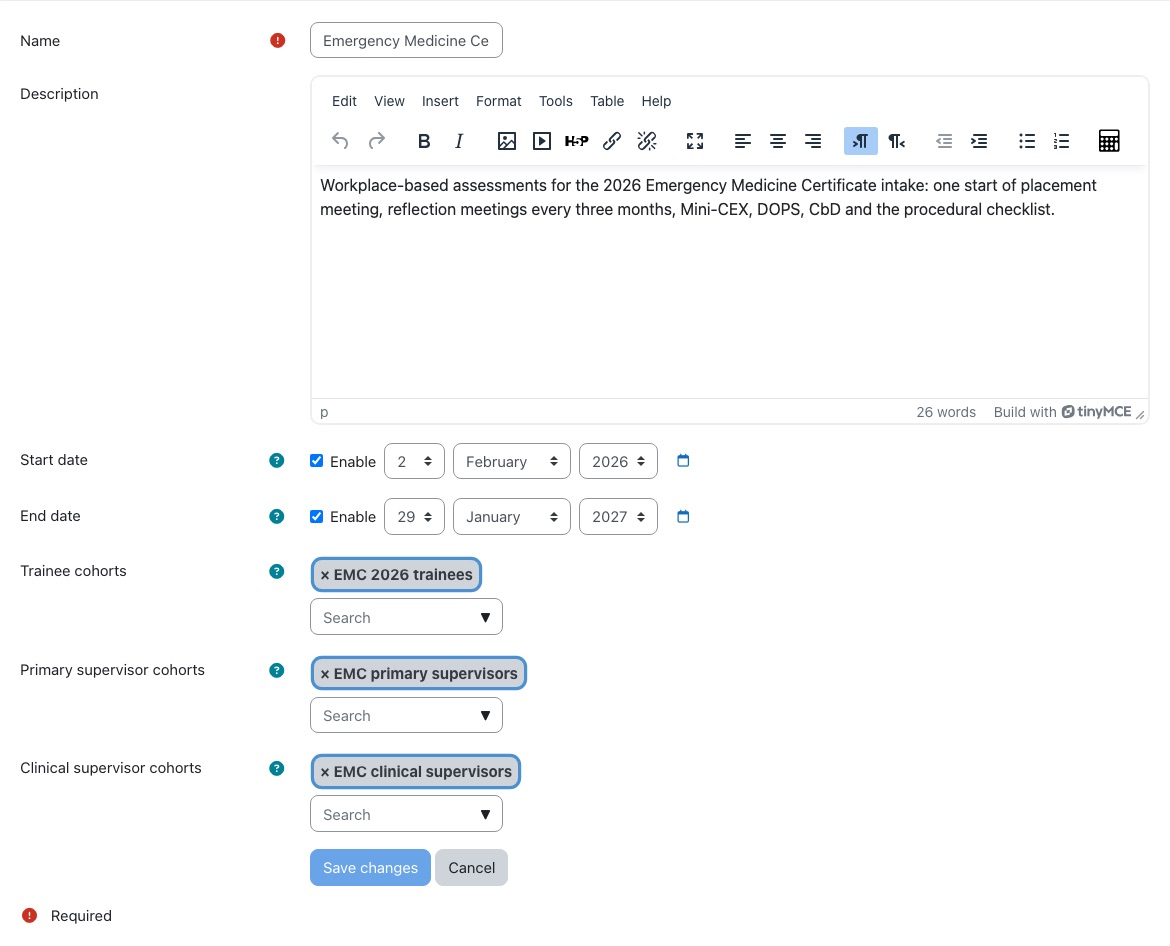
Open the program to see its details. The cog menu above Program details has everything else: Edit settings, Enrol trainees, Assign supervisors, Manage supervisor assignments, Manage RPL and Manage Assessments.
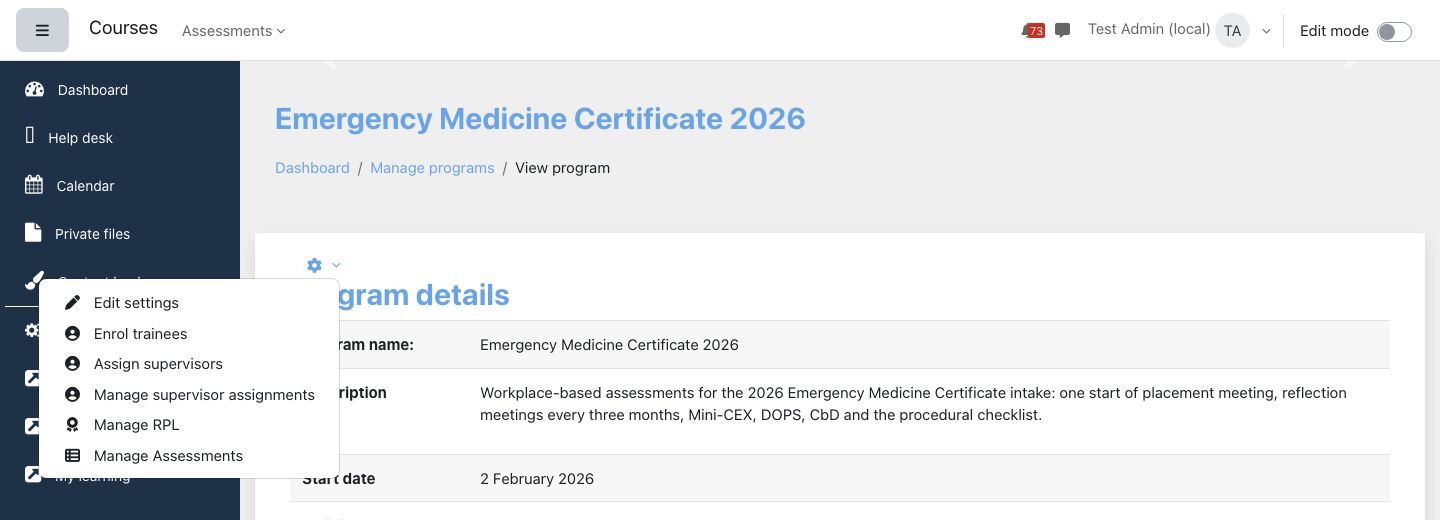
Add assessments to the program
- From the cog menu choose Manage Assessments, then Add new assessment.
- Choose the Assessment (the assessment type) and choose Select.
- Enter the Number required and choose Save changes. Some meeting forms show their own rule instead, such as One per placement or One every 3 calendar months.
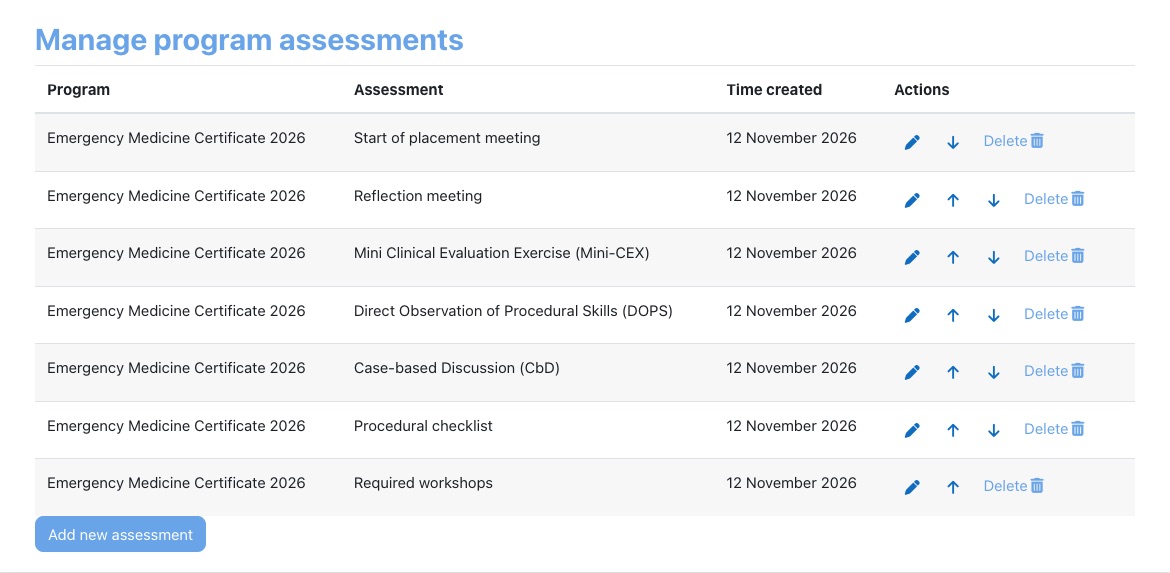

Delete on Manage program assessments asks you to confirm, then removes the assessment and its data from the program. It cannot be undone.
Copy or delete a program
Copy program creates Copy of '<name>' with the same description, dates, cohorts and assessments, but no trainees. Edit the copy's name and dates, then enrol the new intake. Delete asks Are you sure you want to delete the program? and cannot be undone.
Enrol trainees and assign supervisors
Enrol trainees
From the program's cog menu choose Enrol trainees. Potential trainees lists members of the program's trainee cohorts who are not yet enrolled. Select people and choose Add; select someone under Existing trainees and choose Remove to take them out. Removing a trainee hides them from the program but keeps their attempts: add them again and their record comes back.
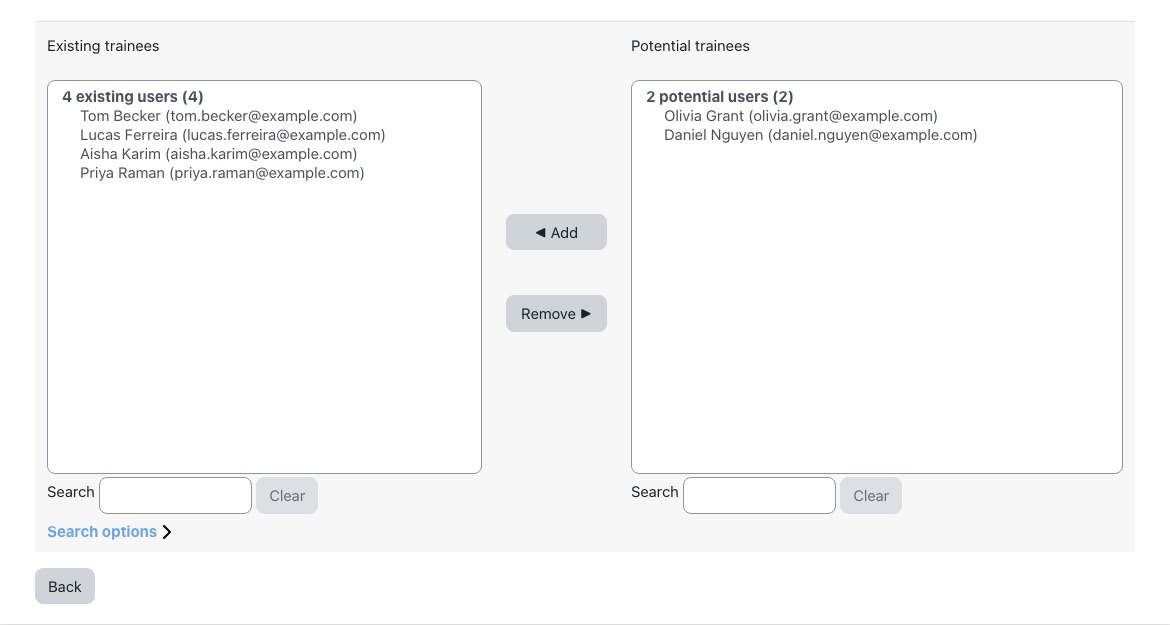
Assign supervisors
Each trainee has three kinds of supervisor:
- Primary supervisors complete most forms and see everything for the trainee.
- Clinical supervisors complete the forms that allow it (for example Mini-CEX, DOPS and CbD) and see the trainee's summary.
- Clinical supervisor groups make every member of the group a clinical supervisor for the trainee (see below).
To set supervisors for several trainees at once, choose Assign supervisors, pick the Trainees, then the Primary Supervisors, Clinical supervisors and Clinical supervisor groups, and choose Save changes. The supervisor lists offer members of the program's supervisor cohorts; the groups list offers every group. Saving replaces those trainees' existing supervisors with your choice.
Manage supervisor assignments lists every enrolled trainee with their supervisors and groups. Filter by the first letter of the first or last name. Manage supervisors on a row changes one trainee's supervisors.
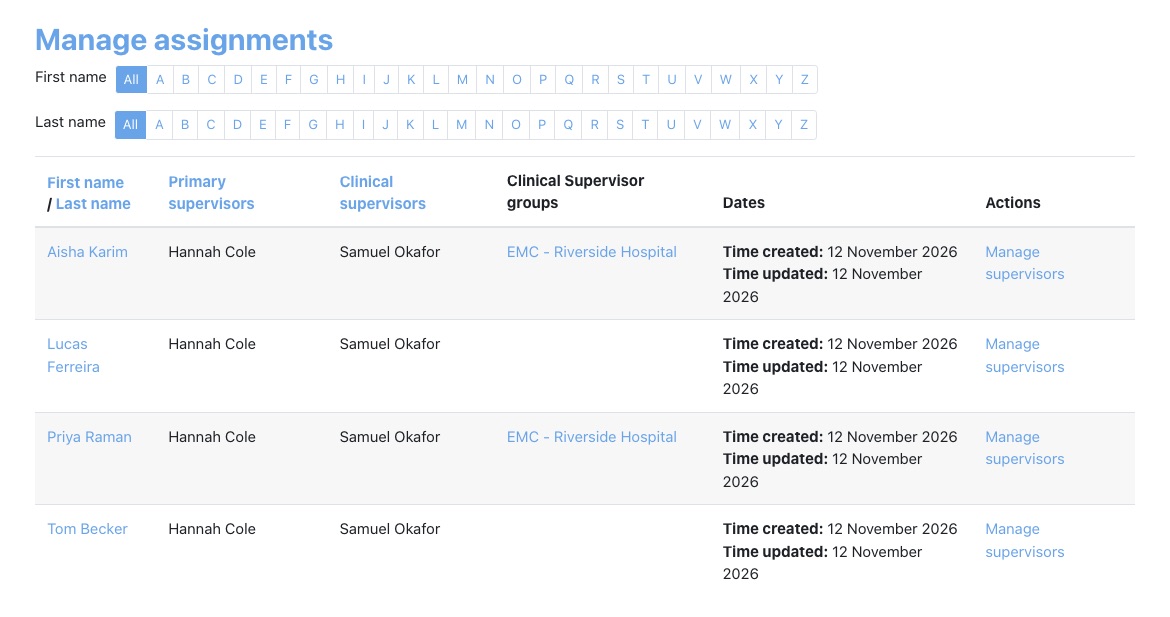
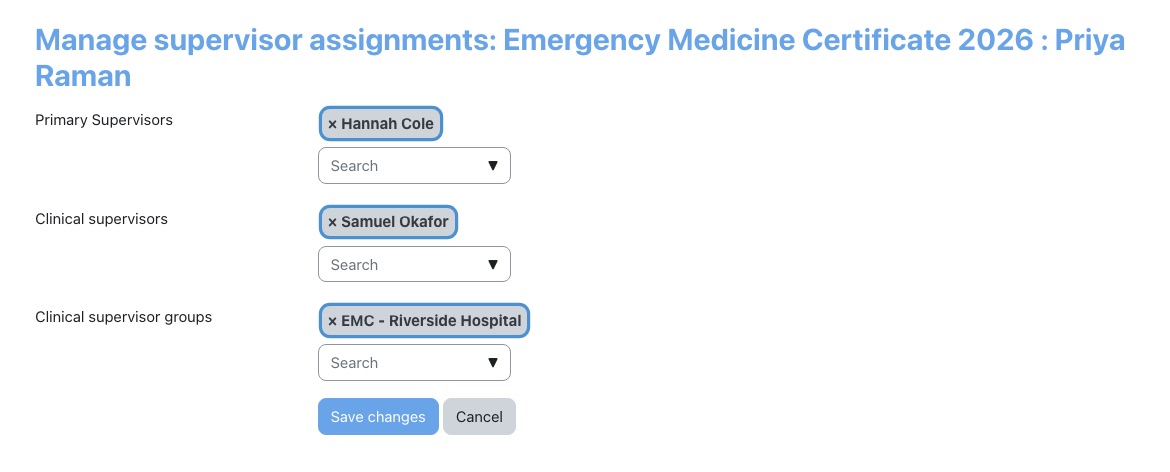
A supervisor appears as Deleted supervisor: followed by their username when they are no longer in the program's supervisor cohort (or their account was deleted). Add them back to the cohort, or replace them with Manage supervisors.
Clinical supervisor groups
A clinical supervisor group is a list of clinical supervisors at one site, for example everyone in one hospital's emergency department. Assign a group to a trainee and every member supervises them, with no need to name each person.
The groups are built every night (at midnight, server time) from a list Lingel Learning sets up with you: one row per supervisor with their username, the site and the programs they supervise for. The sync creates one group per program and site, named like EMC - Riverside Hospital, and replaces each group's members from the list. A supervisor added to or removed from the list joins or leaves the group the next day. Usernames in the list that do not match an account are skipped.
Assessments > Clinical Supervisor groups shows each group and its number of Members. Select the number to see who is in it.
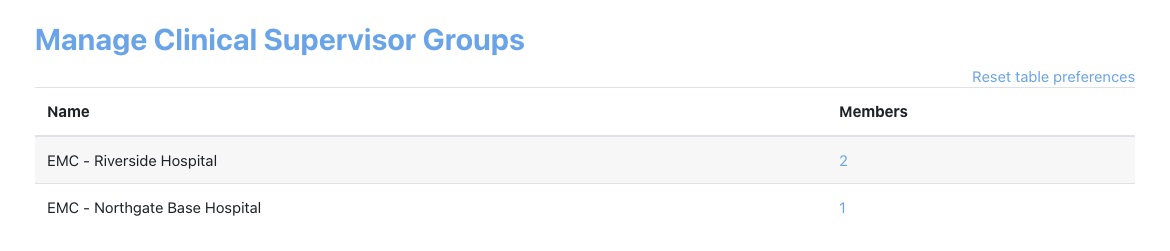
Assessment types: forms, sections and questions
Assessments > Assessment types lists every form with its Name and Display name, 50 to a page. Each row has three icons: edit the type, Manage sections (the three dots) and Manage fields (the list icon).
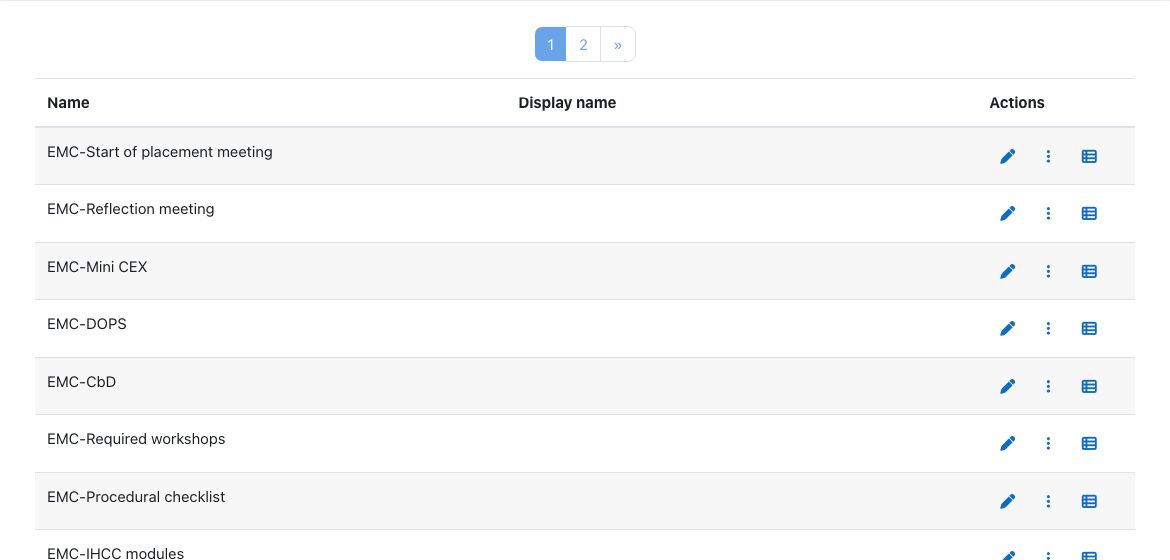
Editing a type changes:
- Parent: makes this type part of another. Completed attempts of a child type count towards its parent on the summary page, which is how one row can collect several kinds of module.
- Name: what administrators see in lists. Display name: what trainees and supervisors see on the summary page and the form; when it is empty the name is used.
- Active: recorded for your reference. It does not currently hide the type anywhere.
- Introduction: the text on the form's Instructions tab.
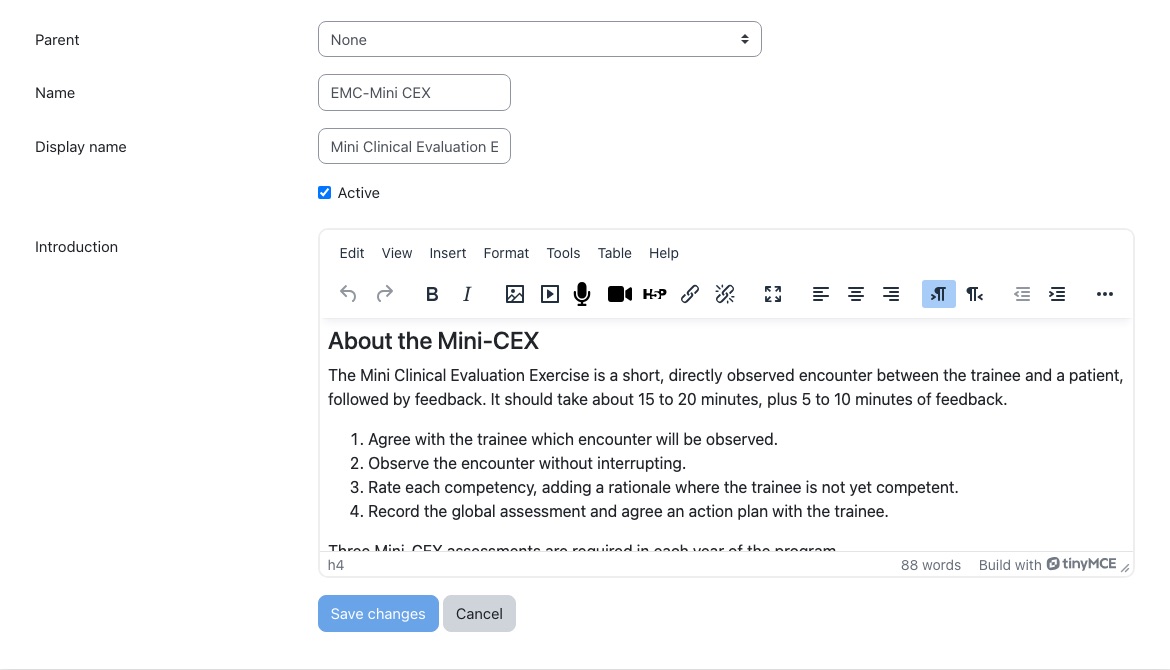
Sections
Manage sections lists the form's sections in order. Each has a Name, a Heading (shown on the form when Display heading is ticked) and a Section type: Information, Table (3 column), Table (2 column), Global assessment, Other or Procedural checklist. The type decides how the section's questions are laid out.
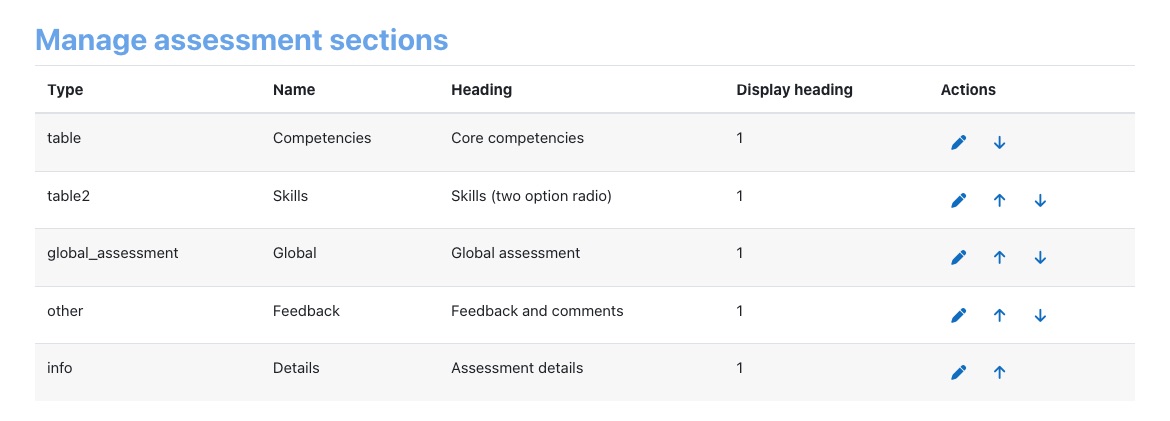
Fields (questions)
Manage fields lists every question with its section, in order. Add or edit a field to set:
- Section, Name (a short internal name of letters and numbers; keep it unchanged once the form is in use) and Question text.
- Data type (Number, Text or Raw) and Field type: Date, Radio button, Radio button (custom), Dropdown, Text box, Long text box, Procedural checklist item or Label. Choose Update after changing the field type to show its extra settings.
- Options for dropdowns, custom radio buttons and checklist items, one per line; predefined Radio options for standard radio buttons.
- Rationale (radio types): adds a box for the assessor's reasons. Global Assessment (radio types): this answer is the attempt's overall result.
- Display on summary page: the answer is shown in the Completion details column, for example the term. Required: the form cannot be submitted without it.
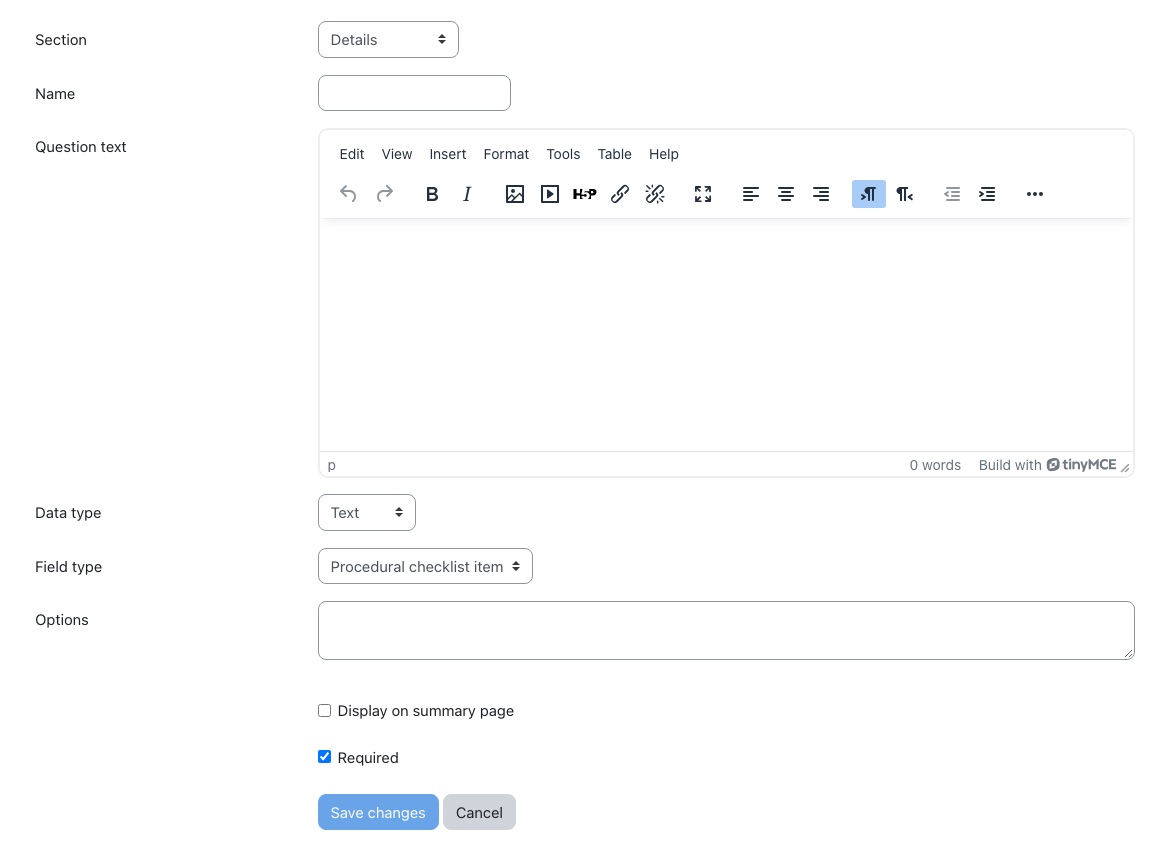
Completed attempts keep the answers they were given, matched to each question's name. Renaming or removing a question that has been answered leaves old attempts showing blanks for it. New forms are usually set up for you by Lingel Learning; ask us before restructuring one that trainees are already using.
The Assessment summary page
The summary is where trainees, supervisors and administrators follow progress and start new forms. Each program is a tab with its description, then one row per assessment:
- Number required, or the meeting's rule.
- Number completed: attempts with a passing result (Competent, Satisfactory or RPL). Where the number is a link, select it to see the trainee's attempts for that assessment.
- Completion details: one line per attempt with the answer chosen for display (for example the term) and the result, green for C, S or RPL and yellow for NYC or NYS, explained by the Key to Details column at the top.
- Actions: Add new starts a form, when you are allowed to start that form. A procedural checklist shows View/Edit instead, because each trainee has one checklist that grows over time.
Download under each program's table saves it as a CSV file.
Supervisors and administrators
Supervisors choose one of their trainees under Trainee and choose View; the list holds only the trainees they supervise. Administrators can choose any trainee.
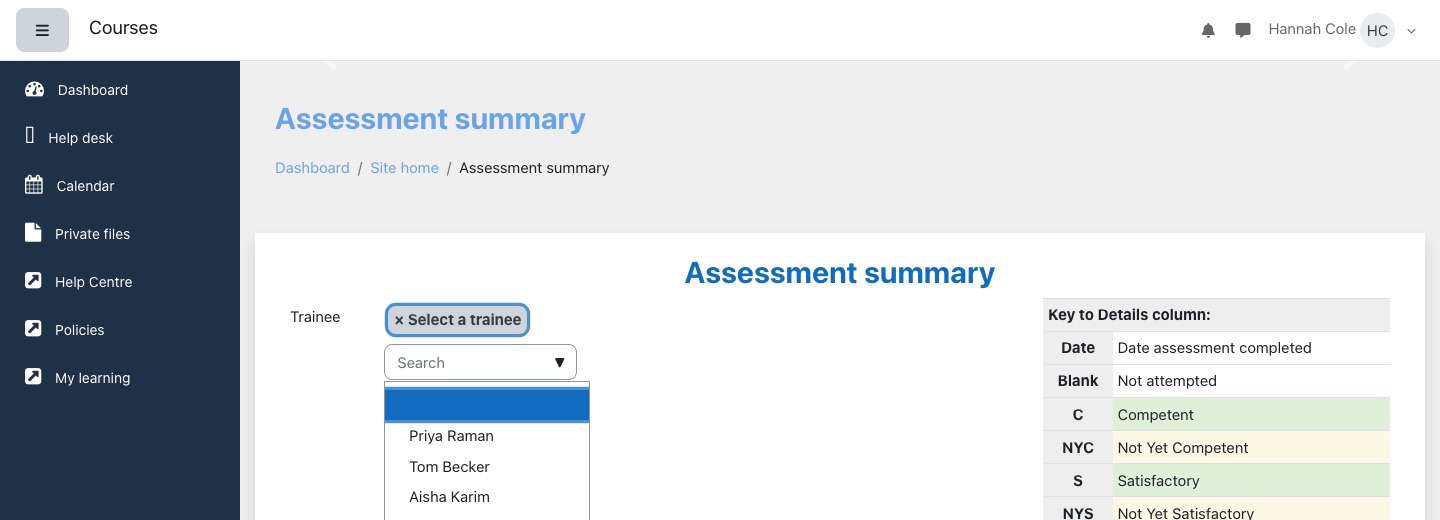
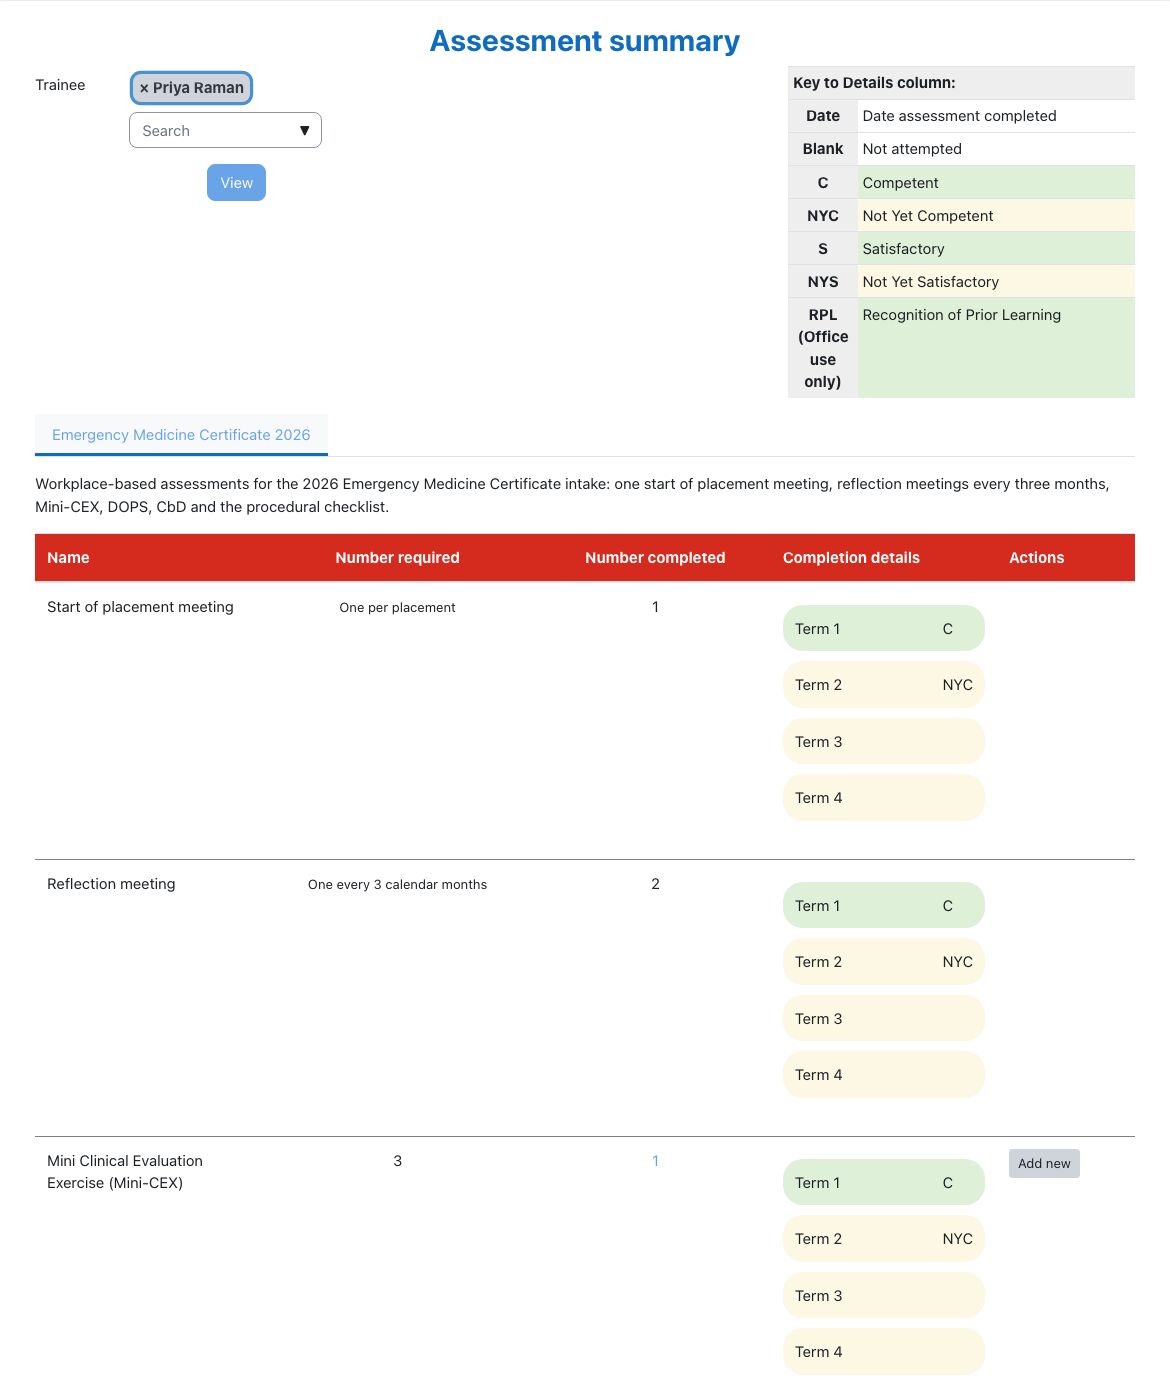
Trainees
Trainees see their own programs straight away, one tab each. They can start the forms that are theirs to start, such as the start of placement and reflection meetings, and open their completed forms read-only.
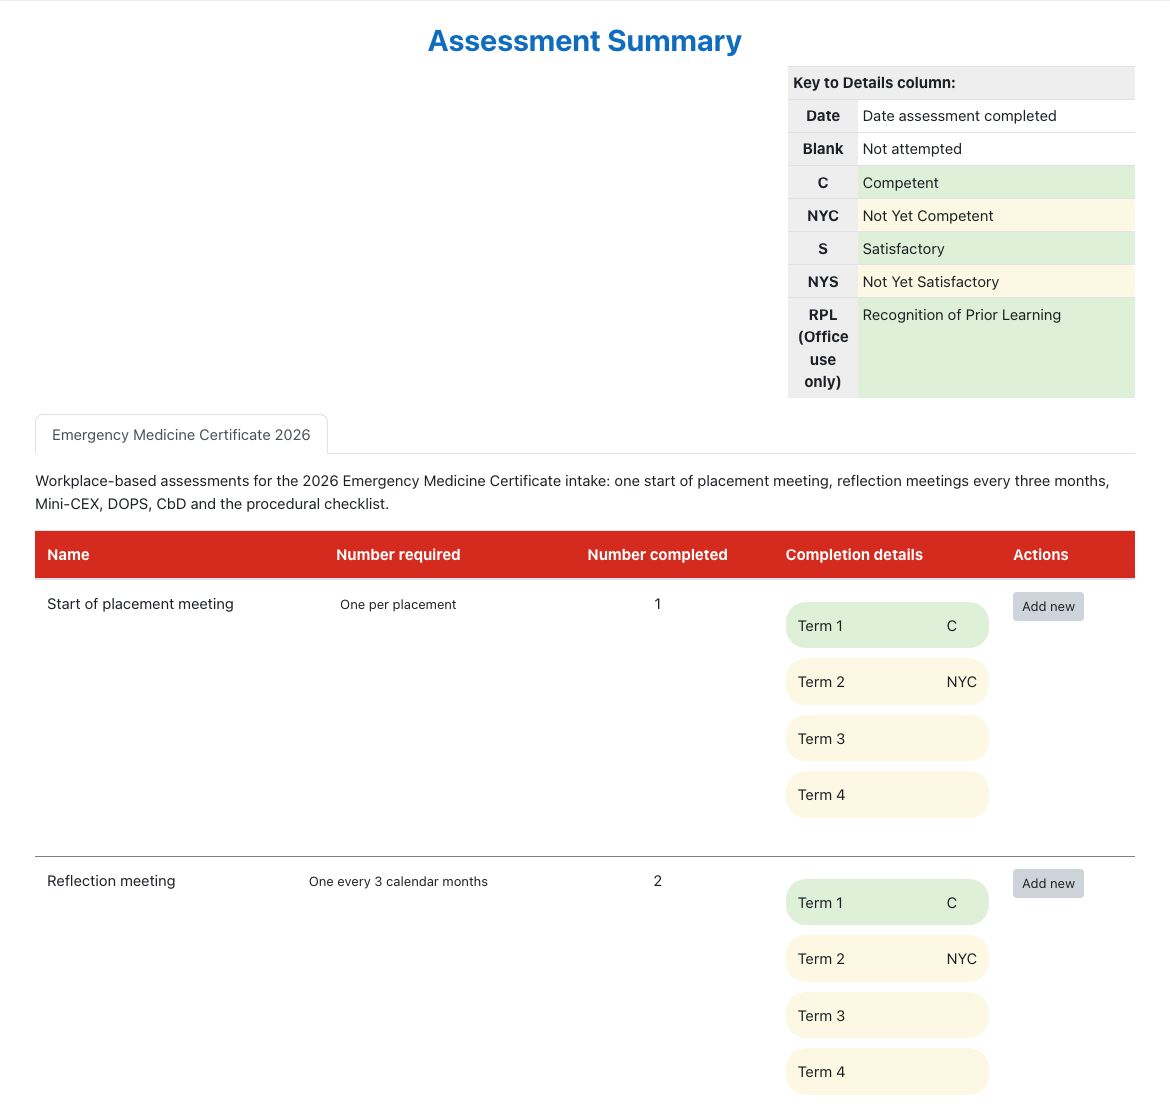
Clinical supervisors and group members
Clinical supervisors, including everyone in a clinical supervisor group assigned to the trainee, see the same page. They can add the forms that allow clinical supervisors, such as Mini-CEX, DOPS and CbD, but not the meeting forms.
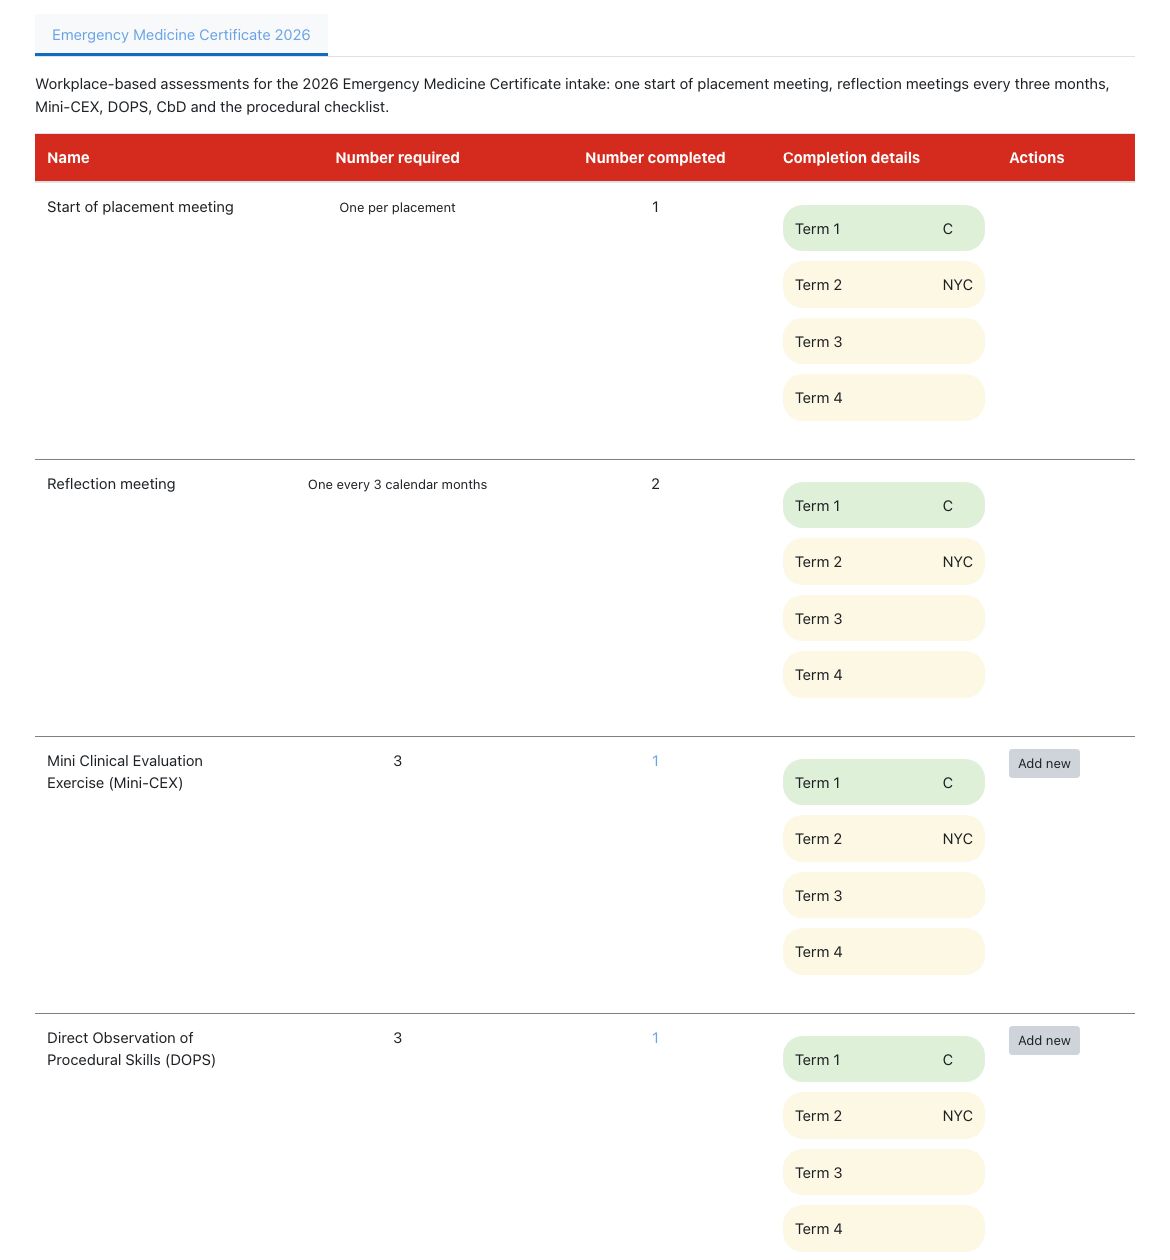
Filling in an assessment
- On the summary, choose Add new on the assessment's row.
- The form opens on the Form tab, headed with the trainee's name. The Instructions tab has the assessment type's introduction.
- Answer the questions. A rationale box appears under competencies that ask for one.
- Choose Submit and confirm Are you sure you are ready to submit this assessment? The page says Thanks, that worked. The assessment was successfully submitted. A form with missing or invalid answers comes back with the problems marked.
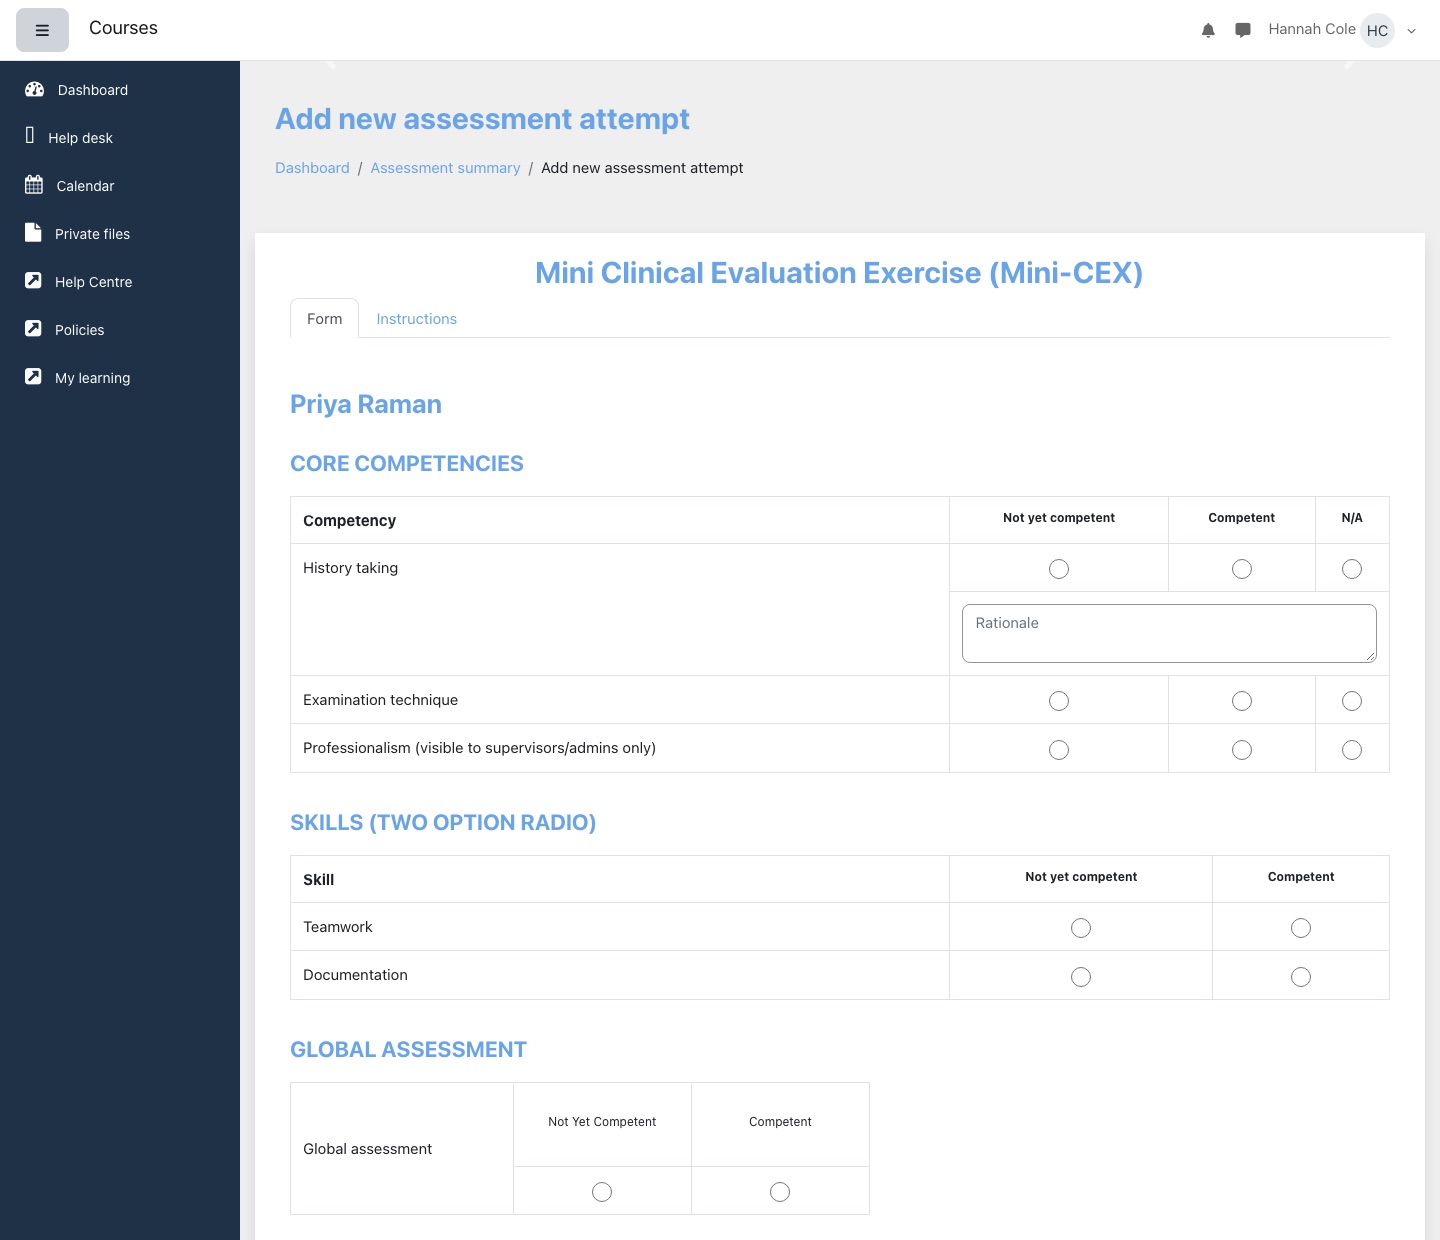
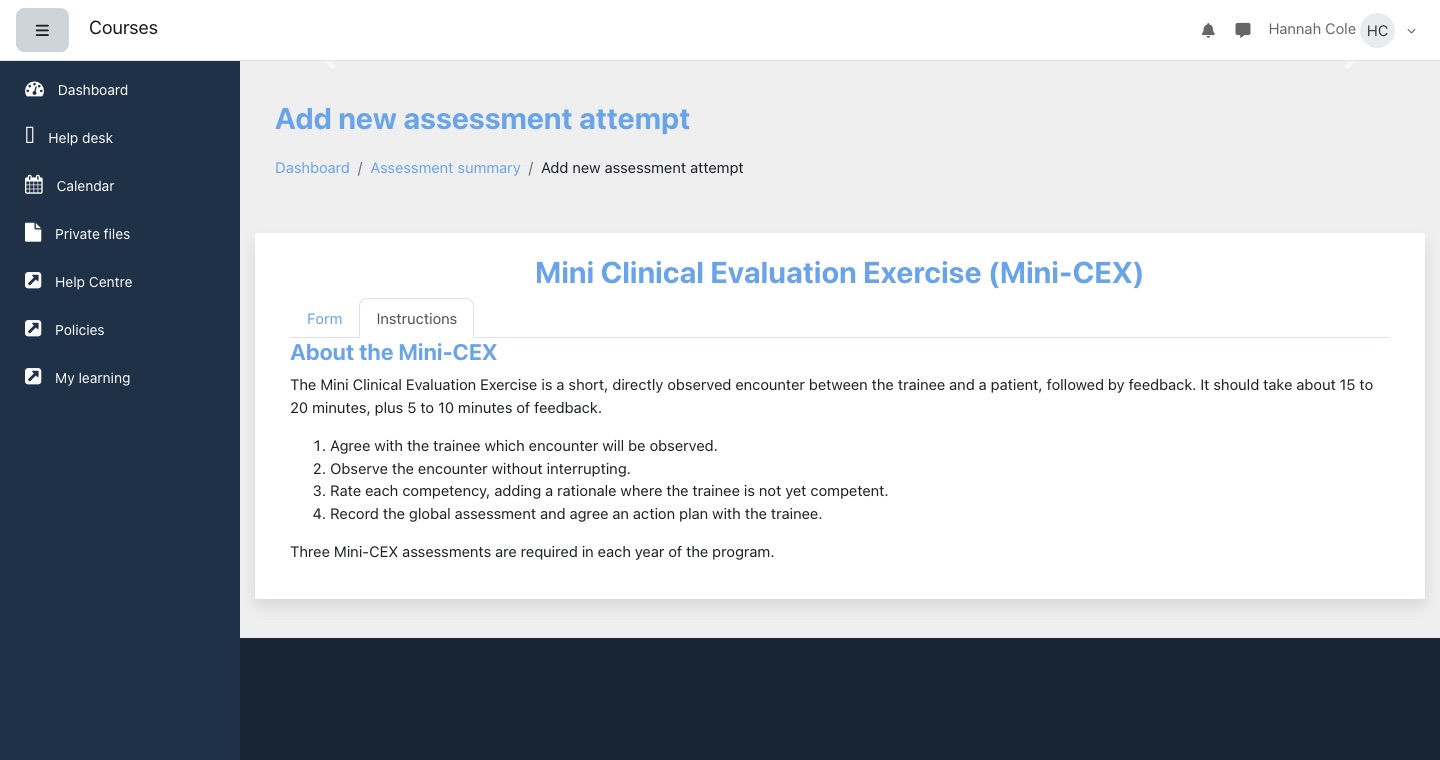
- Which roles can start a new attempt depends on the form. Most are started by a primary supervisor; workplace assessments such as Mini-CEX, DOPS and CbD can also be started by a clinical supervisor, and the meeting forms by the trainee.
- Once a supervisor has saved an attempt it is theirs: other people see it read-only (greyed out, with no Submit button), and only that supervisor or an administrator can change it.
- RPL attempts open only for administrators.
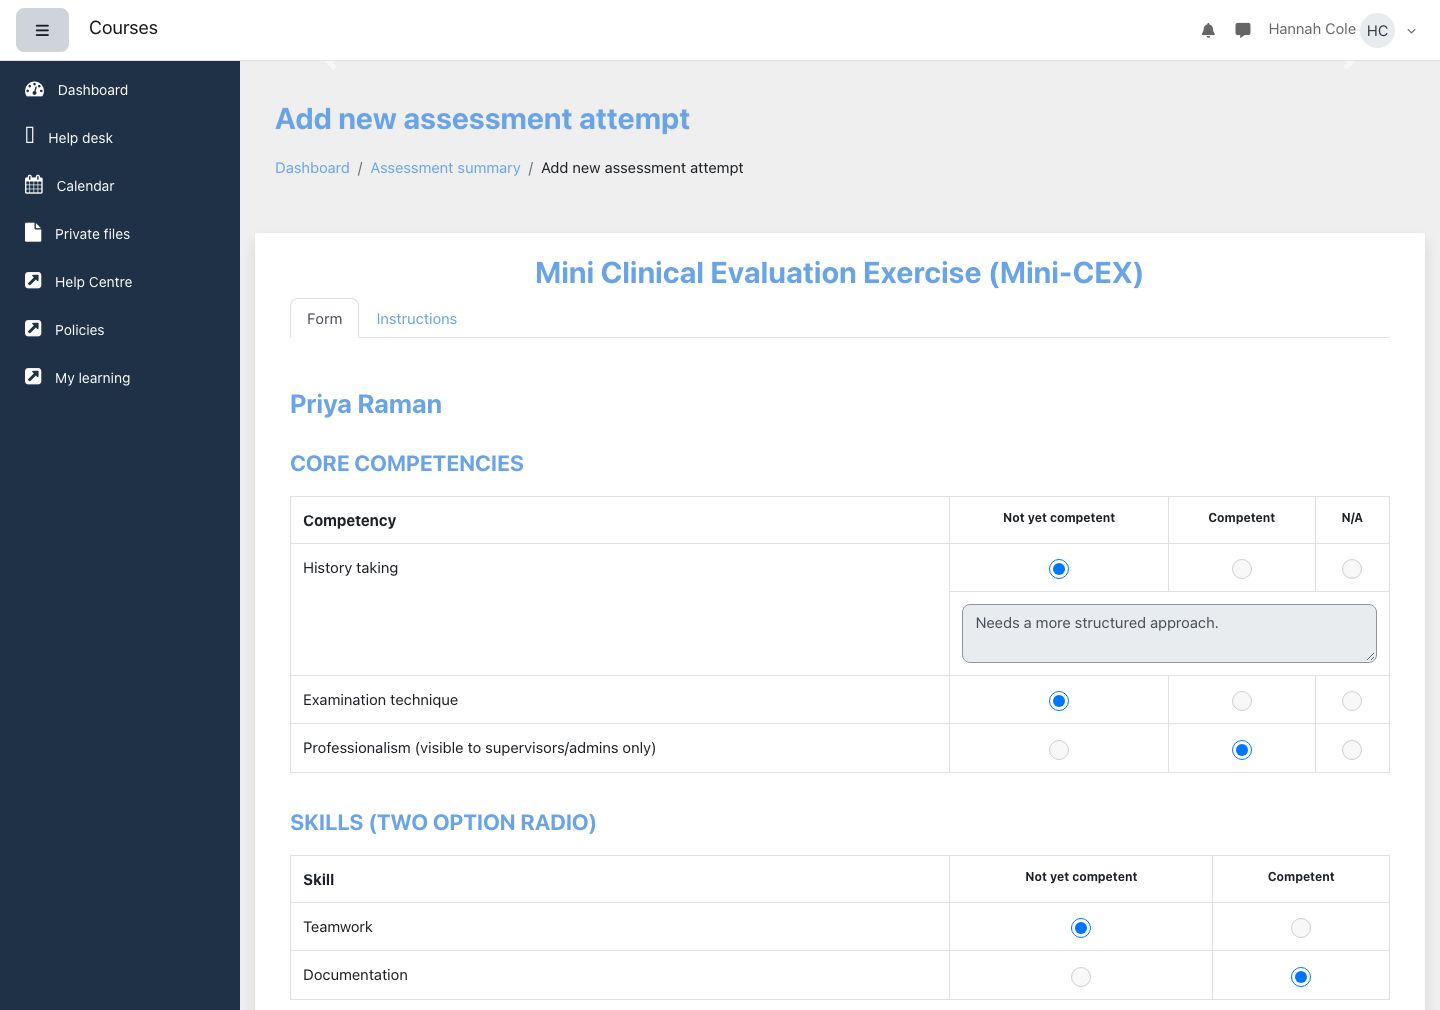
The attempts list
Select the Number completed link on the summary to see every attempt of that assessment for the trainee, with its Date of assessment, Global assessment and Completion details. View opens one. Administrators also see Delete, which asks you to confirm and cannot be undone.
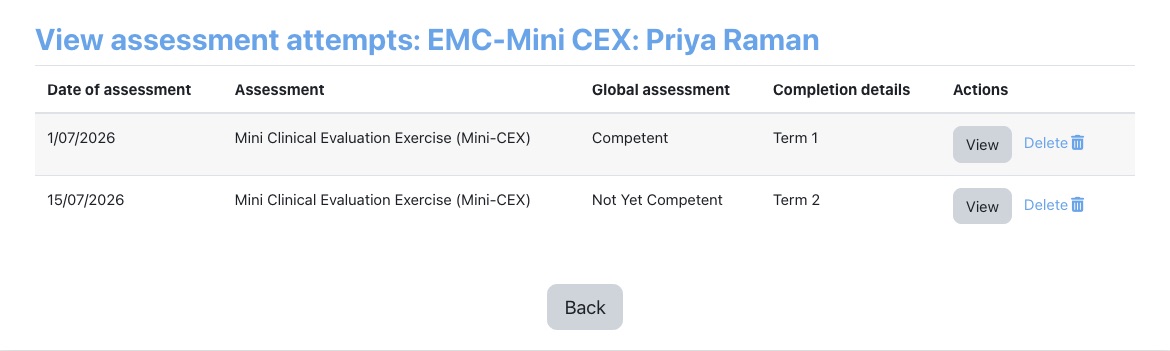
Procedural checklists
A procedural checklist lists the procedures a trainee must perform, for example two adult intubations. Each requirement turns green once enough procedures matching it are logged. To log one, choose the + beside the requirement, set Real/Simulated and the Date (always required), plus Adult/Paediatric and Gender if the procedure needs them, and choose Save changes. Logged procedures are listed on the right with their dates; select one to correct it. Administrators can also tick RPL on a procedure.
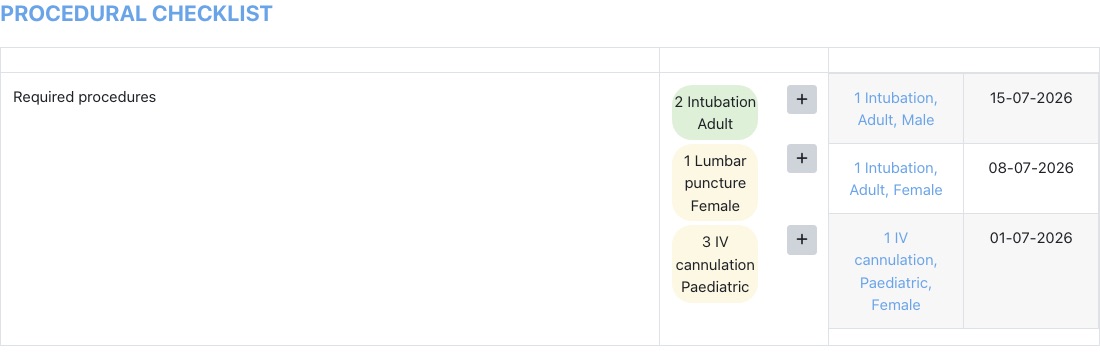
Recognition of prior learning (RPL)
Where an assessment allows it, an administrator can record RPL for trainees who have already met a requirement elsewhere. From the program's cog menu choose Manage RPL, which lists the RPL already recorded, then Add new:
- Choose the Trainees (one or more enrolled trainees).
- Choose the Assessment. Only assessments that allow RPL are offered. Some then ask for Assessment options, for example which workshops are recognised.
- Choose Save changes.
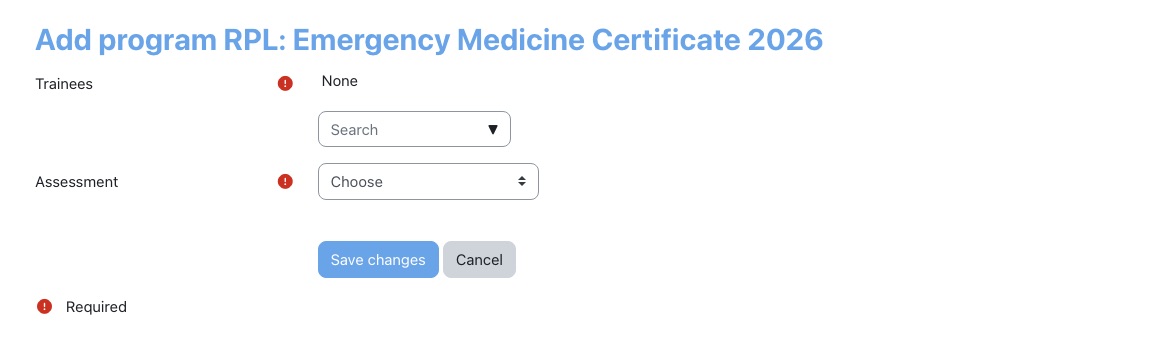
Each trainee gets an attempt marked RPL, which counts towards the number required and shows as RPL in the completion details. Only administrators can open RPL attempts. Delete on Manage RPL removes the RPL and its attempt after you confirm.
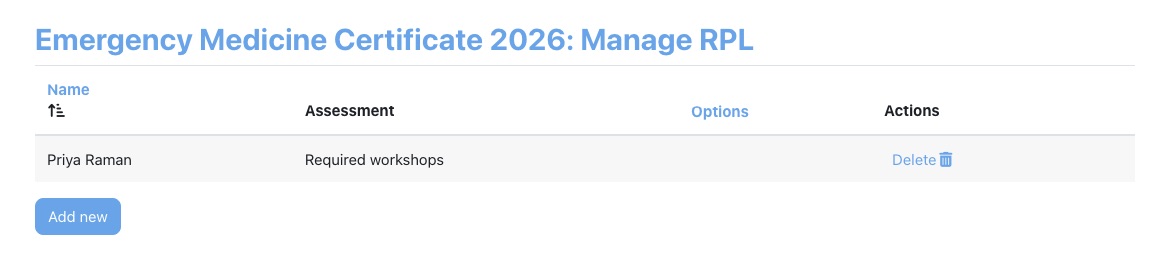
The meetings report
The report icon on Manage programs (View report) opens a report of start of placement and reflection meetings. Choose the Programs and Assessments (a meeting type, or All) and choose Select. Each row shows the trainee's username (under ACEM ID), name, email, program, Meeting type, Meeting date and Completion status: whether the trainee's part and the supervisor's part are complete, or Not started. Download it in any of the usual formats (CSV, Excel, ODS and so on).
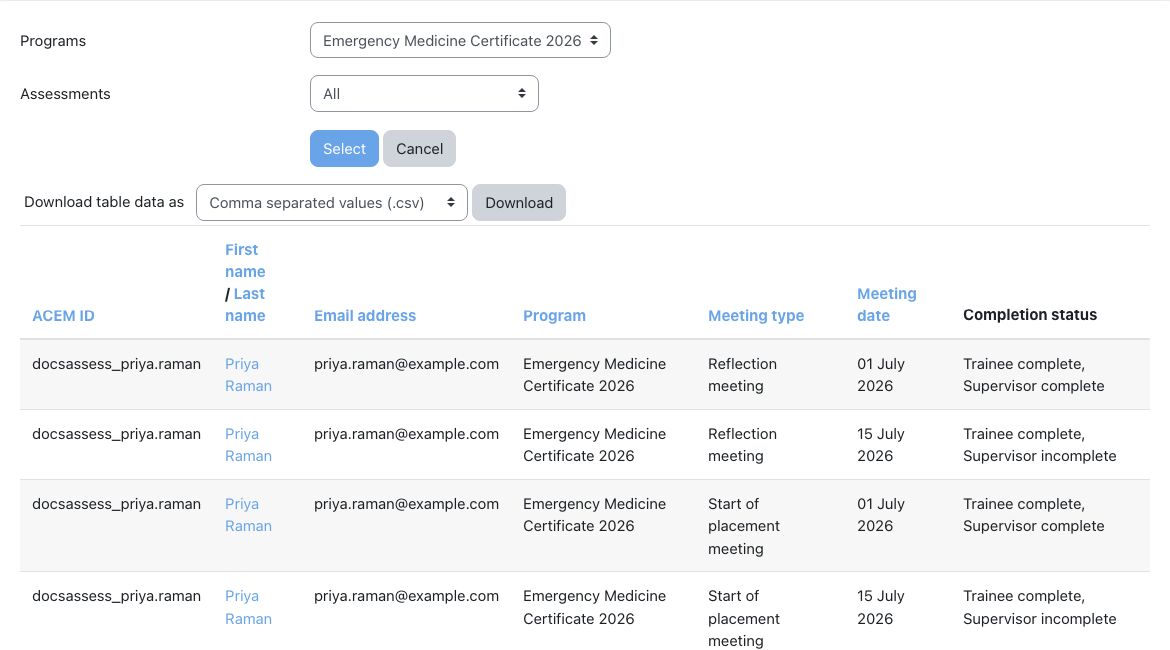
Settings
One setting, at Site administration > Plugins > Local plugins > Assessment summary:
| Setting | Default | What it changes |
|---|---|---|
| Clinical supervisor groups file path | /data/scripts/moodle/acemassessment/cs_list.csv | The file on the server that the nightly sync reads to build the clinical supervisor groups. If the file is missing, the sync is skipped and the groups stay as they are. Lingel Learning sets this up with you. |
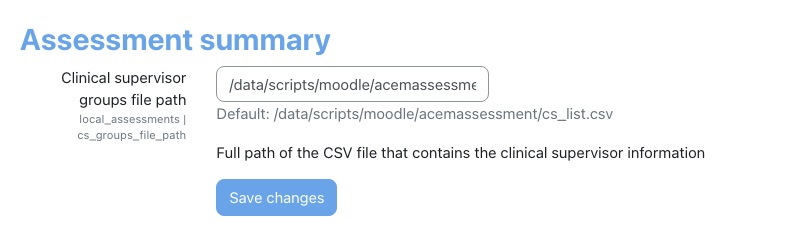
Who sees what
The plugin has no capabilities to assign in Moodle's roles. Access works like this:
| Page | Opens for |
|---|---|
| Manage administrators, the Assessments menu | Site administrators |
| Manage programs, Assessment types, enrolments, supervisors, RPL, Clinical Supervisor groups, the meetings report | Site administrators and assessments administrators |
| Assessment summary | Anyone enrolled as a trainee or named as a supervisor in a running program, and administrators |
| A trainee's attempts and forms | That trainee, their primary and clinical supervisors (including members of their clinical supervisor groups), and administrators |
| Starting a new form | The roles that form allows (see Filling in an assessment), and administrators |
| Changing a saved attempt | The supervisor who saved it, and administrators |
| Deleting an attempt, opening RPL attempts | Administrators |
These limits are checked by the site whenever a page or a saved form is requested, not only by hiding links.
Questions we get asked
A trainee or supervisor gets "You are not authorised to view this page".
Check that they are enrolled in, or named as a supervisor on, a program whose start and end dates include today. If they supervise through a clinical supervisor group, check that they appear under View group members; the groups refresh overnight. A supervisor can only open trainees they supervise.
A supervisor cannot change an attempt.
Another supervisor has already saved it, so it is theirs. Ask that supervisor, or an administrator, to make the change.
We have a new cohort of trainees. Do we need a new program?
Not necessarily: you can enrol them in the existing program. If the new intake has different dates or requirements, use Copy program on Manage programs, adjust the copy and enrol the new trainees in it.
Can we add a new kind of form?
Yes. Each form is built on a layout provided with the plugin; contact your usual Lingel Learning contact and we will set the new form up and add it to your programs.
Potential trainees, or the supervisor lists, are empty.
The lists come only from the program's cohorts. Open the program, choose Edit settings, and check Trainee cohorts, Primary supervisor cohorts and Clinical supervisor cohorts. Then check the people are members of those cohorts under Site administration > Users > Cohorts. Trainees already enrolled are not offered again.
A supervisor shows as "Deleted supervisor".
They are no longer in the program's primary or clinical supervisor cohort, or their account was deleted. Add them back to the cohort, or choose Manage supervisors on the trainee's row and pick someone else.
An attempt shows on the summary but the number completed did not go up.
Only passing results count: Competent, Satisfactory or RPL. A Not Yet Competent or Not Yet Satisfactory attempt is listed in the completion details but does not count towards the number required.
We removed a trainee by mistake.
Add them again under Enrol trainees. Removing only hides the enrolment, so their attempts and supervisors come back with it.
Dashboard blocks
Dashboard tabs, My Learning, Quicklinks, Categories, Events, Grades and Grading: the blocks that do the everyday work on a learner's or teacher's Dashboard.
These blocks are added to a Dashboard or course page like any other Moodle block. On most sites they reach people through Dashboard tabs, one block on the Dashboard that shows the others as tabs. Dashboard tabs and My Learning have site settings, Quicklinks is set up from its own management page and Categories has one setting per block; Events, Grades and Grading need nothing beyond being placed where people will see them.
On this page: Dashboard tabs, My Learning, Quicklinks, Categories, Events, Grades and Grading.
Dashboard tabs
Dashboard tabs gathers the Virtual Slate blocks into one block on the Dashboard, with a tab for each. People switch between My learning, Learning pathways, Grades, Grading, CPD and My teams without leaving the page, and the Dashboard stays short.
- Name in Moodle
- Dashboard tabs (a block)
- Where it can go
- The Dashboard and the site home page. One per page
- Added for you
- When it is installed it is placed at the top of the default Dashboard, so new users see it without any setup
- Settings
- Site administration → Plugins → Blocks → Dashboard tabs
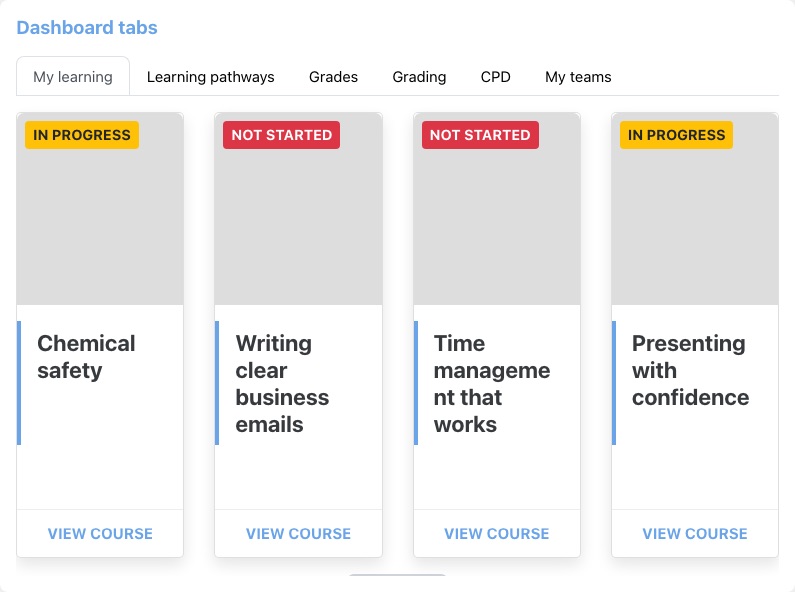
What people see
- The tab that opens is the one the person last opened. On their first visit it is the Default tab from the settings.
- Only the open tab is loaded with the page. Each other tab loads the first time it is selected and then stays loaded, so a Dashboard with six tabs opens as quickly as one with a single block.
- A tab shows the same thing as the block on its own, for the same people: My learning shows the person's courses, Grades their grades, Grading a teacher's courses with work to grade. Each block is described below.
- A tab with nothing for that person says Nothing to show here yet. A learner sees this on the Grading tab, for example, because Grading is for teachers. The tab itself is the same for everyone.
- If one tab cannot be shown it says This section could not be shown. and the rest of the Dashboard carries on working. If a tab fails to load, for example because the connection dropped, it says This section could not be loaded. with a Try again button.
- Content taller than the tab area scrolls inside it. The tabs work from the keyboard: the arrow keys move between tabs, Home and End jump to the first and last.
- Guests and people who are not logged in see nothing.
Settings
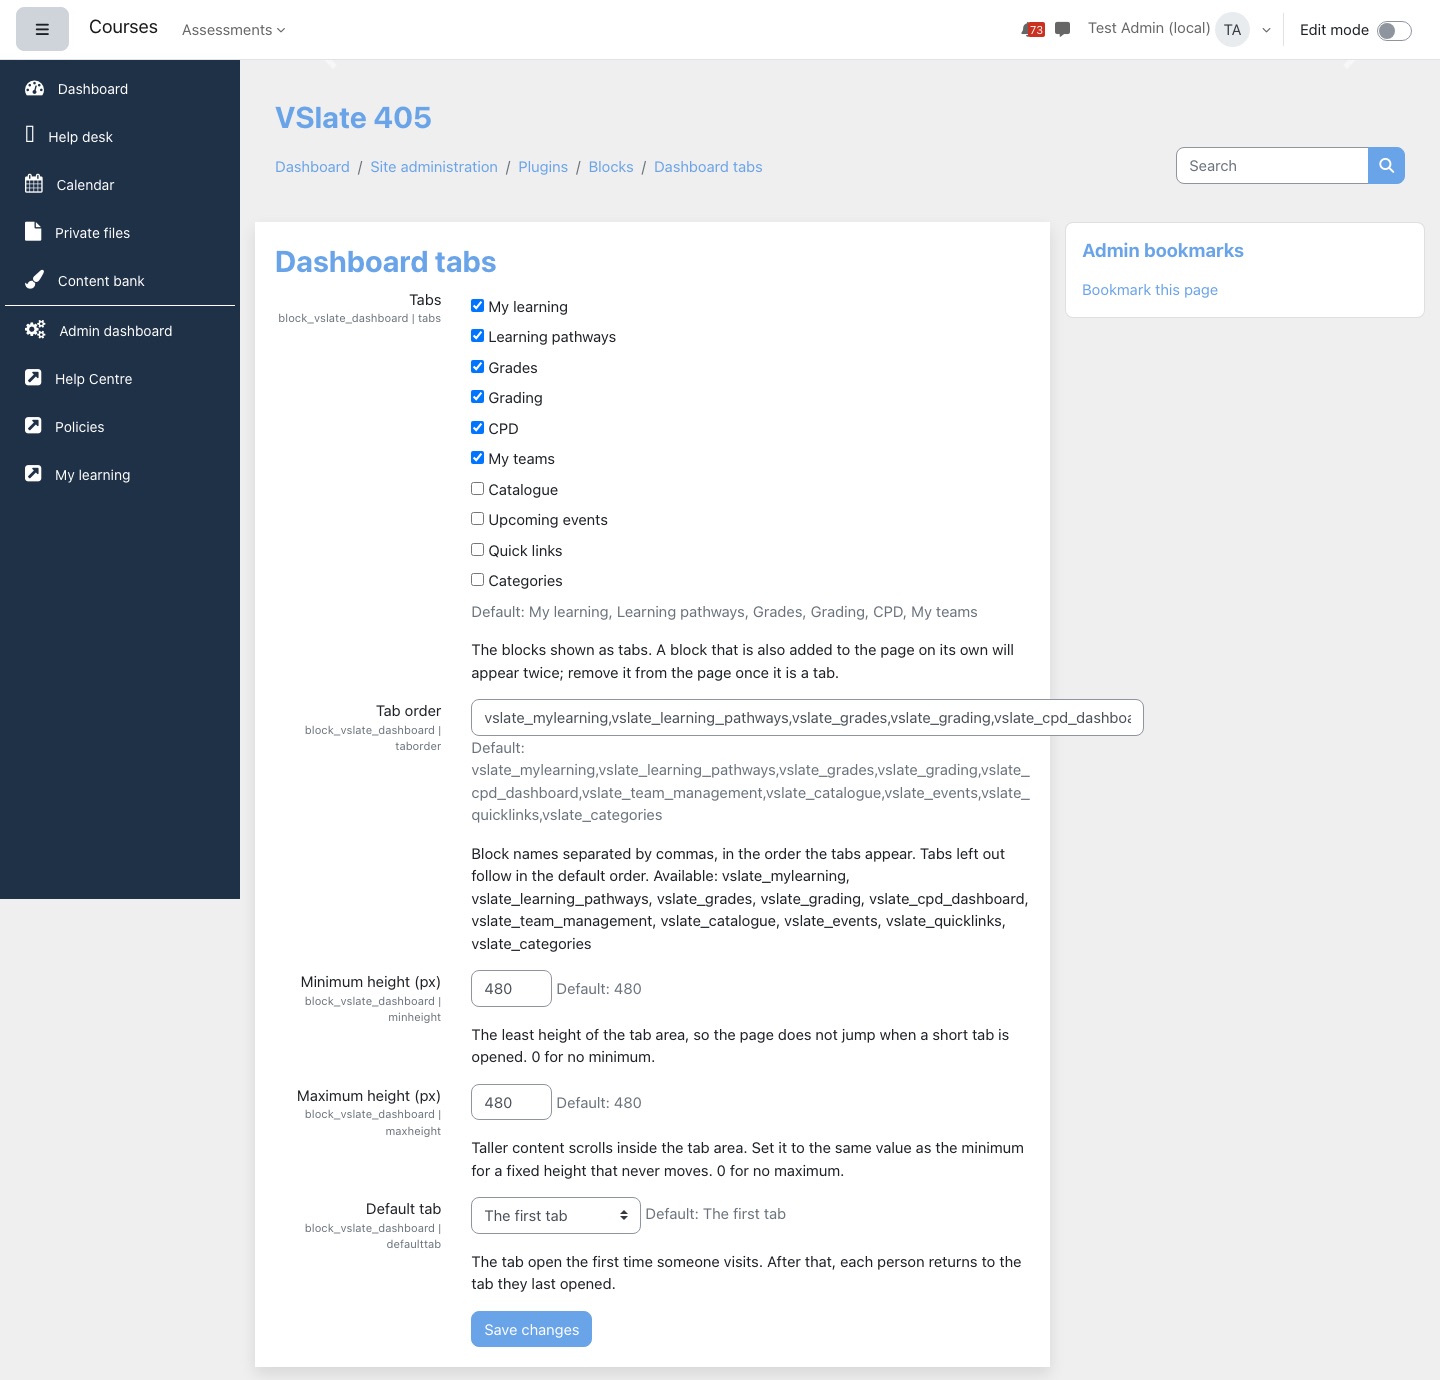
| Setting | Default | What it does |
|---|---|---|
| Tabs | My learning, Learning pathways, Grades, Grading, CPD, My teams | The blocks shown as tabs. Every Virtual Slate block that is enabled on your site is offered, so the list can also include Catalogue, Upcoming events, Quick links and Categories. A block that is turned off under Site administration → Plugins → Blocks → Manage blocks is not offered and its tab disappears. |
| Tab order | All available blocks, in the order above | Block names separated by commas, in the order the tabs appear, for example vslate_grades,vslate_mylearning. Tabs you leave out follow in the default order. The setting lists the names you can use. |
| Minimum height (px) | 480 | The least height of the tab area, so the page does not jump when someone opens a short tab. 0 for no minimum. |
| Maximum height (px) | 480 | Taller content scrolls inside the tab area. Set it to the same value as the minimum for a fixed height that never moves. A maximum lower than the minimum is raised to the minimum. 0 for no maximum. |
| Default tab | The first tab | The tab open the first time someone visits. After that, each person returns to the tab they last opened. |
Choose the tabs
- Go to Site administration → Plugins → Blocks → Dashboard tabs.
- Under Tabs, tick the blocks you want and untick the rest.
- Optionally put them in a different order in Tab order, and choose a Default tab.
- Set Minimum height (px) and Maximum height (px). The same value in both gives a tab area that never changes height.
- Press Save changes.
- If any of the same blocks is also on the Dashboard on its own, remove it there, or it shows twice.
Settings made on one copy of a block with Configure do not apply inside a tab. For example, a Categories block set to Show all categories still shows only the person's own categories when it is a tab.
Who sees what
- Everyone who uses the default Dashboard sees the block. People cannot add it to their own Dashboard; it comes from the default.
- The block keeps one preference for each person, the tab they last opened. It is included when you export a person's data under Site administration → Users → Privacy and policies → Data requests.
| Capability | Default roles | Allows |
|---|---|---|
block/vslate_dashboard:addinstance | Manager | Add the block to the site home page. |
block/vslate_dashboard:myaddinstance | Manager | Add the block to a Dashboard, including the default Dashboard. |
Questions we get asked
Some people do not have the Dashboard tabs block.
It is added to the default Dashboard. People who had already changed their own Dashboard keep their own copy. To give everyone the default, go to Site administration → Appearance → Default Dashboard page and press Reset Dashboard for all users. This also removes blocks people added themselves, so tell them first.
The page jumps when someone switches tabs.
Set Minimum height (px) and Maximum height (px) to the same value. The tab area then keeps one height and longer content scrolls inside it.
A block appears twice on the Dashboard.
It is a tab and also a block on the page in its own right. Remove the separate block, or untick it under Tabs.
My Learning
My Learning shows each person the courses they are enrolled in. The block on the Dashboard shows four of them as cards, and its Show more button opens a full page with every course, a search, filters and pages.
- Name in Moodle
- Virtual Slate My Learning (a block and a full page)
- Where it can go
- Any page; usually the Dashboard
- Settings
- Site administration → Plugins → Blocks → Virtual Slate My Learning
- Two looks
- A classic look on most themes, and a modern look on themes made for it, such as Autumn
The block
The block shows up to four of the person's courses as cards, then a Show more button. Each card has the course image, the course name, a View course link and, where the course tracks completion, a status: Not started, In progress or Completed. Someone enrolled in nothing sees No items.
Site administrators see a note instead of cards, because they are not enrolled in courses the way learners are. Show more still takes them to the full page.
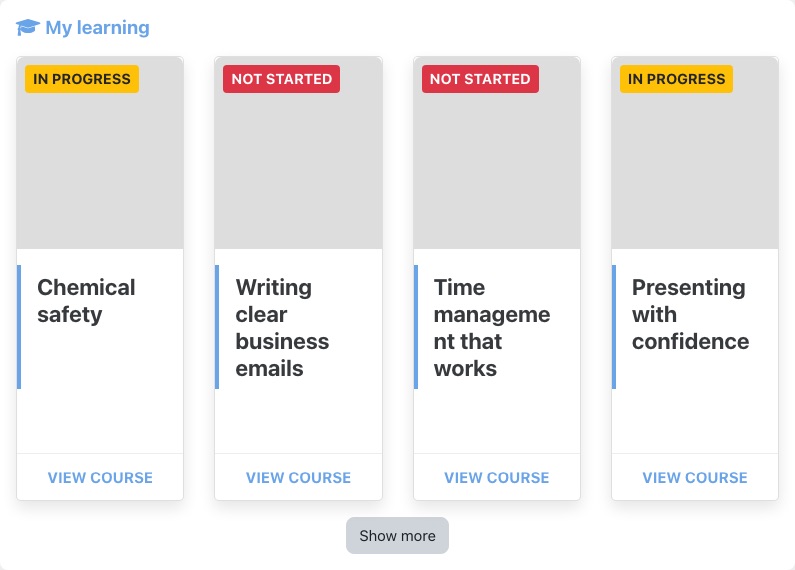
The block is also the My learning tab of Dashboard tabs.
The full page
The full page, headed Enrolled courses, lists every course the person is enrolled in. In the classic look it has:
- Sort by: newest or oldest courses first, course name A to Z or Z to A, or the order of your course categories.
- Category: only the categories the person has courses in.
- Status: Not started, In progress or Completed.
- A keyword box and Search. Keywords match the course name, its summary and its tags.
- Previous, page numbers and Next when there is more than one page.
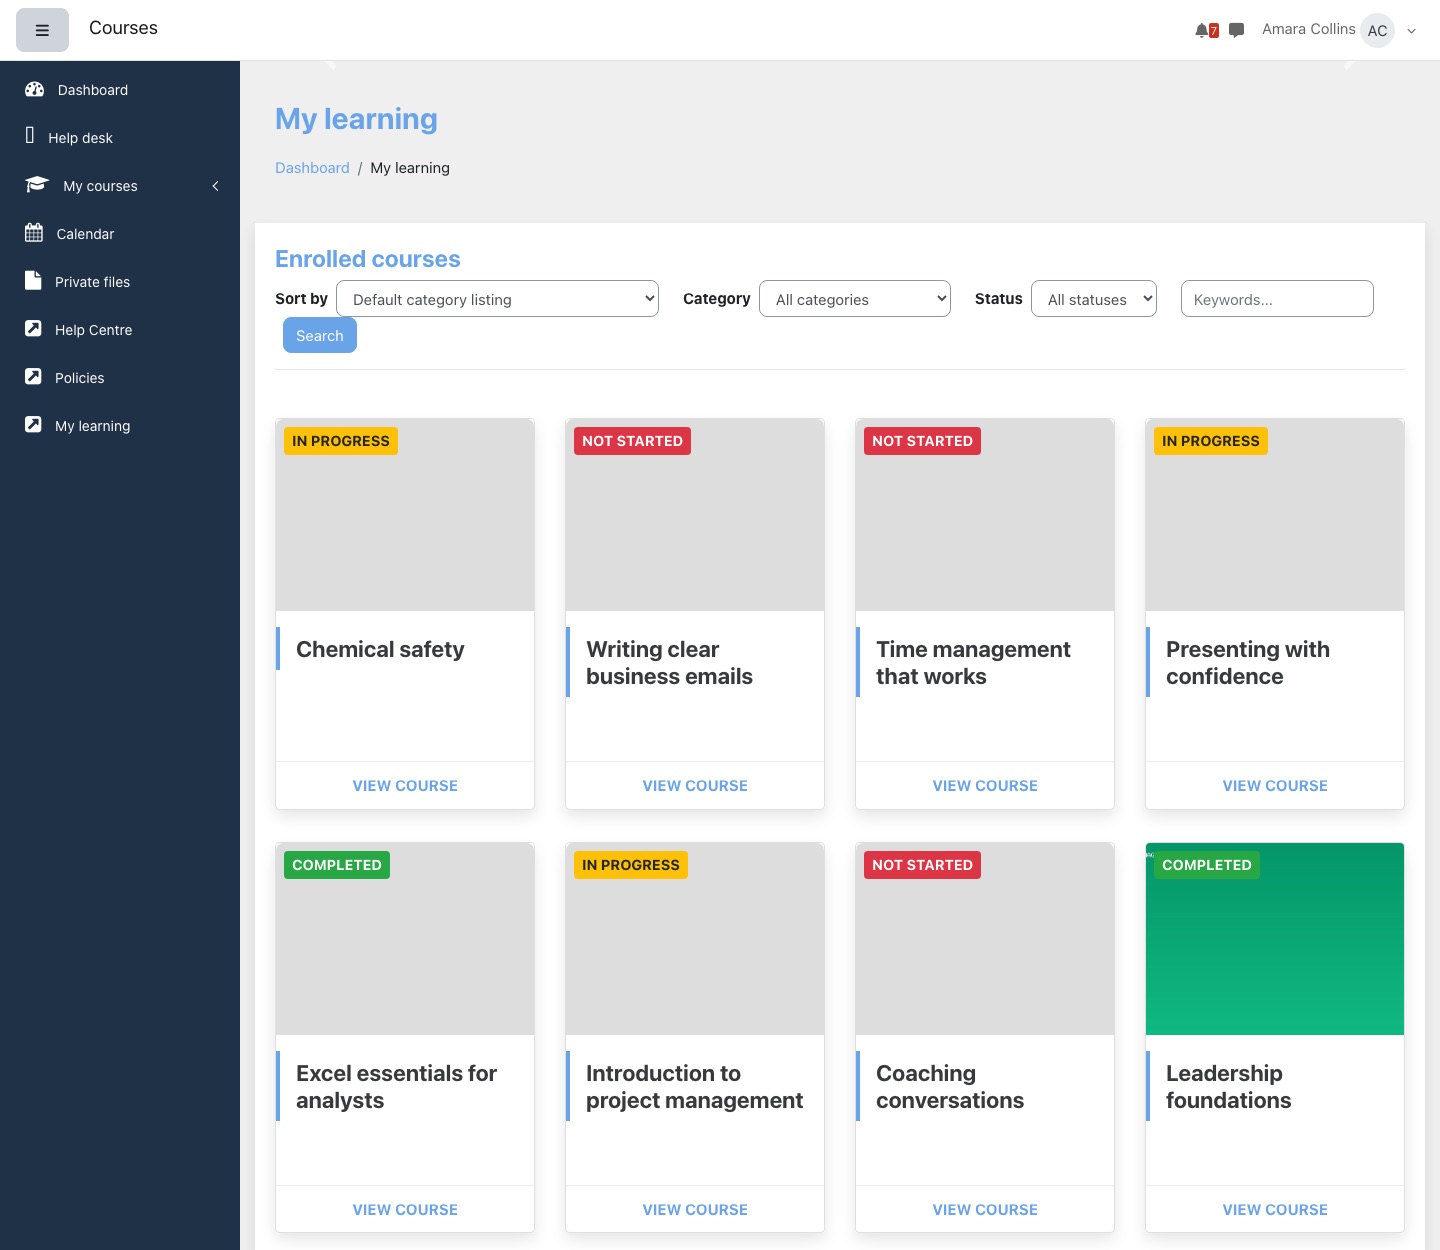
Site administrators see every visible course on the site here, with a note saying that learners only see their own.
On a theme with the modern look, the page adds a Continue learning banner for the course the person used last (only a course they are still enrolled in, with an active enrolment, and not in a category hidden from My Learning; if there is none, the banner does not appear), filters that apply as they type, a tile or list view, a choice of how many courses to show per page (8, 16, 32 or 64), progress bars, and pinning. Each person can pin up to 30 courses to keep them at the top of the page and the block.
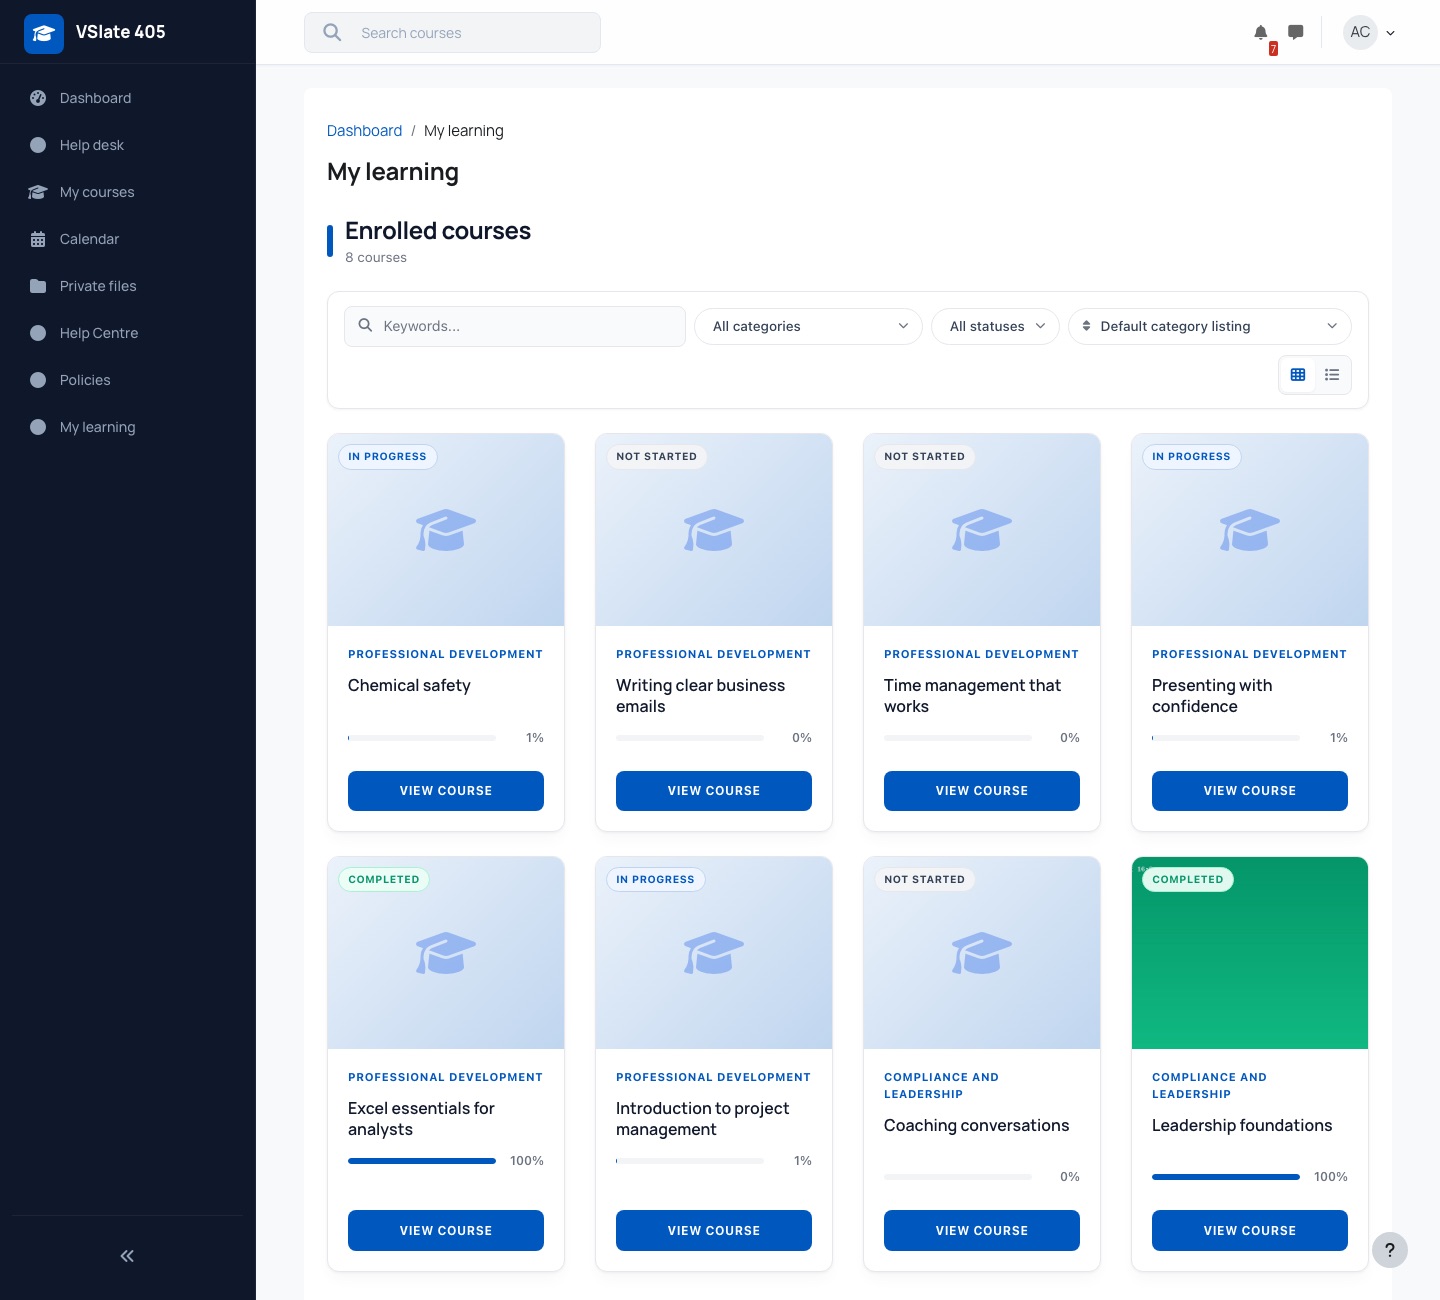
With editing on, administrators see a Block settings button at the top of the full page that goes straight to the settings below.
Settings
Go to Site administration → Plugins → Blocks → Virtual Slate My Learning.
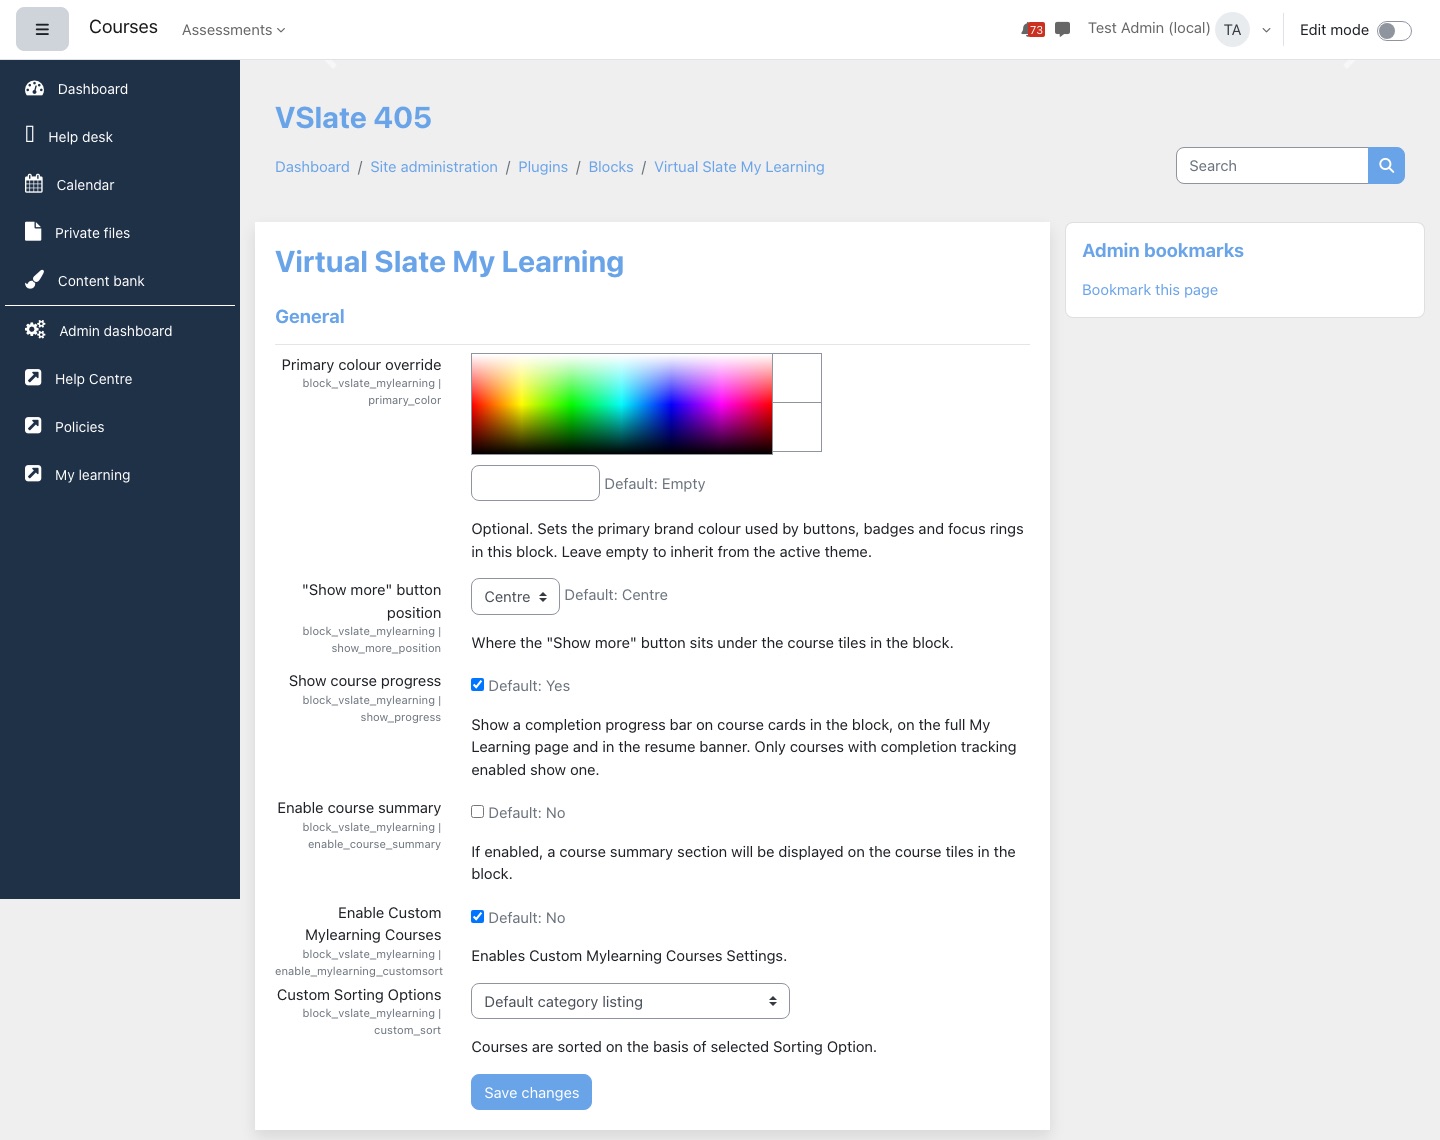
| Setting | Default | What it does |
|---|---|---|
| Primary colour override | Empty | The colour of buttons, badges and focus outlines in the modern look. Leave it empty to use your theme's colour; set it only if that colour is hard to read on white cards. |
| "Show more" button position | Centre | Puts the button under the block's cards on the left, in the centre or on the right. |
| Show course progress | On | Shows a progress bar on the cards of courses that track completion, in the modern look. Turn it off to hide every progress bar. |
| Enable course summary | Off | Shows each course's summary, as plain text, on the classic cards. |
| Enable Custom Mylearning Courses | Off | Turns on Custom Sorting Options. |
| Custom Sorting Options | None chosen | The order the block and the full page start in. Without it, newest courses come first. People can still change the order on the full page. |
Who sees what
- People see only the visible courses they are actively enrolled in. A suspended or expired enrolment, or a hidden course, does not show.
- Courses in categories your site has set aside, and courses in another language where your site shows courses by language, are left out.
- Pins, the tile or list choice and the page size belong to each person and follow them across devices.
| Capability | Default roles | Allows |
|---|---|---|
block/vslate_mylearning:addinstance | Manager | Add the block to a page. |
block/vslate_mylearning:myaddinstance | Manager | Add the block to a Dashboard. |
Privacy
My Learning keeps three preferences for each person: whether they see tiles or a list, which courses they have pinned, and how many courses they show per page. They are included when you export a person's data under Site administration → Users → Privacy and policies → Data requests. The block keeps no other personal data.
Questions we get asked
A learner has just been enrolled but the course is not in the block.
New enrolments, completions and course changes show straight away; a changed setting can take up to a minute to reach the block. If the course still does not appear, check that the enrolment is active, the course is visible and it is not in a category your site leaves out.
Why does a course show 50% progress when the learner has barely started?
The course has no completion criteria to count against, so a started course shows halfway as a sign that it is under way. Set completion criteria on the course for a real percentage.
Why is there no pin button or progress bar on our site?
They belong to the modern look, which comes with themes made for it, such as Autumn. Other themes keep the classic look. Contact your usual Lingel Learning contact if you would like the modern look.
Quicklinks
Quicklinks puts a row of large icon tiles at the top of a page: the Dashboard, the site home page or a course. Each tile takes people straight to somewhere they go often, such as their courses, their certificates or a page on another website. Some tiles show a number, such as how many courses the person has completed.
- Name in Moodle
- Quicklinks (a block)
- Where it can go
- The Dashboard, the site home page and course pages. One per page
- Managing the links
- Turn editing on, then press Manage Quicklinks under the block
- Settings
- None. Everything is set on the Manage Quicklinks page
Which links show where
Links belong to the page they were made on. A course has its own set. The Dashboard and the site home page share one set, so a link made on one also appears on the other wherever the block has been added.
Add a quicklink
- Turn editing on and press Manage Quicklinks under the block.
- Press Create quicklink.
- Enter the Quicklink text: the words on the tile.
- Choose an Icon. Start typing to search, for example fa-graduation-cap.
- Under Links to, choose Existing page and pick one from the list, or Custom page and enter the full web address in Link to custom page.
- Optionally choose Cohorts (see Who sees what).
- Choose a Target: Same window, or New window to open it in a new tab.
- Press Save.
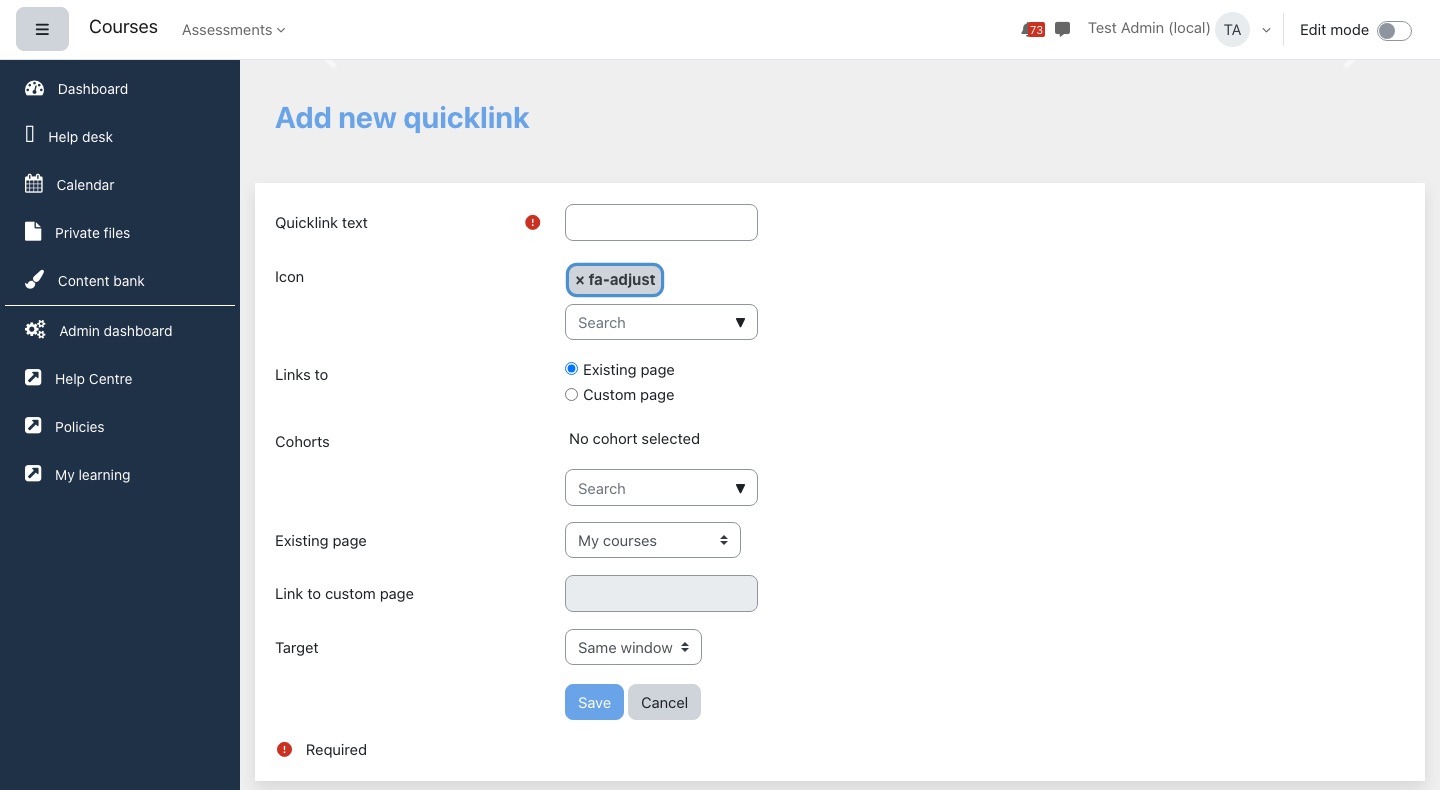
The existing pages
| Existing page | The tile shows | Goes to |
|---|---|---|
| My courses | How many courses the person is enrolled in | Their full list of courses |
| Enrolled courses | How many courses the person is enrolled in | Their full list of courses |
| Completed courses | How many courses the person has completed | Their list of courses, showing completed ones |
| Certificates | How many certificates the person has been issued | Their certificates |
| Profile | No number | Their profile |
| Enrolmart | No number | Your Enrolmart store |
Where your site has the My Learning block, the course tiles open its full page. Certificates is only offered when your site has certificates, and Enrolmart only when your site is connected to Enrolmart. If a feature is later removed from your site, tiles pointing at it stop showing, and the Manage Quicklinks page marks them Not available on this site.
Change, reorder, hide or delete
The Manage Quicklinks page lists every link for that page under Existing quicklinks, in the order they appear. Each row has buttons to:
- Move up and Move down: change the order of the tiles.
- Edit: change anything about the link.
- Deactivate: hide the tile without losing it, and Activate to bring it back.
- Delete: remove it for good, after a confirmation.
The buttons are icons: arrows to move, a pencil to edit, an eye to activate or deactivate, and a bin to delete. The Links to column has a View link to try the destination.
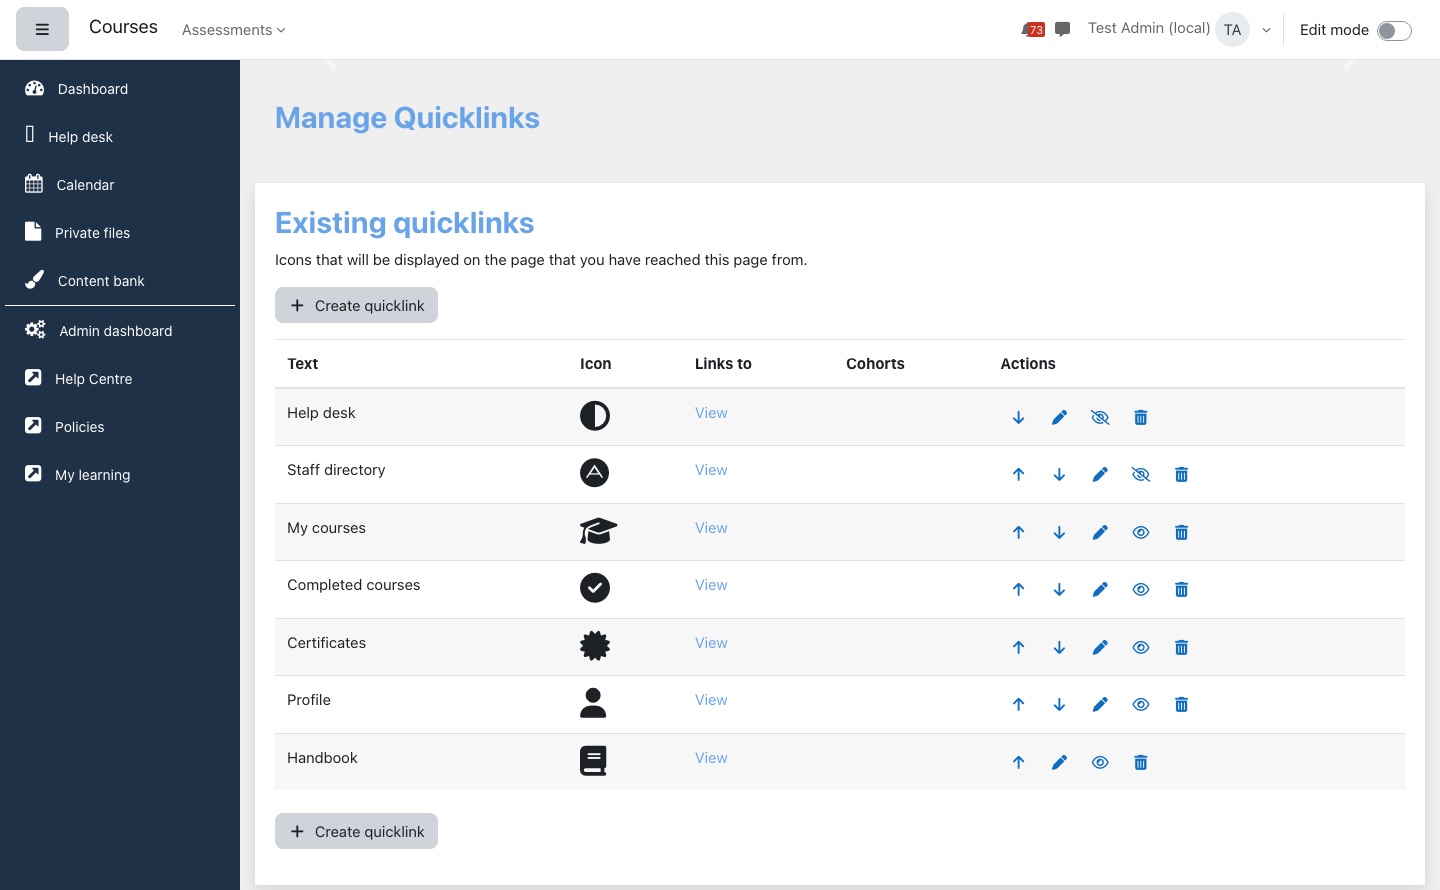
Who sees what
- A link with no cohorts is shown to everyone who can see the page.
- A link with cohorts is shown only to members of at least one of them.
- Numbers on tiles are always the viewer's own.
- The Manage Quicklinks button shows only with editing on, to people allowed to manage quicklinks on that page. By default that is the Manager role and site administrators.
- Managing quicklinks is limited to the page it is given for. Someone who may manage a course's quicklinks can change only that course's links, not another course's or the Dashboard's.
| Capability | Default roles | Allows |
|---|---|---|
block/vslate_quicklinks:manage | Manager | Create, edit, reorder, hide and delete the quicklinks on a page. |
block/vslate_quicklinks:addinstance | Manager | Add the block to a page. |
block/vslate_quicklinks:myaddinstance | Manager | Add the block to a Dashboard. |
Questions we get asked
A tile has disappeared.
Check the Manage Quicklinks page. The link may have been deactivated, limited to cohorts the person is not in, or pointed at a page that is not available on your site any more. A page with no tiles to show hides the block altogether.
Why is Certificates or Enrolmart missing from the list of existing pages?
They are only offered when your site has that feature. If you expected it to be there, contact your usual Lingel Learning contact.
Why does a link I added on the Dashboard also show on the home page?
The Dashboard and the site home page share one set of quicklinks. To show different links, use cohorts, or put the block on only one of them.
Categories
Categories shows course categories as tiles, so people can browse their courses by category.
- Name in Moodle
- Virtual Slate Categories (a block, titled Course categories)
- Where it can go
- The Dashboard only. One per page
- Settings
- One for each copy of the block: turn editing on, open the block's menu and choose Configure
By default the block shows the categories that hold a course the person is enrolled in. Selecting a tile opens a list of the person's courses in that category. Someone enrolled in nothing does not see the block.
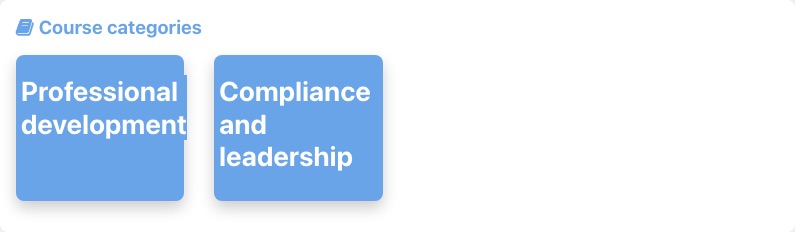
| Setting | Default | What it does |
|---|---|---|
| Show categories | Show enrolled categories | Show enrolled categories: only categories that hold a course the person is enrolled in. Show all categories: every category on the site, and each tile opens Moodle's own page for that category. |
Show all categories lists every category, including ones you have hidden. If your site relies on hidden categories staying out of sight, keep the default, Show enrolled categories. The setting does not apply when Categories is a tab of Dashboard tabs; the tab always shows the person's own categories.
On a theme with the modern look, such as Autumn, each category is a card with the number of the person's courses in it, and selecting it opens My Learning filtered to that category.

| Capability | Default roles | Allows |
|---|---|---|
block/vslate_categories:addinstance | Manager | Add the block to a page. |
block/vslate_categories:myaddinstance | Manager | Add the block to a Dashboard. |
Events
Events lists the calendar events coming up for the person: their own events and those of their courses, groups and the site.
- Name in Moodle
- Virtual Slate events (a block, titled Events)
- Where it can go
- The Dashboard, the site home page, course pages and category pages. On a course page it shows that course's events
- Settings
- None
Each row has the event name and its date and time. Selecting an event opens its details; Go to calendar... opens the calendar's upcoming events, for that course when the block is on a course page. With nothing coming up the block says There are no upcoming events.
The column heading reads This month's events, but the list is what is coming up next, which can run into next month. How far ahead it looks and how many events it lists come from each person's calendar settings, Upcoming events look-ahead (21 days unless changed) and Maximum upcoming events (10 unless changed), under Preferences → Calendar preferences.
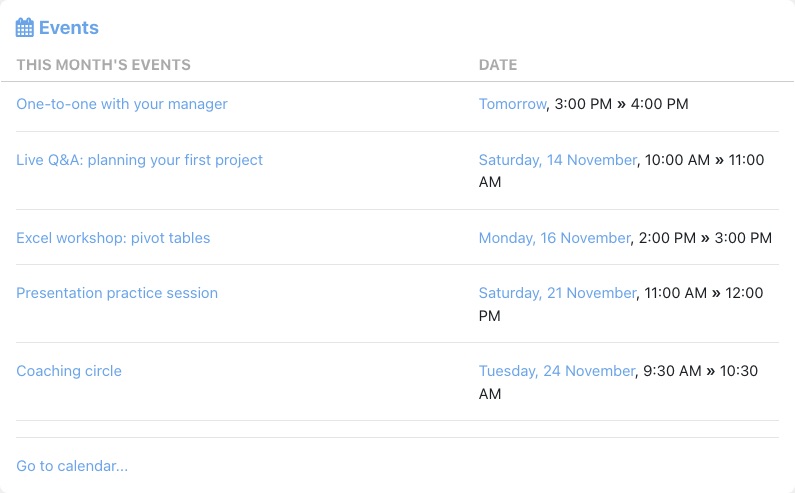
On a theme with the modern look, such as Autumn, each event has a date tile, its type and a Details button, and tabs (Next 7 days, All, Course, Personal and others) with a filter box.
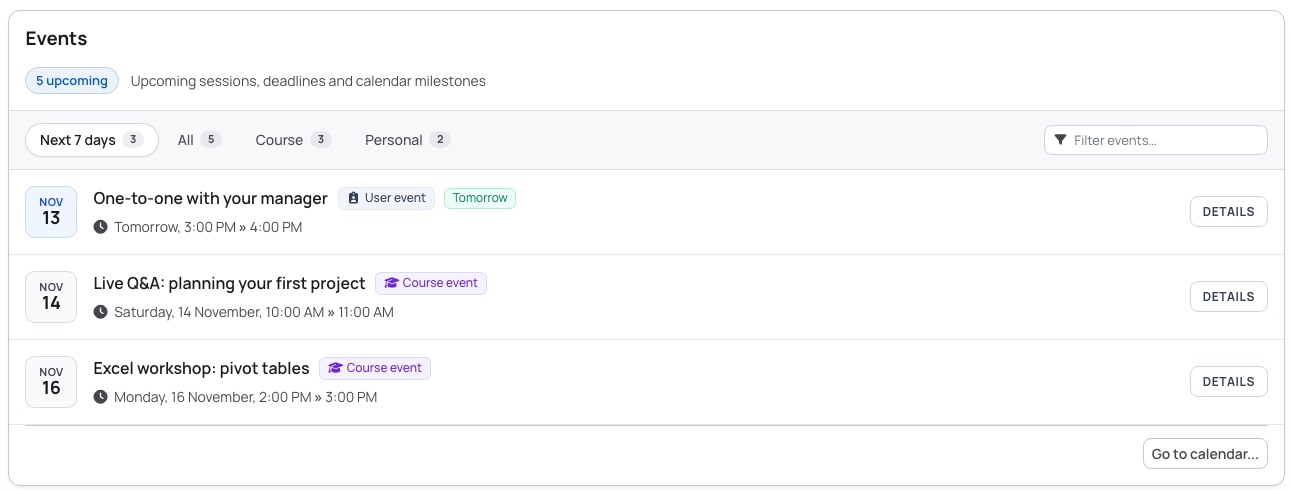
| Capability | Default roles | Allows |
|---|---|---|
block/vslate_events:addinstance | Editing teacher, Manager | Add the block to a page, such as a course. |
block/vslate_events:myaddinstance | Authenticated user | Add the block to their own Dashboard, where your site lets people edit it. |
Grades
Grades gives a learner their course grades and how far through their courses they are, in one place, with a fuller page and a download behind it.
- Name in Moodle
- Virtual Slate Grades (student) (a block, titled Grades)
- Where it can go
- The Dashboard only. It is also the Grades tab of Dashboard tabs
- Settings
- None
The block lists up to five of the person's courses with their course total, and a Completions chart that counts all their courses as Completed, In-Progress or Not Started. A course is in progress once the person has started it, has a grade in it or has completed an activity in it. Courses the person teaches are left out. Someone with no courses as a learner does not see the block.
When the person has more than five courses, a Show more link appears beside the title.
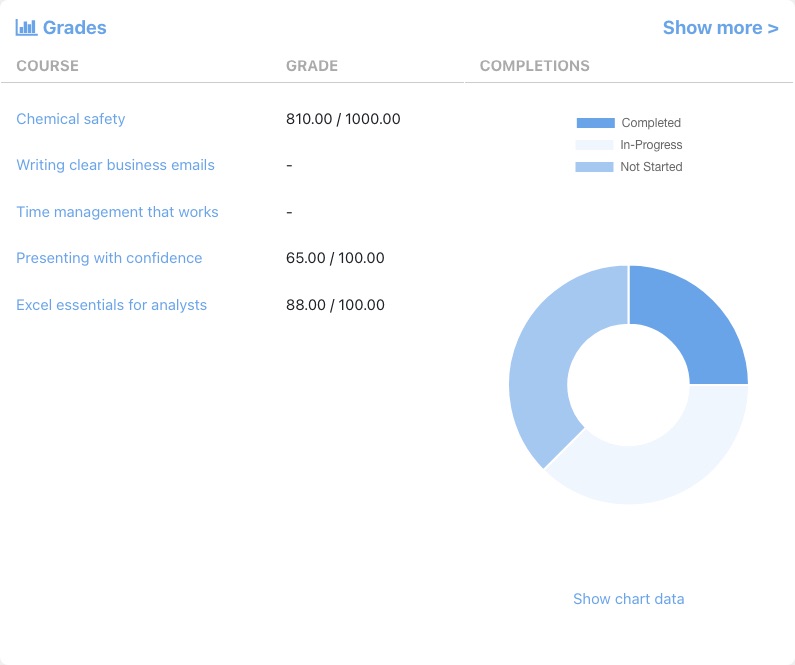
Show more opens the Grades page: every course the person is enrolled in, with its Course, Short name, Grade and a View grade report button that opens their Moodle grade report for that course. It shows 50 courses at a time, sorts by course or short name, and Download table data as saves the list as a spreadsheet or other format.
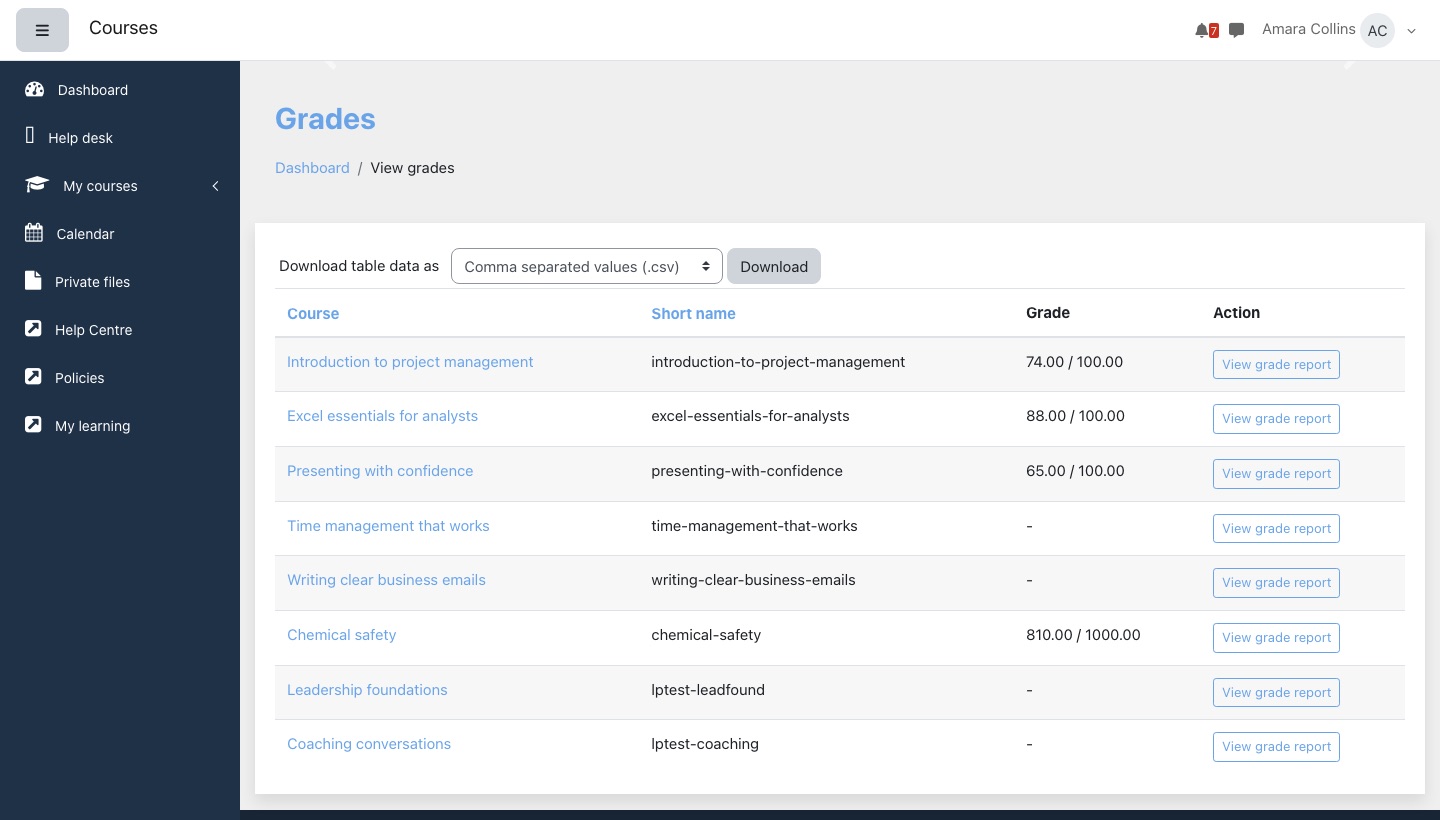
This block can display grades that a teacher has hidden, in the block, on its full page and in its download. If your site relies on hiding grades until results are released, do not use this block for now — use Moodle's own grade overview instead, and untick Grades in the Dashboard tabs settings. A fix is in progress and is our highest-priority item on this block.
| Capability | Default roles | Allows |
|---|---|---|
block/vslate_grades:addinstance | Editing teacher, Manager | Add the block to a page. |
block/vslate_grades:myaddinstance | Manager | Add the block to a Dashboard. |
Grading
Grading gives a teacher one list of the courses they grade, with the number of assignment submissions waiting in each, across all their courses rather than one course at a time.
- Name in Moodle
- Virtual Slate Grading (teacher) (a block, titled Grading)
- Where it can go
- The Dashboard only. One per page. It is also the Grading tab of Dashboard tabs
- Settings
- None
The block lists the courses the person is enrolled in and may see the grader report for; by default that is teachers, non-editing teachers and managers. Each row has the course, a To grade count and a View grades button that opens the course's grader report. Courses with the most submissions waiting come first, then the rest from A to Z.
- The block shows five courses, with Showing 5 of 7 courses and Show all 7 courses underneath when there are more. Show fewer folds the list again.
- The count opens the course's list of assignments. A course with nothing waiting says Up to date.
- Someone who grades no courses, such as a learner, does not see the block; as a tab it says Nothing to show here yet.
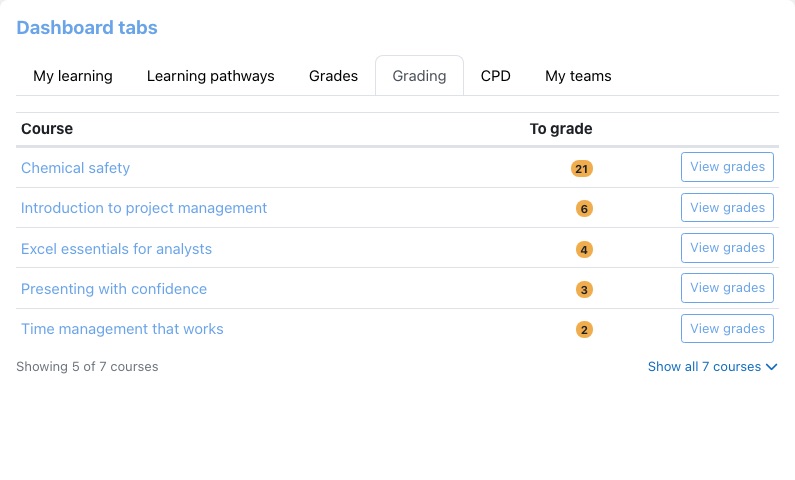
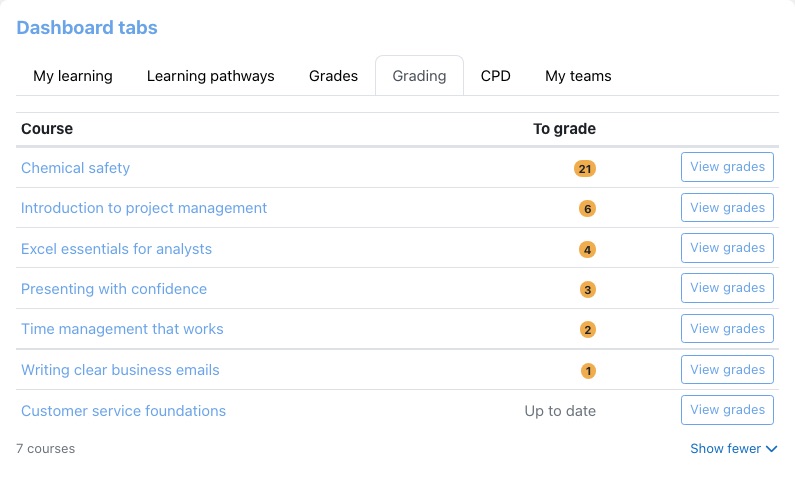
What is counted. A submission is counted when a learner has submitted it (drafts are not counted), it is their latest attempt, they are still actively enrolled, and it has not been graded since it was submitted. Assignments where students submit as a group, and quizzes, are not counted.
The counts are worked out for all the teacher's courses together and kept for up to an hour, so the block stays quick even for a teacher with many courses. They refresh straight away when a submission is made or graded, an enrolment changes or an activity is added, changed or deleted.
| Capability | Default roles | Allows |
|---|---|---|
block/vslate_grading:addinstance | Manager | Add the block to a page. |
block/vslate_grading:myaddinstance | Manager | Add the block to a Dashboard. |
Dashboard blocks: questions we get asked
Why use these when Moodle has its own equivalents?
Because the core blocks did not fit the dashboards we build: layout, branding, and in the grading case a cross-course view that core does not offer. Where core has since caught up, we will say so rather than keep a block for its own sake.
A learner can see a grade their teacher has hidden.
That is the known limitation in the Grades block noted above, not a configuration problem on your site. A fix is in progress. Until then, a site that relies on hidden grades should use Moodle's own grade overview instead of this block.
Why is a dashboard with these blocks slow?
Most often the Grades block, which looks up each of the user's courses separately. It is being rewritten to use a single query. If you need an immediate improvement, removing that block from the Dashboard, or unticking Grades in the Dashboard tabs settings, is the quickest test. With Dashboard tabs, a slow block only slows the Dashboard when its tab is the one that opens.
Pathways & Catalogue
Grouping courses into programmes, and letting people find them.
Learning Pathways
A learning pathway is a programme of courses. You choose the courses, and optionally groups of courses called course sets, put them in order, and decide who is on the pathway, one person at a time or through cohorts. Everyone on a pathway is enrolled in its courses, can be held back from a course until they finish the one before it, and sees their progress through the pathway on their Dashboard.
- Name in Moodle
- Learning pathways (the learner block is Virtual Slate Learning Pathways)
- Managing pathways
- Site administration → Courses → Learning pathways → Manage learning paths. Managers also have a Learning pathways item in the main navigation that opens the same page.
- Settings
- Site administration → Plugins → Local plugins → Learning pathway settings, or the Learning pathway settings button on Manage learning paths
- What learners see
- The Learning pathways block on the Dashboard, a page listing their pathways, and a page for each pathway
- Who can manage
- Site administrators, and anyone with the
local/learning_plan:managecapability (the Manager role by default)
- How it works
- The Manage learning paths page
- Create a pathway
- Add courses and course sets
- Course sets
- Prerequisites
- Put people on a pathway
- What happens when things are removed
- How progress and completion are worked out
- Completions to review
- The pathway report
- The Learning pathways block
- What learners see
- Who sees what
- Privacy
- Questions we get asked
How it works
A pathway is made of conditions, in order. Each condition is either a single course or a course set: a group of courses where the learner completes all of them, or any number you choose. A learner completes the pathway by completing every condition.
Putting someone on a pathway enrols them in every course in it, including the courses in its course sets, as a student. Taking them off does not unenrol them unless you change the settings (see What happens when things are removed).
A course counts as done on a pathway when Moodle records the course as completed for that person. Every course in a pathway therefore needs completion tracking turned on and completion conditions set, under the course's Course completion settings. A course without them can never be completed, so a pathway that contains it can never be completed either.
The Manage learning paths page
Everything starts from Manage learning paths. Under Existing learning paths it lists every pathway, ten to a page, with:
- Name and ID number.
- Ad hoc users: how many people were added one by one. Press the number to add or remove people.
- Status: Active or Inactive.
- Cohorts: the cohorts that put people on the pathway.
- Conditions: how many courses and course sets it has. Press the number to manage them.
- Action: icons to View report, Edit and Delete. Deleting asks you to confirm first.
Choose a format under Download table data as and press Download to save the list. The buttons under the list are Add a new learning path, Manage course sets and Completions to review; Learning pathway settings is at the top right.
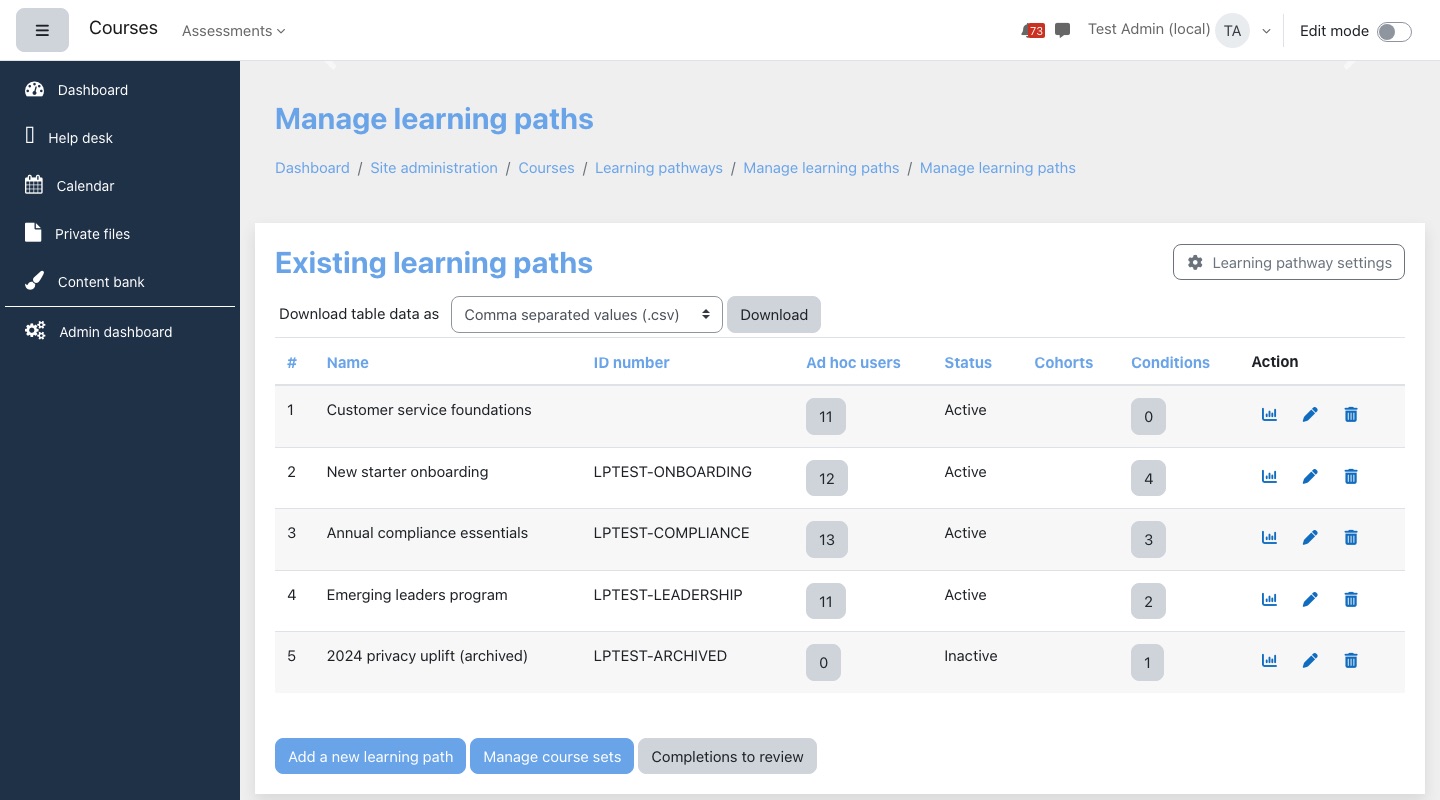
Create a pathway
- Go to Manage learning paths and press Add a new learning path.
- Enter the Learning path name (required) and, optionally, a Learning path description. Learners see both on the pathway page.
- Optionally enter a Learning path ID number, your own reference for the pathway.
- Set the Status: Active, or Inactive to keep it out of learners' lists while you build it.
- Optionally choose Cohorts (see Put people on a pathway).
- Press Save changes. The pathway appears in the list on Manage learning paths.
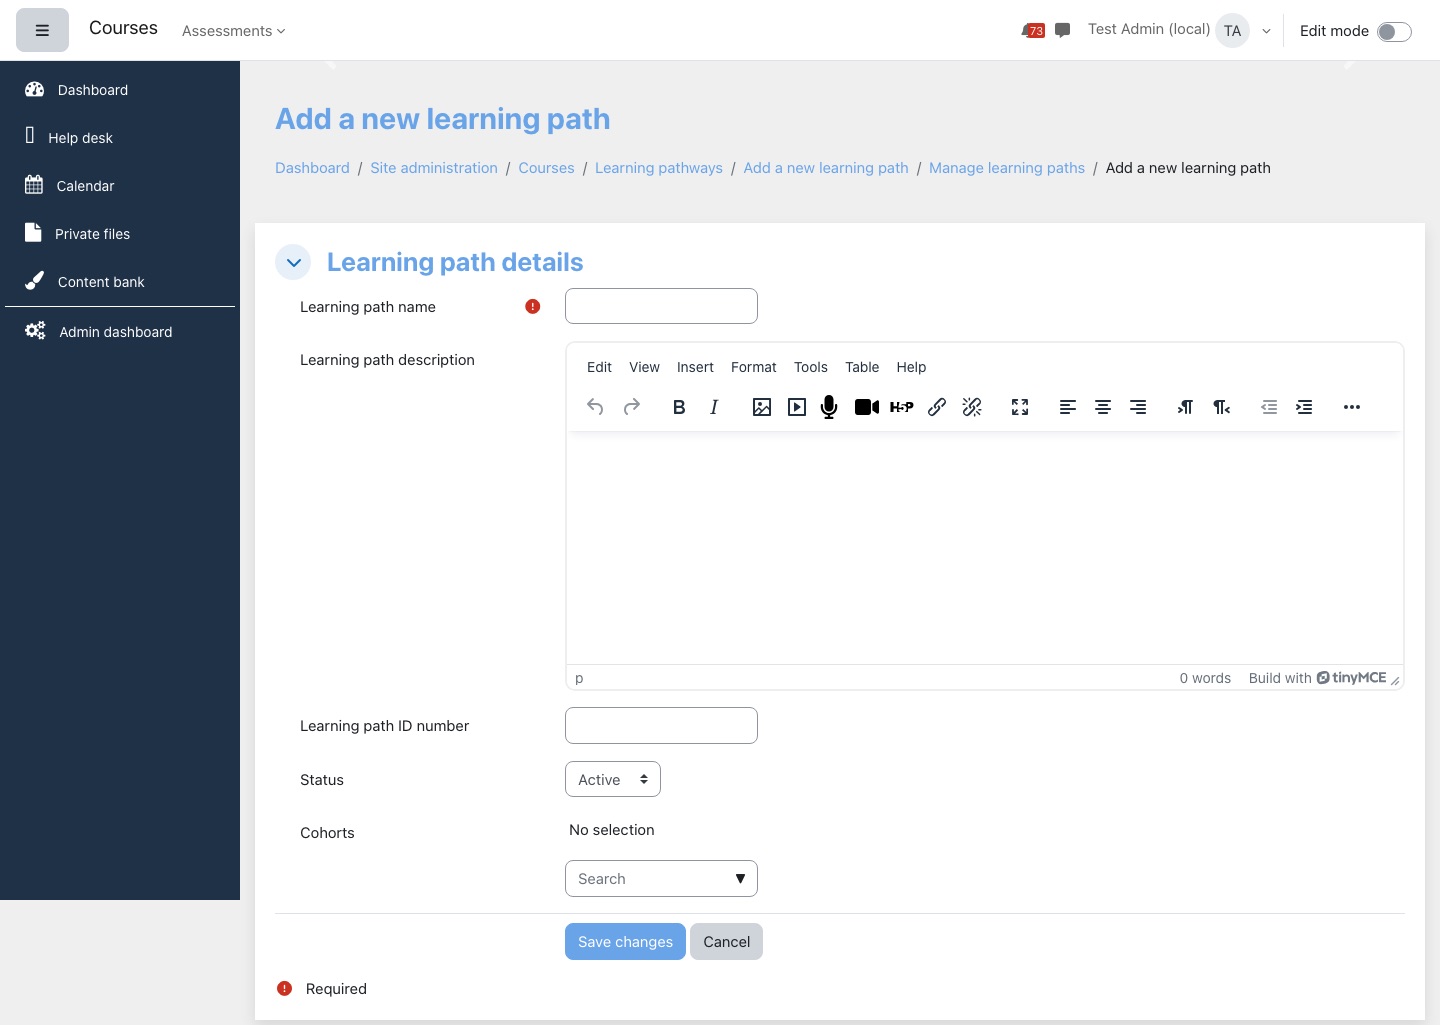
Add courses and course sets
- On Manage learning paths, press the number in the Conditions column for the pathway.
- Under Add conditions to learning path, choose Select condition: Courses or Course sets.
- Pick one or more courses, or course sets, and press Save. They are added to the end of the pathway, and everyone already on the pathway is enrolled in them.
- Use the up and down arrows to change the order. The order is the order learners see.
The table shows each condition's Full name, Short name, Type (Course or Course set), a link to view it, its Prerequisite condition and the Actions: set a prerequisite (pencil), move up, move down, and remove (bin). A red ! next to a prerequisite warns you that the course has no completion settings, or that it is hidden from students; press it to read the warning.
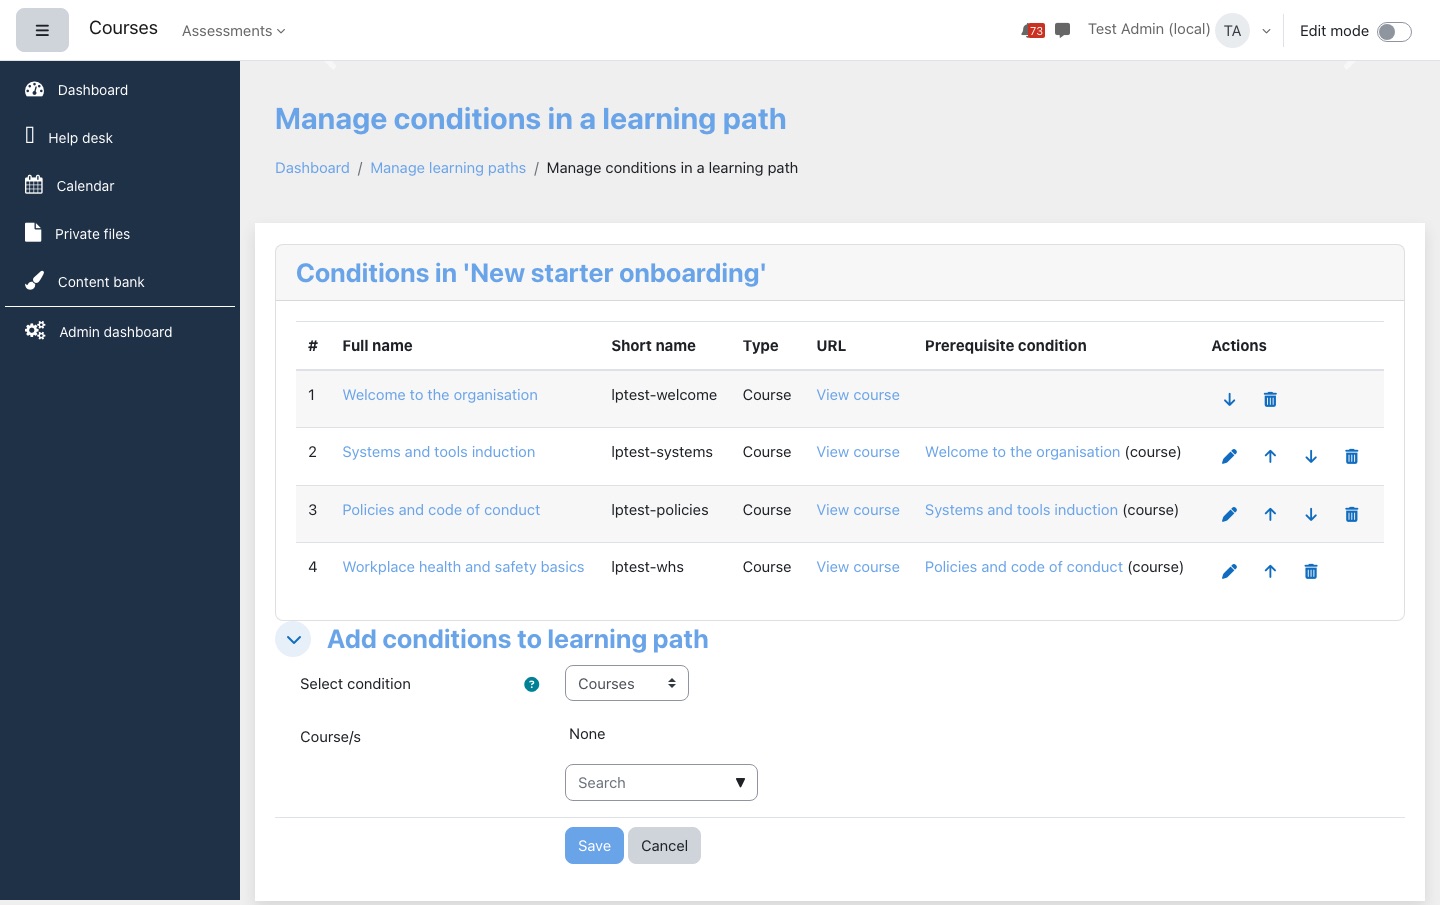
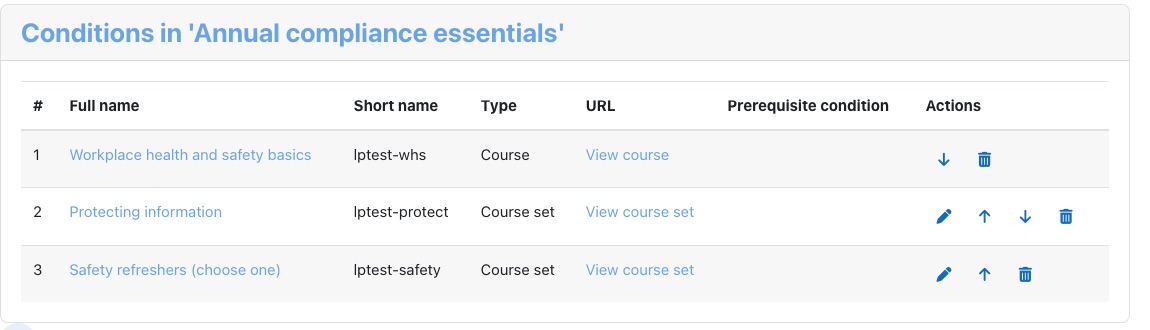
A hidden course can stay in a pathway, but learners do not see it on the pathway page and it does not count towards their progress.
Removing a condition (the bin icon) asks you to confirm. The message tells you what will happen to people's enrolments in it, following the settings, and links to them.
Course sets
Course sets are shared: one set can be used in several pathways. Manage them from the Manage course sets button on Manage learning paths. The list shows each set's name, shortname, status, courses and completion criteria, can be downloaded, and has Add course set underneath. Use the pencil to edit a set and the bin to delete it (you are asked to confirm).
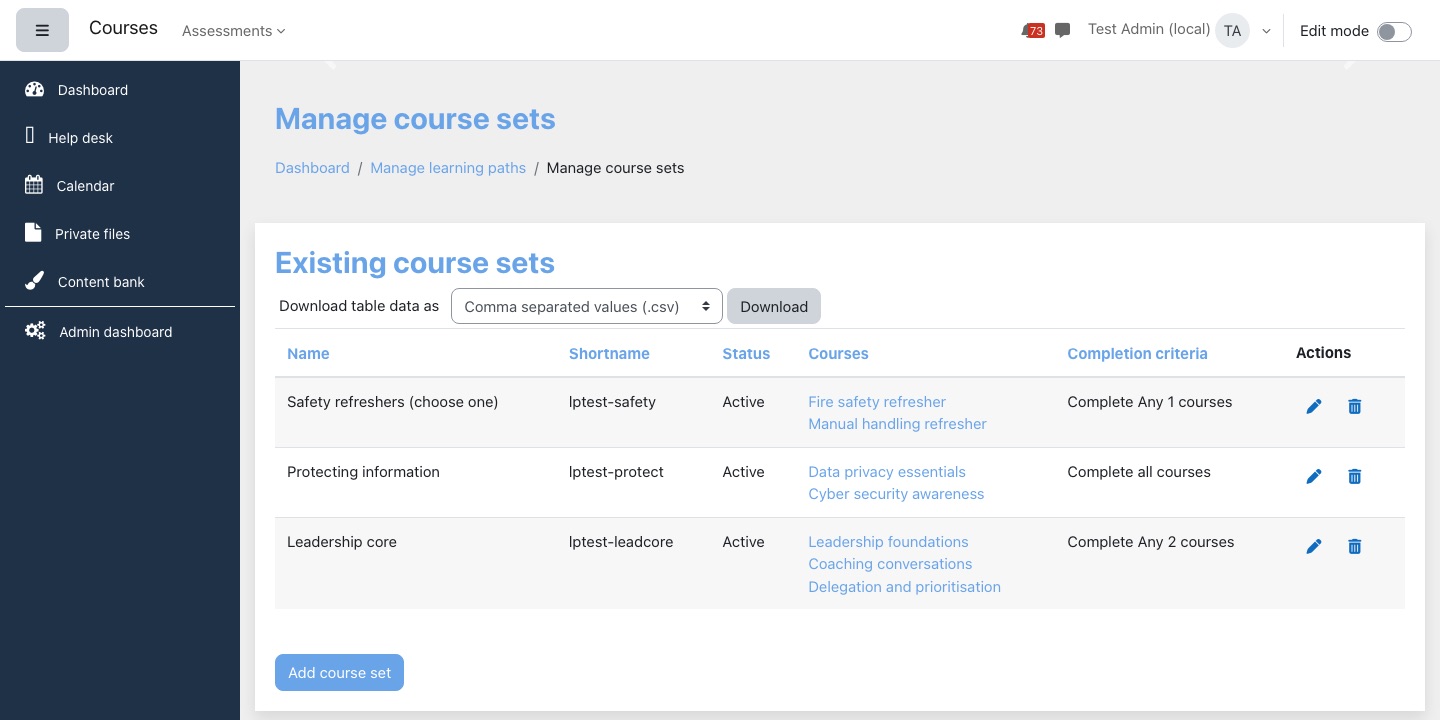
| Field | What it does |
|---|---|
| Name (required) | What learners see. |
| Shortname (required) | A unique short name, for you. |
| Description | Shown on the course set's tile and its details page. |
| Courses (required) | The courses in the set. |
| Completion criteria | All (the default): every course in the set must be completed. Any: the learner completes the number you give in Number of courses to complete, which appears when you choose Any. |
| Status | Active, or Inactive to hide the set from learners. An inactive set does not count towards anyone's progress. |
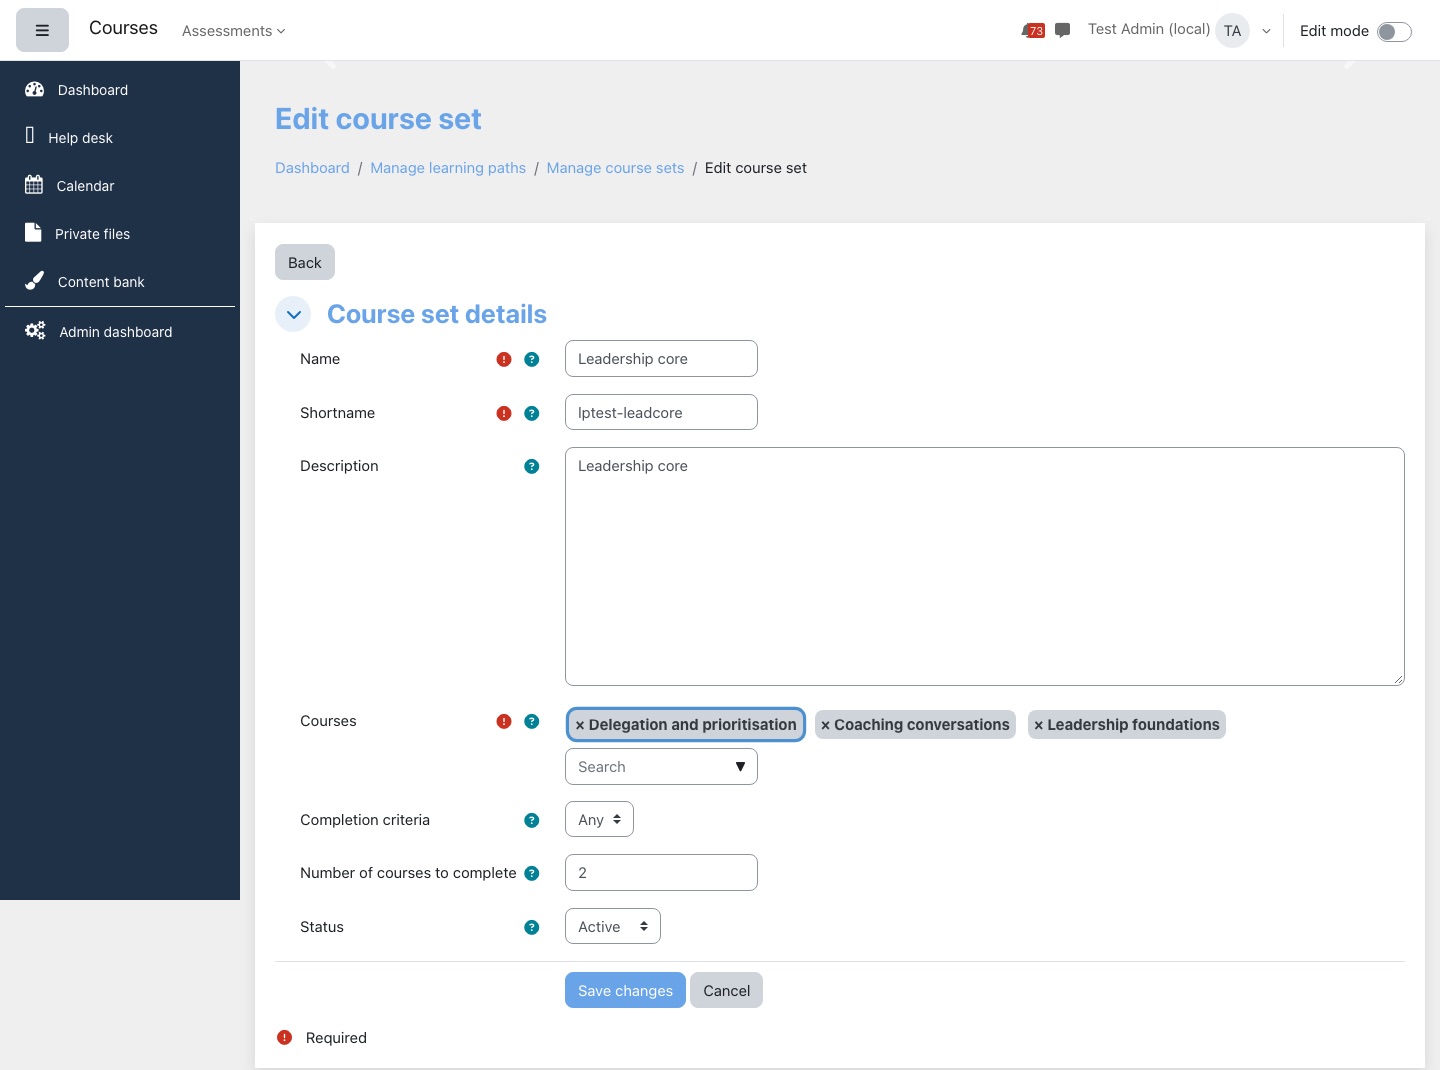
If a course in a set is deleted, the set carries on without it.
Prerequisites
Any condition after the first can have a prerequisite: a course or course set in the same pathway that must be completed first.
- On the pathway's conditions page, press the pencil (Set prerequisite) on the condition's row.
- Under Select condition, choose Courses or Course sets.
- Pick the course or course set. The lists offer the other conditions of this pathway. Choose None to take a prerequisite away.
- Press Save changes. The prerequisite shows in the Prerequisite condition column.
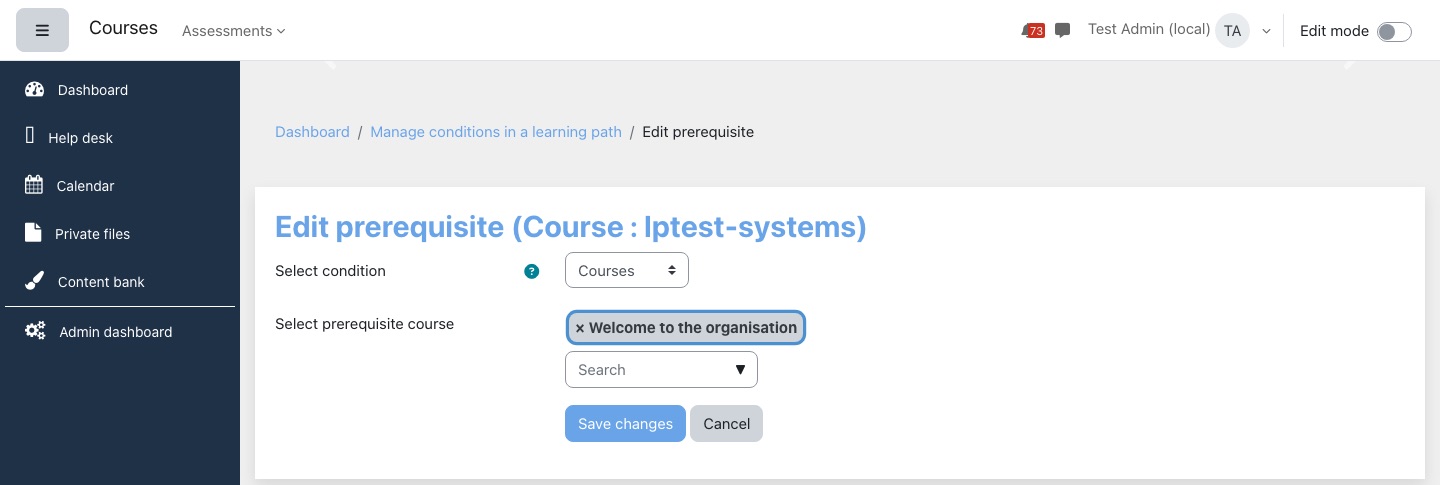
Until the prerequisite is completed, a learner who opens the course sees a message saying they will get access once they complete it, with a link to it. For a course inside a course set, the message also names the course set. On the pathway page the condition shows Not started and, for a course set, the same message appears when the learner points at its name (see What learners see).
Hiding a course removes it as a prerequisite wherever it was one. Nobody is unenrolled or suspended when you do: the course stays in the pathway, and its members keep their access.
The learner is still enrolled in a course whose prerequisite they have not met; the pathway holds them at the course's front door. If a course is also reached in another way, such as being in a second pathway without a prerequisite, check how you want the two to combine before relying on it.
Put people on a pathway
| How | Where you set it | Kept in step |
|---|---|---|
| One by one | Press the number in the Ad hoc users column, select people under Potential users and press Add. To take people off, select them under Existing users and press Remove. | By you |
| From cohorts | Edit the pathway → Cohorts | Straight away, as people join or leave the cohort |
On a site with many accounts, Potential users says there are too many to show: type part of a name or email address in the Search box under it, select the people you want (hold Ctrl or Cmd to pick several) and press Add. Back returns to Manage learning paths.
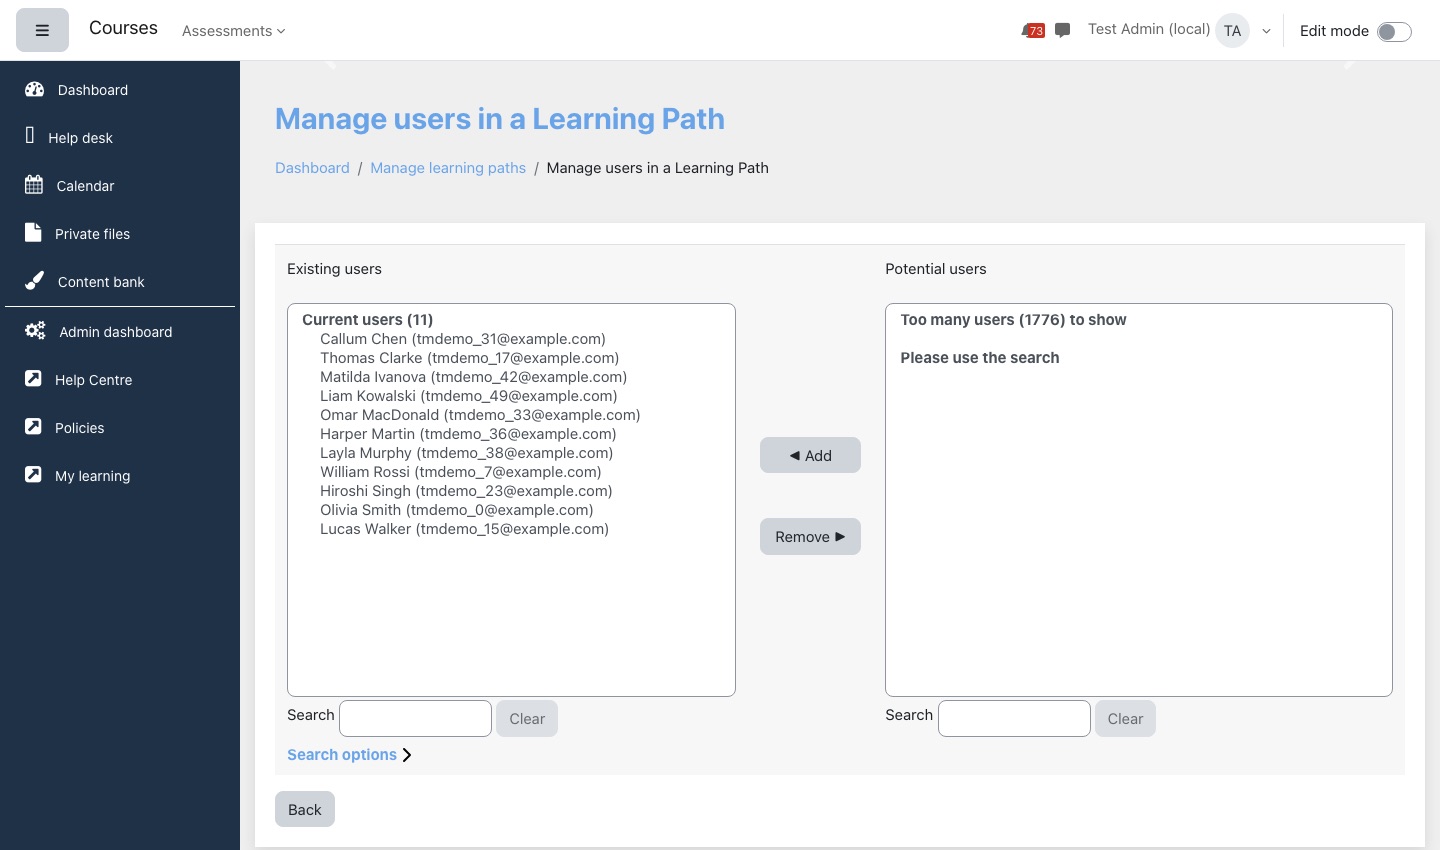
A pathway can have several cohorts, and someone can be in more than one of them. They stay on the pathway as long as they are in at least one of its cohorts. Leaving one cohort, or taking one cohort off the pathway, takes them off only if no other cohort of the pathway still includes them; only then does the User removed from cohort or Cohort removed from Learning Path setting apply to them.
What happens when things are removed
Being on a pathway and being enrolled in its courses are separate. When someone comes off a pathway, or a course comes out of one, their enrolments are left as they are unless you choose otherwise. Learning pathway settings has one choice for each case, and each choice is one of:
- Do nothing: enrolments stay as they are. This is the default for every case.
- Unenrol: the person is unenrolled from the courses concerned. Their progress in those courses can be lost.
- Suspend enrolment: the enrolment stays but the person can no longer enter the course. Their progress is kept, and an administrator can reactivate it.
| Setting | When it applies |
|---|---|
| User is removed from the learning plan | You remove someone on the Ad hoc users page. |
| Course is removed from the learning plan | You remove a course from a pathway. Hiding a course does not count as removing it. |
| User removed from cohort | Someone leaves a cohort that put them on a pathway, and no other cohort of the pathway includes them. |
| Cohort deleted from system | A cohort used by a pathway is deleted. |
| Learning pathway deleted from the system | You delete a pathway. |
| Cohort removed from Learning Path | You take a cohort off a pathway. It applies to the cohort's members who are not in another of the pathway's cohorts. |
| Course removed from course set | You take a course out of a course set. |
| Course set deleted | You delete a course set. |
| Course set removed from Learning path | You remove a course set from a pathway. |
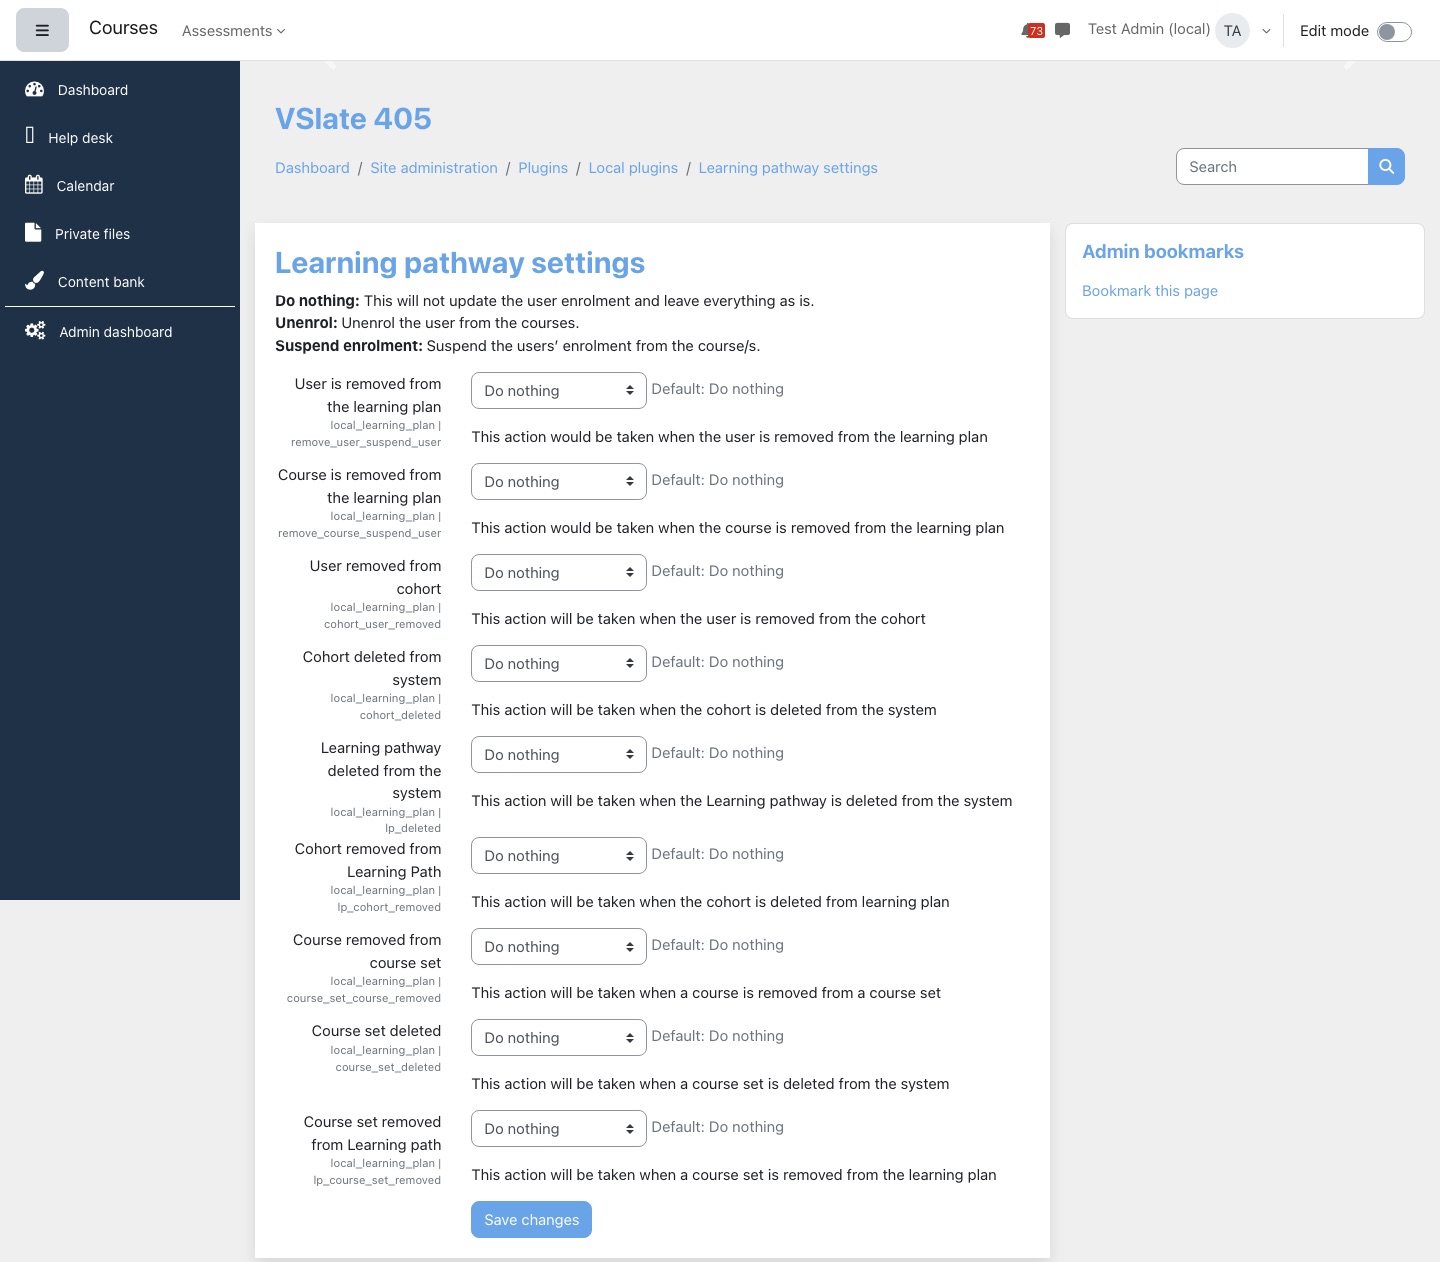
The confirmation when you remove a course or course set from a pathway tells you which of these will happen. A setting applies to removals from the time you save it; it does not go back over earlier ones.
How progress and completion are worked out
Progress is the share of a pathway's conditions the learner has completed, as a percentage. It is worked out each time the page is opened, from Moodle's course completion, so it is as current as course completion is.
- A course counts when it is visible. It is completed when Moodle has recorded the course as completed (whether or not Moodle also recorded when it was started), in progress once the learner has started it, and not started otherwise.
- A course set counts when it is active. It is completed when enough of its courses are.
- The pathway is Completed when every condition that counts is, Not started when none has begun, and In progress in between. A pathway with nothing in it that counts is Not started at 0%.
When a learner completes a pathway, the date is recorded straight away when they complete its last course, and a nightly check catches anyone missed. A recorded completion is kept even if the pathway changes later.
Completions to review
Before an update in late 2026, a pathway with nothing in it counted as completed. People who were put on a pathway before its courses were added could therefore be recorded as having completed it, and those completions still show in reports and team pages. They are not removed automatically, because only you can tell whether they matter.
To review them, open Manage learning paths and press Completions to review. The page lists the pathways that have completions recorded before the learner had completed any of the pathway's courses, with their ID number and how many each has. If there are none, it says No pathway completions need reviewing.
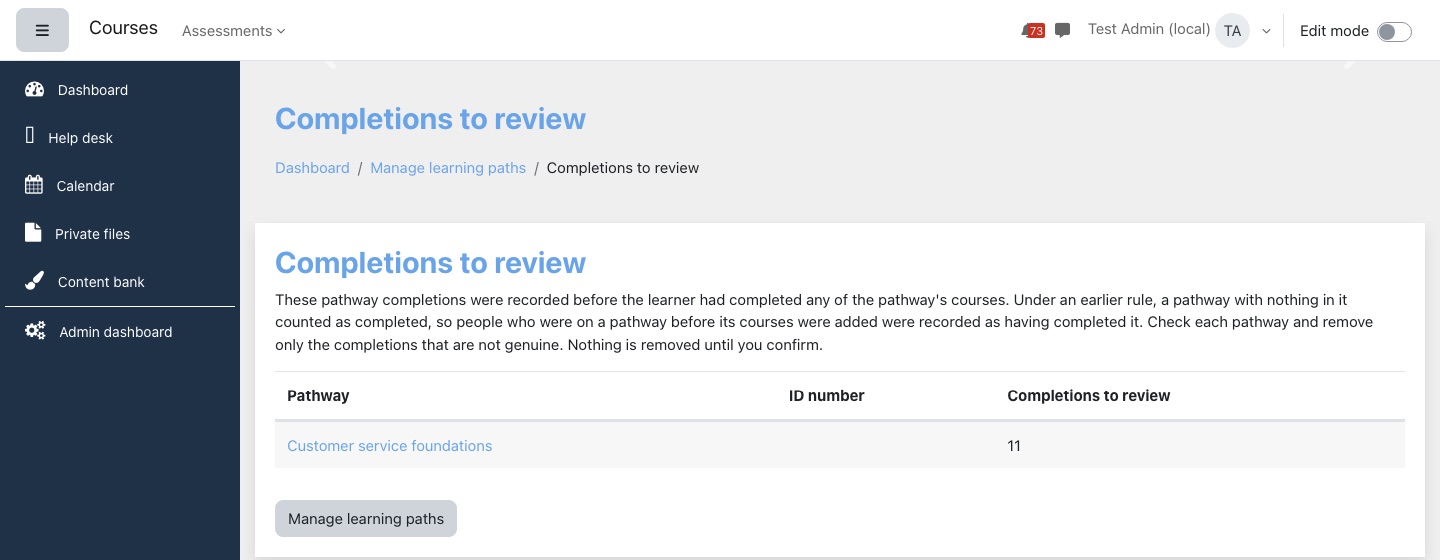
Press a pathway's name to see those completions, 50 to a page: each learner, their email address and when the completion was recorded.
- Tick the completions that are not genuine (the box in the heading row ticks every one on the page) and press Remove selected, or press Remove all … for this pathway to remove every completion listed for it.
- Check the number on the confirmation page and press Remove, or Cancel to go back without changing anything.
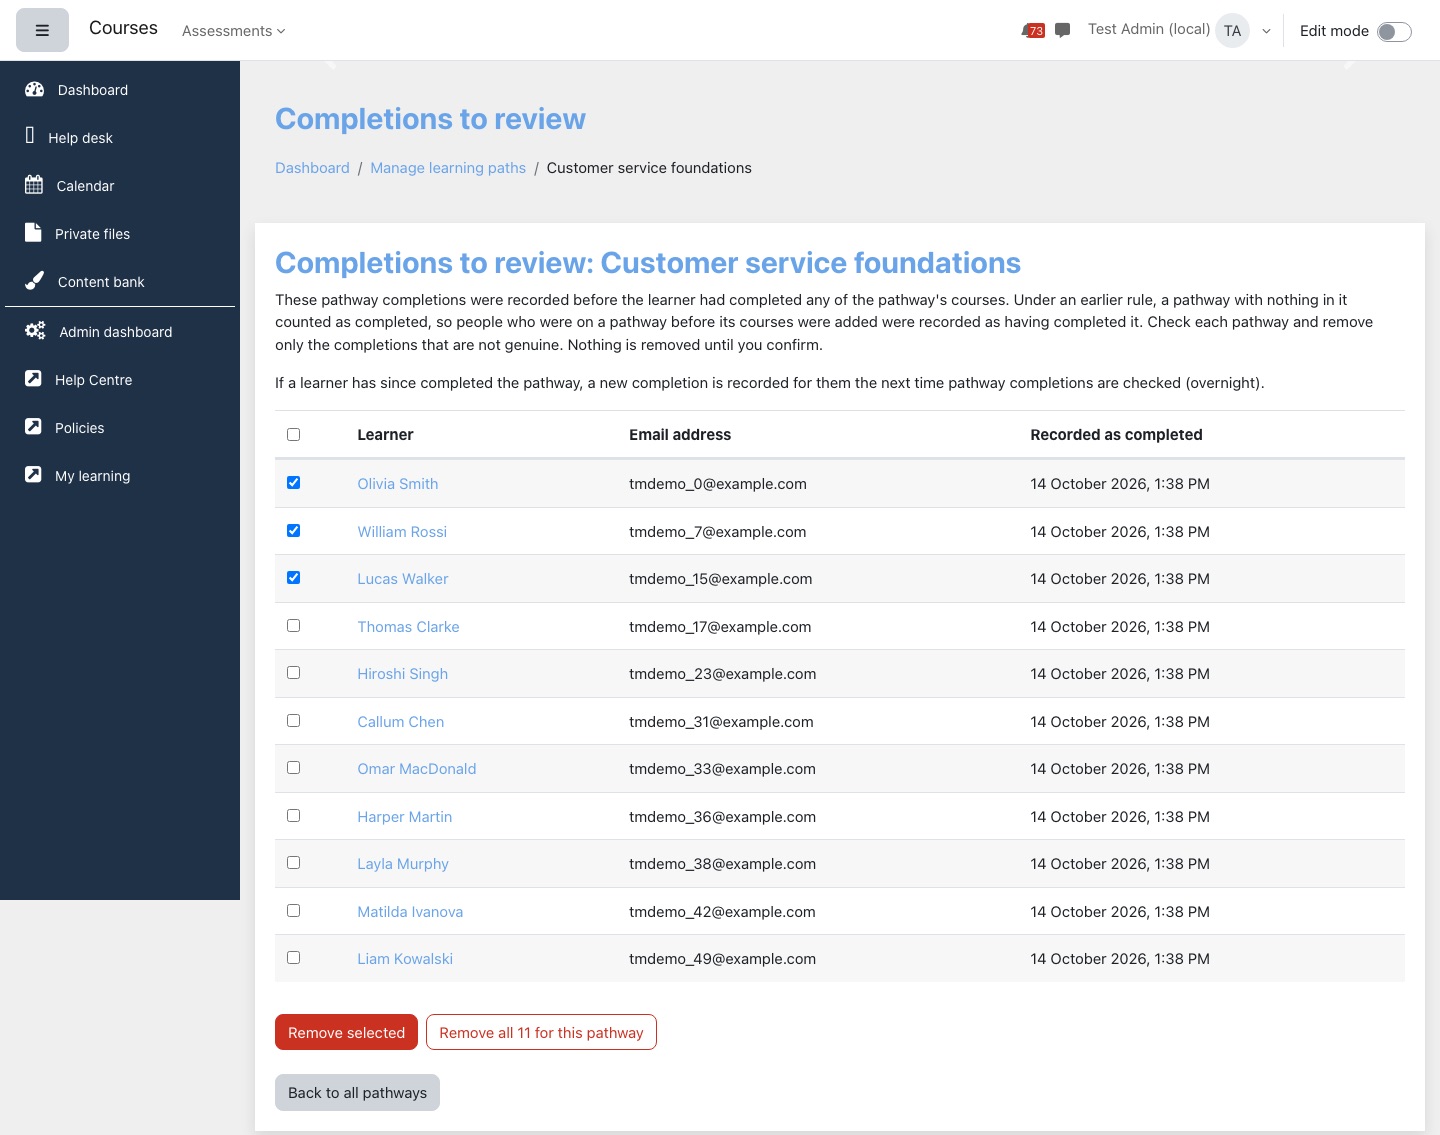
Removing a completion cannot be undone, and each removal is recorded in the site logs. If a learner has since really completed the pathway, a new completion is recorded for them overnight, dated that night.
The pathway report
Press the report icon (View report) on a pathway's row in Manage learning paths. The Learning path completion page lists everyone on the pathway, ten to a page, with their email address, each condition and where they are with it (Completed, In progress or Not started), their Progress and their Status. Choose a person under Filters → User and press Add filter to see just them; the list offers only the people on that pathway. Choose a format under Download table data as and press Download to save the report.
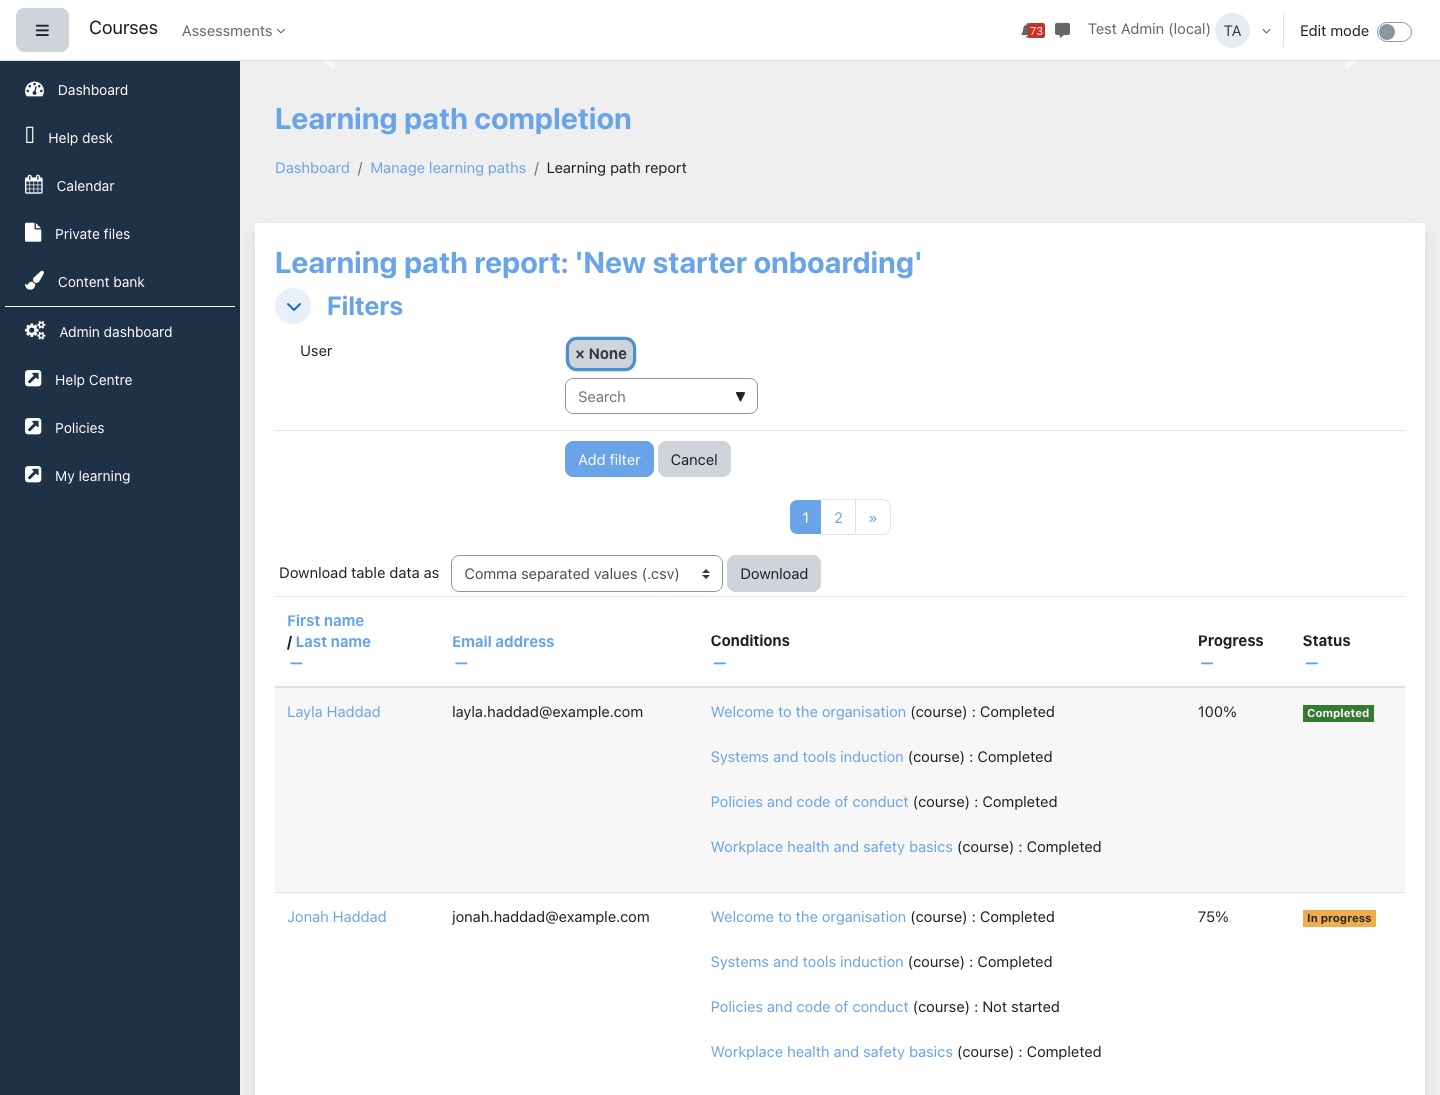
The Learning pathways block
The Learning pathways block shows a learner their active pathways on the Dashboard, under the headings Path and Progress, with a progress bar for each. Each pathway's name opens its page.
- It shows up to five pathways. When someone is on more, Show more > opens the page listing all of them.
- Managers (anyone who can manage pathways) also see a Manage pathways > button, which opens Manage learning paths.
- For a learner who is on no active pathway, the block does not appear at all.
- The block can only be added to the Dashboard. To put it on everyone's Dashboard, add it to the default Dashboard (Site administration → Appearance → Default Dashboard page). Adding it is allowed for the Manager role by default.
- If your Dashboard uses the Dashboard tabs block, the pathways appear on its Learning pathways tab, which is on by default.
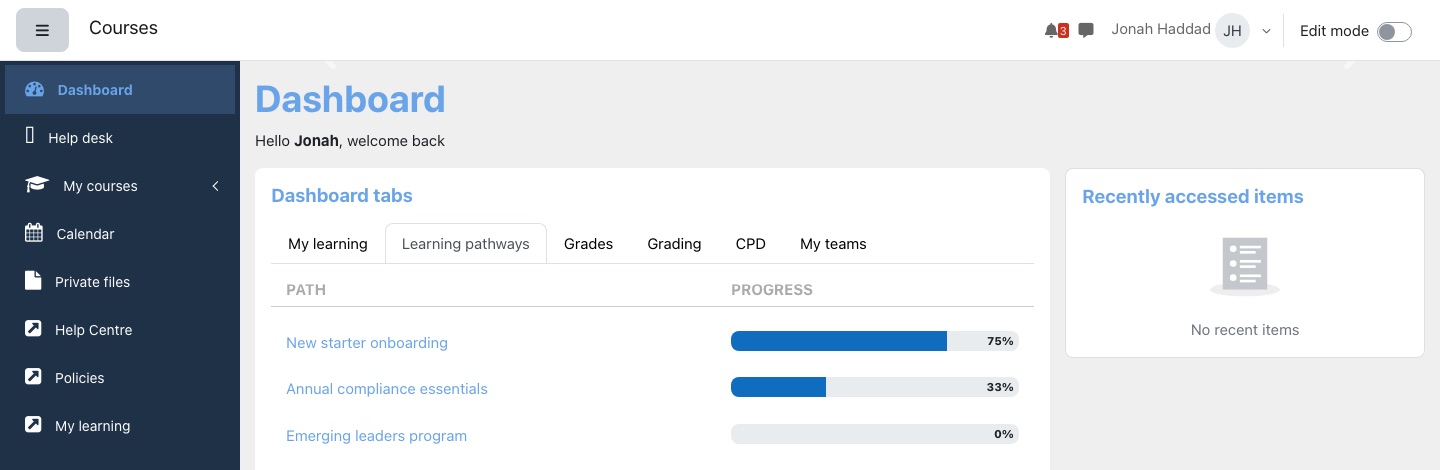
What learners see
All their pathways. Show more > in the block, or the Learning pathways link in the breadcrumb on any pathway page, opens a page with every active pathway the learner is on and their progress in each.
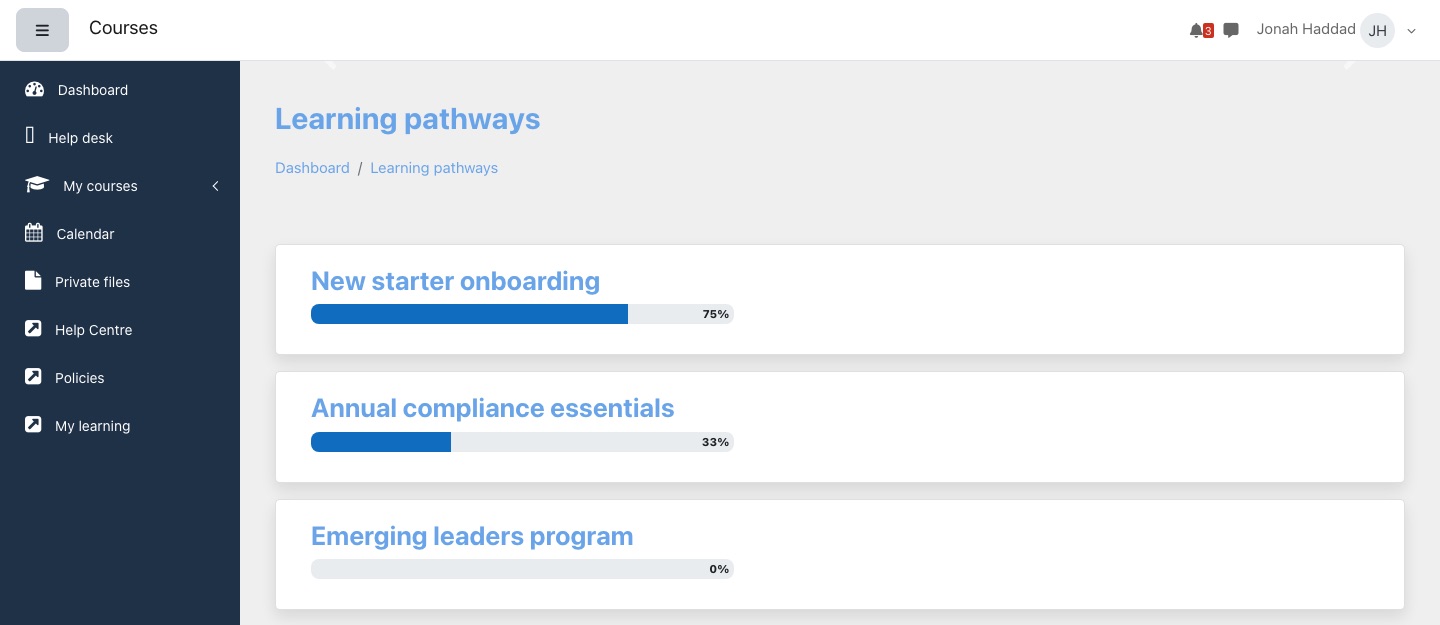
A pathway's page. It shows the pathway's name, progress and description, then one tile per condition in order: the course or course set's image, name and description, and its status (Completed, In progress or Not started). The arrow opens the course, or the course set's details. Hidden courses and inactive course sets are left out.
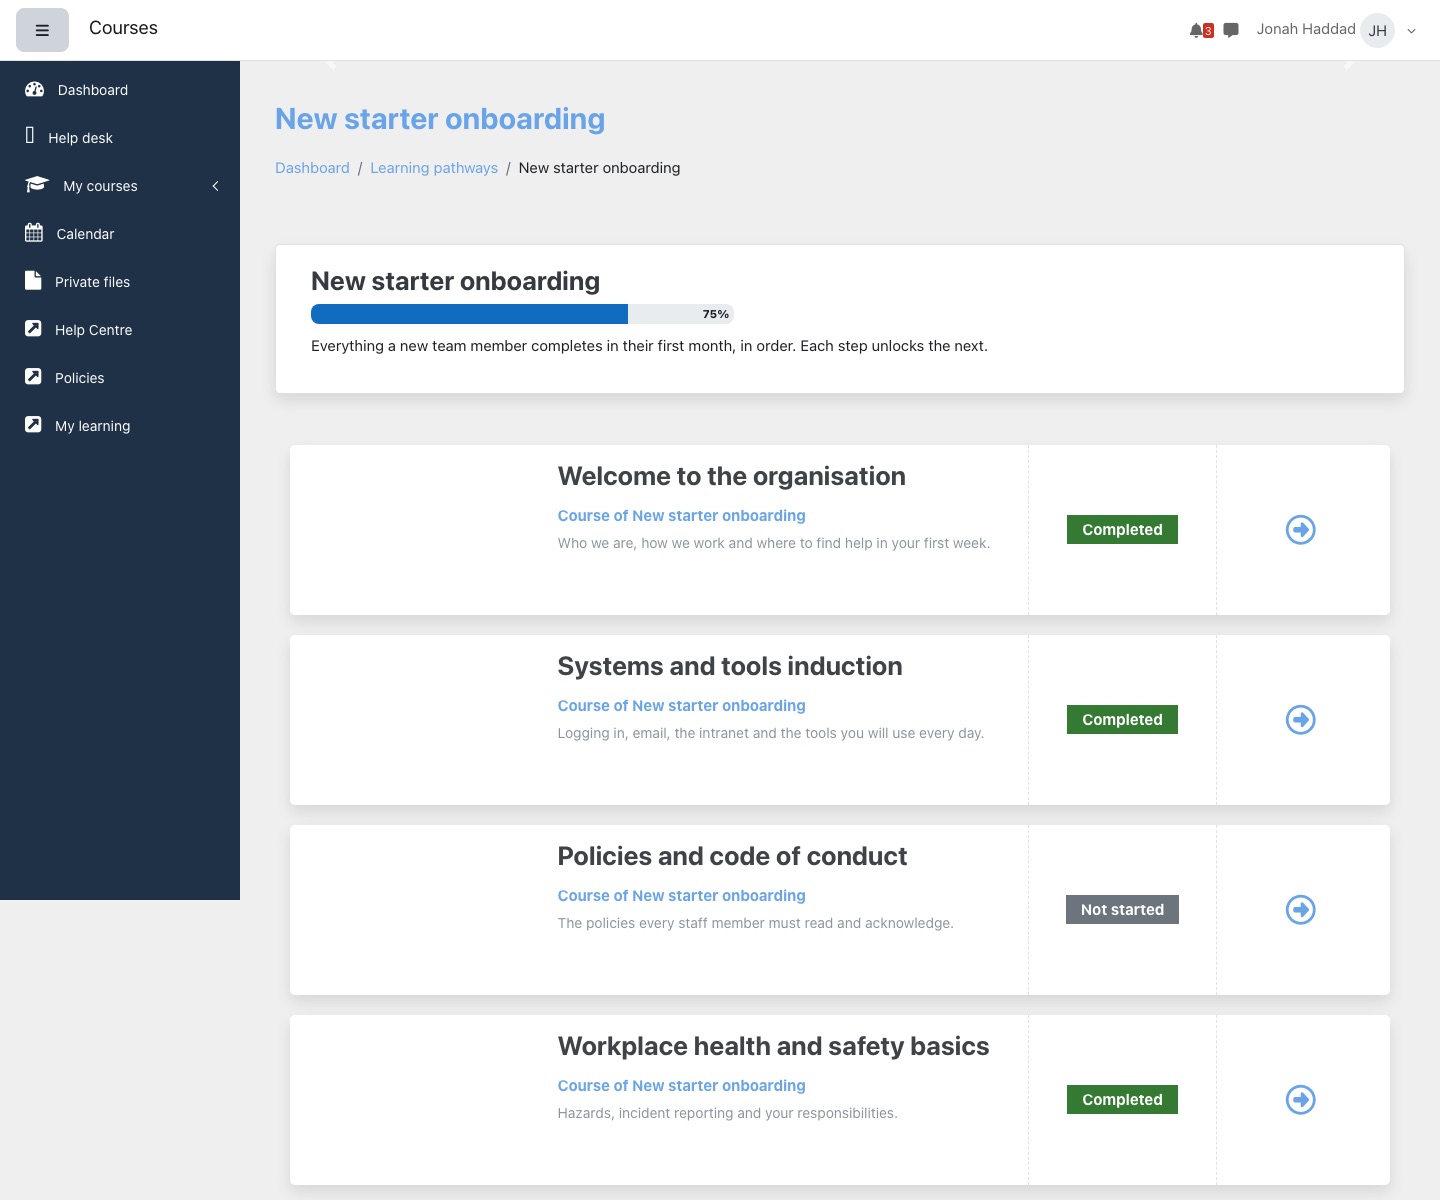
Course sets. Pointing at a course set's name shows the courses in it with the learner's status in each, the completion criteria, and a View course set details button. If the set has a prerequisite that is not yet met, it shows the message saying the learner will get access once they complete it instead.
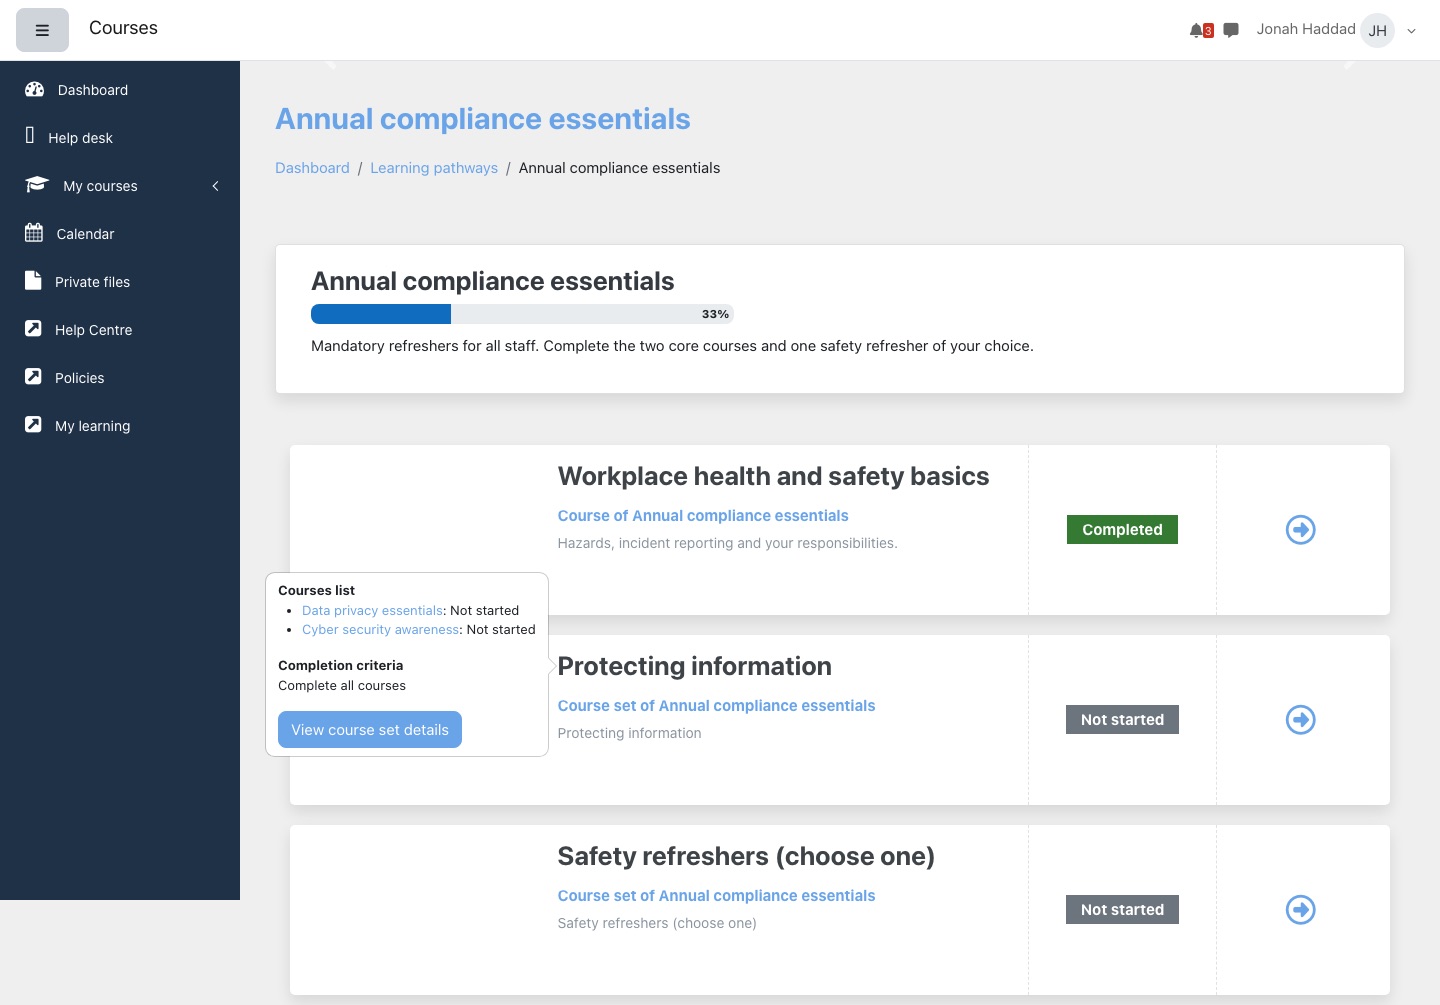
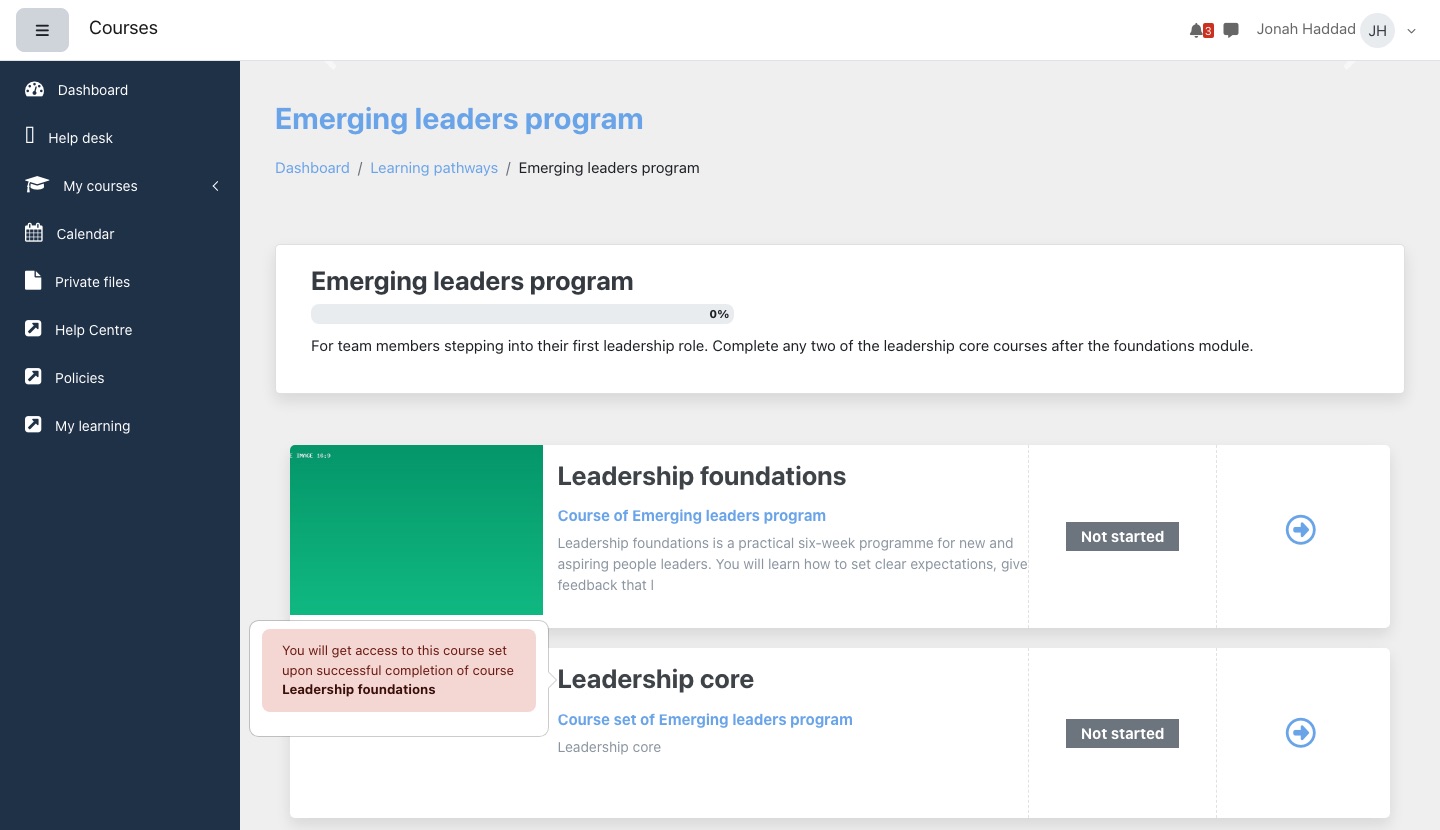
The course set details page lists the set's name, shortname, description, each course with the learner's status in it, and the completion criteria.
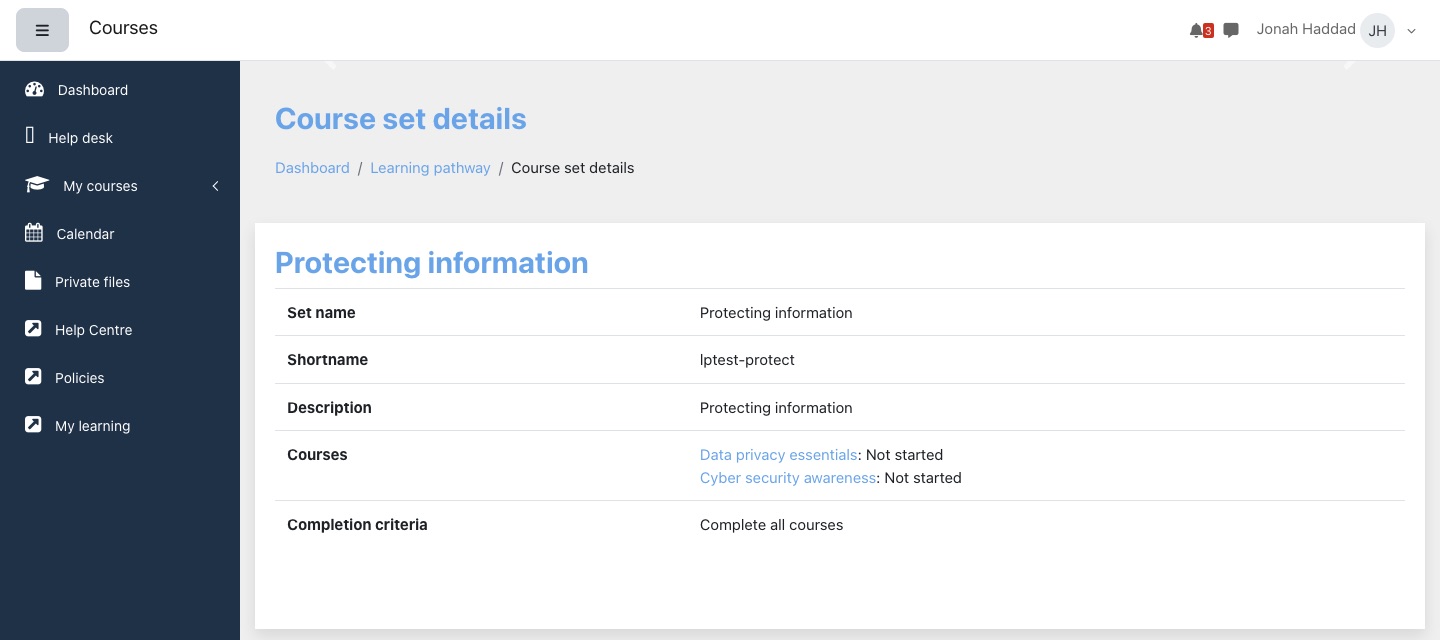
Who sees what
| Who | Sees |
|---|---|
| A learner | Their own active pathways, in the Learning pathways block and on the pathways page, with their progress. A pathway's page only if they are on it. |
A manager (local/learning_plan:manage) | Every management page and report, and any pathway's page. The Manage pathways > button in the block and the Learning pathways item in the main navigation. |
| A site administrator | As a manager, and every pathway, active or not, on the pathways page. |
Privacy
Learning Pathways keeps which pathways each person is on (and through which cohorts), and when they completed each one. Both are included when you export a person's data under Site administration → Users → Privacy and policies → Data requests, and removed when their data is deleted. Deleting a person's account also removes which pathways they were on and their pathway completions. Deleting a pathway does not remove completions already recorded for it.
Questions we get asked
Someone has finished every course but the pathway is not complete.
Check each course in the pathway has completion tracking and completion conditions set, and that Moodle shows the course as completed for them: the pathway follows course completion. Then check the pathway's course sets: a set set to All needs every course in it. If all of that is right, contact your usual Lingel Learning contact.
We took someone off a pathway and they can still get into its courses.
That is the default. Taking someone off a pathway leaves their enrolments alone unless User is removed from the learning plan (or the matching cohort setting) is set to Unenrol or Suspend enrolment. The setting applies to removals from then on; it does not go back over earlier ones.
A learner cannot see a pathway they are on.
Check the pathway's Status is Active. Inactive pathways are not listed for learners.
The Learning pathways block is not on a learner's Dashboard.
The block hides itself for anyone who is on no active pathway. If they are on one, check the block is on the default Dashboard, or on the Dashboard tabs block's Learning pathways tab. A learner who has customised their own Dashboard keeps their own layout until it is reset.
Can I change a pathway once people are working through it?
Yes. Adding a course enrols everyone on the pathway in it, and their progress drops until they complete it. Removing one follows the settings. Completions already recorded stay recorded.
Why does a course a learner has completed show 0% on a pathway?
The course may be hidden, or in an inactive course set: neither counts. Or completion tracking is off for the course, in which case Moodle never records it as completed.
After the update, some learners were recorded as completing a pathway they finished a while ago.
Moodle can record a course as completed without recording when the learner started it; it depends on how the course was completed. Before the update, a pathway counted such a course towards progress but treated it as not started for the pathway's status, so a learner who had finished every course could show 100% without the pathway being completed. The pathway now counts these courses as completed.
The first nightly check after the update records the pathway completions that were missed this way. They are dated the night of that check, not the day the learner finished their last course. This happens once; from then on completions are recorded as they happen.
Some people are shown as having completed a pathway without doing its courses.
They were probably on the pathway before it had any courses in it, when an empty pathway counted as completed. Use Completions to review to see these completions and remove the ones that are not genuine.
Course Catalogue
The Course Catalogue is a page listing the courses people can enrol in or buy, with a price on each, a search box, a category filter and sorting. A Course catalogue block on the Dashboard shows four of those courses. Courses join and leave the catalogue by themselves, based on their enrolment methods, so there is no list to keep up to date by hand.
- Name in Moodle
- Virtual Slate Course Catalogue
- Settings
- Site administration → Plugins → Blocks → Virtual Slate Course Catalogue (two tabs: General and Cohort settings)
- What people see
- The Course catalogue page, a details page for each course, and the Course catalogue block on the Dashboard
- Who can see the page
- Anyone, including visitors who have not logged in
- Who can change it
- Site administrators. Adding the block to a Dashboard is allowed for the Manager role by default.
- Which courses are in the catalogue
- Prices, Buy and Enrol now
- The catalogue page
- A course's details
- The Dashboard block
- Settings
- Showing different categories to different cohorts
- Who sees what
- Privacy
- Questions we get asked
Which courses are in the catalogue
A course is in the catalogue when all of these are true:
- The course is visible.
- It has at least one enabled enrolment method of a type ticked in Enrolment methods on the General tab. By default that is self enrolment, PayPal and Stripe.
- It is in a category the person may browse (see cohorts). By default every category is open to everyone.
Adding, changing or removing an enrolment method on a course updates the catalogue straight away, and the whole catalogue is also checked every few minutes. To take a course out, hide it or disable its enrolment methods of those types.
People do not see courses they are already enrolled in, including enrolments that are suspended. Site administrators do see them.
Prices, Buy and Enrol now
The price shown is the cost of the course's first enabled enrolment method of an allowed type, in the order listed on the course's Enrolment methods page. Move a method up or down there to change which one sets the price.
- A method without a cost, such as self enrolment, shows Free course, and the course's button reads Enrol now.
- A method with a cost, such as PayPal or Stripe, shows the price, and the button reads Buy.
Prices are shown with two decimal places and the currency symbol of the site's language (for example $99.00); the currency code set on the enrolment method is not shown.
Both buttons open the course, where Moodle shows the enrolment or payment options as usual. View opens the course's details: its description and price.
The catalogue page
Open it from the Show more > link at the top right of the Course catalogue block. You can also add it to a navigation menu: its address is your site's address followed by /blocks/vslate_catalogue/view.php.
Under Search for courses:
- Sort by offers Recently added first (the default), Price (low to high), Price (high to low), Course full name (A to Z) and Course full name (Z to A).
- Category narrows the list to one category. It lists only the categories the person may browse.
- The Keywords... box and Search find courses whose full name or description contains what was typed, or that have a tag containing any one of the words. Capitals do not matter.
- Each course is a card with its image, name and price label, and the View and Buy or Enrol now buttons. Courses are shown eight to a page, with Previous, page numbers and Next underneath.
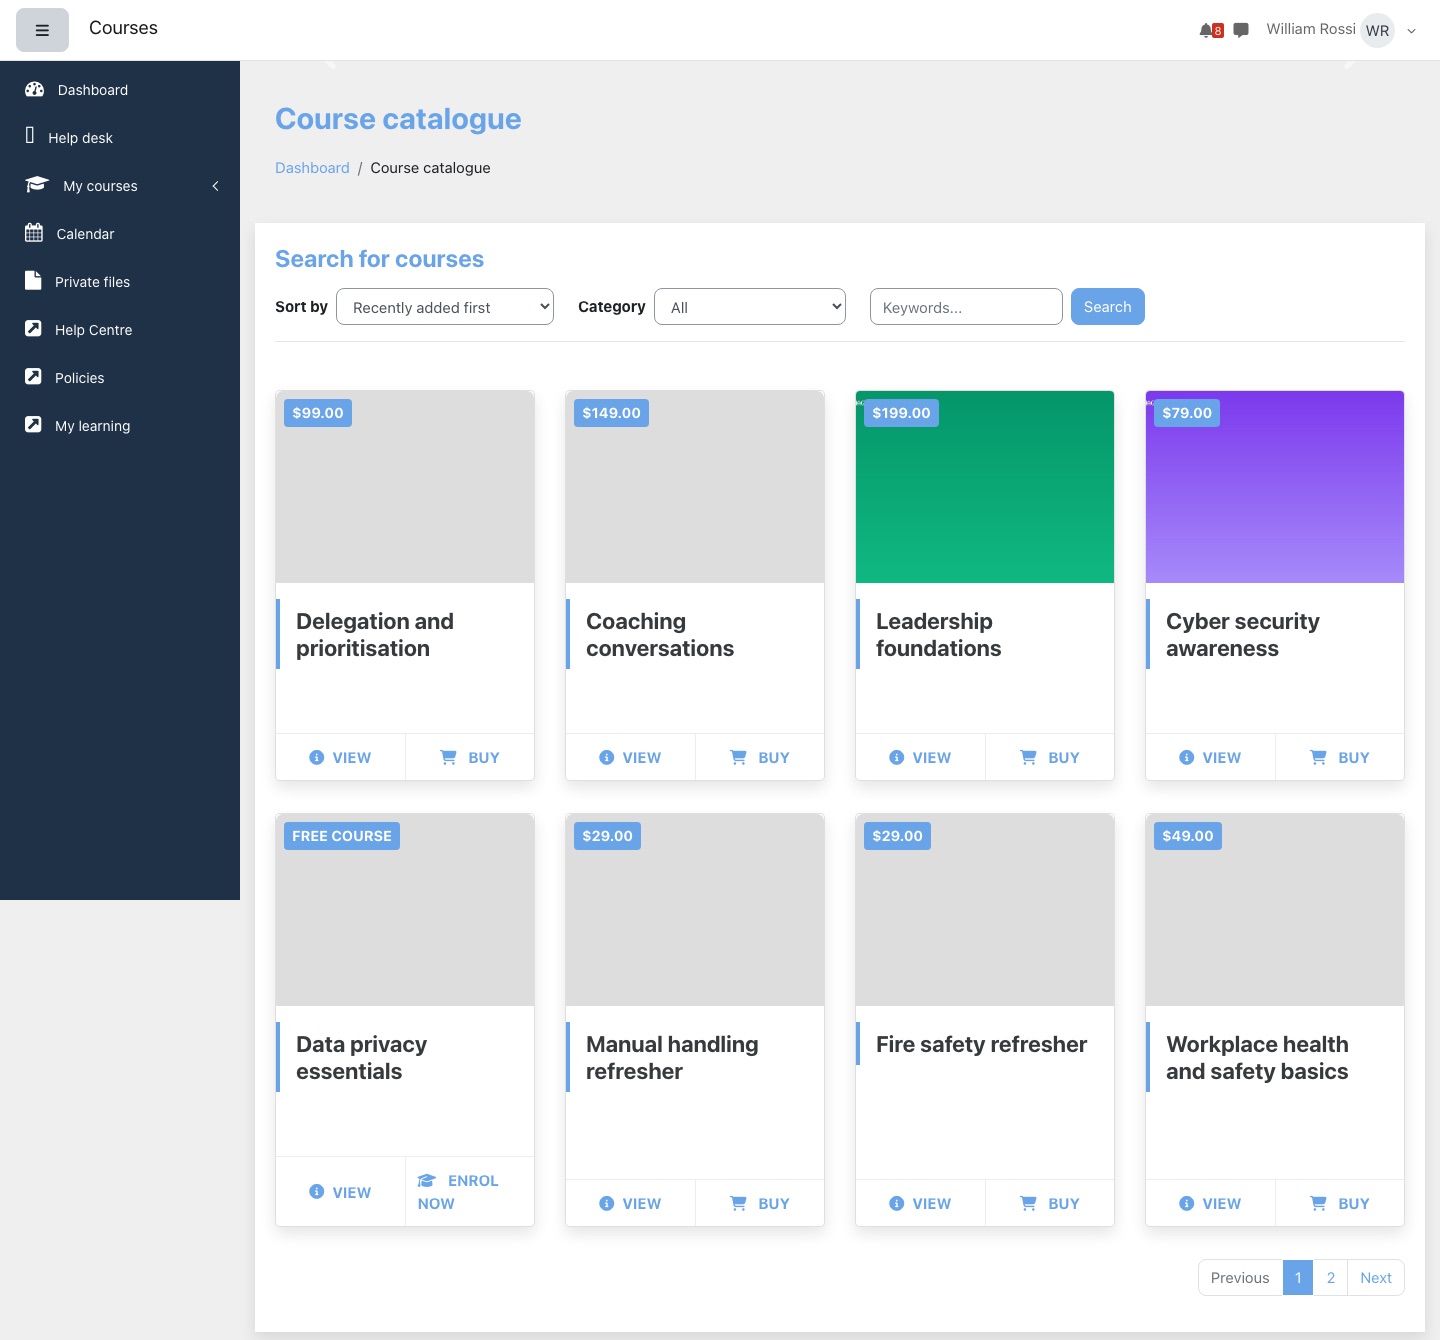
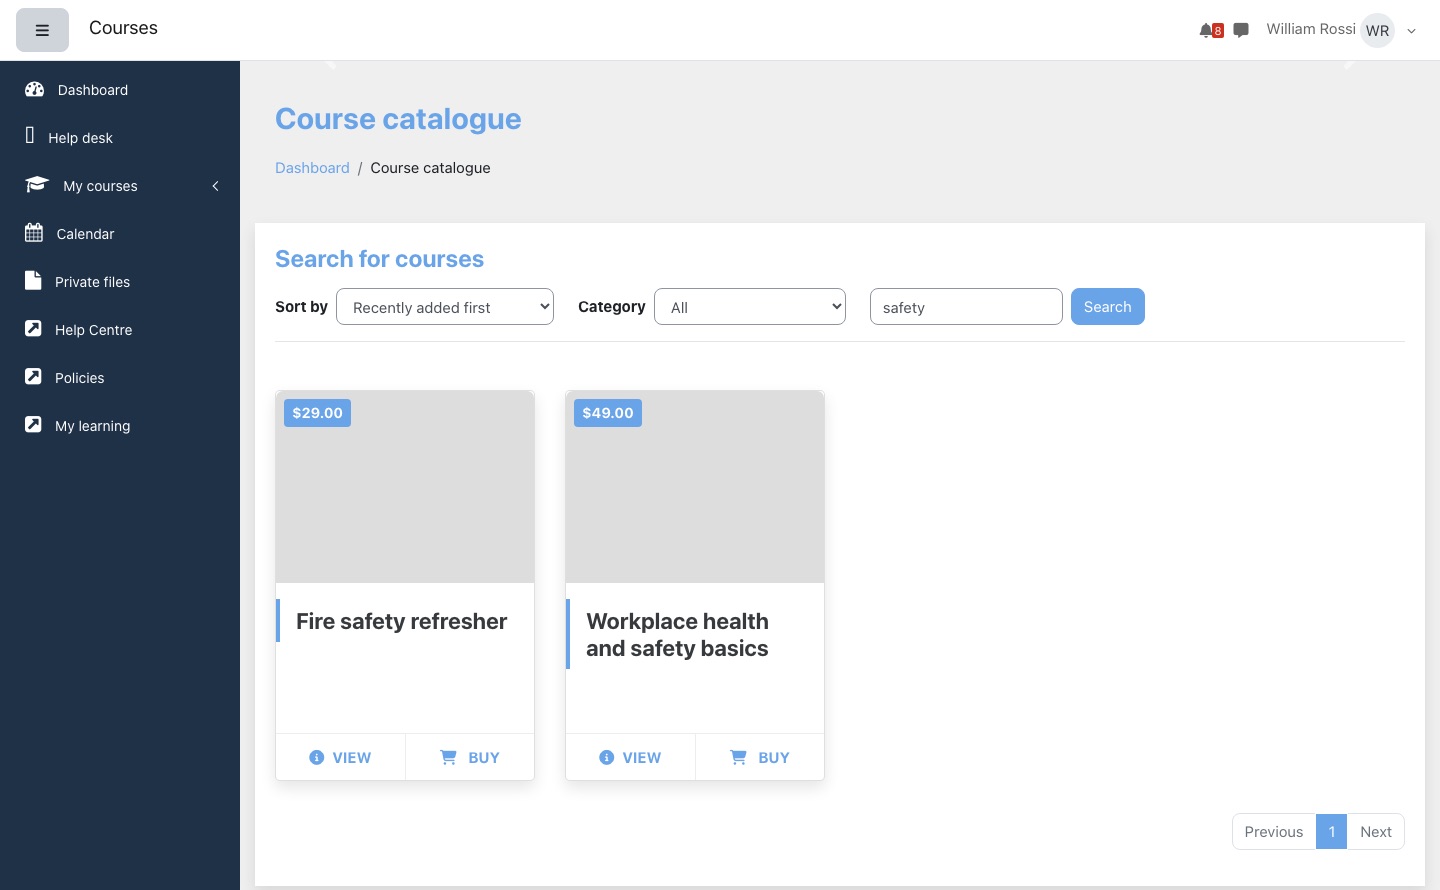
A course's details
View on a card opens the course's details within the catalogue: its full name, price and description, with Go back to return to the list and Buy or Enrol now. Like the catalogue page, it opens without logging in.
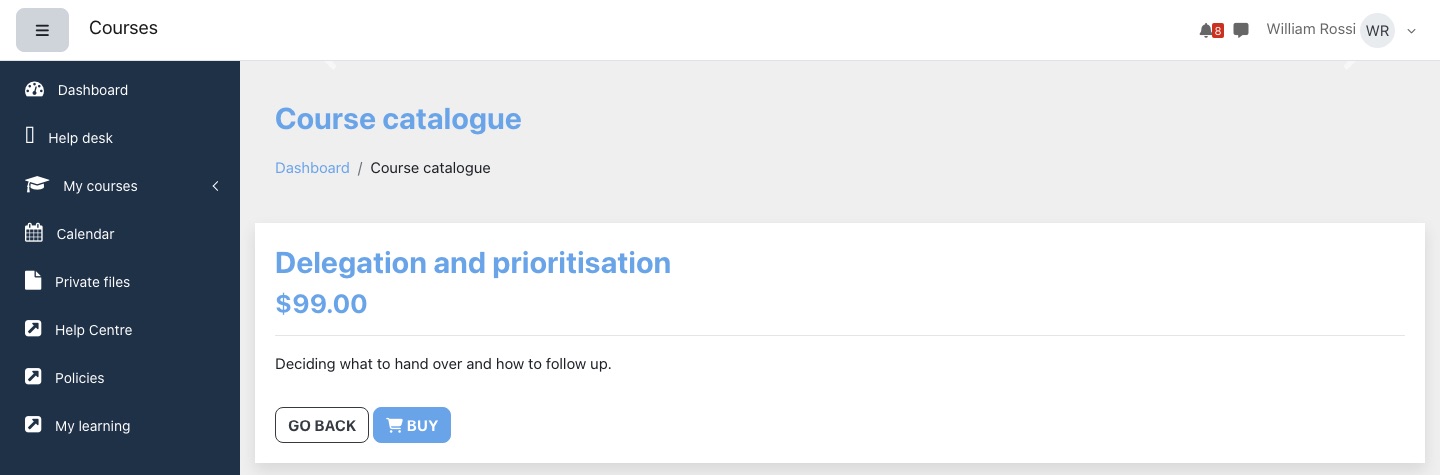
The Dashboard block
The Course catalogue block shows four courses from the catalogue, newest first, following the same rules as the page: a learner sees four courses they are not yet enrolled in. Each card has View and Buy or Enrol now, and Show more > opens the catalogue page. To put it on everyone's Dashboard, add it to the default Dashboard (Site administration → Appearance → Default Dashboard page). The block can only be added to the Dashboard.
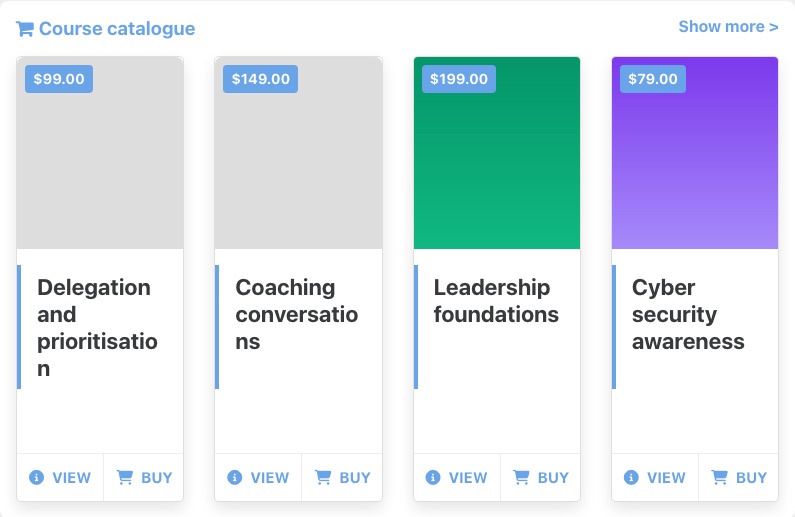
If your Dashboard uses the Dashboard tabs block, the catalogue can be one of its tabs (Catalogue). That tab is off until it is switched on in the Dashboard tabs settings; if you do, take the separate Course catalogue block off the Dashboard so it does not appear twice.
To choose a different order for the block, tick Enable Custom Catalogue Courses on the General tab and pick a Custom Sorting Options entry: Course creation date (Oldest to Newest), Course creation date (Newest to Oldest), Course full name (A to Z), Course full name (Z to A), or Default category listing (the order courses have on the course management page). This affects the block only; on the catalogue page people choose the order themselves.
Settings
| Setting (General tab) | Default | What it does |
|---|---|---|
| Enable catalogue sync | On | Keeps the catalogue in step with each course's enrolment methods. Leave it on. With it off, courses stop joining and leaving the catalogue and prices stop updating; ask us before turning it off. |
| Enable Custom Catalogue Courses | Off | Shows Custom Sorting Options and uses it to order the Dashboard block. |
| Custom Sorting Options | Course creation date (Newest to Oldest) | The order of the four courses in the block, when the setting above is on. |
| Enrolment methods | Self enrolment, PayPal, Stripe | Which enrolment method types put a course in the catalogue and set its price. The list offers the enrolment methods enabled on your site, so PayPal and Stripe appear only where they are enabled. If none are ticked, any enabled method counts, including manual enrolment. |
| Hide 'Free Course' text on course card | Off | Leaves the Free course label off free courses' cards. |
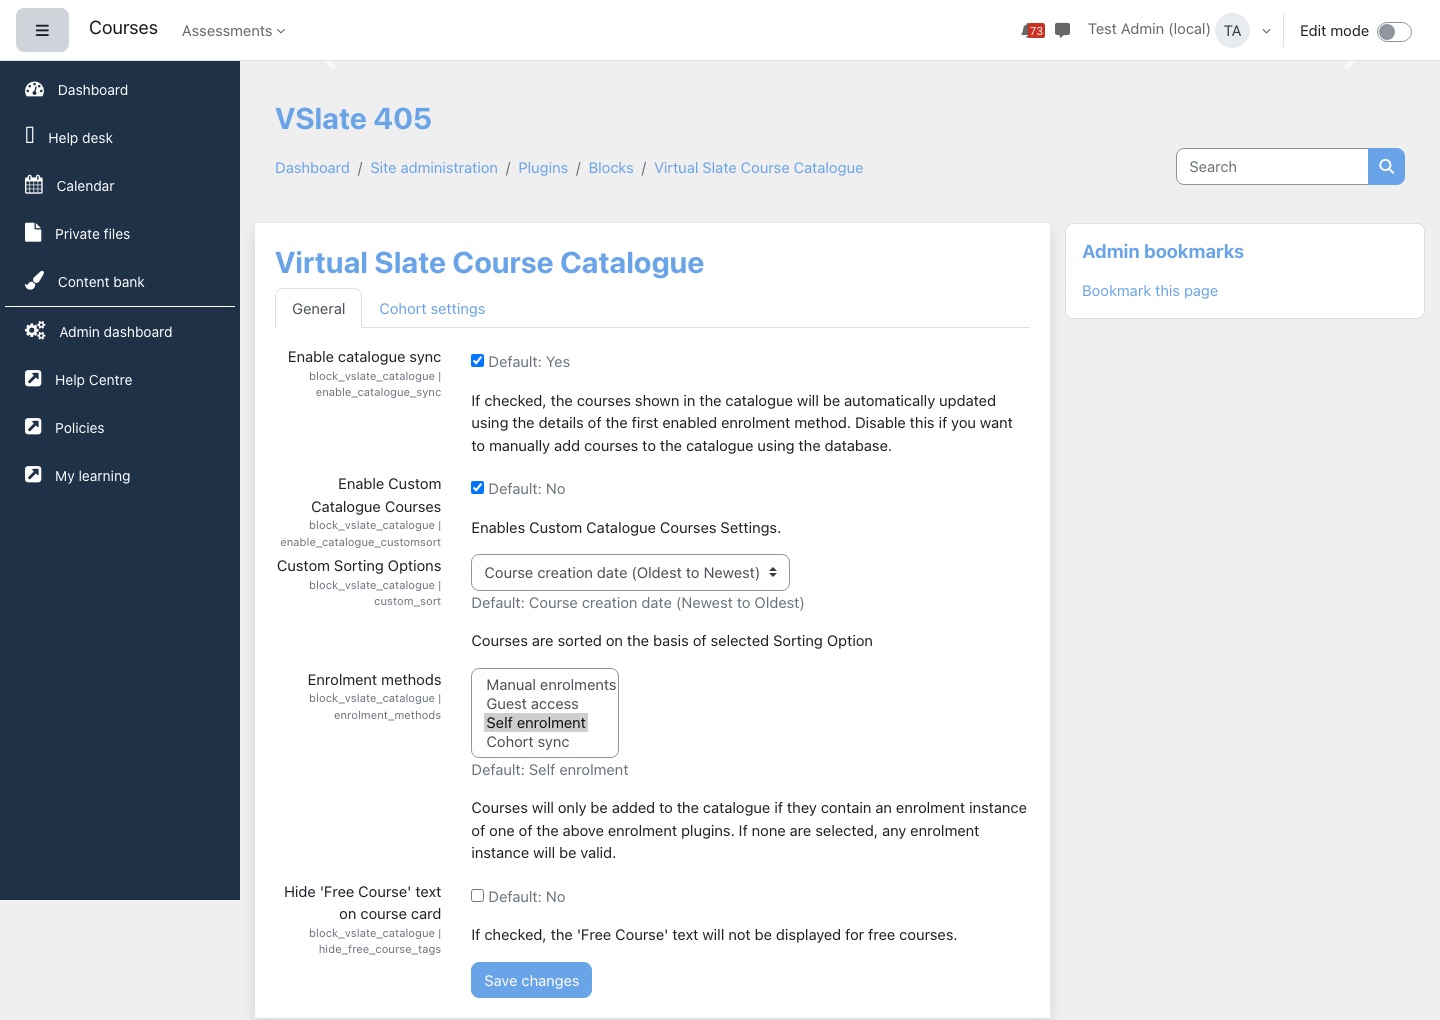
Unticking a type in Enrolment methods takes courses that rely on it out of the list straight away. Ticking one adds its courses, and updates prices, at the next check a few minutes later.
Showing different categories to different cohorts
The Cohort settings tab decides which course categories people can browse.
- Default visible categories are open to everyone. With none selected, which is the default, every category is open to everyone and the cohort settings below have no effect.
- Once default categories are chosen, each cohort has a Visible categories for cohort setting. Members of the cohort can browse the default categories plus the cohort's own.
- If someone is in a cohort that has no categories selected, they can browse every category.
- Visitors who have not logged in, and people in no cohort, see the default categories only.
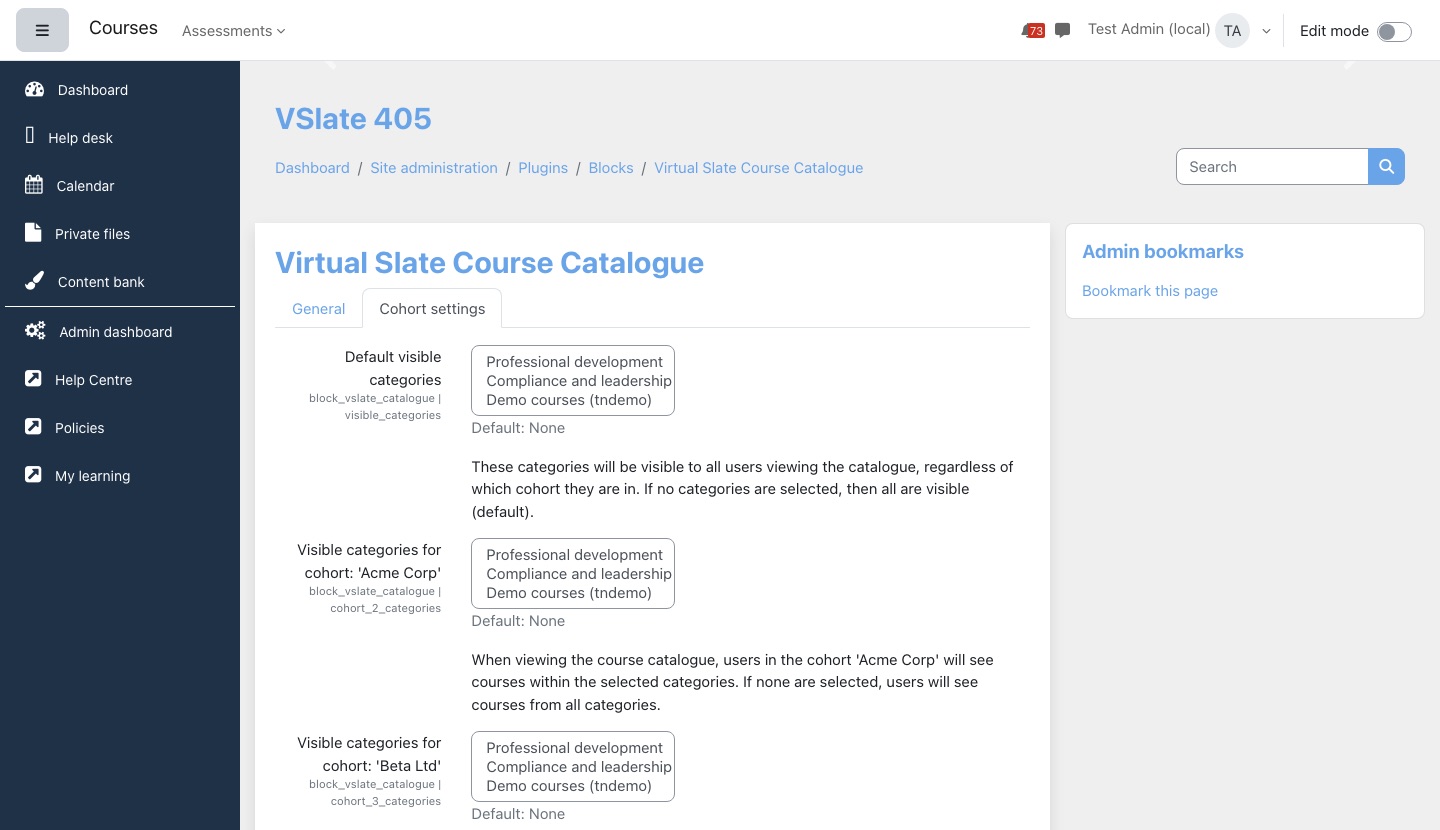
For example, to show most people only the Short courses category and also show the Accredited category to the Members cohort: set Default visible categories to Short courses, set Members' categories to Accredited, and select at least one category for every other cohort as well (Short courses will do), because a cohort left empty opens every category to its members.
The tab lists one setting for each cohort on the site. If there are no cohorts, it says so and links to the cohorts page.
Who sees what
| Who | Sees |
|---|---|
| Visitors who have not logged in | The catalogue page and course details, limited to the default visible categories. |
| Logged-in users | The catalogue in the categories open to them, without courses they are already enrolled in. The Dashboard block, if it is on their Dashboard. |
| Site administrators | The same, but including courses they are enrolled in. |
Course images open without logging in only for visible courses in the catalogue. Images of other courses are not served from the catalogue.
Privacy
The Course Catalogue keeps a price for each course and no personal data, so there is nothing of a person's to export or delete.
Questions we get asked
A course is not showing in the catalogue.
Check that the course is visible, and that it has an enabled enrolment method of a type ticked in Enrolment methods (self enrolment, PayPal or Stripe by default). Check its category is open to you (cohort settings). If you are testing as a learner who is already enrolled in it, it is hidden from them on purpose. If it has only just been set up, wait a few minutes.
The price on a course is wrong.
The price comes from the first enabled enrolment method of an allowed type on the course's Enrolment methods page. If the course has, say, both self enrolment and Stripe, whichever is higher in that list sets the price. Reorder or disable methods there; the catalogue updates within a few minutes.
The price shows the wrong currency symbol.
The symbol comes from the site's language, not from the enrolment method's currency. The amount is the method's cost. If this matters for your site, contact your usual Lingel Learning contact.
We restricted categories but some learners still see everything.
Those learners are probably in a cohort that has no categories selected on the Cohort settings tab. A cohort left empty opens every category to its members. Select categories for that cohort.
Why does a learner see fewer courses in the block than we expected?
The block leaves out courses the learner is already enrolled in, and courses outside the categories open to them. It shows at most four.
Can people browse the catalogue without an account?
Yes. The catalogue page and course details open without logging in, so visitors can see what is on offer. Buying or enrolling takes them to the course, where Moodle asks them to log in or create an account.
Site administration
The Admin dashboard and its search, navigation menus, course lists and cover images, your theme's settings, connecting your Enrolmart store, and your site's storage and active-user usage.
Four parts of Virtual Slate sit behind your site's own administration: the Admin dashboard and the screens around it, the theme that sets your site's look, the connection to your Enrolmart store, and the monitor that tracks your storage and active users against your plan.
On this page: the Admin dashboard, menus and course lists, theme settings (including the Autumn theme), connecting to Enrolmart, site usage and storage and Lingel Learning support sign-in.
Admin dashboard, menus and course lists
The VirtualSlate helper sits behind several everyday screens: the Admin dashboard, the View all users and View all courses pages, the Notes page, your site's custom navigation menus and course cover images. It also has two settings that decide which courses learners see in their course lists.
- Name in Moodle
- VirtualSlate helper
- Admin dashboard
- Admin dashboard, in the main navigation
- Notes
- Notes in a course's navigation, or on a person's profile page
- Navigation menus
- Site administration → Plugins → Local plugins → Navigation menus
- Settings
- Site administration → Plugins → Local plugins → VirtualSlate helper
- Who can use it
- Site administrators, and anyone you give the capabilities listed under Who sees what
- The Admin dashboard
- Figures and system health
- Searching every admin page (Ctrl+K)
- View all users and View all courses
- The Notes page
- Navigation menus
- Course cover images
- Settings
- Who sees what
- Questions we get asked
The Admin dashboard
The Admin dashboard is a single page of shortcuts to the administration screens you use most, grouped into sections. Open it from Admin dashboard in the main navigation.
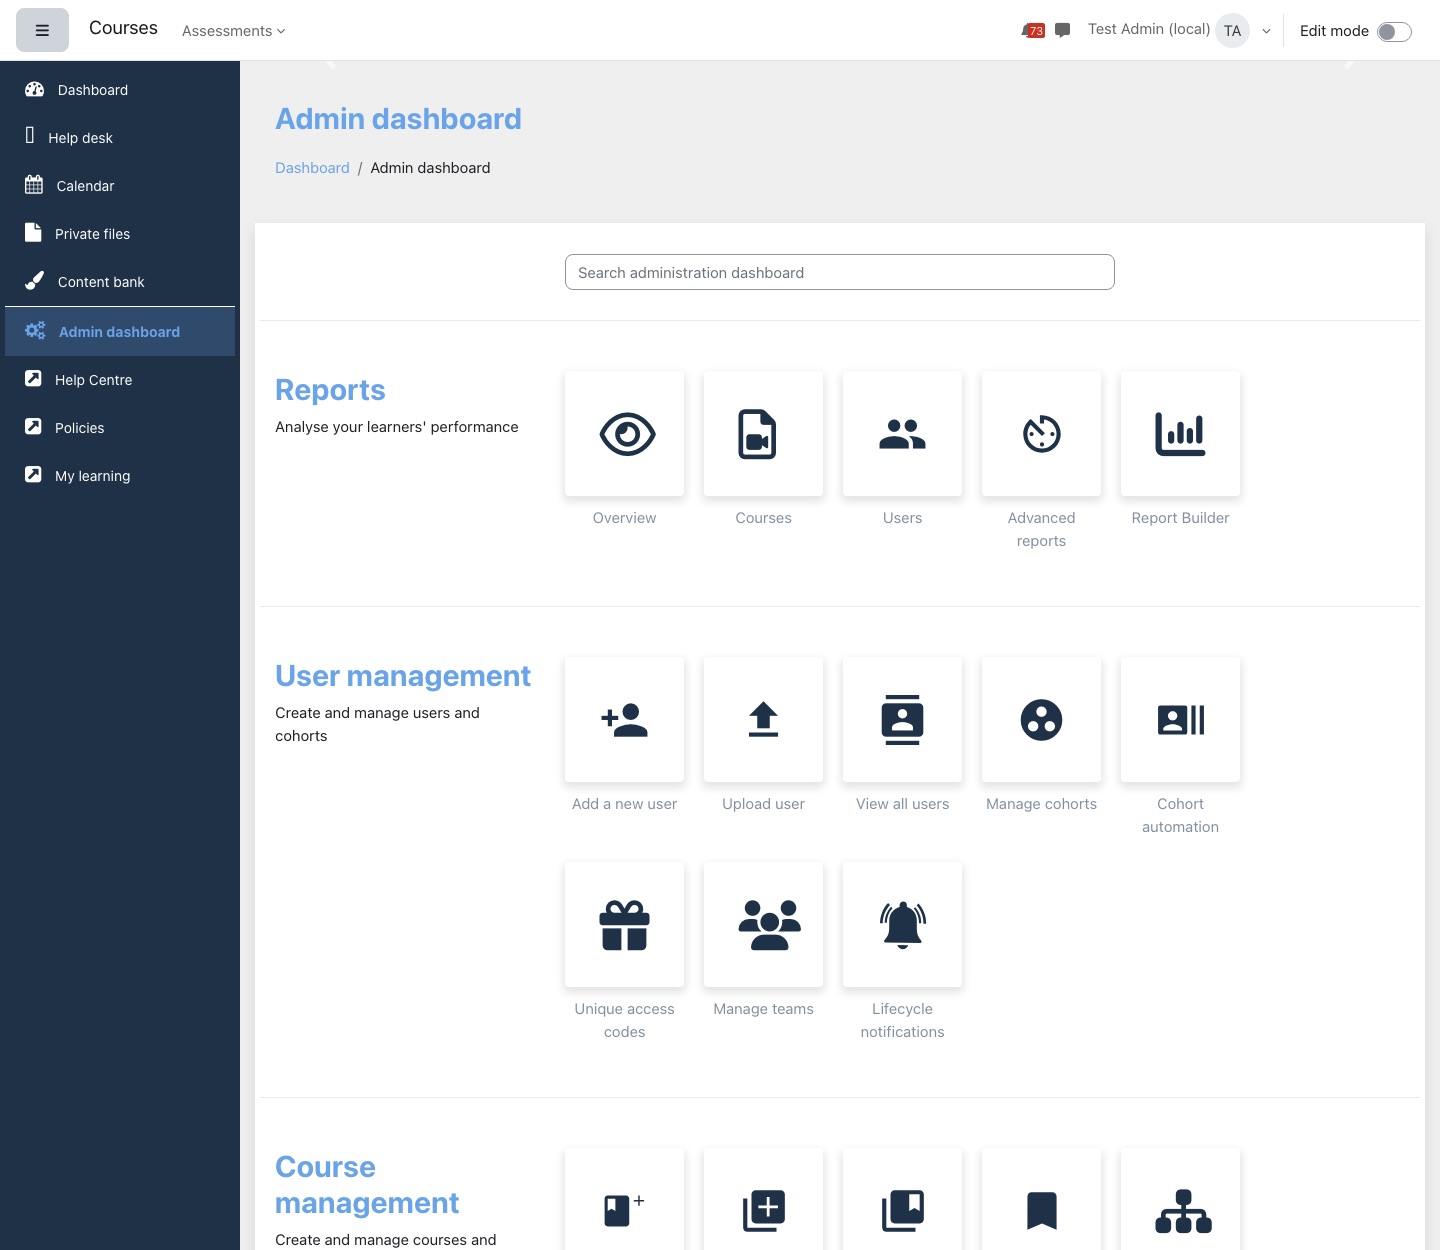
| Section | For | Shortcuts |
|---|---|---|
| Reports | Analyse your learners' performance | Overview, Courses, Users, Advanced reports, Report Builder |
| User management | Create and manage users and cohorts | Add a new user, Upload user, View all users, Manage cohorts, Cohort automation, Unique access codes, Manage teams, Lifecycle notifications |
| Course management | Create and manage courses and categories | Add a new course, Upload courses, View all courses, Manage courses & categories, Learning pathways, Global activities |
| Theme design | Take control of your LMS design | A shortcut to each part of your theme's settings (in the classic theme: Login page, Logo, Color, Slider, Social media, Menu, Custom elements, Custom popups) and Default dashboard |
| Advanced settings | Access useful Moodle settings | Lifecycle notifications settings, Face-to-face settings, Activity module settings, Plugins, User profile fields, Site policies, Support contact, Site administration, Hide categories, Enrolmart |
Type in the Search administration dashboard box at the top to narrow the shortcuts to those whose name matches. Sections with nothing left in them disappear; clear the box to bring everything back.
The dashboard only offers what you can use. A shortcut is left out when you do not have permission for the page it opens, or when the feature behind it is not part of your site. A section with no shortcuts left is hidden, so two administrators with different roles can see different dashboards.
On the Autumn dashboard some shortcuts also carry a small number: View all users shows how many accounts are suspended, Manage cohorts how many cohorts you have, Unique access codes how many codes are unused, and Plugins how many plugins are waiting to be upgraded. A shortcut with nothing to count shows no number. The classic theme does not show these numbers.
Lifecycle notifications (User management) opens the page where you set up lifecycle notifications. It is shown to anyone allowed to manage them, including managers who cannot change site settings. The plugin's own settings, such as Suspend notifications, are behind Lifecycle notifications settings in Advanced settings, for site administrators only. Both shortcuts appear only when Lifecycle Notifications is part of your site.
Figures and system health
With the Autumn theme, the top of the dashboard also shows four figures and a system health card:
| Card | What it counts |
|---|---|
| Active users (7d) | People who used the site in the last 7 days, with a small line showing logins per day over the last 14 days |
| Active users (24h) | People who used the site in the last 24 hours |
| Courses | All courses on the site |
| Enrolments today | Enrolments made since midnight |
| System health | A summary of Moodle's own status checks: green when all checks pass, amber for warnings, red for errors. Select it to open the full status report |
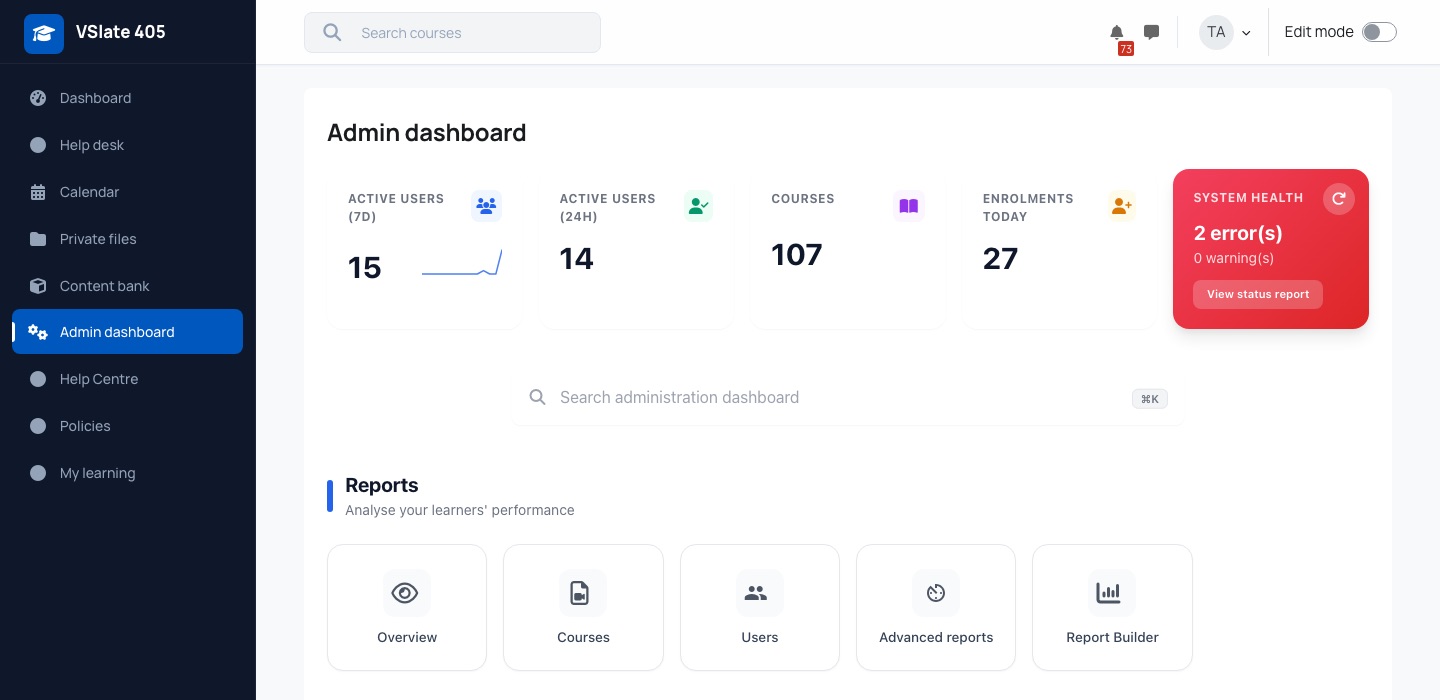
The figures are kept for five minutes, so something you changed a moment ago may not show yet. A dash instead of a number means the figure could not be read just then; it does not mean zero. After fixing something the health card warned about, press the refresh button on the card (Refresh system health) to run the checks again straight away. View status report opens Moodle's full list of checks.
The classic Virtual Slate theme shows the shortcuts and search box only.
Searching every admin page (Ctrl+K)
On the Autumn dashboard, press Ctrl+K (⌘K on a Mac) to search every page in Site administration, not just the shortcuts. Type part of a page's name, move through the results with the arrow keys, press Enter to open one and Esc to close. Each result shows where the page sits in Site administration, so two pages with similar names can be told apart.
The search works with a screen reader and the keyboard alone: the search box is labelled, the highlighted result is read out as you move, "Loading" and "No matches" are announced, Tab stays inside the search window while it is open, and closing it puts you back where you were.
The list is built for you, from the pages your role can open, and is kept for ten minutes. A page added by a plugin installed in the last few minutes may not appear until then.
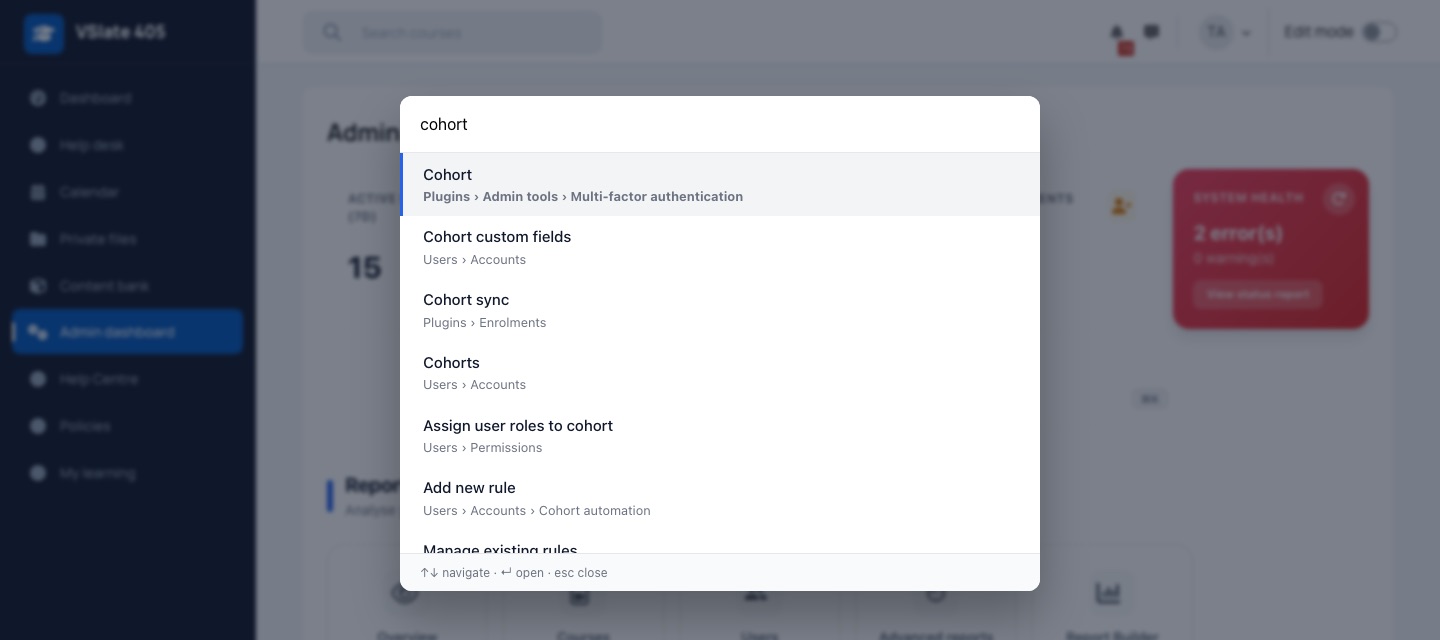
View all users and View all courses
View all users (User management) lists every account except deleted ones and the guest, a page at a time. Search by name, email address, username or ID number; every word you type must match. Filter by Active, Suspended, Not confirmed or Never logged in. Each row shows the person's last access and how many courses they are actively enrolled in, with links to their profile and, if you may edit users, to edit them.
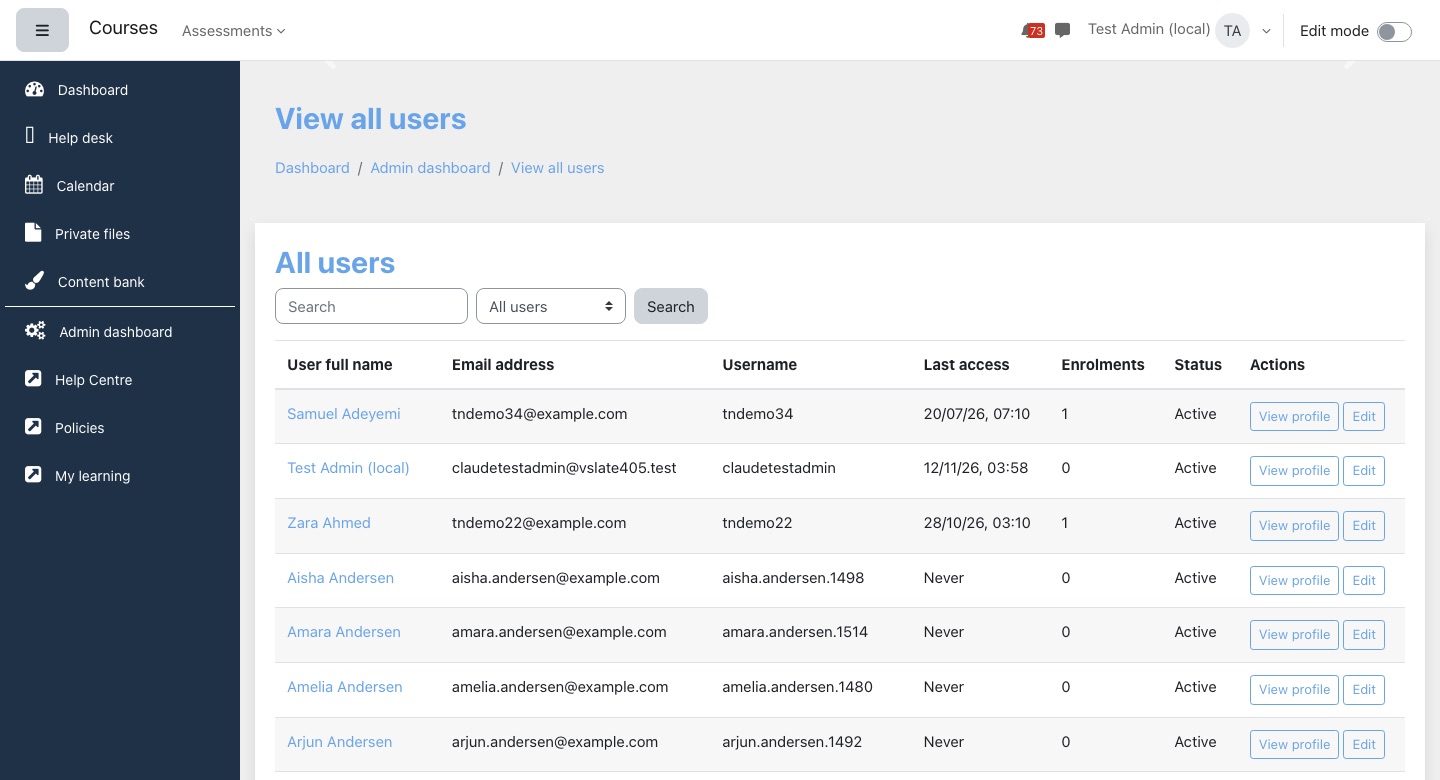
View all courses (Course management) lists every course with its category, a page at a time. Search by course name or short name. From a course's row you can Enrol users, View course or set its Cover image.
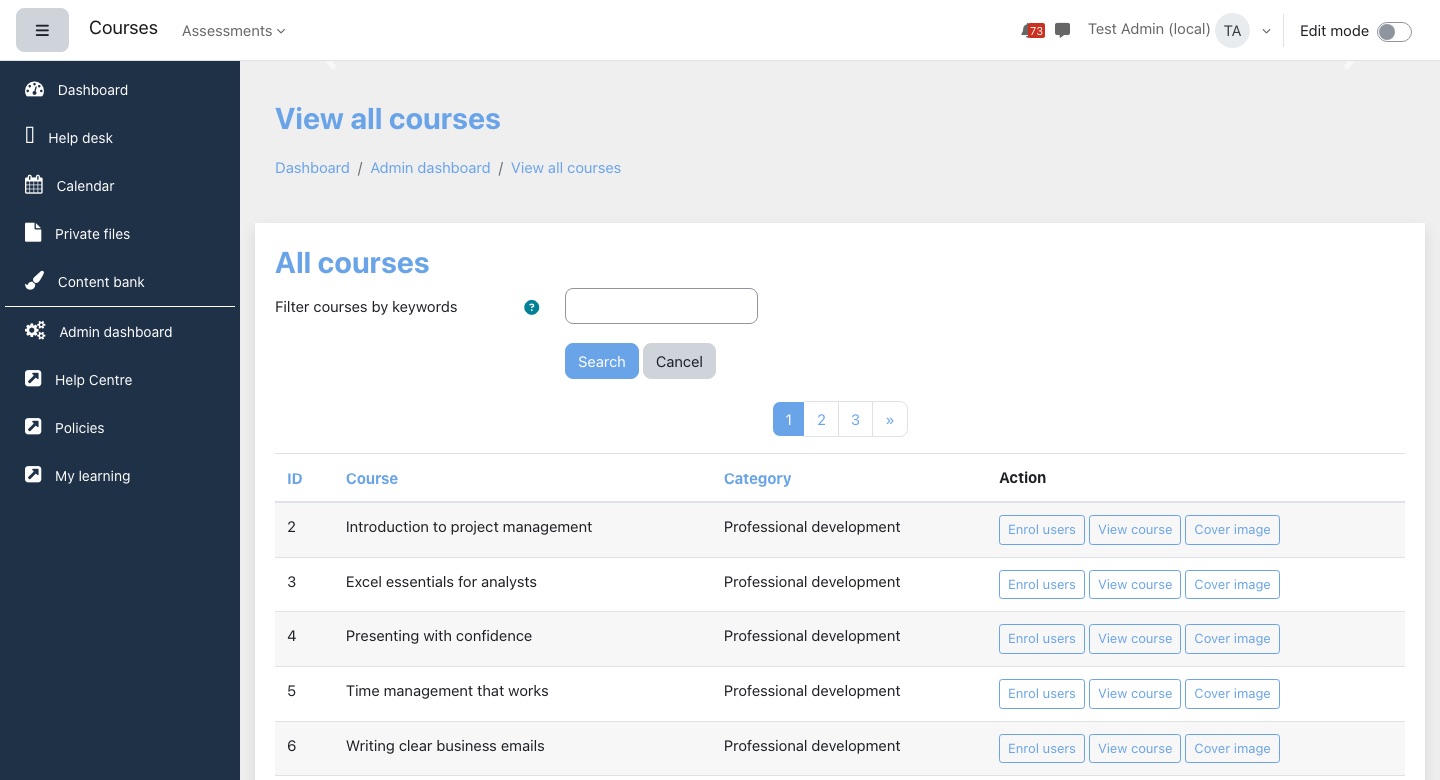
In the Autumn theme
Autumn lays out both pages as cards and adds more:
- View all users has Bulk actions, Upload users and Add a user buttons, and four figures: Total users, Active (last 30 days), New this month and Suspended. Filter by status and by authentication method, and sort by Name (A–Z), Name (Z–A), Most recently active, Newest accounts or Most enrolments, then press Apply. Each row has View, Edit, a message button and a menu with Edit profile, Course enrolments, Logs, Assign roles, Log in as, Suspend user account (or Activate user account) and Delete. Each item appears only if you are allowed to use it, and you cannot log in as, suspend or delete a site administrator from here.
- View all courses has Manage categories and Add new course buttons, and the figures Total courses, Categories, Active enrolments and Hidden courses. Filter by category and by Visible or Hidden, and sort by ID, name, Most enrolments or Newest first. Each row has Enrol, View, a picture button that sets the course's Catalogue banner, and a menu with Settings, Participants, Grades, Reports, Course completion, Course cover image, Backup and Delete, again only those you may use.
- Both pages end with "Showing 1 to 10 of …", page numbers and a choice of 10, 25, 50 or 100 rows per page.
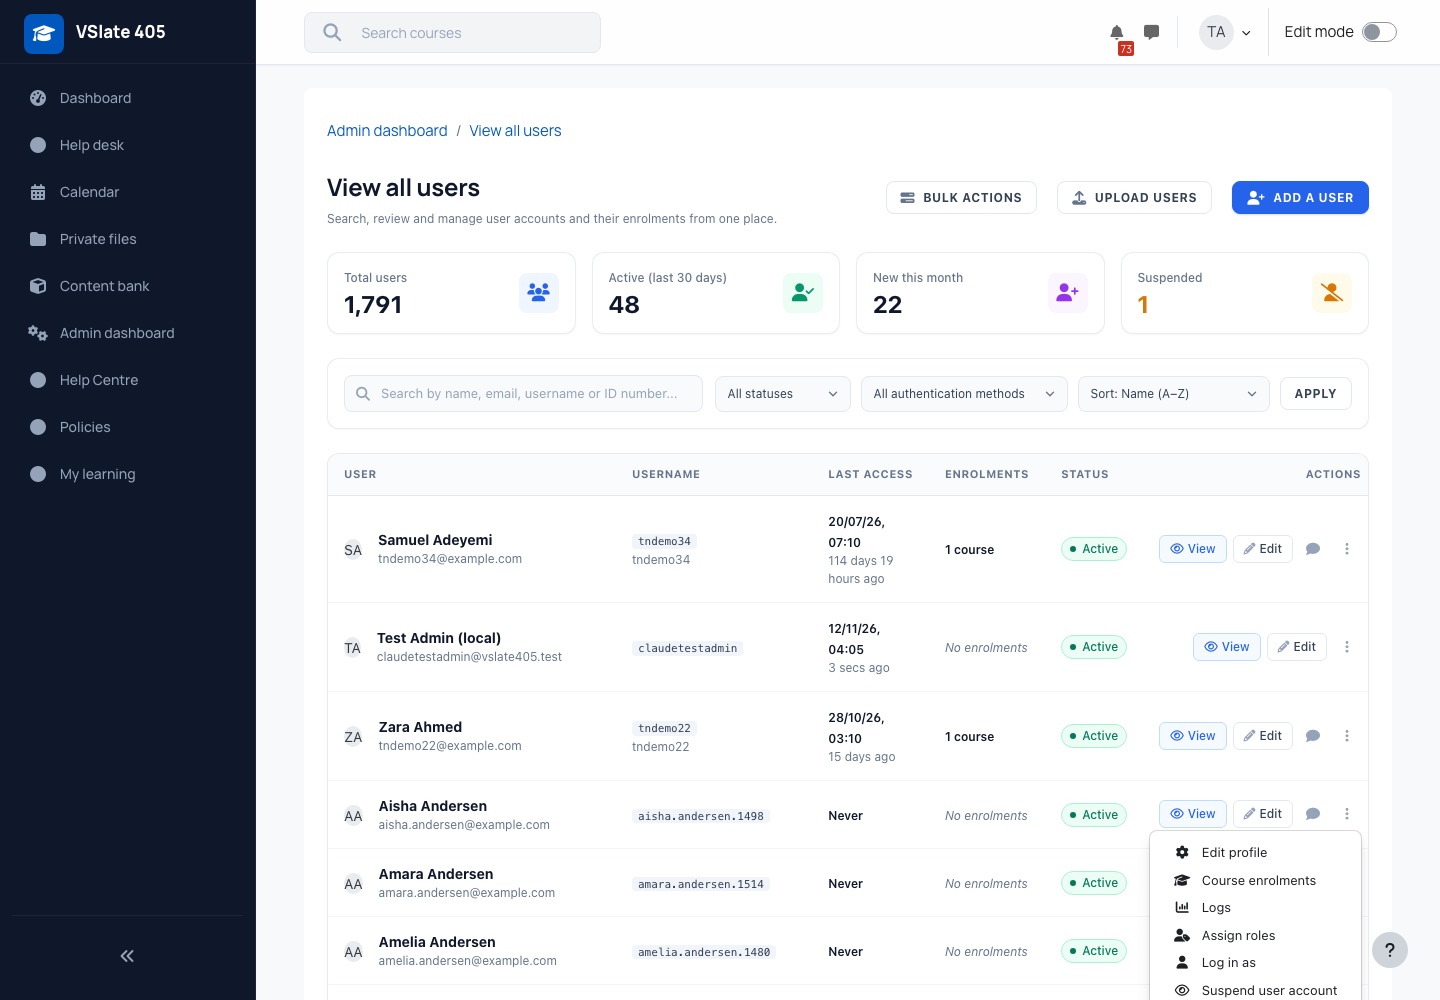
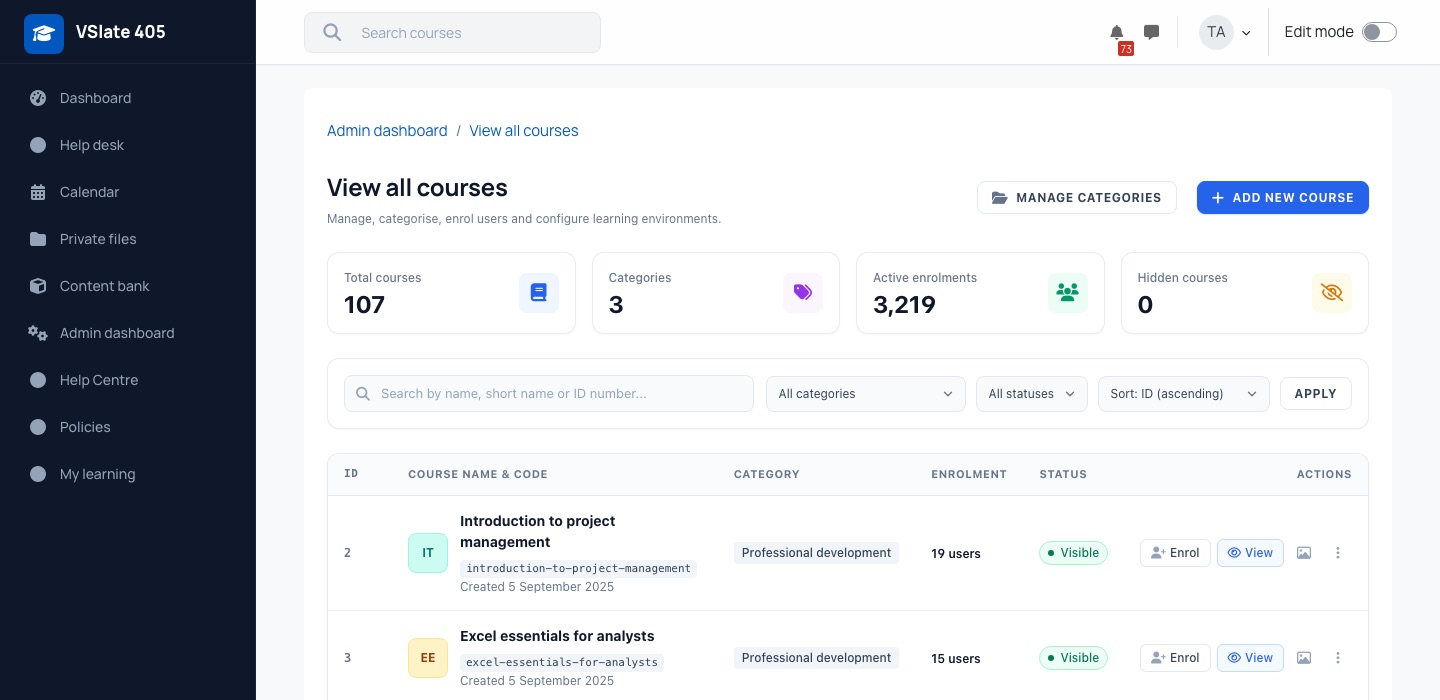
The Notes page
Notes are short private remarks about a person, such as "Called about the overdue assessment". The Notes page brings them together: you can read, search and export them, and write a note about several people at once. It opens wherever Moodle offers Notes: inside a course, and on a person's profile page (your own included). It replaces Moodle's standard notes list on hosted Virtual Slate sites.
The three kinds of note
The tabs at the top of the page split notes by who can read them. Each tab shows how many notes it holds; when you search, the numbers count the matching notes only.
| Tab | Who can read these notes | Inside a course, the tab shows | On the site-wide page, the tab shows |
|---|---|---|---|
| Site notes | Anyone allowed to view notes across the whole site | Site notes about people enrolled in the course | Every site note |
| Course notes | People allowed to view notes in that course, usually its teachers | The course notes written in this course | Course notes from every course where you are allowed to view notes |
| Personal notes | Only the person who wrote them | Your personal notes written in this course | All your personal notes |
Each note shows who it is about, who wrote it, when it was last changed and, on the site-wide page, the course it was written in. All notes about a person narrows the list to that person; Show everyone takes you back.
Searching and sorting
Type in Search notes and names to find notes by their wording or by the name of the person they are about. Sort by offers Newest first, Oldest first and Name (A to Z). Long lists are split into pages.
Recipients & Members
The list beside the notes is the people you can write about:
- Inside a course, everyone enrolled in the course.
- On the site-wide page, the members of the teams you manage in Team Management. If you do not manage a team, the list is empty; open Notes from inside a course to write about its participants instead.
Search the list by name, and tick the people the note is about. Your ticks are kept while you move between pages of the list or search again, and the count above the list shows how many you have chosen. Select everyone on this page and Clear selection help with larger groups.
Writing a note
- Tick the people in Recipients & Members.
- Write the note in Compose note.
- Under Publish as, choose who can read it: Site, Course or Personal (see the table above). On the site-wide page only Site and Personal are offered, because a course note belongs to a course.
- Press Publish note. Each person gets their own copy of the note, so you can later change or delete one without affecting the others. You can write about up to 100 people at a time.
Changing and deleting notes
Edit and Delete appear on the notes you are allowed to change: course notes in courses where you manage notes, your own personal notes, and site notes if you manage notes across the whole site. Delete asks you to confirm first; a deleted note cannot be brought back.
Exporting notes
Export notes downloads a spreadsheet (CSV) of the notes on the tab you are looking at, with your search and any person you narrowed to applied. It has a row per note: when it was created and last changed, who it is about, who wrote it, the course, how it was published and the note itself. It contains only notes you can already see on the page.
The Notes page is a new layout over Moodle's own notes. Notes written before the change all appear, notes written here appear in Moodle's reports and logs, and they are included when a person asks for a copy of their data.
Navigation menus
Navigation menus add your own links to the site's navigation. There is one Default menu (all users), which everyone sees, and you can add a menu for any cohort, which its members see in addition to the default menu.
- Go to Site administration → Plugins → Local plugins → Navigation menus and press Add menu.
- In Applies to, choose Default menu (all users) or a cohort. Only cohorts that do not have a menu yet are offered, and the default menu only until it exists; after that, change it from the list.
- In Menu items, put one link per line as Label|URL, for example
Help Centre|https://support.example.comorDashboard|/my/. Leave out the URL for a label that does not link anywhere. - Leave Enabled ticked and save.
The list shows each menu, how many items it has, a preview of the first few, and whether it is enabled. Use the edit icon to change a menu (the cohort it applies to cannot be changed) and the delete icon to remove it; you are asked to confirm. Untick Enabled to hide a menu for a while without losing it.
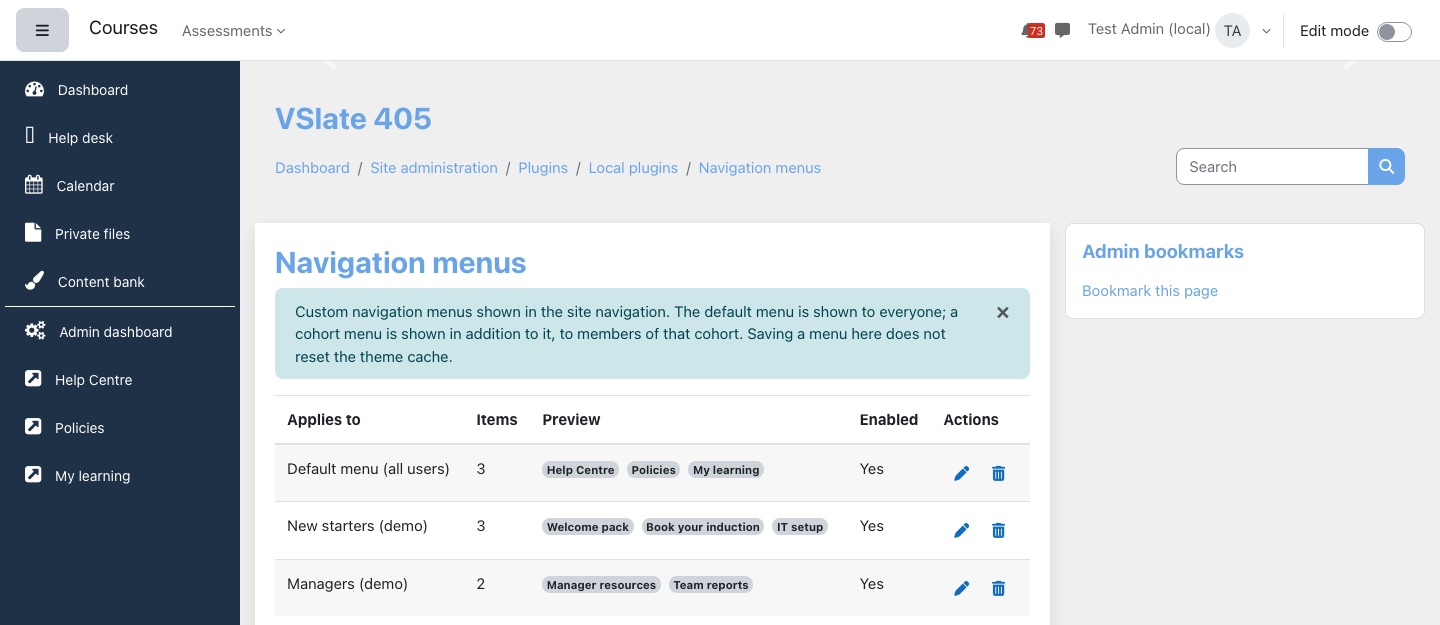
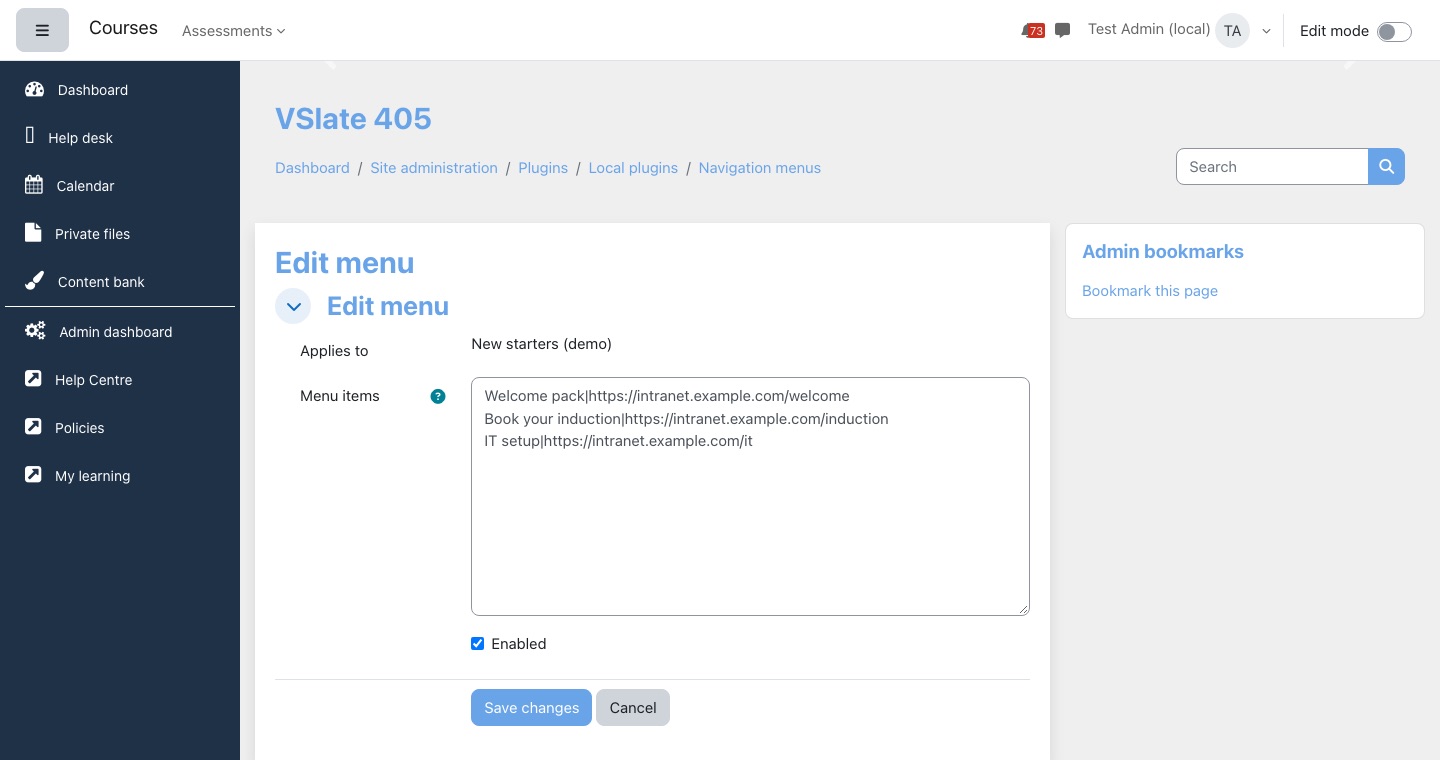
Changes show straight away. When someone joins or leaves a cohort, the menus they see follow on their next page. If a link appears in more than one menu a person sees, it is shown once. Deleting a cohort deletes its menu. The links appear in the left navigation in both the classic and the Autumn theme, after the standard links.
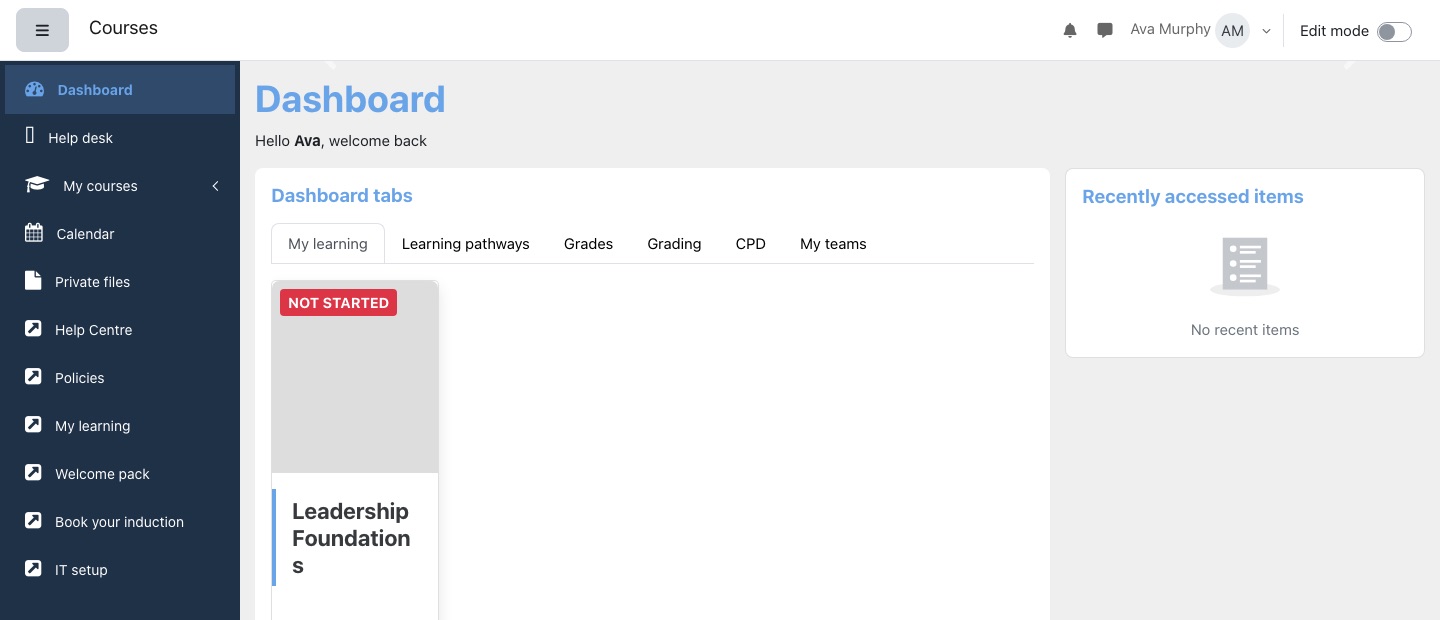
Course cover images
A course can have a cover image, which the classic Virtual Slate theme shows on the course page and learners' course cards. Set it from Cover image on the course's row in View all courses, from Course cover image in the course's navigation (classic theme), or from the row menu in Autumn's View all courses. You need permission to edit the course.
- Open Cover image for the course. The page is headed Cover image for: and the course name.
- Drag an image into the box, or use the add button to choose one. One image per course; GIF, JPEG or PNG.
- Press Save image. To remove the cover, delete the file in the box and save.
In the Autumn theme a course can also have a Catalogue banner, a wide image across the top of its catalogue page. If it has none, the cover image is used instead, then the course image.
Settings
Site administration → Plugins → Local plugins → VirtualSlate helper:
| Setting | What it does |
|---|---|
| Ignored course categories | Courses in the categories you choose are left out of learners' course lists (the My Learning block and the My courses page). Learners stay enrolled and can still open the courses. This applies to administrators too: their lists show the courses they are enrolled in, and View all courses lists the whole catalogue. |
| Display language based courses | When ticked, learners' course lists show only courses set to the language they are using, plus courses with no language set when they use the site's default language. Off by default. |
Who sees what
| Screen | Who can open it |
|---|---|
| Admin dashboard | The page needs moodle/site:configview: site administrators and, by default, managers. In the classic theme the Admin dashboard link in the navigation needs theme/vslate:view_admin_dashboard, which managers have by default. Each shortcut also needs the permission for its own page |
| View all users | People with moodle/user:viewalldetails; the shortcut is shown to those who can also update users |
| View all courses | People with moodle/site:configview; the shortcut is shown to those with moodle/site:config |
| Navigation menus and the settings above | Site administrators (moodle/site:config) |
| Notes page | People allowed to view notes (moodle/notes:view): in a course, usually its teachers; the site-wide page needs the permission across the whole site. Writing notes needs moodle/notes:manage in the course, or across the site on the site-wide page |
| Course cover image | Anyone who can edit the course (moodle/course:update) |
Questions we get asked
A shortcut I expect is missing from the Admin dashboard.
Either your role does not have permission for that page, or the feature is not part of your site. Check your role first; it is the usual cause. If you believe the feature should be on your site, contact your usual Lingel Learning contact.
A figure on the dashboard looks out of date.
Figures are kept for five minutes. Wait a few minutes and reload. For the system health card, press Refresh system health.
Ctrl+K does nothing.
It works on the Autumn Admin dashboard only, once the page has finished loading. Some browser extensions use the same keys; if one does, it wins.
I added a cohort menu but someone in the cohort does not see it.
Check the menu is enabled, and that the person is a member of that cohort (not of a similarly named one). They see it on the next page they open.
Someone I manage is missing from Recipients & Members on the site-wide Notes page.
The list shows the members of the teams where you are the manager in Team Management. Check the person is a member of one of your teams. To write about someone in a course you teach, open Notes from inside that course.
I cannot open the site-wide Notes page, but I can open Notes in my course.
The site-wide page needs permission to view notes across the whole site; teachers usually have it in their courses only. Ask your site administrator if you need it.
A learner shows as completed in a course but has no start date.
That is expected. A course with a completion date counts as completed, even when no start date was recorded, for example when the completion was marked by hand or imported.
I hid a category but a learner still sees its course.
Ignored course categories affects the My Learning block and the My courses page. Other places, such as the course catalogue or search, are not affected. To see every course on the site, use View all courses.
Theme settings
Virtual Slate is the look of your site: the header, logo, navigation, login page, footer and colours. Its settings let you brand the site, add a banner slider, show messages to learners and add a few extras to quizzes, without changing any of your courses.
- Name in Moodle
- Virtual Slate (a theme)
- Settings
- Site administration → Appearance → Themes → Virtual Slate configuration settings
- Navigation menus
- Site administration → Plugins → Local plugins → Navigation menus
- Who can change it
- Site administrators
- The settings tabs
- Brand the site
- Add a banner slider
- Different logos and sliders for cohorts
- Navigation menus
- Edit mode
- Messages to learners
- Quiz enhancements
- The Autumn theme
- Who sees what
- Questions we get asked
The settings tabs
The settings page is split into tabs. Save each tab before moving to the next; changes on a tab you leave without saving are lost.
| Tab | What it holds |
|---|---|
| Login page | Background image, Login box opacity (a number from 0 to 1; the default 0.7 lets a little of the background show through), and Login form additional text shown under the form. |
| Logos | Logo (top left of the header), Login page logo, Favicon (the small icon in the browser tab), and Enable cohort logos. |
| Slider | The banner slider: whether it is on, where it shows, how many slides, and each slide's image and link. |
| Custom elements | Enable browser check, Supported browsers (Google Chrome, Firefox, Edge, Internet Explorer, Opera, Safari), Ignore mobile browsers, Enable scroll to top (a button that appears once someone scrolls down), Support tab script (the code for a chat or help-desk widget such as Zendesk or Freshdesk), Footer text, Custom CSS and Custom JS. |
| Custom popups | Popup after login and the Need help button on the login page. |
| Email header text and Email footer text, added to every email the site sends. | |
| Menu | Open nav drawer by default, and a link to the Navigation menus page. |
| Social | A link and an optional 16 × 16 pixel icon for Facebook, LinkedIn, X, YouTube, Instagram and Pinterest, shown in the footer. |
| Colour scheme | One of four schemes (Virtual Slate, Red Sun, Dawn Dusk, Sea Waves) and the Brand color for charts used on reporting dashboards. |
| Site usage bar | Enable site progress bar (on by default), and the colours of the storage and active-user bars: Up to 70% (green), Upper 70% and Upto 100% (orange) and Upper 100% (red). See The usage bars in the footer. |
| Advanced Settings | Quiz enhancements, all off until you turn them on. |
Brand the site
- On Logos, upload your Logo, Login page logo and Favicon, then Save changes.
- On Colour scheme, choose a scheme and set Brand color for charts to your main brand colour, then save.
- On Login page, upload a Background image and adjust Login box opacity until the form is easy to read over it.
- On Custom elements, add your copyright line or contact details as Footer text.
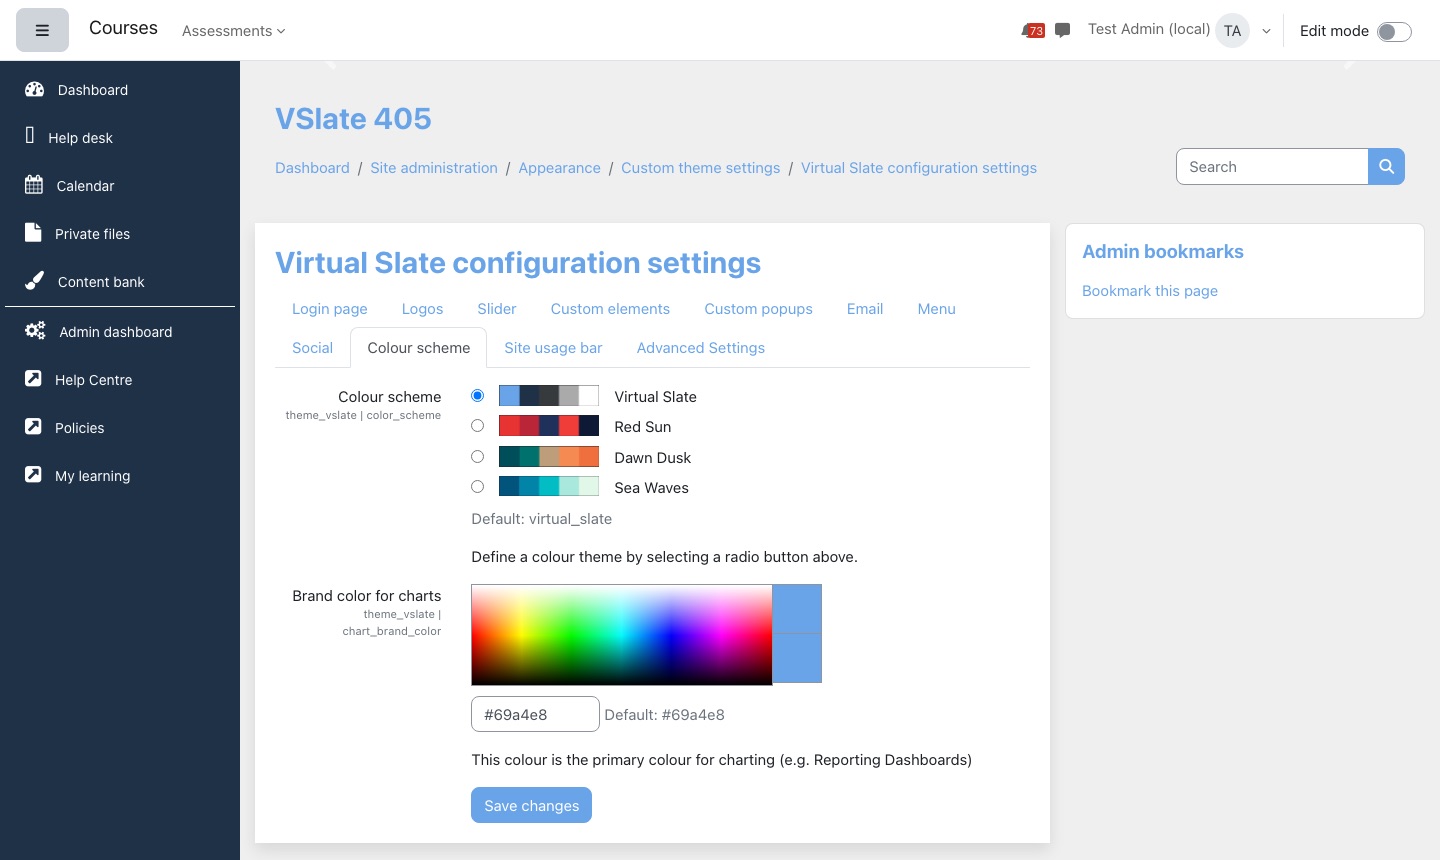
Log out and look at the login page, then log in and check a few pages. A new image can take a minute to appear for everyone.
Add a banner slider
- On Slider, tick Enable slider.
- Choose Display slider on: All pages or Home page only. Tick Enable slider on course page? to show it on course pages as well.
- Set Slide count (up to 10) and Save changes. A heading appears for each slide.
- For each slide, upload the image and, if you want the slide to be clickable, add a Slide URL. Save again.
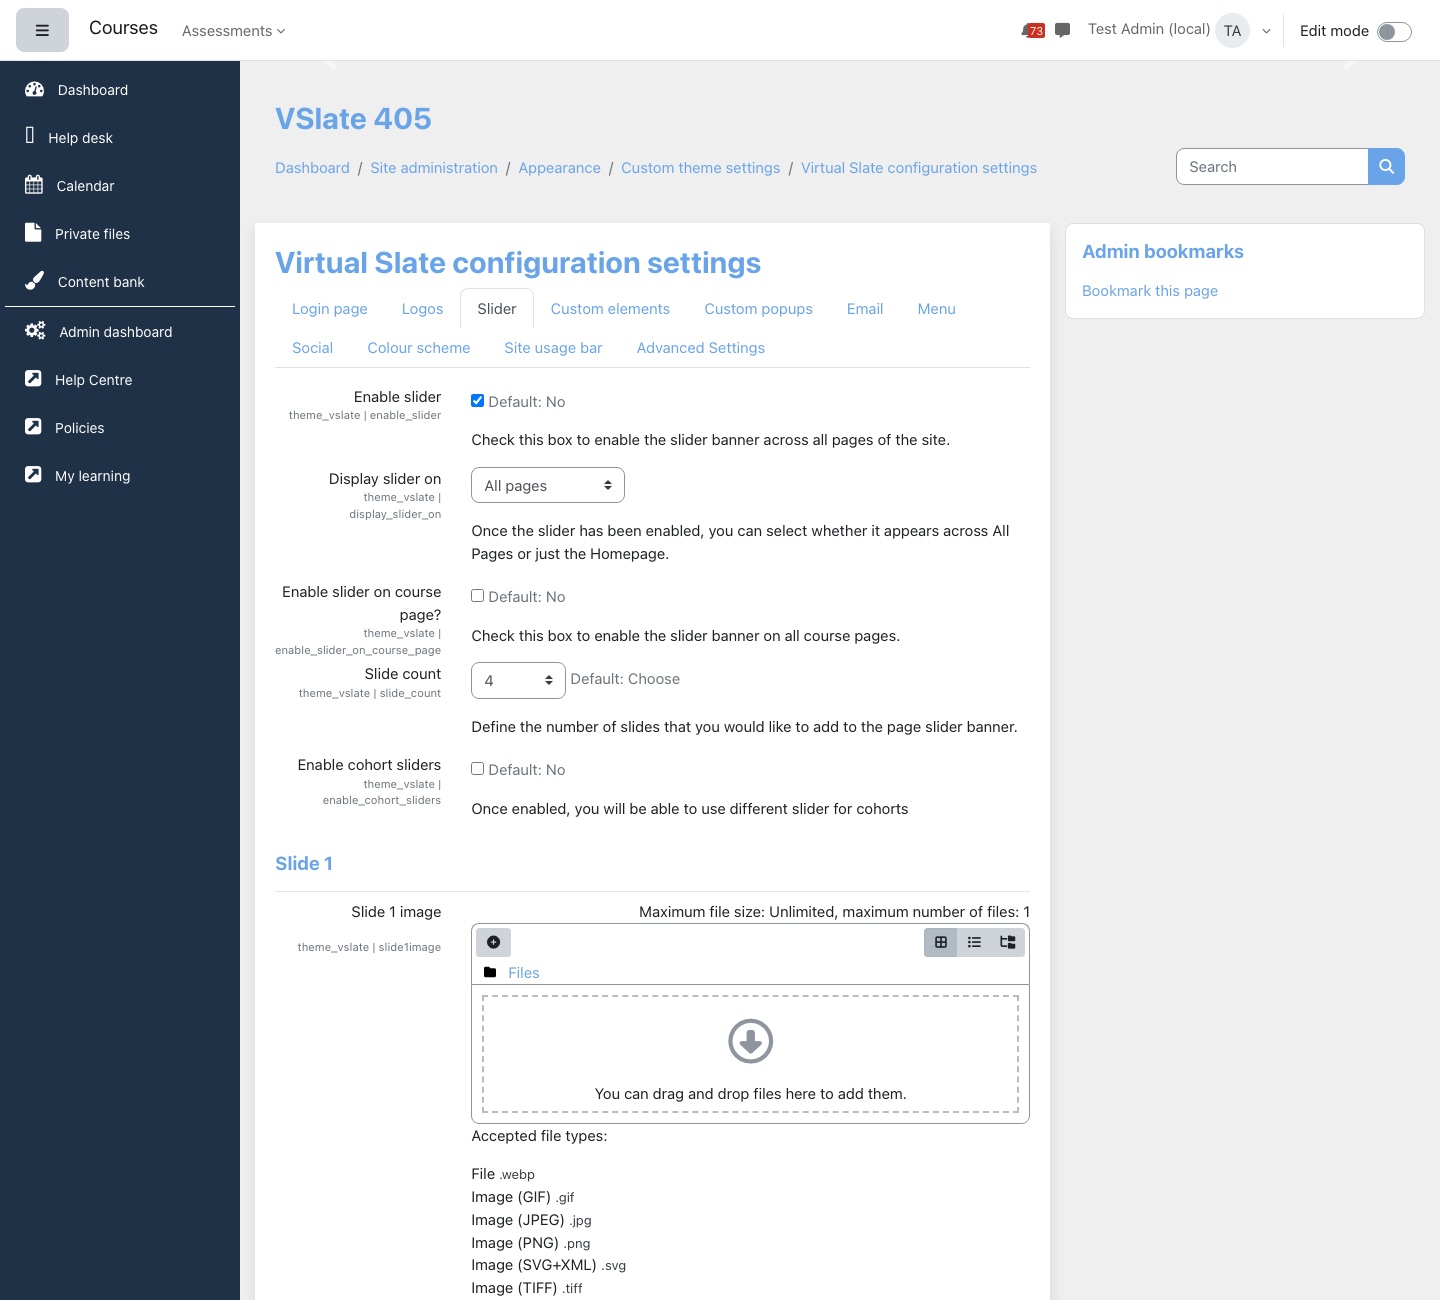
The slider only shows once at least one slide has an image.
Different logos and sliders for cohorts
If groups of learners need their own branding, you can give each cohort its own logo or slider.
- Tick Enable cohort logos on Logos, or Enable cohort sliders on Slider, and save.
- A new tab, Cohort Logos or Cohort Sliders, appears with a section for every cohort on the site. Upload what each cohort should see and save.
A learner in a cohort with its own logo sees that logo; everyone else sees the main one. If a learner is in several cohorts, the cohort they joined most recently decides.
The cohort tabs list every cohort on the site. With hundreds of cohorts the page becomes slow to load and save. If you only need a handful of cohort logos, ask us before turning this on.
Navigation menus
Extra links in the main navigation are set on their own page: Site administration → Plugins → Local plugins → Navigation menus (the Menu tab links to it). There is a default menu that everyone sees, and you can add a menu for a cohort, which its members see as well as the default one. Write one link per line as Label|https://address.
These menus used to be on the Menu tab of the theme settings. When your site was updated, your existing menus were moved across for you.
Custom links show to people who are logged in, not to visitors or guests. The other setting on the Menu tab, Open nav drawer by default (on by default), decides whether the left navigation starts open when a page loads.
Edit mode
To change a course, the Dashboard or the site home page, use the Edit mode switch at the right of the top bar, after your name and picture. Turn it on to add, move and change activities and blocks; turn it off to see the page as learners do. It stays on as you move between pages until you turn it off.

The switch replaces the Turn editing on and Turn editing off buttons that used to appear at the top of these pages. It is the same switch as in standard Moodle 4.5, and it only appears on pages the person is allowed to edit. Learners see it on their own Dashboard, which Moodle lets everyone arrange, but not on course pages. On a phone, only the switch shows, without its label.
Messages to learners
- Popup after login (Custom popups): a message in a popup after someone logs in. It shows once a day in each browser, so it suits notices rather than anything learners must see every time.
- Need help button (Custom popups): adds a Need help button to the login page that opens your text in a popup. Useful for "forgotten your username?" instructions.
- Login form additional text (Login page): always visible under the login form.
- Enable browser check (Custom elements): warns people whose browser is not in Supported browsers. Tick Ignore mobile browsers to leave phones and tablets alone.
- Support tab script (Custom elements): paste the code your help-desk or chat provider gives you, and its button appears on every page.

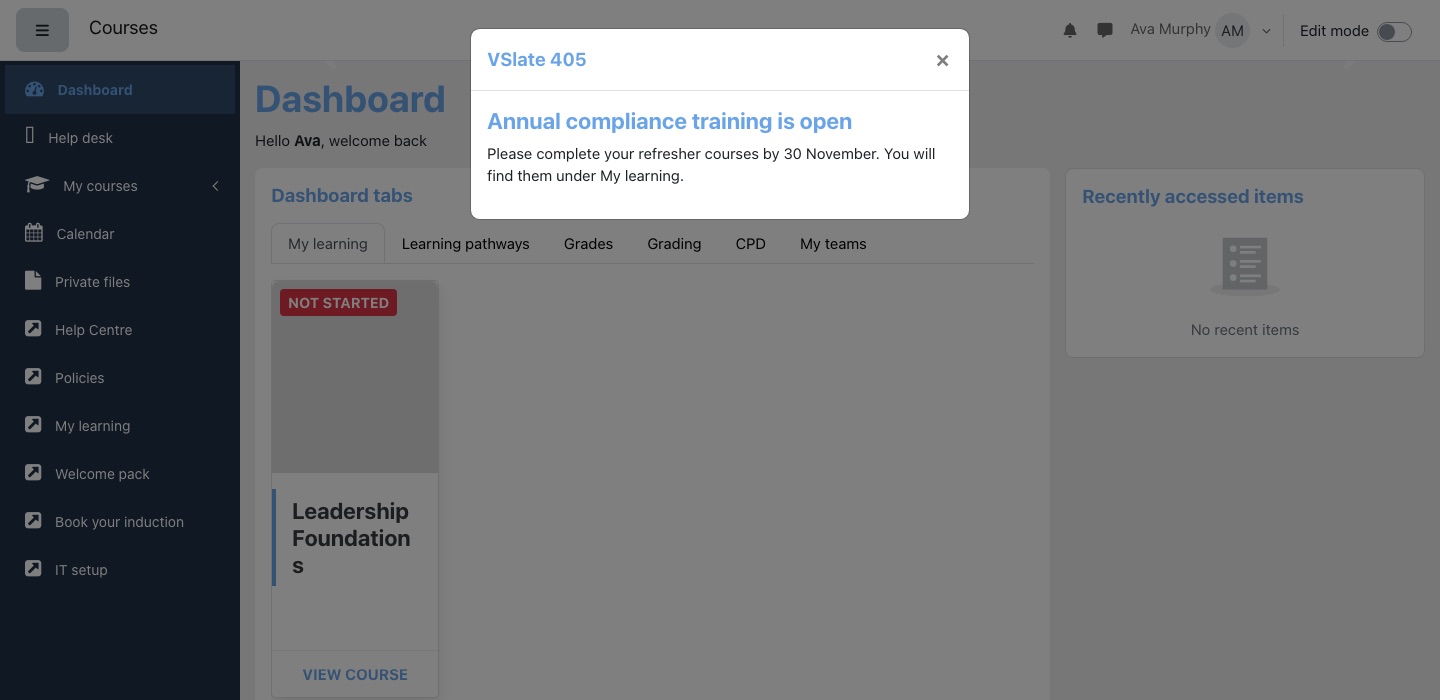
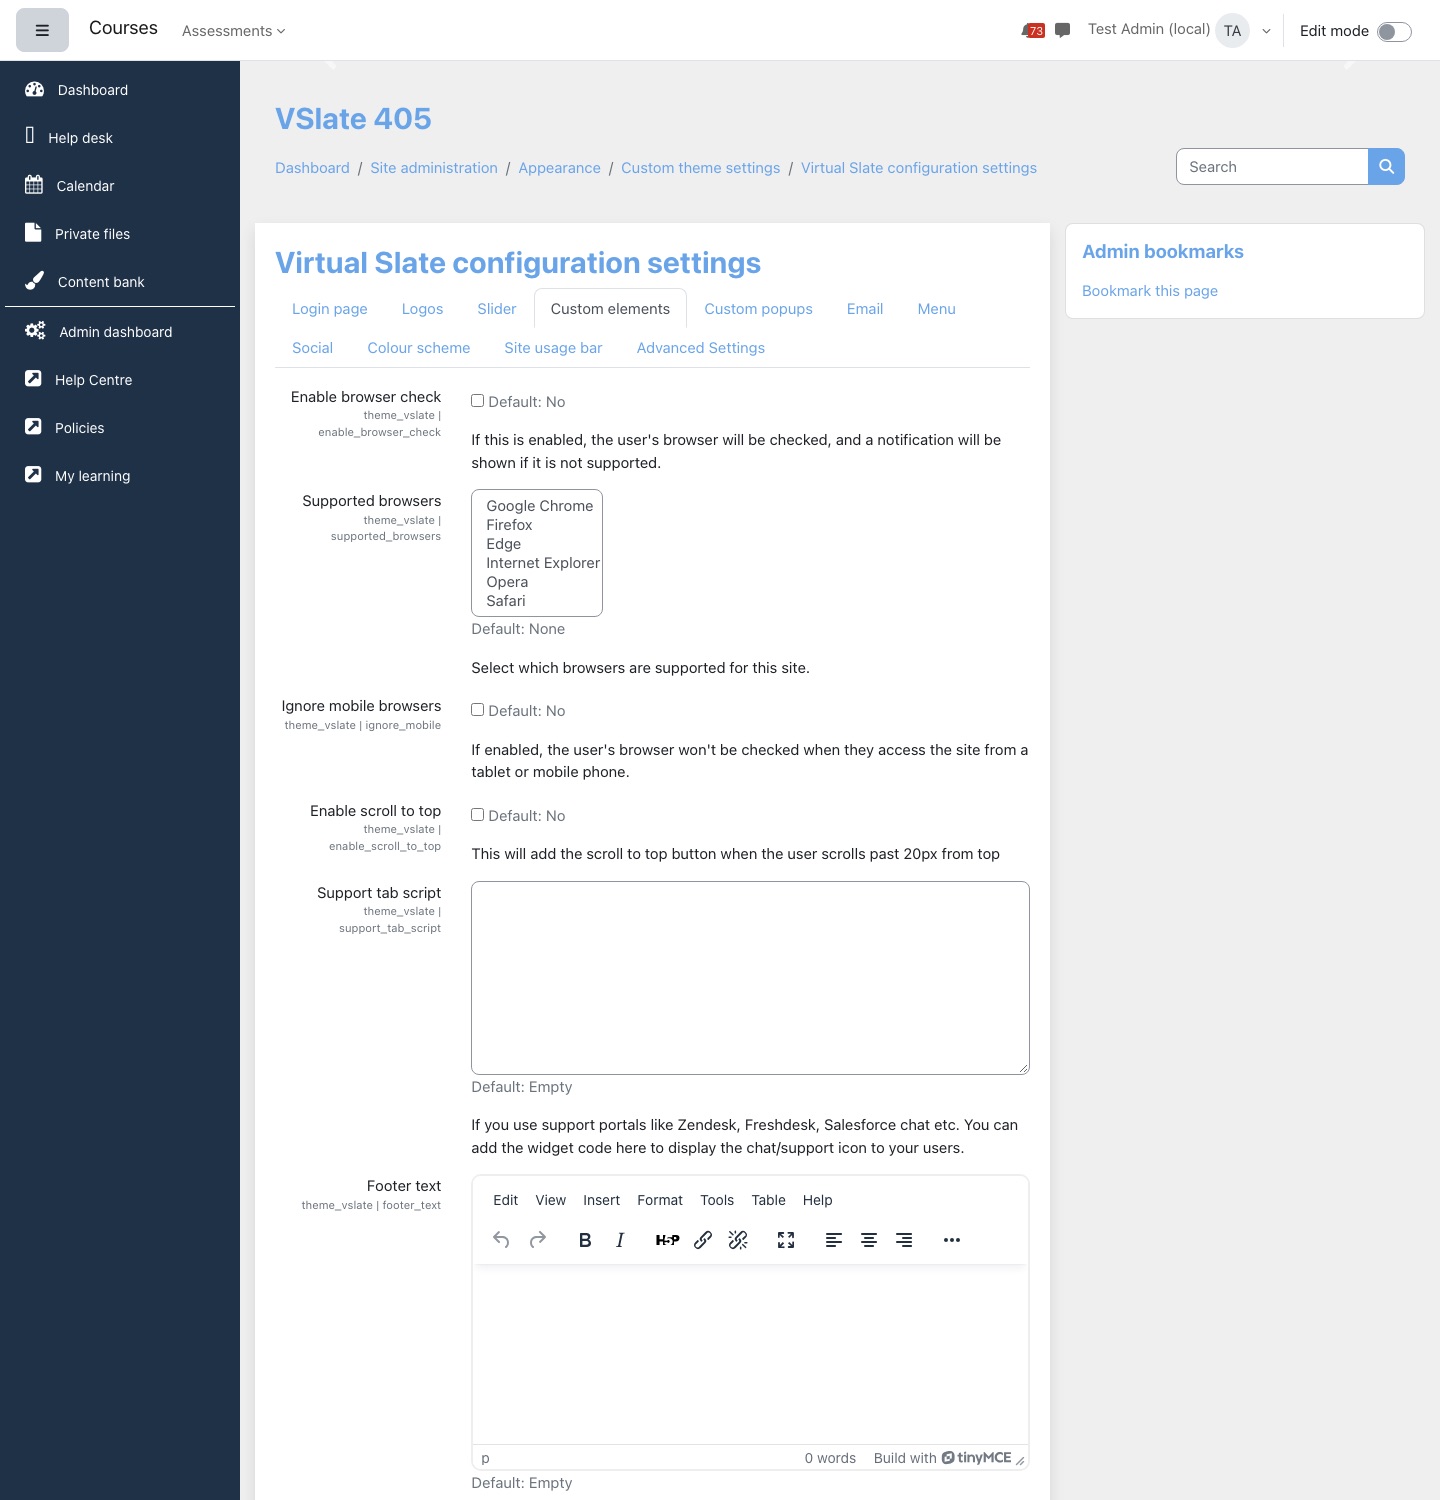
Quiz enhancements
On Advanced Settings. Each one is off until you tick it, and applies to every quiz on the site.
| Setting | What changes |
|---|---|
| Enable Quiz Finish Review Link | Teachers and others who can see quiz reports finish reviewing an attempt on the quiz's results report instead of the quiz page. Learners are not affected. |
| Enable Quiz Dynamic Attempts | Shows "Attempt 1", "Attempt 2" and so on above the quiz navigation while someone takes or reviews a quiz. |
| Enable Quiz User Override Button and Enable Quiz Group Override Button | Adds User overrides and Group overrides buttons to the top of the quiz results report, for people allowed to view or manage overrides. |
| Enable Quiz Review Feedback Colours | When someone reviews a quiz attempt, the feedback for a correct answer is shown in soft green and for an incorrect answer in soft red. Turned off, the review page uses the standard colours. |
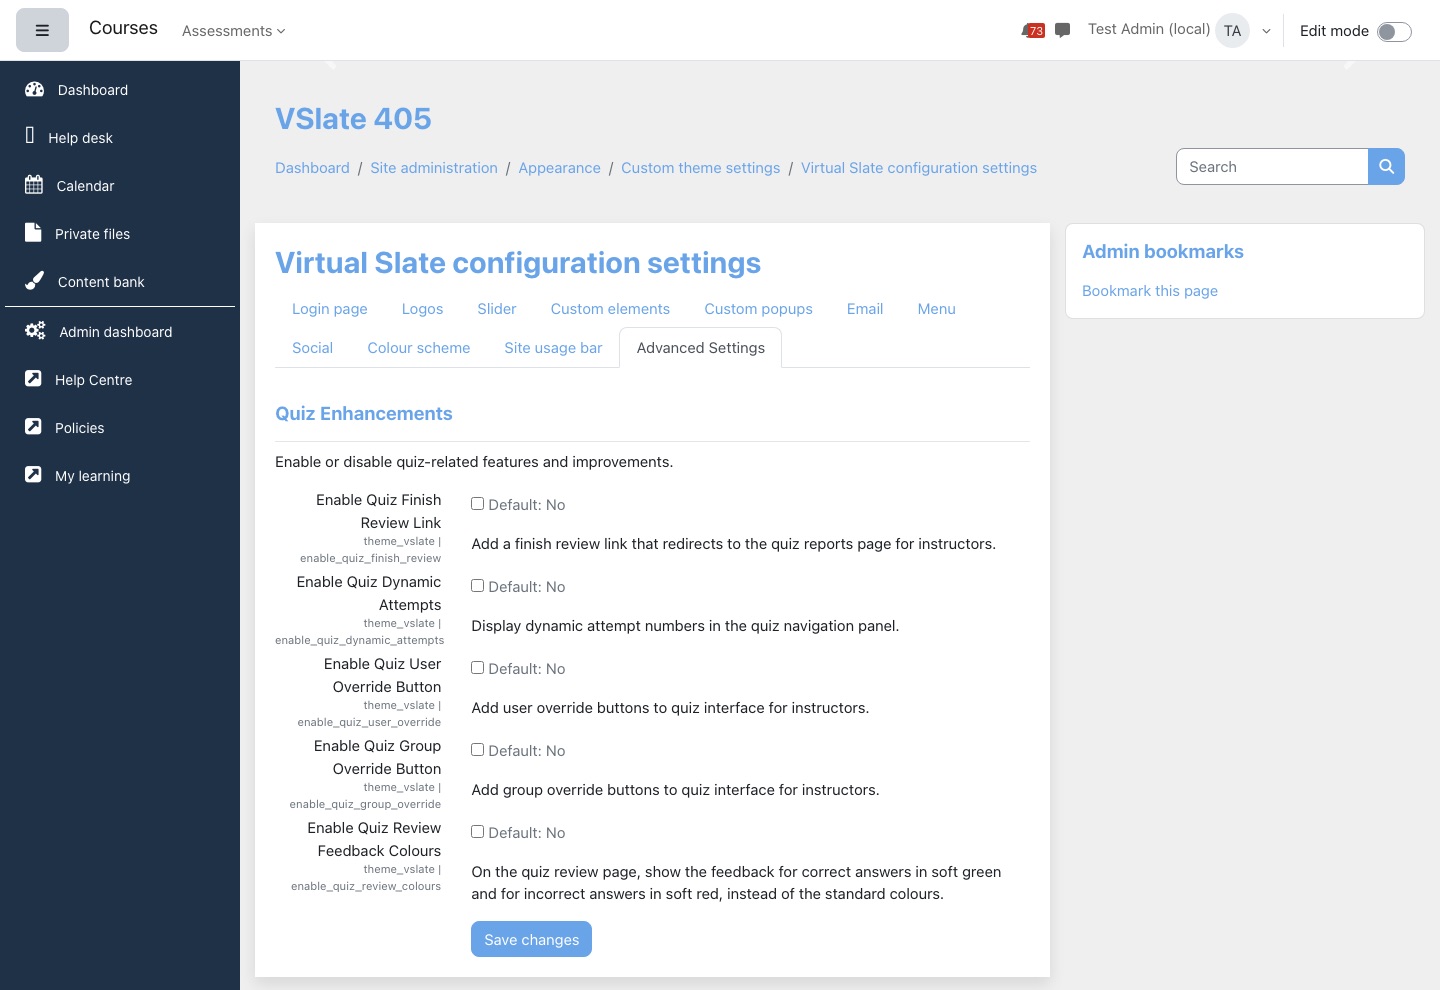
The Autumn theme
Autumn is the newer Virtual Slate theme: a dark sidebar, a white top bar and pages laid out as cards. It is the theme sites are moving to. Until your site moves, the settings above apply. When it does, this is what you and your users will notice.
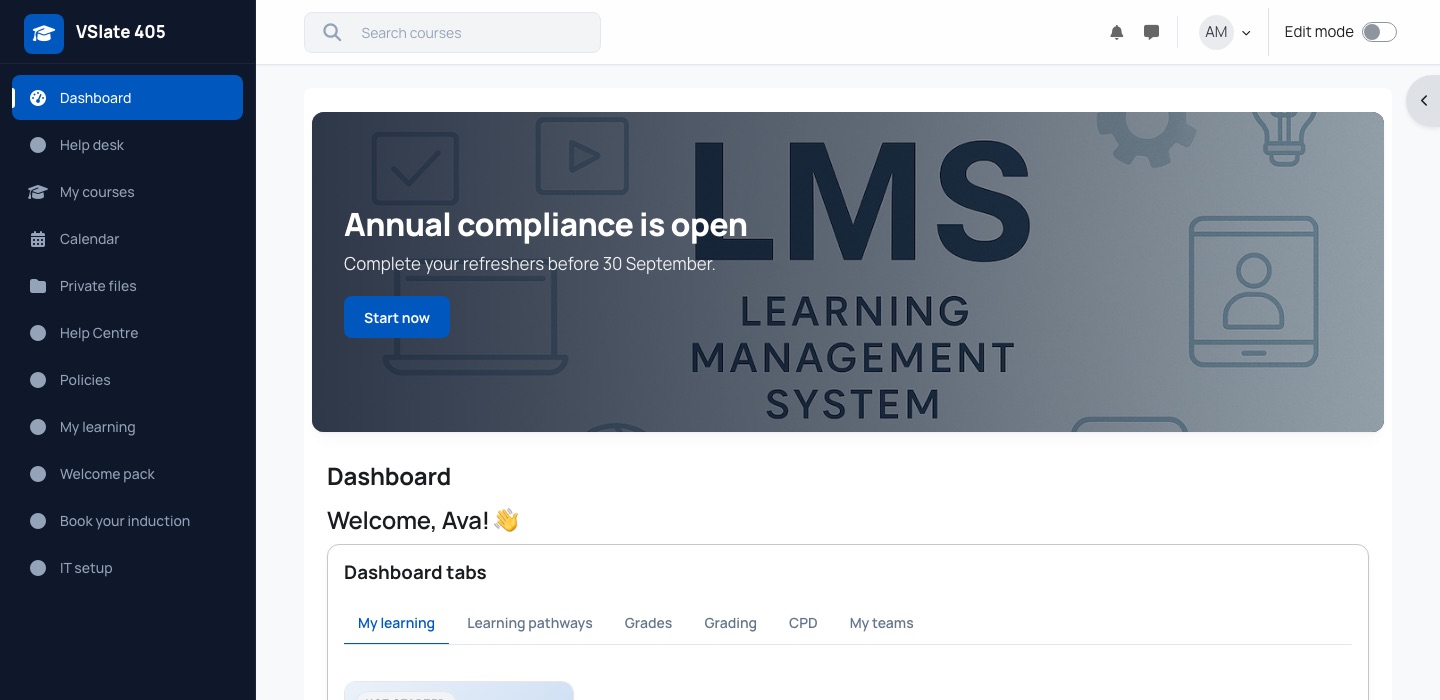
What changes for your users
- Dashboard blocks match the theme: Events, Calendar, Latest announcements, Latest badges, Tags, Starred courses, Recently accessed courses, Courses, Categories, Grading, Team management and CPD dashboard. Lists of courses share one footer: "Showing 1 to 8 of 92 courses", a Courses per page choice and numbered pages.
- Standard Moodle pages such as the gradebook, calendar, messages, profiles, badges, tags, groups and forum posts are restyled to match.
- Courses in the Lingel tabs format show their section tabs as a pill switcher under the usual course navigation. A row of tabs wider than the screen gets arrows to scroll it.
- Links in section summaries and activity descriptions are underlined, so they can be told apart without relying on colour.
- On the login page, the lock icon in the password box stays visible while you type.
- Editing a course, with Edit mode on, you can drag sections and activities in the course index on the left to reorder them, as in standard Moodle.
- The Admin dashboard gains figures, a system health card and Ctrl+K search, and View all users and View all courses gain figures, filters and row menus.
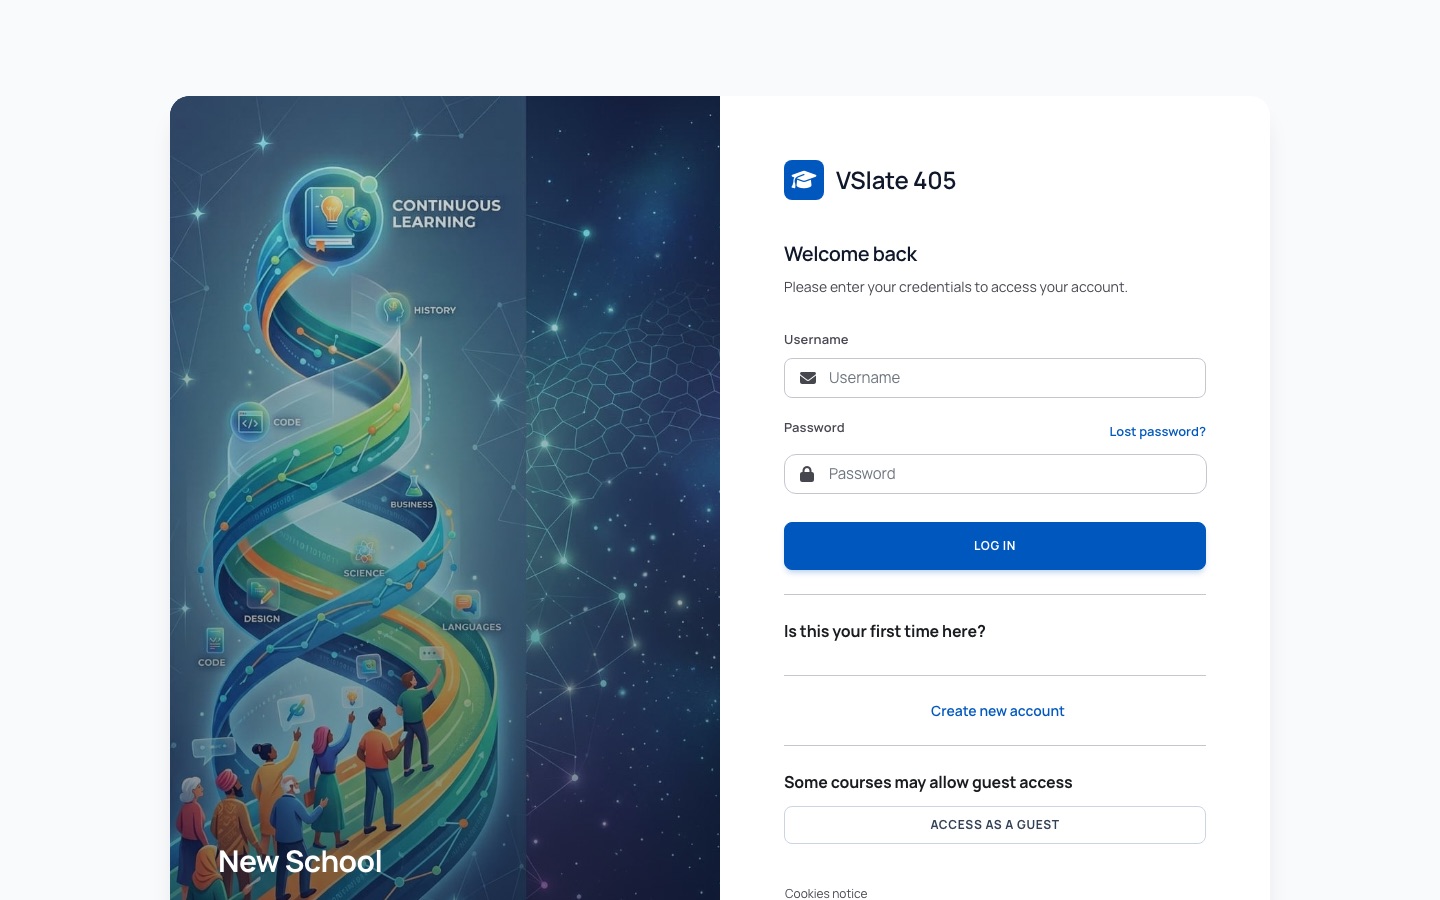
Autumn's settings
Go to Site administration → Appearance → Themes → Autumn settings. The Admin dashboard's Theme design section has a shortcut for each tab. As with the classic theme, save each tab before moving to the next.
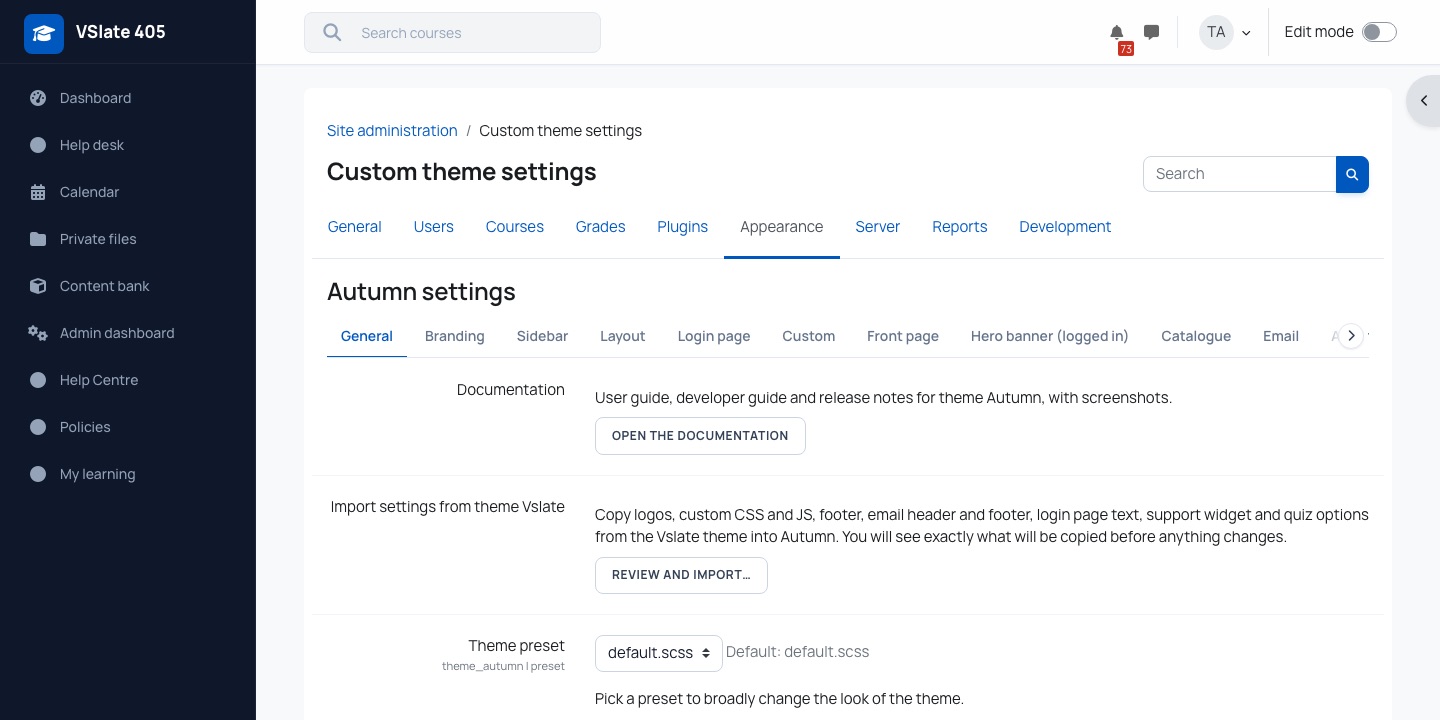
| Tab | Settings |
|---|---|
| General | Documentation (opens Autumn's own guide), Import settings from theme Vslate, Theme preset, Additional theme preset files and Font family (Manrope by default; fonts come from Google Fonts). |
| Branding | Logo (a compact square logo for the sidebar, about 120 pixels), Wide logo (shown instead of the logo and site name while the sidebar is open), Login page logo, Footer logo, Show site name in sidebar (on), and four colours: Primary colour (#0058be, buttons and links), Secondary colour (#2170e4, hover and highlights), Page background (#f7f9fb) and Body text colour (#191c1e). |
| Sidebar | Sidebar background, Sidebar text colour, Sidebar active colour, and Custom sidebar links: one per line as Label|fa-icon|/url|target, for example Help Centre|fa-life-ring|/help|_self. Lines starting with # are ignored. These are added to the links from Navigation menus, which show in the sidebar too. |
| Layout | Content width (limited pages) (1400 pixels recommended) and Content width (medium pages) (1600 pixels recommended). 0 means no limit. |
| Login page | Login background (a plain colour or the uploaded image), Login background image, Login background colour, Login hero image (makes the login page two columns: image left, form right), Login hero heading and Login hero subheading, Login footer brand, Login footer copyright (use {$a} for the year), Login footer links (one Label|/url per line), Login page additional text and Need help? content. |
| Custom | Favicon, Help URL (the help icon in the top bar; leave blank to hide it), Show scroll-to-top button, Custom CSS, Custom JavaScript (without <script> tags), Footer text, Terms and conditions URL, Message after login (at most once a day per browser) and Support widget script (with its <script> tags). |
| Front page | The banner visitors see on the front page before logging in: Show hero banner, Banner height, Slider autoplay, Number of slides and, for each slide, Image (at least 1600 × 600 pixels), Heading, Text and up to two buttons (Button text and Button link; both are needed for a button to show). |
| Hero banner (logged in) | The same banner settings for logged-in pages, plus Show on: Dashboard (the default), My courses and Course category pages. One slide is a static banner; more become a slider. Autoplay pauses on hover and focus, has a pause button, and is off for people who prefer reduced motion. |
| Catalogue | Where the Show more button sits under the Course catalogue block, and what the course details page shows: standard Course fields (category, start date, end date), a Card detail field shown on catalogue tiles, and which Custom course fields appear. Fields hidden from students are never shown. |
| Email header and Email footer, placed above and below every HTML email the site sends. | |
| Advanced | Raw initial SCSS and Raw SCSS, and the quiz options: Finish review link to reports, Sticky quiz navigation (keeps the question navigation in view on wide screens) and Show attempt number in navigation. All quiz options are off by default. |
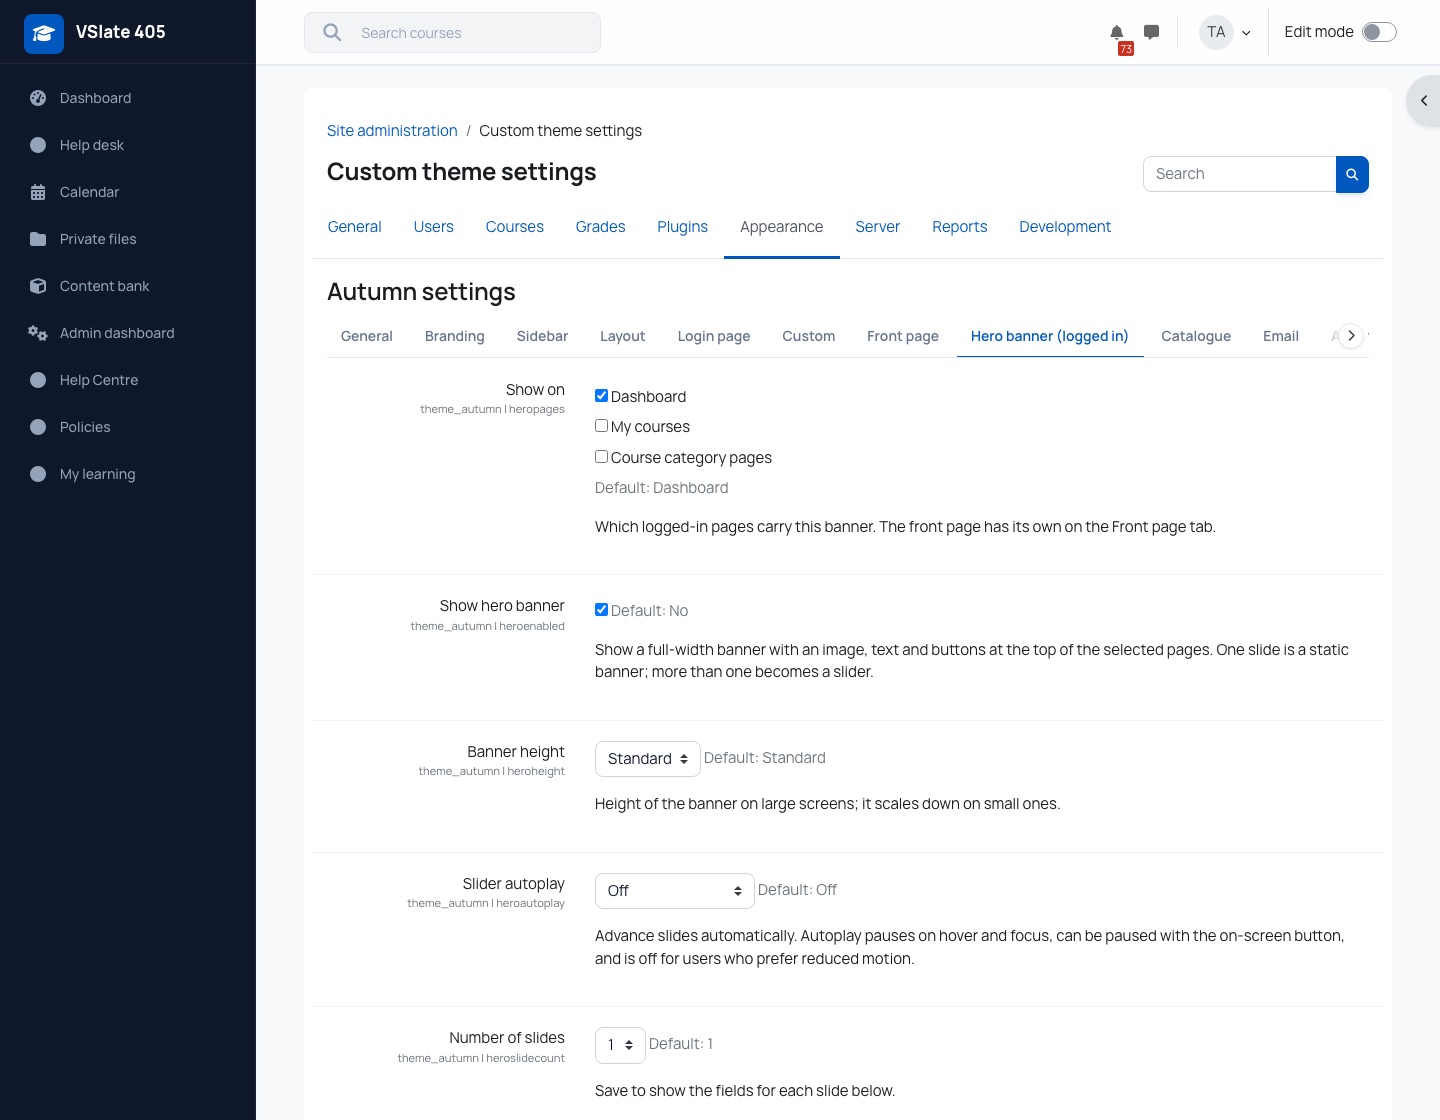
Bringing your settings across
- On the General tab, under Import settings from theme Vslate, press Review and import….
- Read the list. Each row shows a classic setting, its Autumn equivalent, both values and what would happen: copied, or skipped because nothing is set in the classic theme or Autumn already has a value.
- Press Import now to copy them. Nothing changes before that.
Logos, custom CSS and JS, footer, email header and footer, login page text, support widget and quiz options are copied. Slider images and links become hero banner slides. Cohort logos, sliders and menus, colour schemes, browser checks and the site usage bar have no Autumn equivalent and are not copied. Your navigation menus carry on working, because they are not part of either theme.
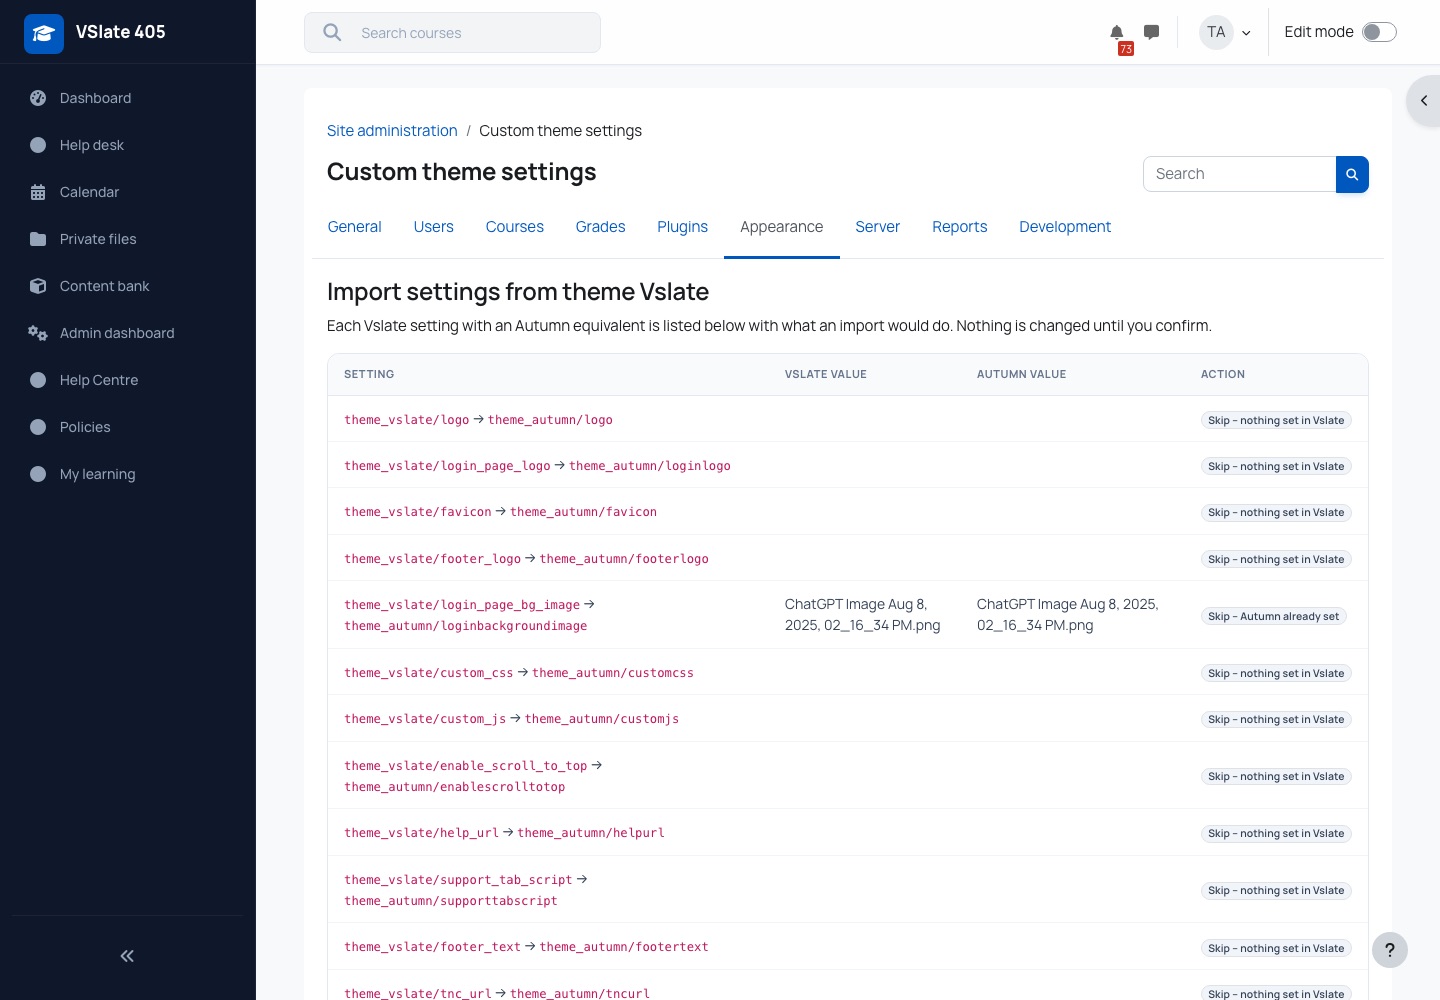
Autumn's own guide
Open the documentation on the General tab, or the Documentation shortcut on the Admin dashboard, opens a guide to the theme inside your site, with a user guide and release notes.
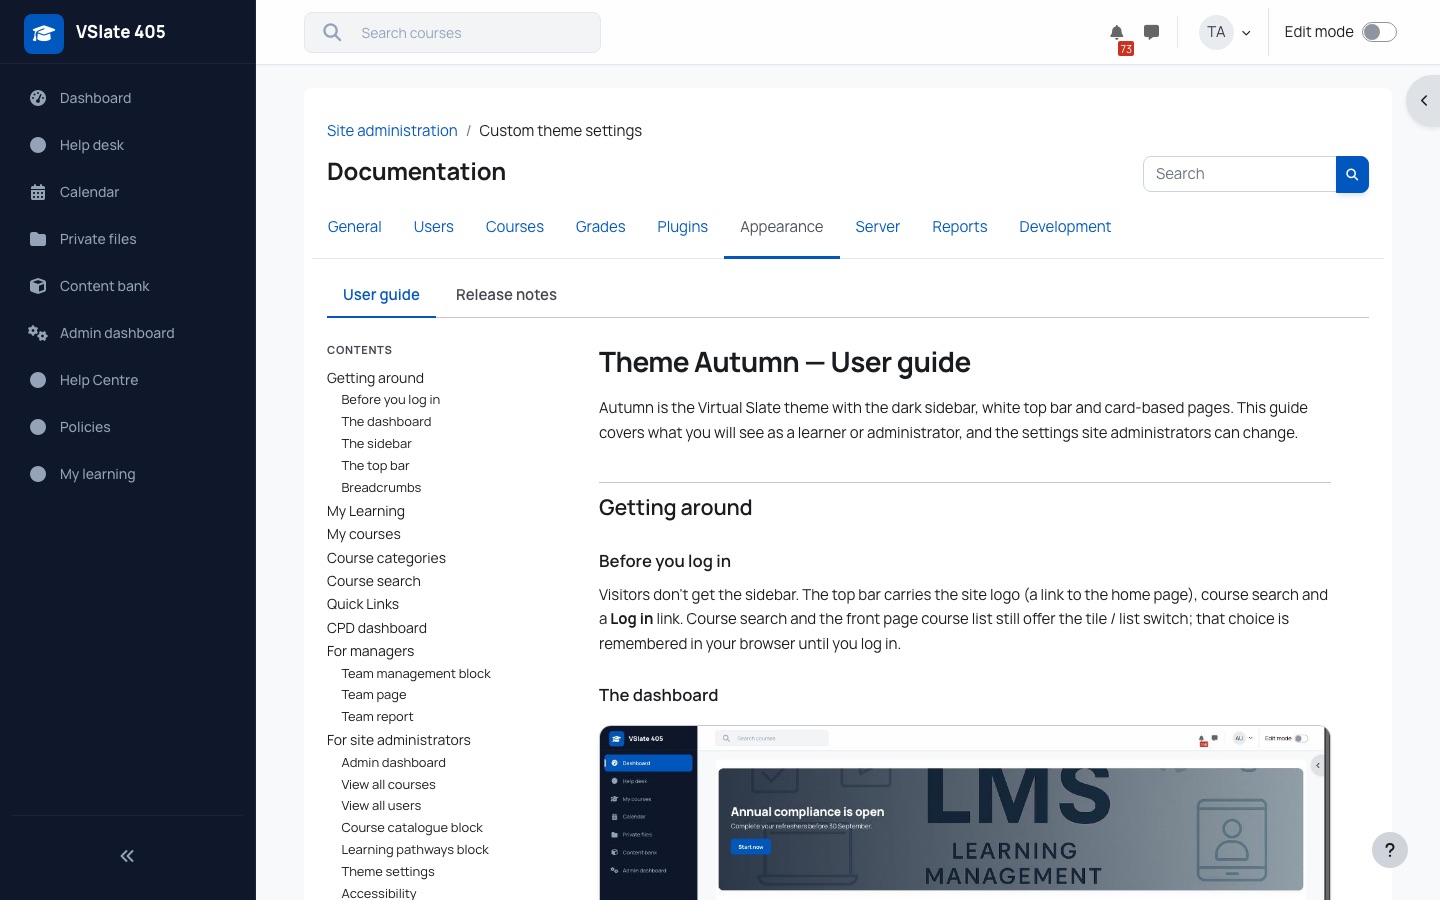
Who sees what
| Who | Sees |
|---|---|
| Visitors on the login page | Login page logo and background, Login form additional text, the Need help button. |
| Logged-in learners | The logo (or their cohort's), slider, navigation menus, footer, social links, Popup after login. |
| Teachers, managers and site administrators | The Edit mode switch in the top bar, on the pages they are allowed to edit. Learners see it on their own Dashboard only. |
| Managers and site administrators | An Admin dashboard link in the navigation. |
| Site administrators | The site usage bars in the footer, when Enable site progress bar is on and your usage limits are set. |
Questions we get asked
Where did the menu boxes on the Menu tab go?
They moved to Site administration → Plugins → Local plugins → Navigation menus, with your existing menus carried across. Saving a menu there takes effect straight away and no longer slows the site down while the theme rebuilds.
Where has the Turn editing on button gone?
It is now the Edit mode switch at the right of the top bar, as in standard Moodle 4.5. Turn the switch on to edit the page and off when you have finished. If you cannot see the switch, you are not allowed to edit the page you are on.
I uploaded a new logo and still see the old one.
Check you saved the Logos tab, then reload the page. If you are in a cohort with its own logo, you see that one instead. Your browser may also hold the old image for a short while.
Can I change how the site looks with my own CSS or JavaScript?
Yes, on Custom elements. Both apply to every page for everyone, so a mistake can break the site's layout or login. Try small changes, check the login page afterwards, and keep a copy of what was there before.
The Popup after login does not show again.
It shows once a day in each browser. To see it again sooner, use a private browsing window.
Connecting to Enrolmart
Enrolmart is the online store where people buy your courses. Once your site is connected to your store, someone who buys a course gets an account on this site and is enrolled in the course, without you doing anything. Connecting takes one form: you paste a code from Enrolmart and press a button.
- Name in Moodle
- Enrolmart authentication plugin
- Connecting
- Site administration → Plugins → Authentication → Enrolmart authentication plugin → Connect to Enrolmart
- Who can connect
- Site administrators
- What you need
- Your store's address and a pairing code, both from the Moodle Integration screen in Enrolmart
- Connect your site to your store
- What connecting changes on your site
- Settings
- If connecting does not work
- Questions we get asked
Connect your site to your store
- In Enrolmart, open the Moodle Integration screen. It shows your store's address and a pairing code such as
XXXX-XXXX-XXXX. - On this site, go to Site administration → Plugins → Authentication → Enrolmart authentication plugin and press Connect to Enrolmart. If Enrolmart gave you a link to this page, the two boxes may already be filled in.
- In Enrolmart address, enter your store's address. It must start with
https://; addresses starting withhttp://are not accepted, because the connection carries your site's key. Either the store address or the full pairing address from Enrolmart will do. - In Pairing code, paste the code.
- Press Connect to Enrolmart. The site asks you to check the store address: it names the store it is about to connect to, for example "You are about to connect this site to yourstore.enrolmart.com".
- If that is your own store's address, press Connect to and the address. If it is not, or you are not sure, press Cancel. When it works you see "Connected. Enrolmart now has a token for this site — you can close this page."
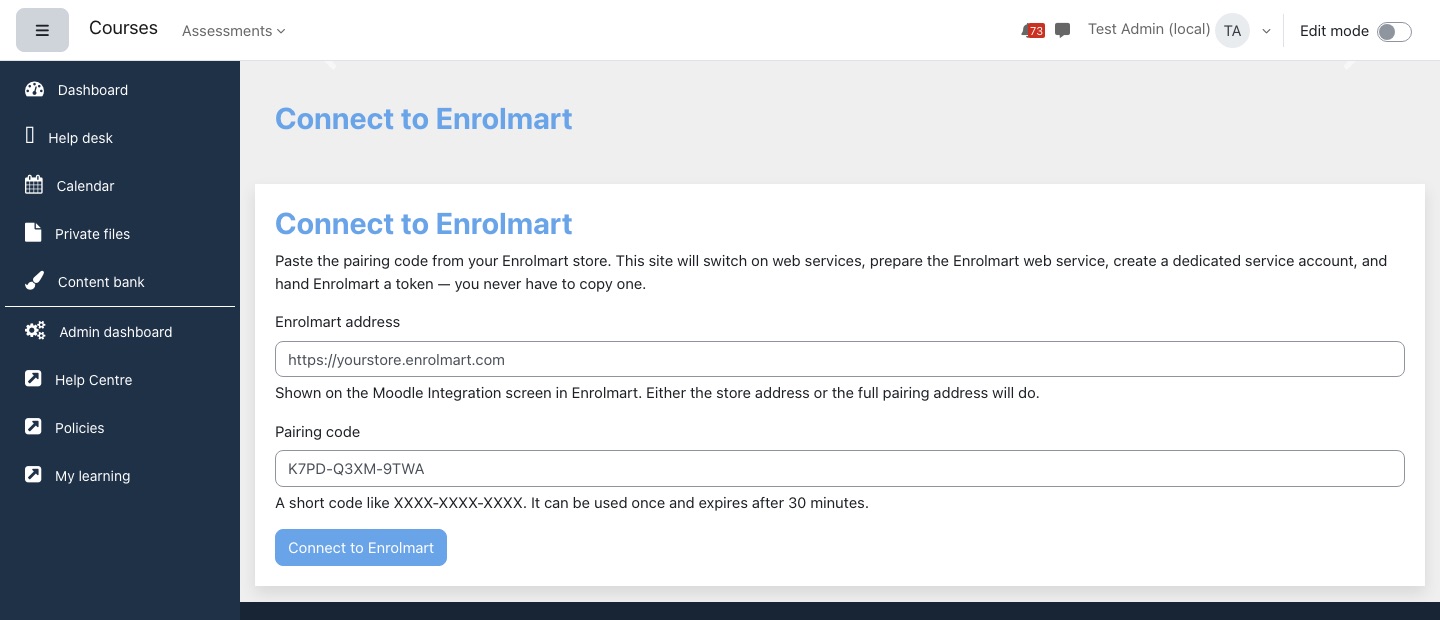
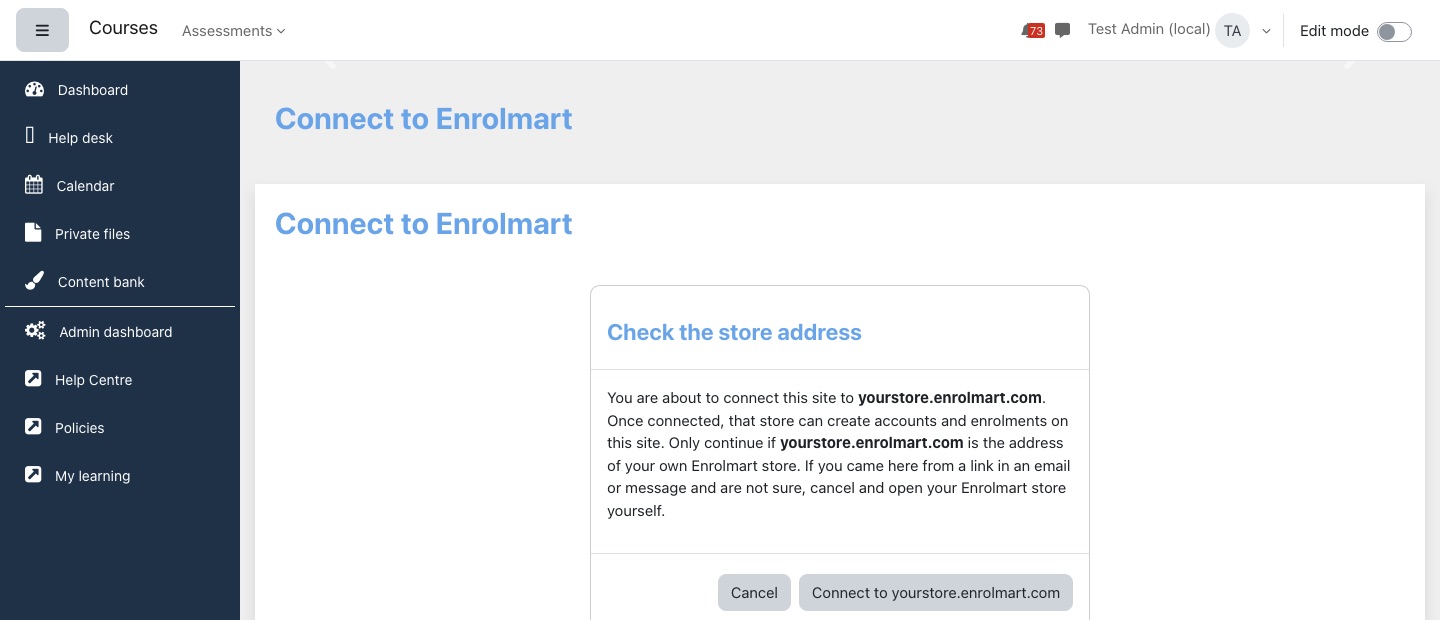
Enrolmart can send you a link to this page with the boxes already filled in. A link from someone else could fill in a different address. Connecting hands that address the key Enrolmart uses to create accounts and enrolments on your site, so only confirm when the address shown is your own store's. If you are not sure, cancel, open your store yourself and start again from its Moodle Integration screen.
A code can be used once and expires after 30 minutes. If it has expired or has already been used, make a new one in Enrolmart and try again.
You never see or copy a password or key. The site hands Enrolmart its key directly, so it does not end up in an email or a support ticket.
What connecting changes on your site
Connecting does the setup that used to take several admin screens. You do not need to do any of it yourself:
- Web services and the REST protocol are switched on. This is how Enrolmart talks to your site.
- An Enrolmart web service is set up with the things Enrolmart needs to do: look up and create accounts, and manage enrolments.
- An account called Enrolmart Integration (username
enrolmart_ws) is created. Enrolmart acts through this account. It is not a person and cannot sign in to the site. - A role called Enrolmart integration is created and given to that account for the whole site. It allows only what the store needs: creating and updating accounts, enrolling and unenrolling people, managing cohort membership, and reading courses, progress and grades. It is also the only role that connecting allows to use the REST protocol. You can see it under Site administration → Users → Permissions → Define roles.
- A new key is made for Enrolmart every time you connect (see Can I connect again?).
- Your store's address is saved in the Enrolmart URL setting.
If you delete or suspend it, take away its Enrolmart integration role, or remove permissions from that role, new purchases in your store will stop creating accounts and enrolments here. Connecting again puts back any permission that was removed from the role, but leaves alone one you have set to Prevent or Prohibit.
Settings
On Site administration → Plugins → Authentication → Enrolmart authentication plugin:
| Setting | What it does |
|---|---|
| Enrolmart URL | The address of your store, starting with https://. Connecting fills this in for you, so you only change it if your store's address changes. |
| Logout from enrolmart | When ticked (the default), someone who logs out of this site is also logged out of the store. |
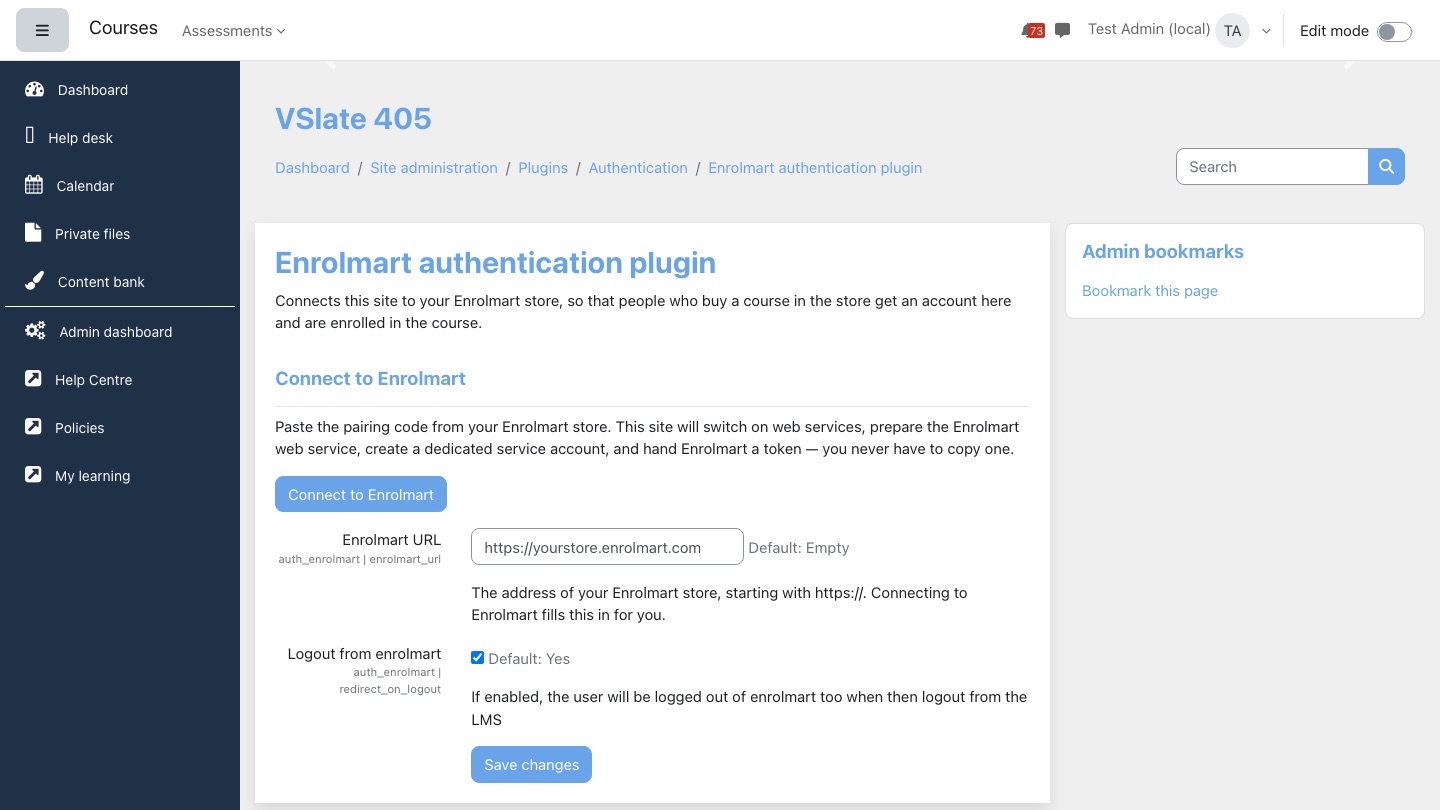
If connecting does not work
| Message | What to do |
|---|---|
| Enter both the Enrolmart address and the pairing code. | One of the boxes is empty. |
| The Enrolmart address must start with https://. | Check the address. Copy it from the Moodle Integration screen in Enrolmart. |
| Enrolmart refused the connection (HTTP …). | The code has probably expired or been used. Make a new one in Enrolmart. |
| This site could not reach Enrolmart. | Check the address. If it is right, contact your usual Lingel Learning contact. |
| Moodle refused to call … because of its own outbound request rules. | Contact your usual Lingel Learning contact. |
| Enrolmart has not used the new connection yet. … | Not an error. You connected again and the store has not yet called your site with the new key. The previous connection keeps working until it does, then it is switched off automatically and this message goes away. |
| A message from Enrolmart itself | Enrolmart's own explanation, shown as it sent it. Follow it, or ask Enrolmart. |
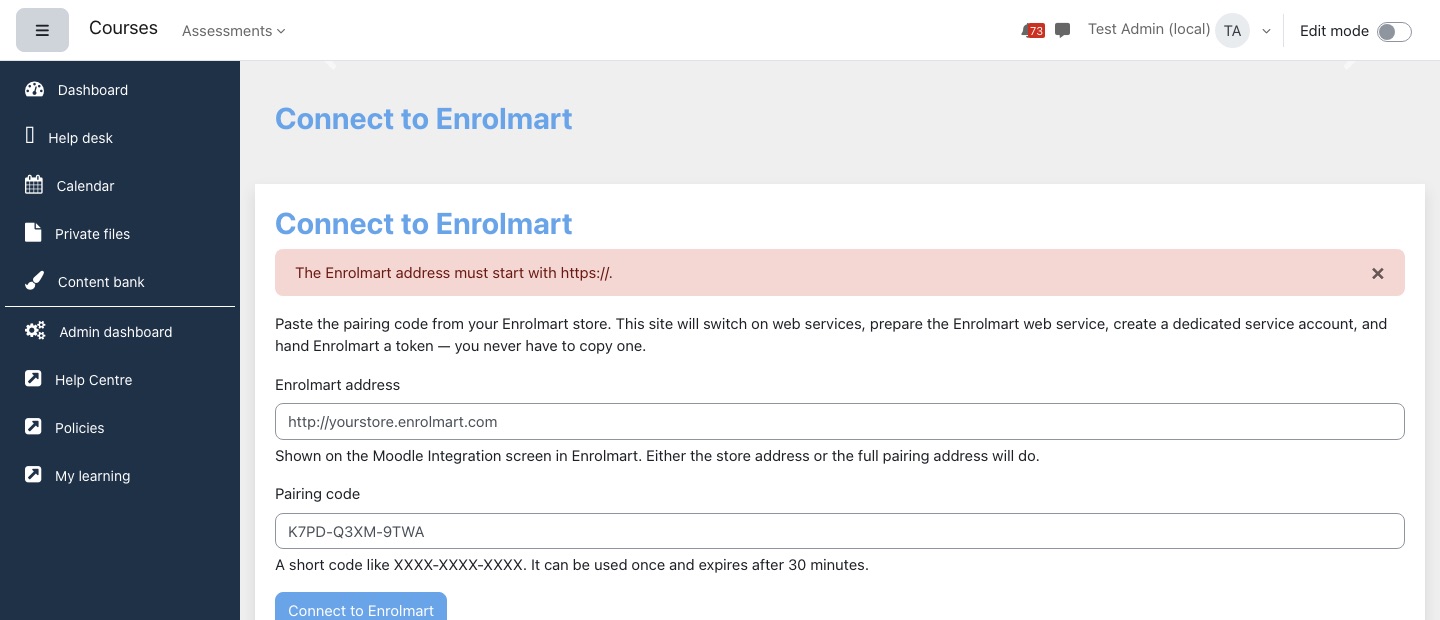
Questions we get asked
Can I connect again?
Yes. Make a new pairing code in Enrolmart and go through the form again. Your site reuses the same Enrolmart Integration account but gives the store a new key each time. The old key keeps working until the store starts using the new one, then it is switched off automatically, usually within 15 minutes. Connecting to the same store again changes nothing for your students. If the store does not accept the new key, nothing changes and the old one carries on.
We have moved to a different store. What do I do?
Connect to the new store with a pairing code from it. As soon as the new store starts using its connection, the old store's key is switched off automatically and the old store can no longer reach your site.
Someone bought a course but has no account here.
Check that the Enrolmart Integration account still exists, is not suspended and still has the Enrolmart integration role. If it does, contact your usual Lingel Learning contact with the buyer's email address and the time of the purchase.
Why does the site ask me to check the store address?
So that a link which fills in the form for you cannot connect your site to the wrong place without you noticing. The address it names is where your site's key will be sent. Only confirm when it is your own Enrolmart store.
Our site was connected before. Does the Enrolmart Integration account still have the Manager role?
No. Sites that were connected earlier were moved over automatically when the site was updated: the account now has the Enrolmart integration role instead of Manager, and the store carried on working without being connected again. The Manager role is no longer allowed to use the REST protocol, unless other people with that role on your site use web service keys, in which case it was left as it was.
Does a purchase change details on an existing account?
When the buyer already has an account here, the store can fill in profile details such as their city, phone number, department and your custom profile fields. It cannot change their email address, password or how they log in, and it never changes a site administrator's account.
How do new students get their password?
When the store creates an account, the site emails the new student their username and a password.
Site usage and storage
The Site usage monitor keeps track of how much storage your site uses and how many people are active on it each month, compared with the limits of your plan. It gives site administrators a storage breakdown page, and sends a notification as your site nears or passes a limit.
- Name in Moodle
- Site usage monitor
- Storage breakdown
- Site administration → Plugins → Local plugins → Storage breakdown
- Settings
- None for you to change. Your plan's limits, and who is notified, are set by Lingel Learning
- Who can use it
- Site administrators
- Works with
- The site usage bars in the vSlate theme footer, which show the same figures
- What is measured
- The storage breakdown page
- The usage bars in the footer
- Usage notifications
- How current the figures are
- Who sees what
- Questions we get asked
What is measured
| Measure | What counts |
|---|---|
| Storage | Every file stored on the site (course files, activity files, user uploads and so on) plus the size of the site's database. A file stored more than once is counted once. File sizes include an allowance for the backup copies kept of your site; the storage breakdown page shows the multiplier in use. |
| Active users | Everyone who has logged in since the first day of the current calendar month. The count starts again on the 1st of each month. |
The storage breakdown page
Go to Site administration → Plugins → Local plugins → Storage breakdown. The page is headed Site storage breakdown and shows:
- Total files: all file storage on the site.
- Draft files: files people have uploaded into a form or editor that have not yet been saved somewhere permanent. These are part of Total files, not added to it.
- Database: the size of the site's database.
- Total: Total files plus Database. This is the figure compared with your plan's storage limit.
- Per course: each course with files, largest first, with its number of files and its size. Click a course name to open the course. The list shows 50 courses a page; use the page links above and below it to move through. The Total line at the foot of the list adds up every course, on all pages.
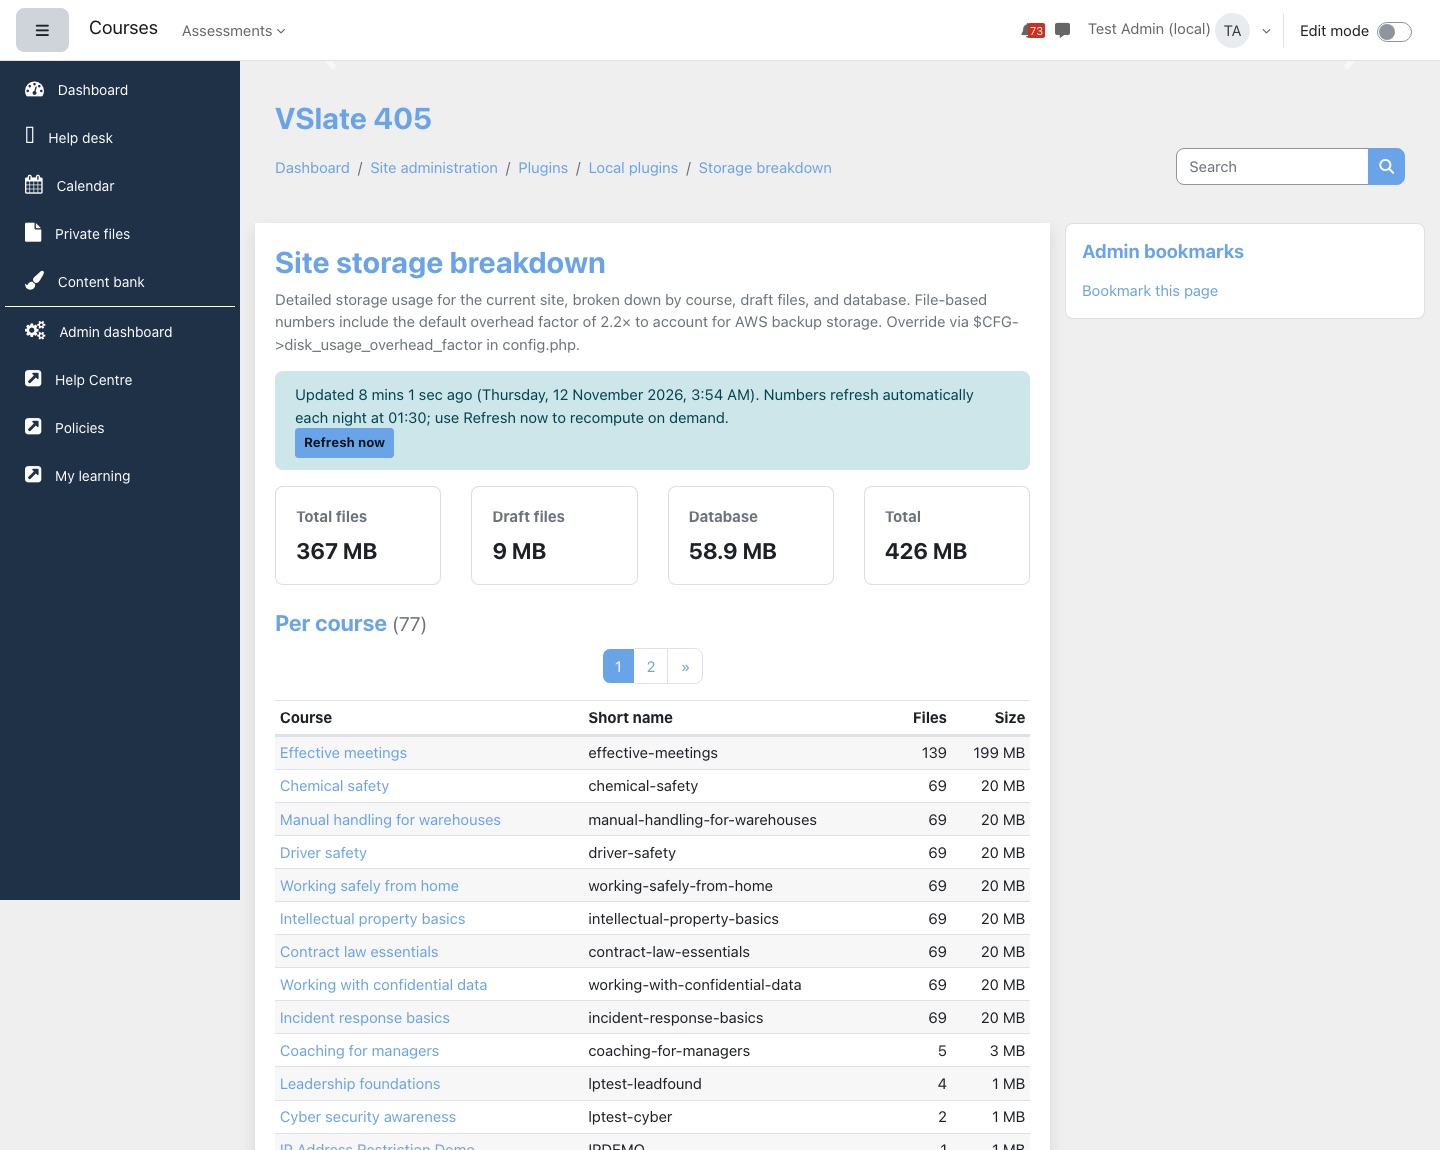
Find what is using your storage
- Open Storage breakdown.
- Look at the top of the Per course list; it is sorted largest first.
- Open a large course and look for big files you no longer need, such as old videos or course backups saved in the course.
- After removing files, select Refresh now to see the new figures.
A file used in two courses counts towards each course's size, but only once in Total files. Removing it from one course will not reduce your total until it has been removed from both.
The usage bars in the footer
In the classic Virtual Slate theme, site administrators see two bars at the bottom of every page: Storage (used and allowed, in GB) and Active users (this month's active users and your plan's limit). Hover over a bar to see the percentage. The bars are green up to 70% of the limit, orange up to 100% and red above it; you can change these colours on the theme's Site usage bar tab, or switch the bars off with Enable site progress bar.

Next to the bars are two buttons: Purge cache, which clears Moodle's caches and brings you back to the page, and Upgrade, which opens an email to Lingel Learning so you can ask about a larger plan.
The bars only show when your plan has a limit and a figure has been worked out. Learners, teachers and managers never see them. The Autumn theme does not show them; use the storage breakdown page instead.
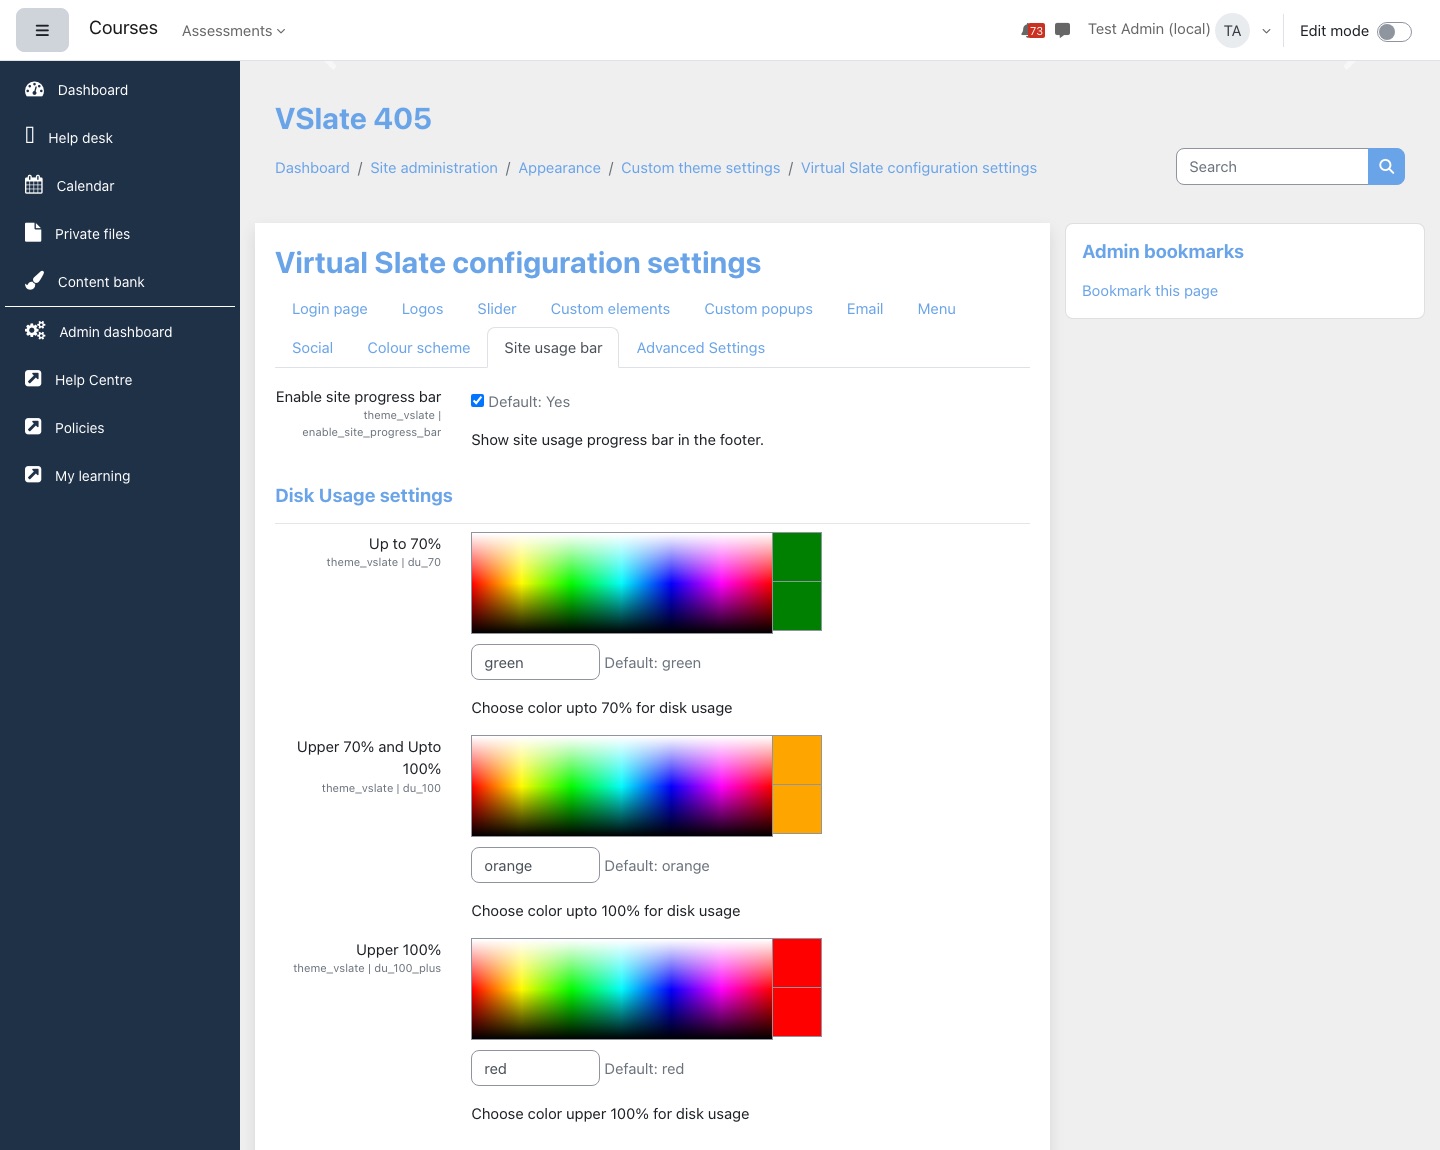
Usage notifications
Each night the site compares its storage and active users with your plan's limits. When usage reaches 50%, 70%, 90% or 100% of a limit, a notification is sent. Each notification says how much is in use, what your plan allows, and who to contact to discuss more.
- For each level, Lingel Learning chooses whether the notification goes to your site, to Lingel Learning, or to both. Unless set otherwise, it goes to Lingel Learning only.
- Notifications to your site go to the site's main administrator, as a Moodle notification (titled Site Usage notification) and by email. The administrator can change how they receive them in Preferences → Notification preferences.
- Once a notification has been sent for a level, no further notification is sent for that level, or a lower one, for 30 days. If usage climbs to a higher level in that time, you are notified again.
- If your plan has no limit for storage or active users, that check is not made and no notification is sent for it.
How current the figures are
Storage is worked out once a night, at 1:30 am, and active users shortly after midnight. The storage breakdown page shows when its figures were last updated. Select Refresh now to work them out again straight away; on a large site this can take a little while.
If the figures have not been updated for more than a day and a half, the page shows Numbers may be out of date. Select Refresh now, and if the warning comes back the next day, contact support.
Who sees what
| Who | Sees |
|---|---|
| Site administrators | The storage breakdown page, and the usage bars in the footer when they are switched on in the vSlate theme settings. |
| The main site administrator | Usage notifications, for the levels set to go to your site. |
| Everyone else | Nothing. Learners and teachers never see usage figures. |
Questions we get asked
Why is the total bigger than the files I can see in my courses?
The total also includes the database, files outside courses (such as user profile pictures, private files and draft files), and an allowance for the backup copies kept of your site.
I deleted a large course. Why has the total not dropped?
The figures update overnight. Select Refresh now on the storage breakdown page to update them straight away. If the course recycle bin is on, Moodle keeps a backup of a deleted course in the recycle bin, and that backup counts towards storage until it is removed from the recycle bin.
Who counts as an active user?
Anyone who has logged in since the 1st of the current month, whatever their role. Someone who logs in several times is counted once.
Can I change the limits or who gets the notifications?
No. These come from your plan. Contact support to discuss changing your plan or who should be notified.
Does going over a limit stop the site working?
No. Nothing is blocked or switched off. The notifications are there so that you and Lingel Learning can talk about your plan before it becomes a problem.
Lingel Learning support sign-in
When you ask Lingel Learning for help, our support staff sign in to your site with their own named accounts. You do not need to create accounts for them or share a password, and everything they do is recorded under their own name.
- Name in Moodle
- Lingel Learning authentication
- Who it is for
- Lingel Learning staff only: people with an email address ending in @lingellearning.com
- Settings
- None for you to change. It is set up and kept switched on by Lingel Learning
- Where you see it
- Site administration → Plugins → Authentication → Manage authentication, and on the staff accounts themselves
How our staff sign in
- From Lingel Learning's own portal. A member of staff picks your site in our portal and arrives on your site already signed in.
- On your login page. They can also type their Lingel Learning email address and password on your normal login page. Your site checks the password with Lingel Learning's central sign-in service; it never stores it. Only addresses ending in @lingellearning.com are checked this way. Everyone else signs in exactly as before.
The first time someone signs in, an account is made for them with their name and email address. After that, each sign-in brings their name up to date. They arrive on the Dashboard.
What you will see
- Their accounts in View all users, with an @lingellearning.com email address and the authentication method Lingel Learning authentication.
- Support staff who look after your site are made site administrators when they sign in, so they appear under Site administration → Users → Permissions → Site administrators.
- Their password belongs to Lingel Learning. It cannot be changed or reset from your site, and the forgotten password page does not apply to them.
- Their actions appear in your logs and reports under their own names, like anyone else's.
- On the Manage authentication page the plugin is listed as enabled, without the usual option to disable it. It stays on so that we can always reach your site when you need us.
What you control
- You can see who has signed in, and when, in View all users and your logs.
- Who at Lingel Learning can reach your site is managed in our portal. If you want someone's access removed, or you have a question about a sign-in, contact your usual Lingel Learning contact.
- Taking administrator rights away from one of our accounts on your site only lasts until that person next signs in, because their access comes from our portal. Ask us instead.
Questions we get asked
There is a site administrator with an @lingellearning.com address I do not recognise.
That is a member of our support team who has signed in to help with your site. Contact your usual Lingel Learning contact if you want to know who it is or why they signed in.
Can we switch Lingel Learning sign-in off?
It is how we support your site, so it is not something you can turn off from the site. If you have a reason to limit our access, talk to your usual Lingel Learning contact.
Does it change how our own people sign in?
No. Only email addresses ending in @lingellearning.com go through it. Everyone else signs in with the method they always use.
Enrolment and users
Unique access codes that sign people up and enrol them in one step, rules that put people into cohorts and groups automatically, bulk actions on many accounts at once, and the connection to your Salesforce org.
Four tools look after who is on your site and what they are enrolled in. Unique access codes let a learner create an account and land in the right courses, cohorts and groups with a single code. Cohort automation keeps cohorts and course groups filled from profile details and activity completion. Virtual Slate bulk user actions adds team, learning path, welcome email and suspend actions to Moodle's bulk user screen. The Salesforce plugin sends your users, courses and course progress to Salesforce.
On this page: Unique access codes, Cohort automation, Virtual Slate bulk user actions, Salesforce and JWT authentication.
Each tool is switched on for your site by Lingel Learning. If you cannot find one of the menus below, it is not part of your site yet. The screenshots come from a demonstration site, so your names, courses and colours will differ.
Unique access codes
A unique access code (UAC) is a short code, such as CSN8Q5DD, that a person types once. If they are new, it creates their account; if they already have one, it adds to it. Either way the code enrols them in the courses, cohorts and groups you chose for it. Each code works for one person only.
- Name in Moodle
- Unique Access Code (an authentication method)
- Manage codes
- Site administration > Plugins > Authentication > Manage Access Codes, or Unique access codes on the Admin dashboard
- Settings
- Site administration > Plugins > Authentication > Unique Access Code
- Sign-up page for learners
- Your site address followed by
/auth/uac/signup.php; the settings page shows the full link - Who can use it
- Site administrators. Learners only ever see the sign-up page.
- How codes work
- Before you start
- Create a set of codes
- The Manage UACs list
- See and download the codes
- Change, disable or delete a set
- Archive and restore
- How a learner redeems a code
- Settings
- Usage and the web service
- Who sees what
- Questions we get asked
How codes work
You create codes in sets. A set has a name, a three-character prefix, a count and the enrolments every code in it gives. Moodle generates the codes for you: each one is the prefix followed by five random letters and digits, eight characters in all. A set with the prefix CSN and a count of 25 gives you 25 codes such as CSN5ZAXN and CSNQ814E.
When a code is redeemed, the learner is:
- enrolled in each of the set's courses, using the enrolment method chosen in the settings;
- added to each of the set's cohorts, so anything tied to those cohorts (cohort sync enrolments, learning paths, notifications) follows;
- added to each of the set's groups in those courses.
A redeemed code is used up. Nobody else can use it, and the same person cannot use it twice.
Before you start
- Make sure Unique Access Code is enabled under Site administration > Plugins > Authentication > Manage authentication. Until it is, the sign-up page only says "Unique Access Code Authentication is not enabled yet."
- Check that every course you will put in a set has the enrolment method from the settings (by default Manual enrolments) enabled. A course without it is skipped, quietly, when a code is redeemed.
- Create the cohorts and course groups you want people added to. Codes cannot create them for you from this screen.
- Open the settings page and copy the sign-up link. That is the address you give learners.
Learners must use the sign-up link from the settings page. If your site also shows Create new account on the login page, that form has no code box: people who use it get an account but no enrolments.
Create a set of codes
- Go to Site administration > Plugins > Authentication > Manage Access Codes and select Add new code under the list.
- Enter a Name that says what the codes are for, such as the intake or client. Learners never see it.
- Add a Description if it helps your colleagues. It shows in the list.
- Enter a Prefix of three letters or digits. Every code in the set starts with it, so it tells you at a glance where a code came from. Each set needs its own prefix; Moodle says "Initials already exist" if one is taken, including by an archived set. Type it in capitals so it matches the rest of the code.
- Enter the Count: how many codes to generate.
- Pick any Cohort/s, Course/s and Group/s. Start typing to search. Groups are offered from the courses you picked.
- Select Save. The codes are generated at once and the set appears in the list.
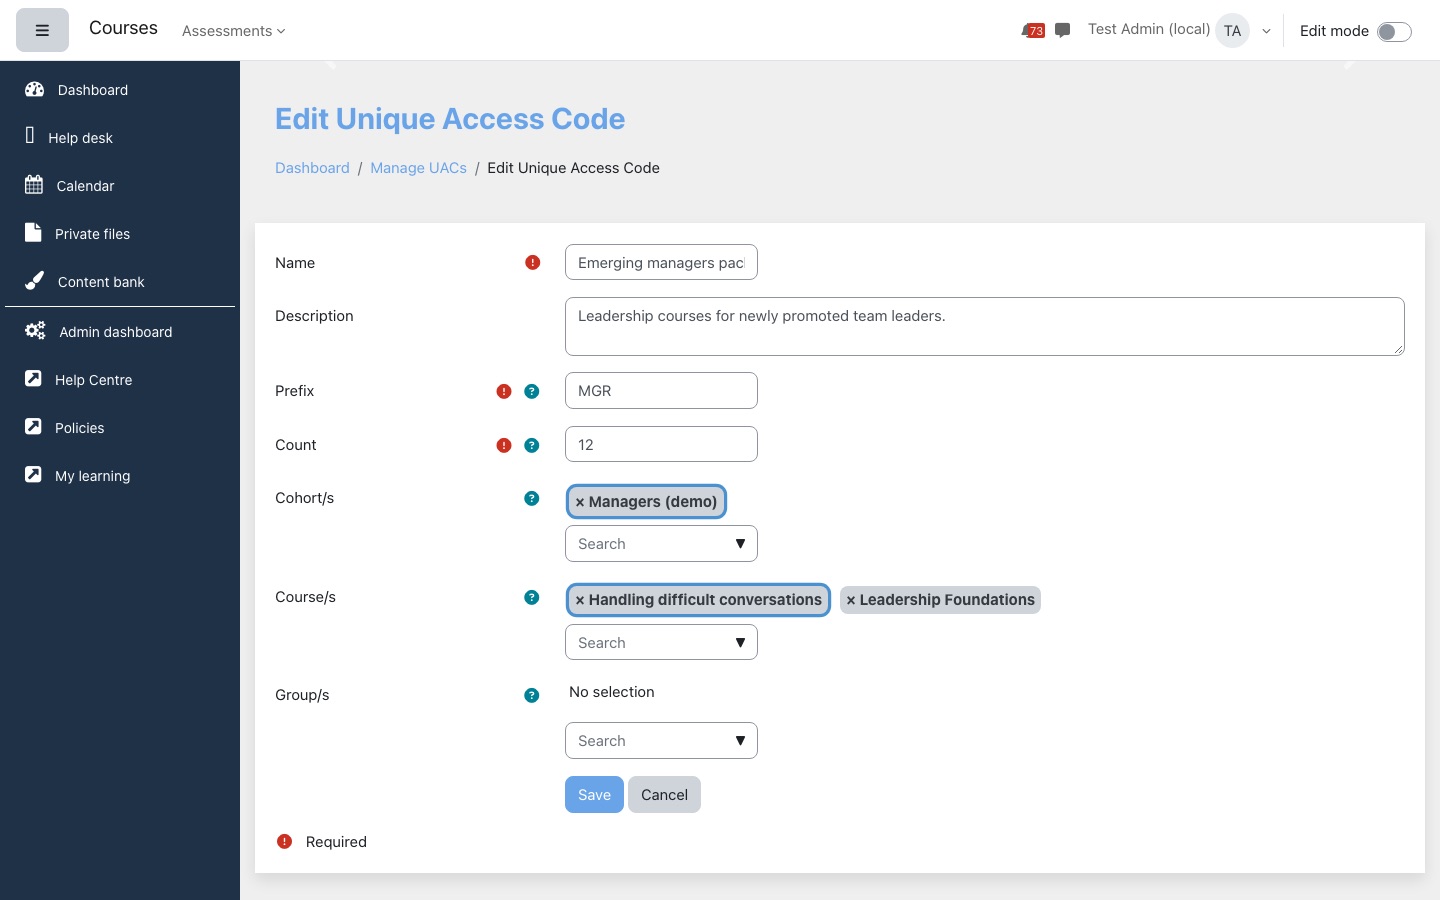
The Manage UACs list
Manage Access Codes has two tabs: Manage UACs for your current sets and Manage Archived UACs for archived ones. The list shows ten sets a page and can be sorted by any column and downloaded.
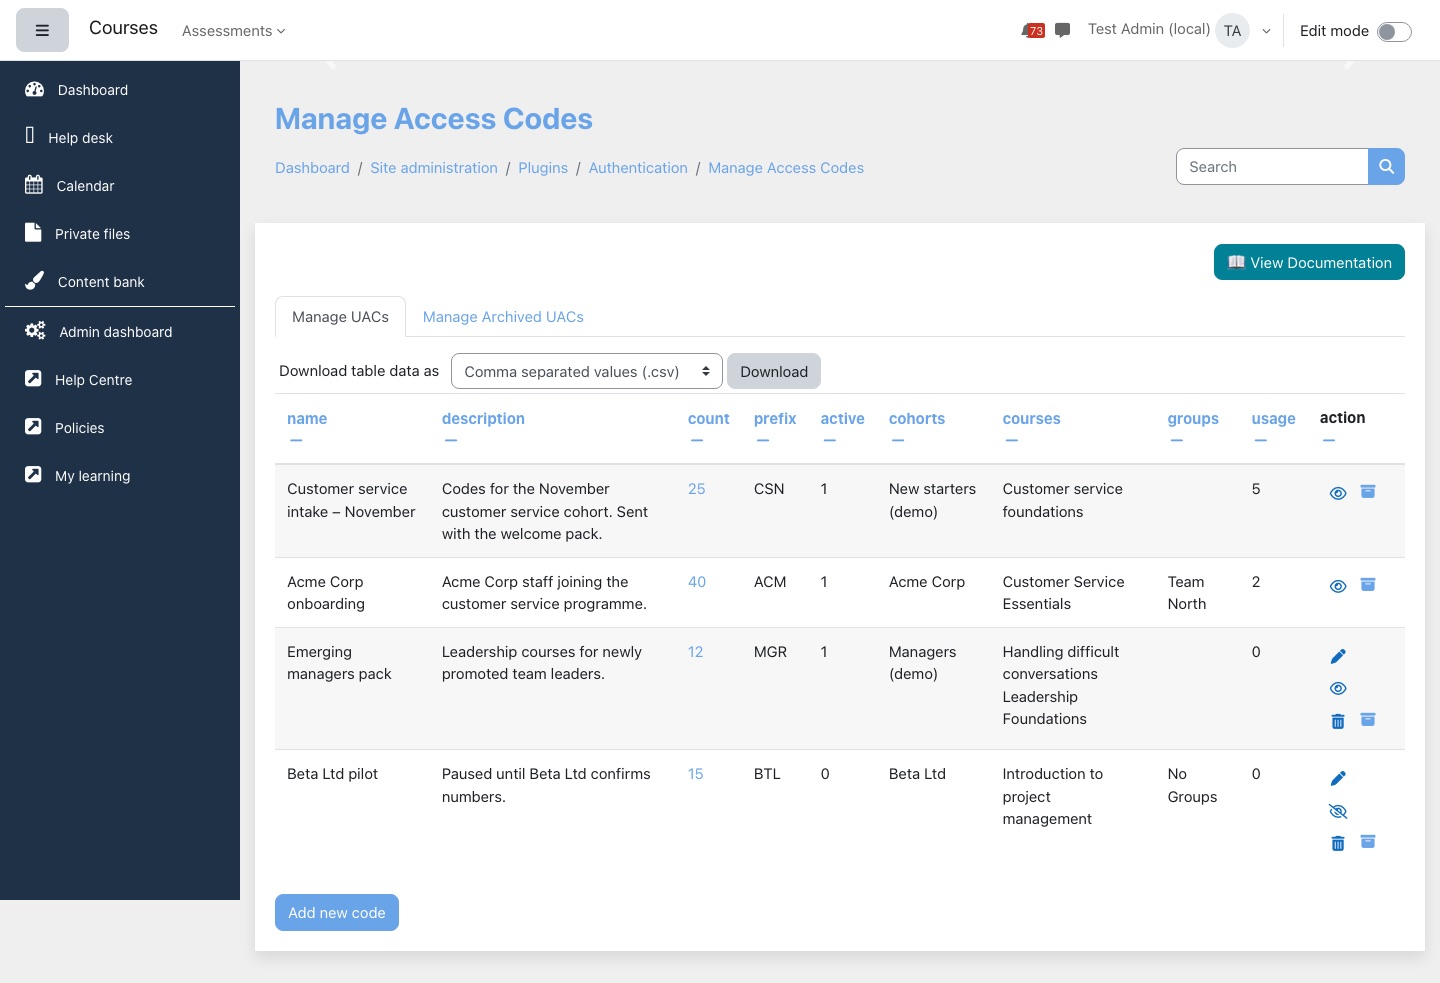
| Column | What it shows |
|---|---|
| name, description | What you entered for the set. |
| count | How many codes the set has. Select the number to see the codes themselves. |
| prefix | The three characters every code in the set starts with. |
| active | 1 when the codes can be redeemed, 0 when the set is disabled. |
| cohorts, courses, groups | What a learner gets when they redeem a code. |
| usage | How many of the set's codes have been redeemed. |
| action | Edit (pencil), Disable or Enable (eye), Delete (bin) and Archive (box). Edit and Delete are only offered while no code in the set has been used. |
See and download the codes
Select the number in the count column. UAC details lists every code in the set, 50 a page. For a code that has been used, it shows who used it (linked to their profile) and when; otherwise No.
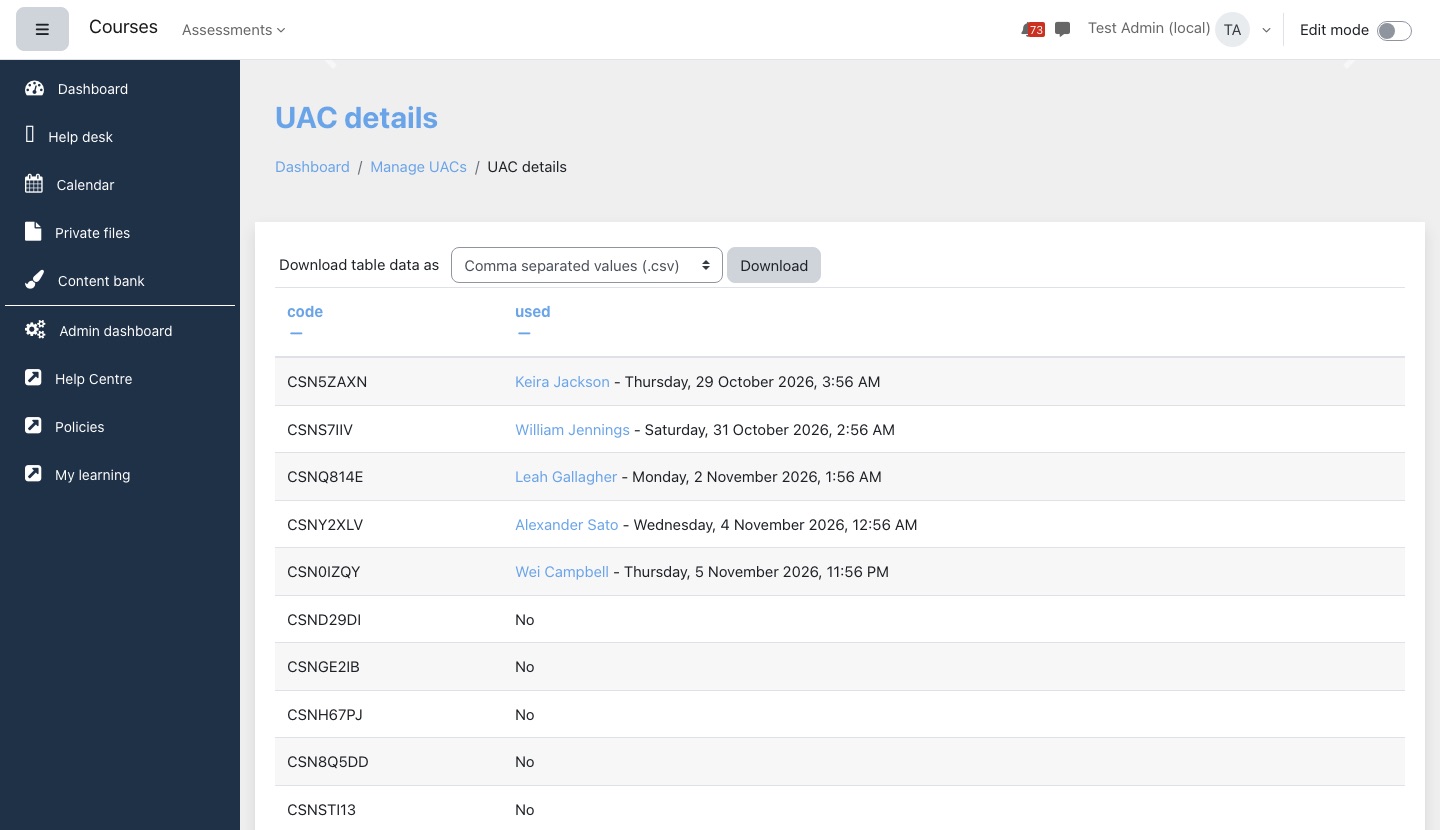
To send codes out, choose a format next to Download table data as (CSV, Excel, OpenDocument, HTML, JSON or PDF) and select Download. The file has every code in the set with its status, ready for a mail merge.
Change, disable or delete a set
- Edit (pencil) opens the same form as when you created the set. It is offered only while none of the set's codes has been used.
- Disable (eye) stops every code in the set from working, straight away; a learner who tries one is told the code is invalid. Enable (crossed eye) turns it back on. Nothing else changes, and people who already redeemed a code keep their enrolments.
- Delete (bin) removes the set and its codes for good, after you confirm. It is offered only while no code has been used. To retire a set that has been used, archive it.
When you save a set whose codes have not been used yet, Moodle throws its codes away and generates a fresh set to match the new count and prefix. Any codes you already sent out stop working. Edit a set before you hand its codes out, not after.
Once a code has been used you cannot change the set. Moodle says "You can not edit this code as at least one code has been redeemed." Create a new set instead.
Archive and restore
Archiving moves a set off the main tab, for example when an intake has closed. It also disables the set, so archived codes cannot be redeemed. Archiving works whether or not codes have been used, and keeps the record of who used which code.
- On Manage UACs, select the archive icon (box) on the set's row.
- Select Continue to confirm.
The Manage Archived UACs tab lists archived sets with the date each was archived. Select the arrow icon in the action column and confirm to Restore a set. It goes back to the main tab disabled, because archiving also disables a set. Select Enable (crossed eye) on its row when you want its unused codes to work again.
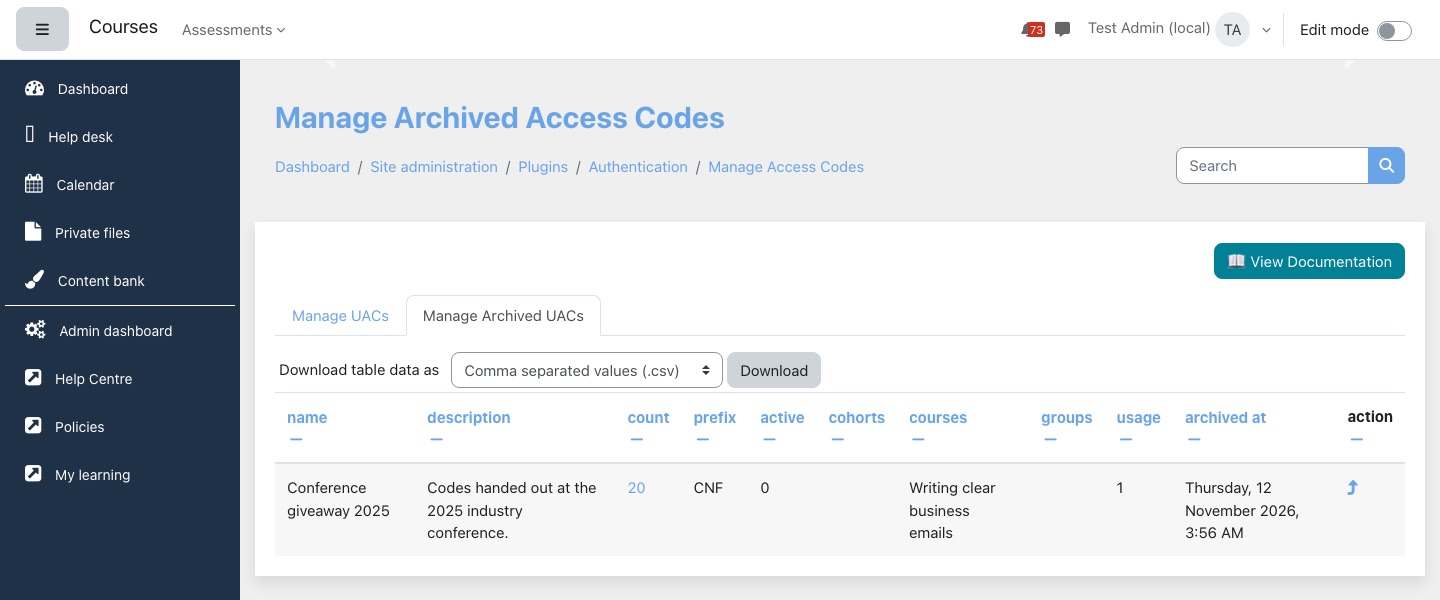
How a learner redeems a code
LearnersSend each person their code and the sign-up link. What they see depends on whether they already have an account.
New to the site
- They open the sign-up link and fill in New account: a username and password, their email address twice, their name, and optionally city and country. Any extra required profile fields your site has are shown too.
- They type their code into Unique access code and select Create my new account. A code that does not exist, is used, or belongs to a disabled or archived set is rejected with "Invalid unique access code".
- Moodle emails them a confirmation link. When they select it, they are signed in and the code is redeemed: their enrolments are made at that moment.
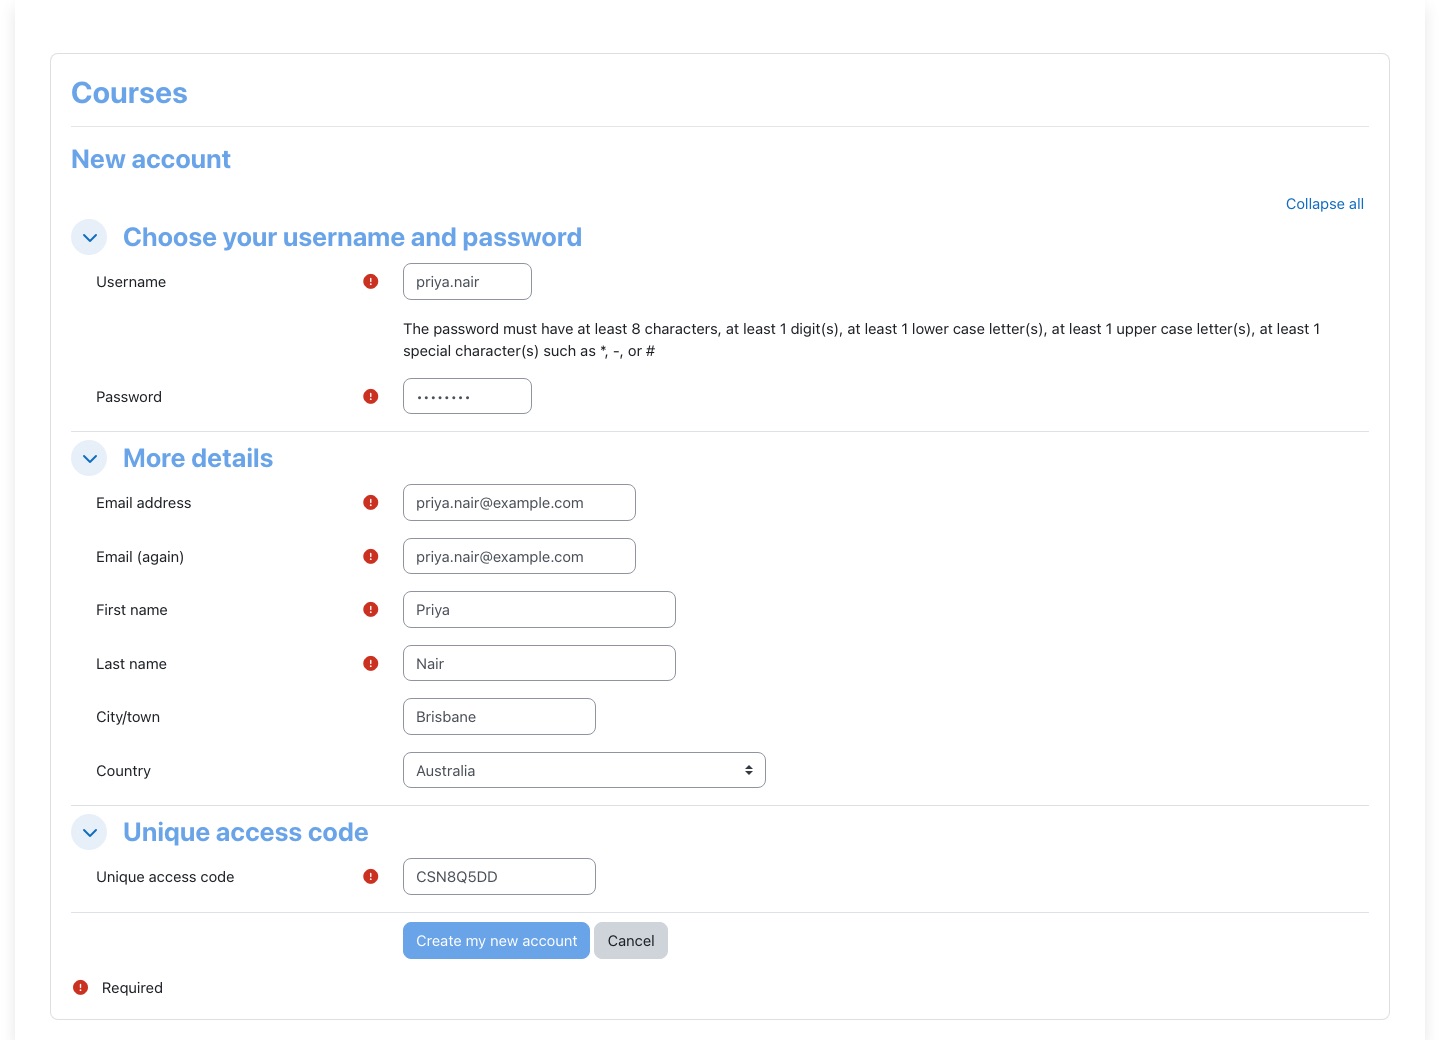
Accounts created this way use the Unique Access Code authentication method. People sign in afterwards with the username and password they chose, like anyone else.
Already has an account
- They sign in, then open the same sign-up link. Instead of the sign-up form they see Enter your unique access code.
- They type the code and select Submit.
- They are taken to their home page (usually the Dashboard) with the message "Unique access code applied successfully!" The new courses are in their course list.

Settings
Go to Site administration > Plugins > Authentication > Unique Access Code. The top of the page shows the sign-up link to give learners and a Manage Existing Codes button. Under Enrolment settings are four settings that decide how course enrolments are made when a code is redeemed. They apply to every set.
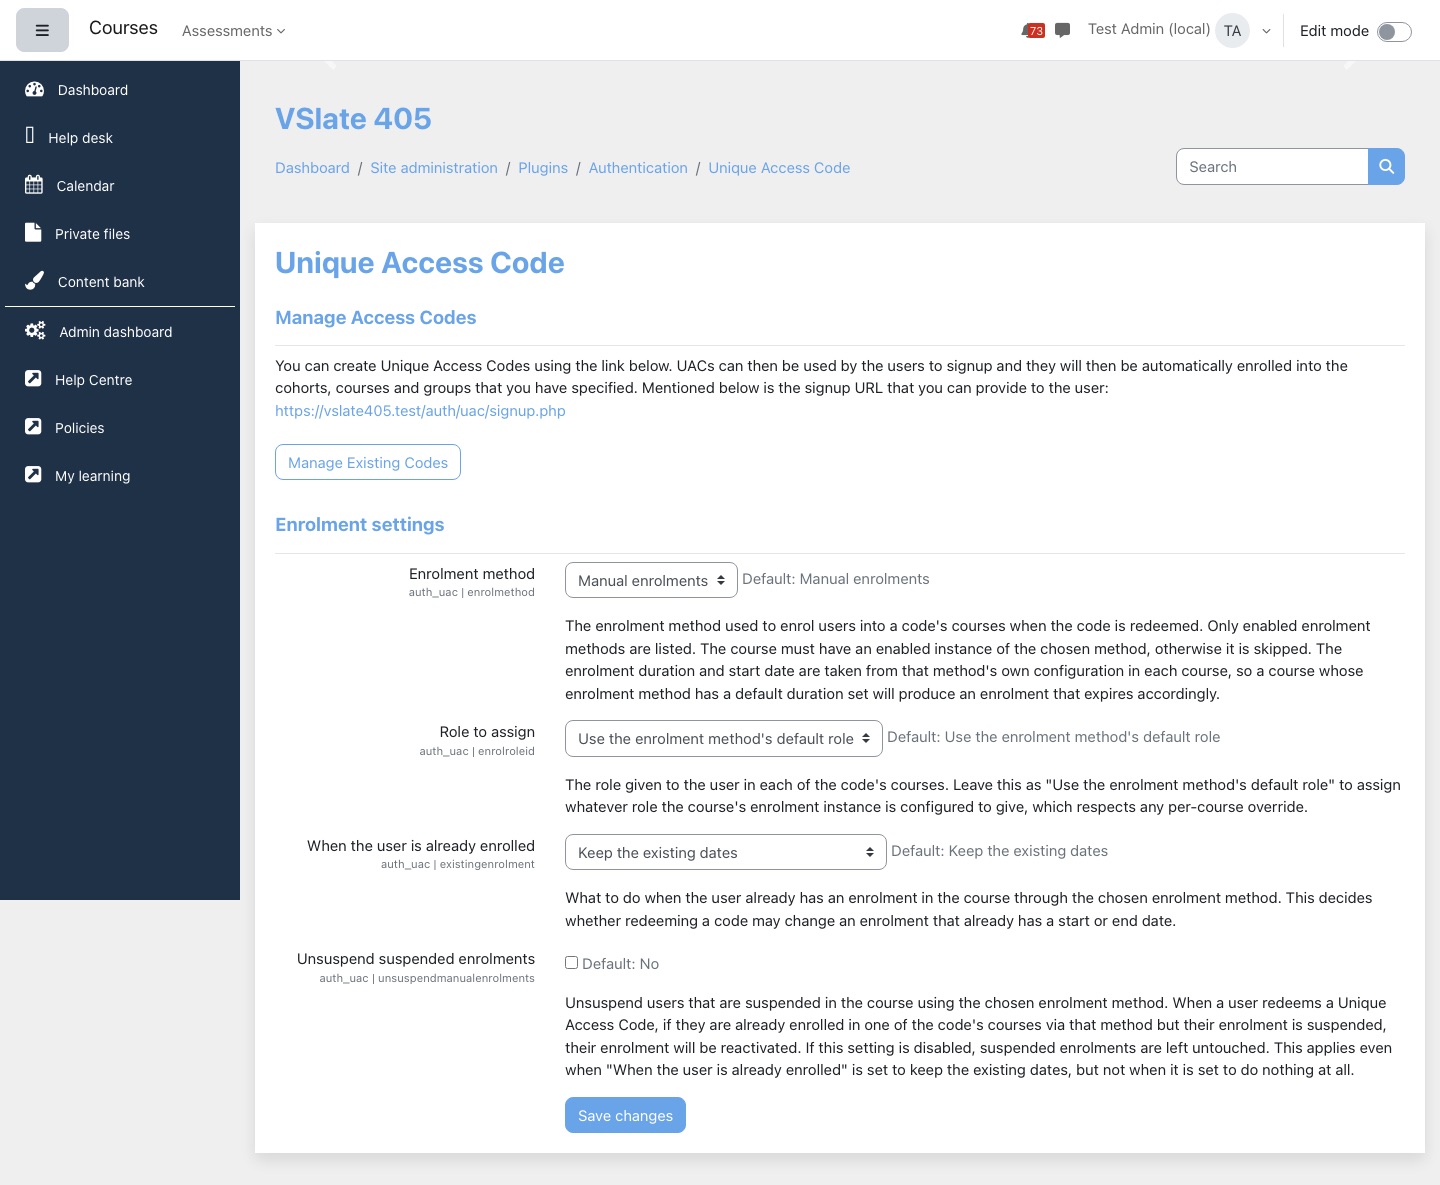
| Setting | Default | What it changes |
|---|---|---|
| Enrolment method | Manual enrolments | The enrolment method used in each of the code's courses. Only enabled methods are listed. A course without an enabled instance of this method is skipped. The enrolment's start date and length come from that method's own settings in each course, so a course whose method has a default enrolment duration gives an enrolment that expires. |
| Role to assign | Use the enrolment method's default role | The role the learner gets in each course. Leave the default to use whatever role the course's enrolment method gives, including any per-course change; or pick a role to always use it. |
| When the user is already enrolled | Keep the existing dates | What happens when the learner is already enrolled in the course through that method. Keep the existing dates leaves the start and end dates alone. Override the dates with the new duration resets them as if they had just enrolled. Do nothing at all leaves the existing enrolment completely untouched. |
| Unsuspend suspended enrolments | No | When ticked, a learner whose enrolment in one of the code's courses is suspended is made active again when they redeem a code. It works with Keep the existing dates but not with Do nothing at all. |
Usage and the web service
The usage column and the UAC details page are where you track redemptions on the site. The Admin dashboard's Unique access codes shortcut shows how many codes across all sets are still unused. Every action is also recorded in the site logs: sets created, updated, enabled, disabled, archived, restored and deleted, and each code used.
The plugin has a web service so another system can manage codes for you. Enrolmart uses it to create a set when someone buys a course and to check and redeem codes. Through it a connected system can create a set (and create any cohorts it names that do not exist yet), list sets and their codes, check a code without using it, redeem a code for a user, and read usage figures: total redemptions, how many different people, and redemptions by day and by set over a period. Lingel Learning sets up the connection and the account it uses; that account needs permission to manage codes.
Who sees what
| Who | What they can do |
|---|---|
| Site administrators | Everything on this section: settings, Manage Access Codes, creating and changing sets. |
| Managers | Hold the Manage UACs permission by default, which the web service and the add and edit pages check. The Manage Access Codes list itself needs site configuration rights, so in practice codes are managed by site administrators. |
| Learners | Only the sign-up page and the code box. They never see sets, other codes or who used them. |
Questions we get asked
A learner redeemed a code but has no course. Why?
Most often the course does not have the enrolment method from the settings enabled (usually Manual enrolments), so it was skipped. Add and enable that method in the course, then enrol the learner by hand; redeeming the code again is not possible. Also check the setting When the user is already enrolled: with Do nothing at all, a learner who was already enrolled is left exactly as they were, even if their enrolment had ended.
A learner signed up but their code shows as unused.
The code is redeemed when they select the link in the confirmation email, not when they submit the form. Ask them to check their inbox and junk folder. Until they confirm, someone else could still use that code.
Can I add more codes to a set?
Only before any code has been used, and saving replaces all of the set's codes. Once codes are in use, create a second set for the same courses with a different prefix.
Do people lose access when I disable or archive a set?
No. Disabling or archiving only stops unused codes from being redeemed. Enrolments, cohort memberships and groups already given stay in place.
Can one code enrol a whole team?
No. Each code is for one person. Generate a set with one code per person, or use bulk user actions or cohorts for people who already have accounts.
Cohort automation
Cohort automation puts people into cohorts, or into groups in a course, when their profile or progress matches rules you set. A rule such as "department is Sales and region is North" keeps the Sales managers cohort up to date as people join or change role, without anyone editing the cohort by hand.
- Name in Moodle
- Cohort Automation
- Where
- Site administration > Users > Accounts > Cohort automation (Add new rule and Manage existing rules), or Cohort automation on the Admin dashboard
- Who can use it
- Site administrators and managers (the Manage cohort automation rules permission)
- Runs
- Every 15 minutes, and straight away when an account is created or updated
- How rules work
- The rules list
- Add a cohort rule
- Add a group rule
- Conditions
- Change or delete a rule
- Who sees what
- Questions we get asked
How rules work
A rule has a target and one or more conditions.
- A cohort rule adds matching people to one or more cohorts.
- A group rule adds matching people to one or more groups in a single course. If someone is not enrolled in that course yet, they are enrolled first, as a student, through the course's Manual enrolments method. A course without Manual enrolments enabled gets no new members.
A person matches a rule only when they meet every condition in it. To add people who meet one condition or another, make two rules with the same target.
Rules only ever add people. Someone who stops matching (they change department, say) stays in the cohort or group until you remove them. Deleting a rule does not remove anyone either.
Moodle checks all active accounts every 15 minutes, and checks a person straight away when their account is created or their profile is saved. Suspended and deleted accounts are skipped. A person who already matched a rule is checked against it again once a day, so anyone you removed by hand is added back the next day if they still match.
The rules list
Manage existing rules lists every rule, 50 a page, with its name, type (Cohort or Group) and description, and edit and delete icons. Use Filter rules to search rule names and descriptions. The Add cohort rule and Add group rule buttons start a new rule.
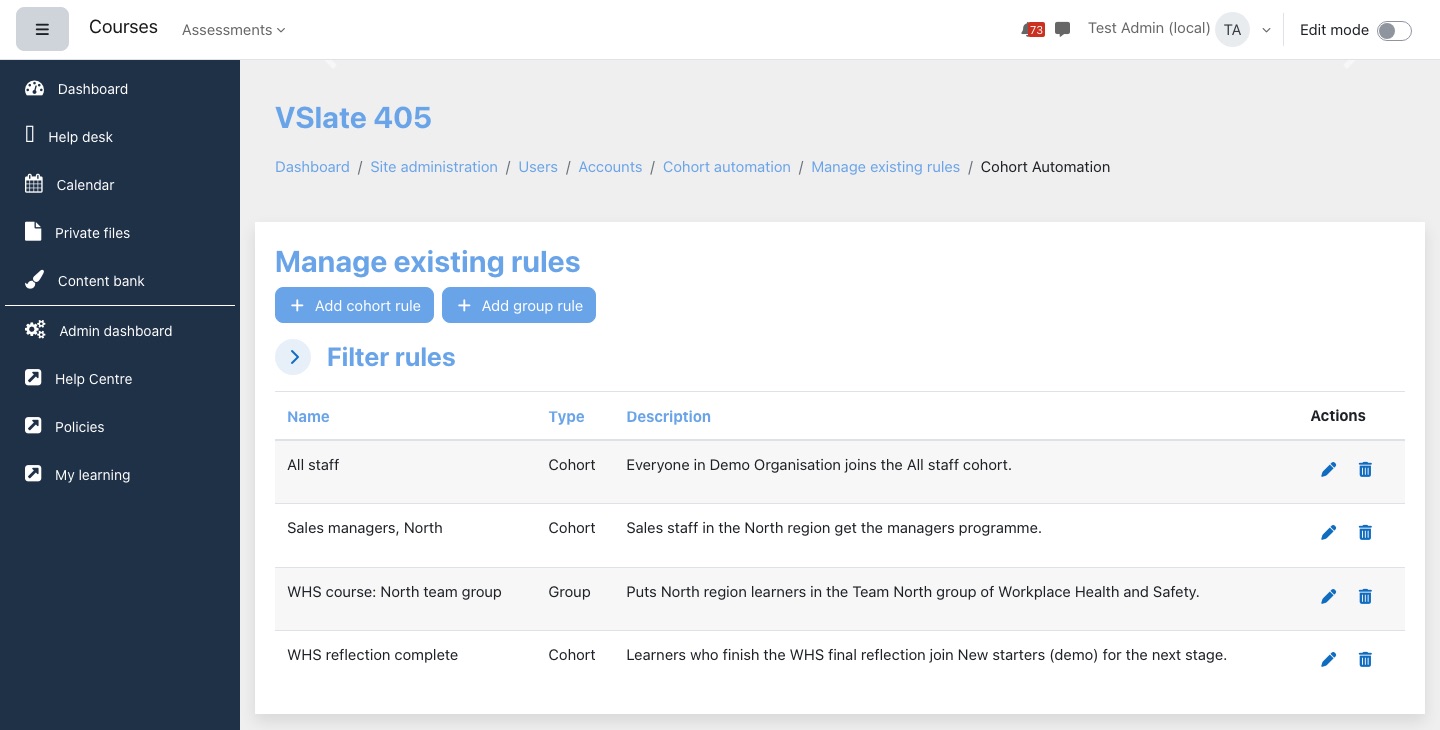
Add a cohort rule
- On Manage existing rules, select Add cohort rule.
- Give the rule a Name and, if you like, a Description of who it is for.
- Under Cohort, pick one or more cohorts.
- Under Conditions, select Add condition and choose User profile or Activity completion. Fill in the condition (see Conditions). Repeat for each condition.
- Select Save changes. People who match are added within 15 minutes.
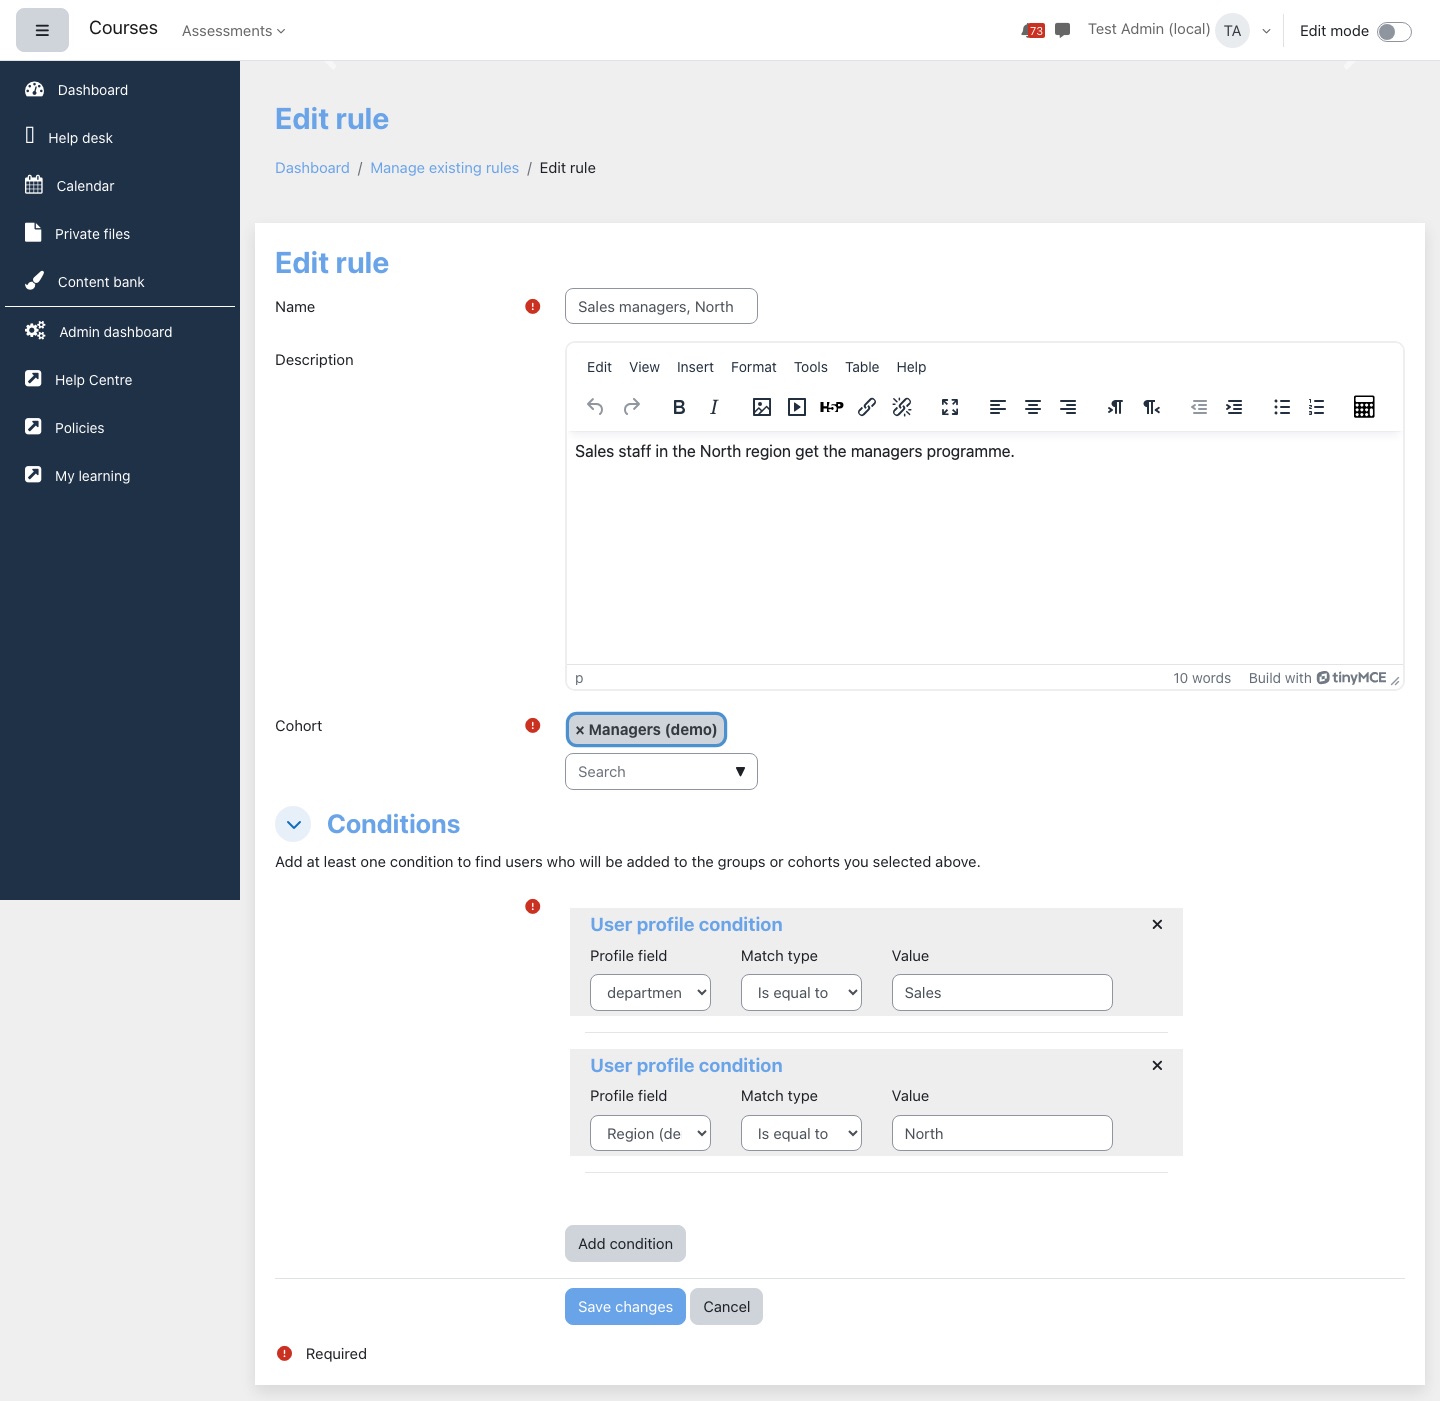
Add a group rule
- Select Add group rule.
- Enter a Name and Description.
- Choose the Course that holds the groups.
- Under Groups, pick one or more of its groups. You can only pick groups from one course per rule.
- Add the conditions and select Save changes.
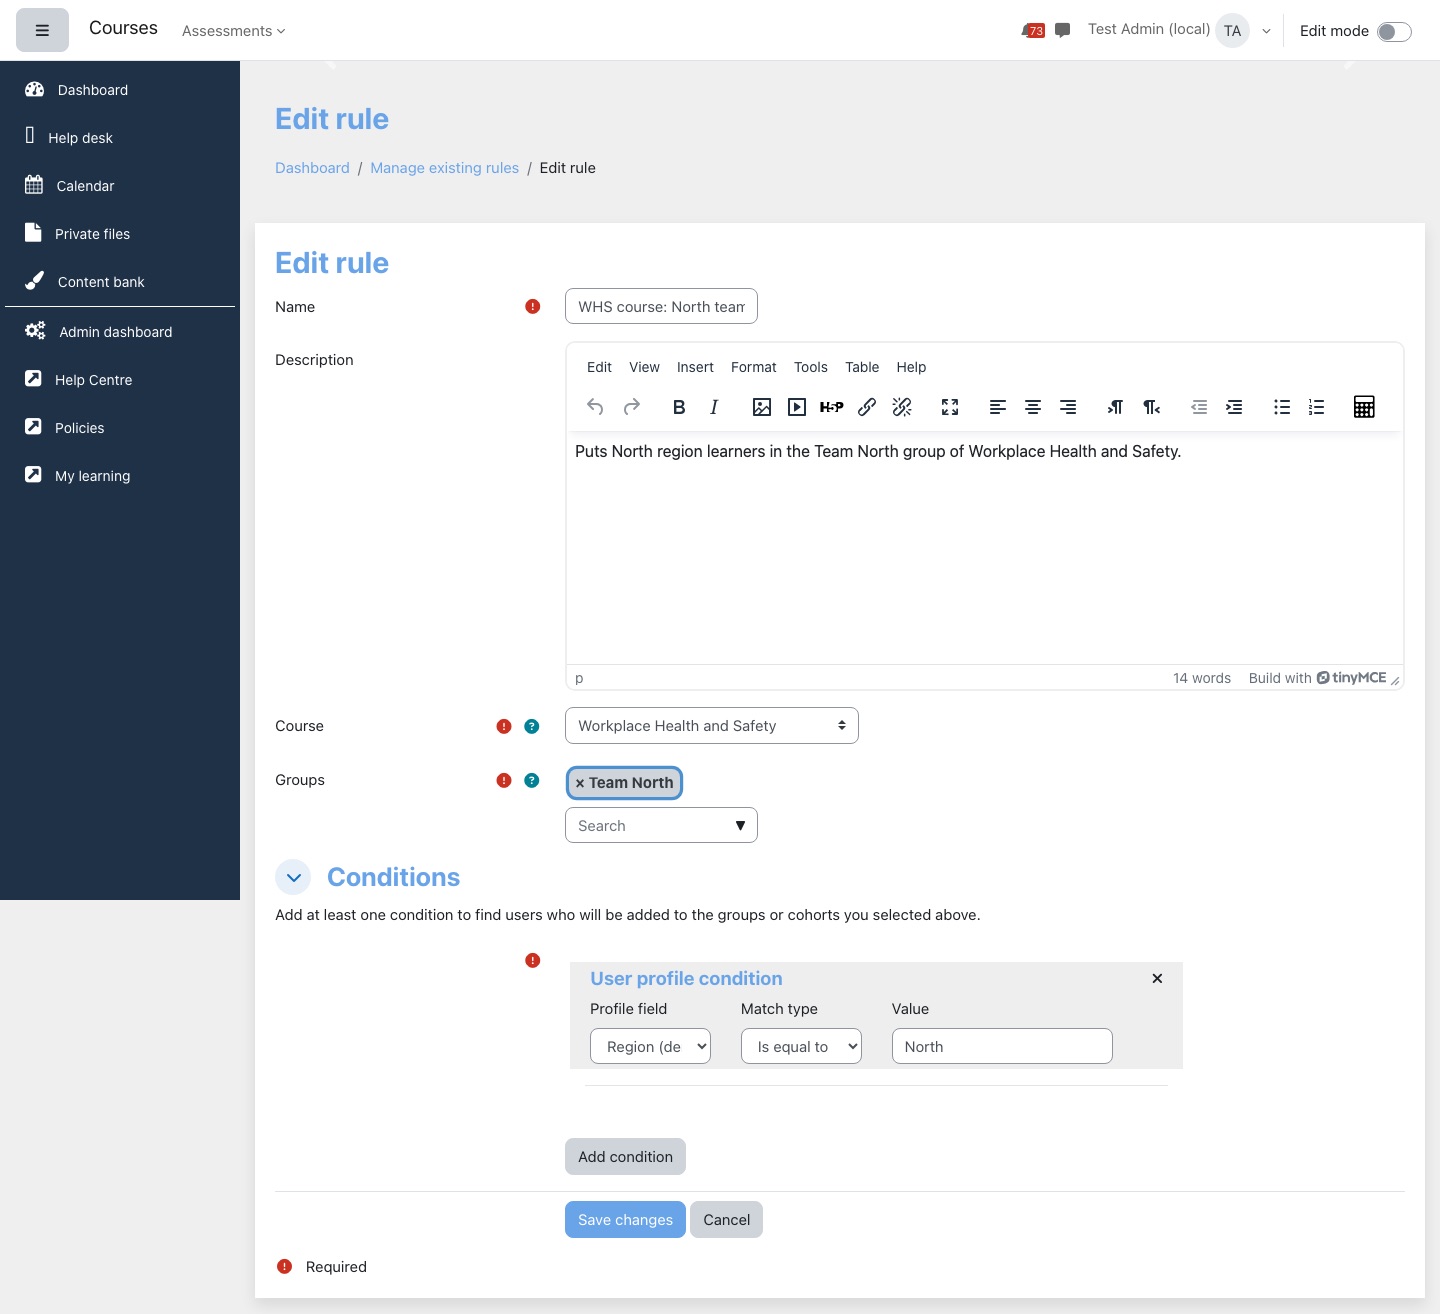
Conditions
User profile condition compares one profile field with a value you type.
- Profile field lists the standard account fields by their database names (for example
department,institution,city,email) followed by your custom profile fields by name. - Match type is Contains, Is equal to, Starts with or Ends with. Matching ignores upper and lower case.
- Value is the text to compare. For a drop-down custom field, type the option exactly as it appears.
Ends with currently matches the value anywhere in the field, like Contains. To match the end of an email address, use Contains with the full domain, such as @acme.example.com.
Activity completion condition is met when the person has completed one activity. Activity lists the activities of visible courses that have completion tracking turned on, as "Course : Activity". A completion marked as failed still counts as completed.
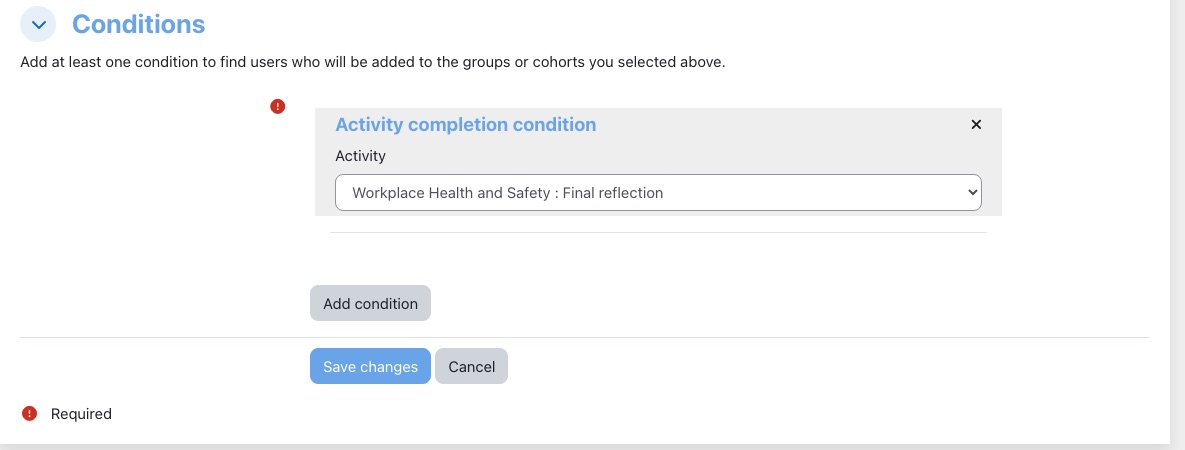
Change or delete a rule
Select the pencil on the rule's row, change it and select Save changes. Saving a rule makes Moodle check every account against it again at the next run. Remove a condition with the cross in its top corner.
Select the bin to delete a rule, then confirm. People the rule already added stay where they are. When a course group is deleted, it is taken out of any group rule that used it.
Who sees what
The rule pages need the Manage cohort automation rules permission, which managers and site administrators have by default. The menu links under Site administration are shown to site administrators; managers use the Cohort automation shortcut on the Admin dashboard. Learners never see rules; they just appear in the cohort or group.
Questions we get asked
I made a rule but nobody has been added yet.
Rules run every 15 minutes, so allow a little time. If still nobody appears, check the value matches the profile exactly as stored (open one person's profile), that every condition can be met by the same person, and for group rules that the course has Manual enrolments enabled.
How do I remove people who no longer match?
Remove them from the cohort or group by hand. Rules never remove anyone. If they still match, they will be added back within a day.
Can a rule enrol people in a course?
A group rule enrols people in its course as students before adding them to the group. For cohort-based enrolment, add a Cohort sync enrolment method to the course and point a cohort rule at that cohort.
Virtual Slate bulk user actions
Virtual Slate bulk user actions is Moodle's bulk user screen with more actions. You pick people once, then add them all to a team or a learning path, re-send their welcome emails, or suspend or reactivate their accounts.
- Name in Moodle
- Virtual Slate bulk user actions
- Where
- Site administration > Users > Accounts > Virtual Slate bulk user actions
- Who can use it
- Anyone who can update or delete user accounts; each action has its own permission (see Who sees what)
- Choose the people
- The actions
- Add to team or learning path
- Re-send welcome emails
- Suspend and unsuspend
- Who sees what
Choose the people
- Open Virtual Slate bulk user actions.
- Narrow the list with New filter if you need to: for example User full name contains a name, or select Show more... for email, cohort, course role, last login, authentication and other filters. Select Add filter. Filters stack.
- Under Users in list, select people on the left (hold Ctrl or Cmd to pick several) and select Add to selection. Add all takes everyone the filters show.
- Your selection appears on the right. Use Remove from selection or Remove all to change it.
- Choose an action under With selected users... and select Go.
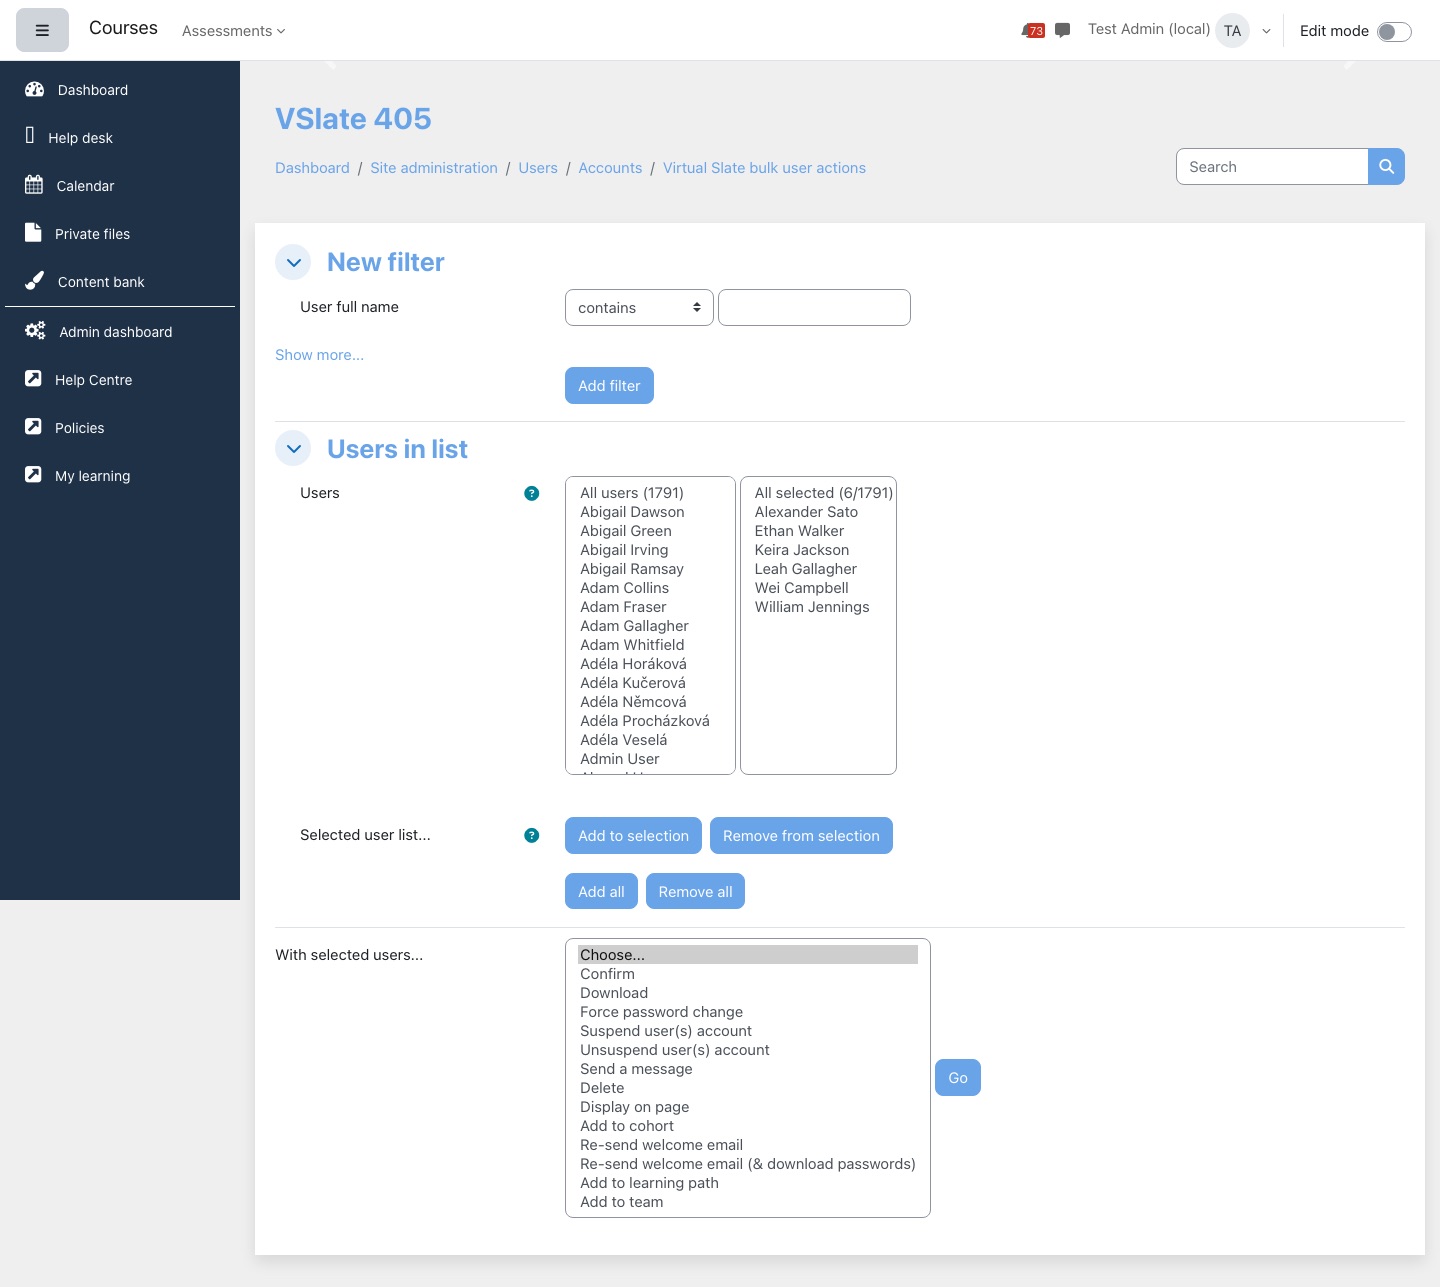
Your selection is kept while you stay signed in, so you can run several actions on the same people. Suspending, unsuspending and the plain welcome email clear it when they finish.
The actions
| Action | What it does |
|---|---|
| Confirm, Download, Force password change, Send a message, Delete, Display on page, Add to cohort | Moodle's standard bulk actions, the same as on Site administration > Users > Accounts > Bulk user actions. |
| Suspend user(s) account | Suspends the accounts after you confirm, and signs them out. |
| Unsuspend user(s) account | Makes suspended accounts active again, straight away. |
| Re-send welcome email | Gives each person a new password, emails it to them, and makes them change it at next login. |
| Re-send welcome email (& download passwords) | As above, and also downloads a spreadsheet of the new passwords. |
| Add to learning path | Adds everyone to the learning path you choose. |
| Add to team | Adds everyone to the team you choose. |
Add to team or learning path
- Choose Add to team or Add to learning path and select Go.
- Check the list of people. Select a column heading to sort it.
- Pick the Team or Learning path and select Add to team or Add to learning path.
- You land on the team's members page or the learning path's users page, with a confirmation, so you can see the result.
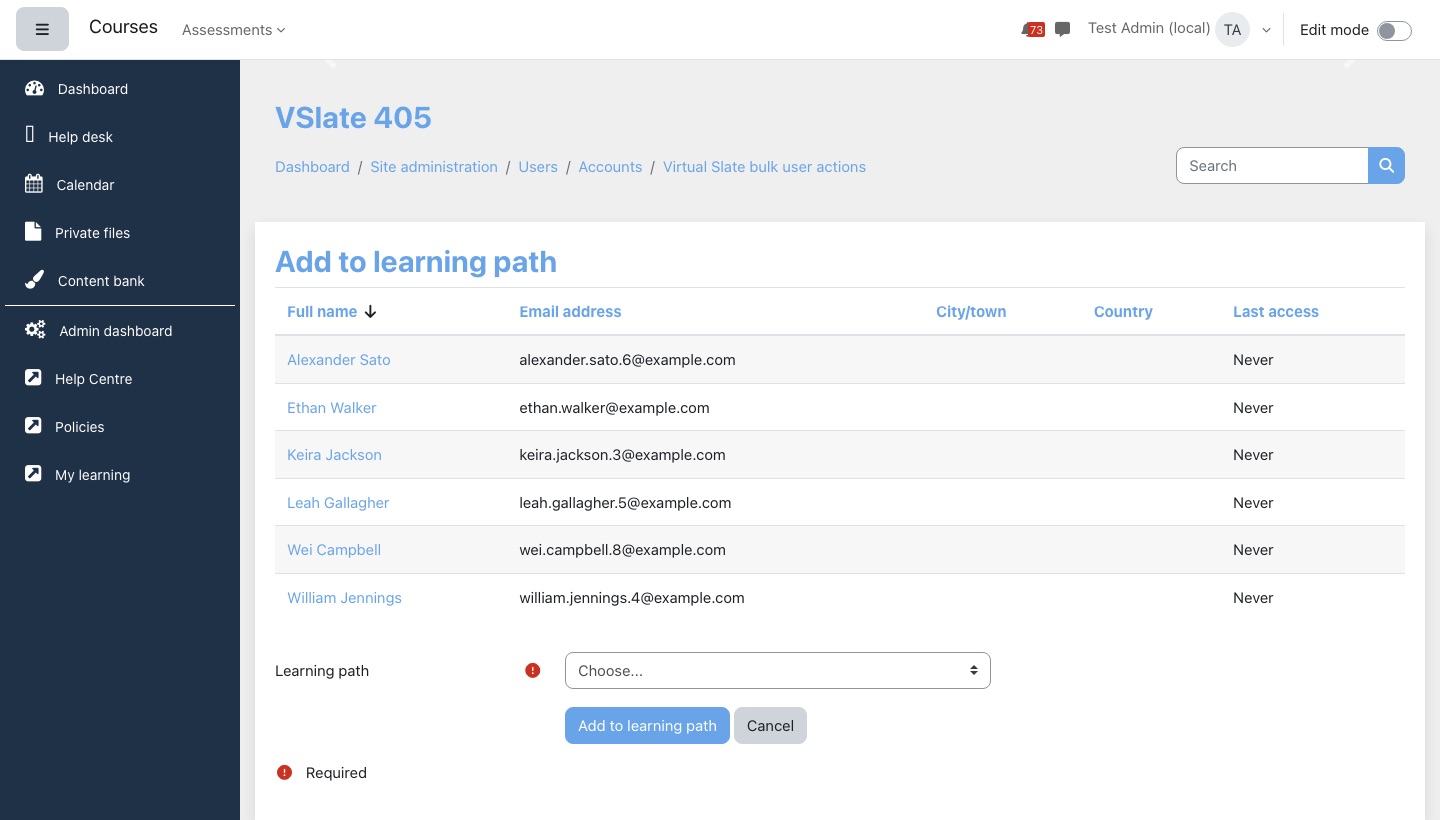
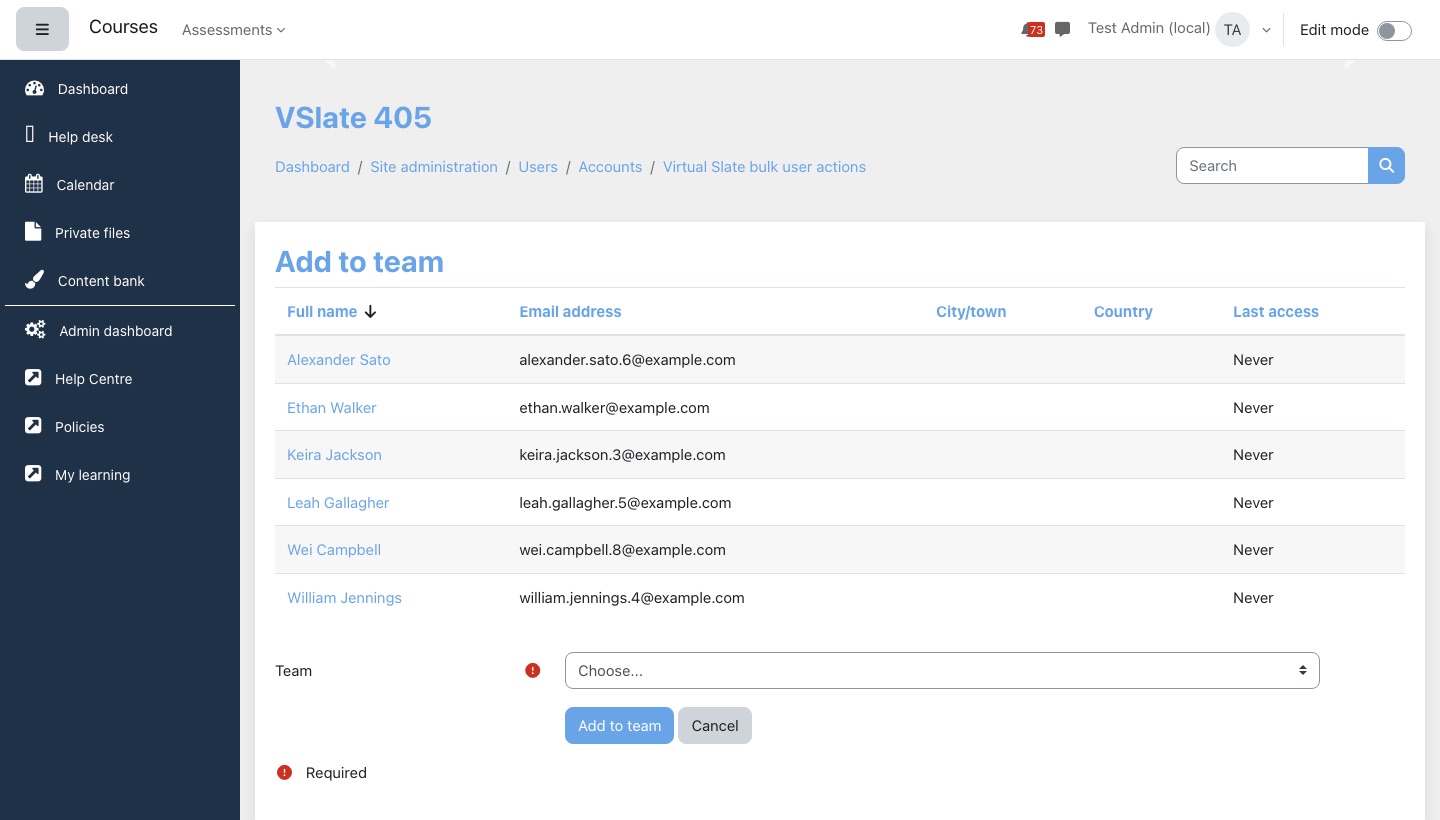
If your site has no teams or no learning paths yet, the action says so and returns you to the bulk page. Deleted accounts in the selection are skipped. See Team Management and Pathways & Catalogue for what membership gives people.
Re-send welcome emails
Both welcome email actions replace each person's password with a new random one, email it to them with the site's standard new account message, and make them choose their own password when they next sign in. Their old password stops working at once. Use them for people who never received or lost their first email.
- Re-send welcome email asks you to confirm, sends the emails and returns you with "Welcome email sent to n user(s)."
- Re-send welcome email (& download passwords) lists the people and asks you to confirm. On Continue it sends the emails and downloads an Excel file with each person's first name, last name, email, username and new password.
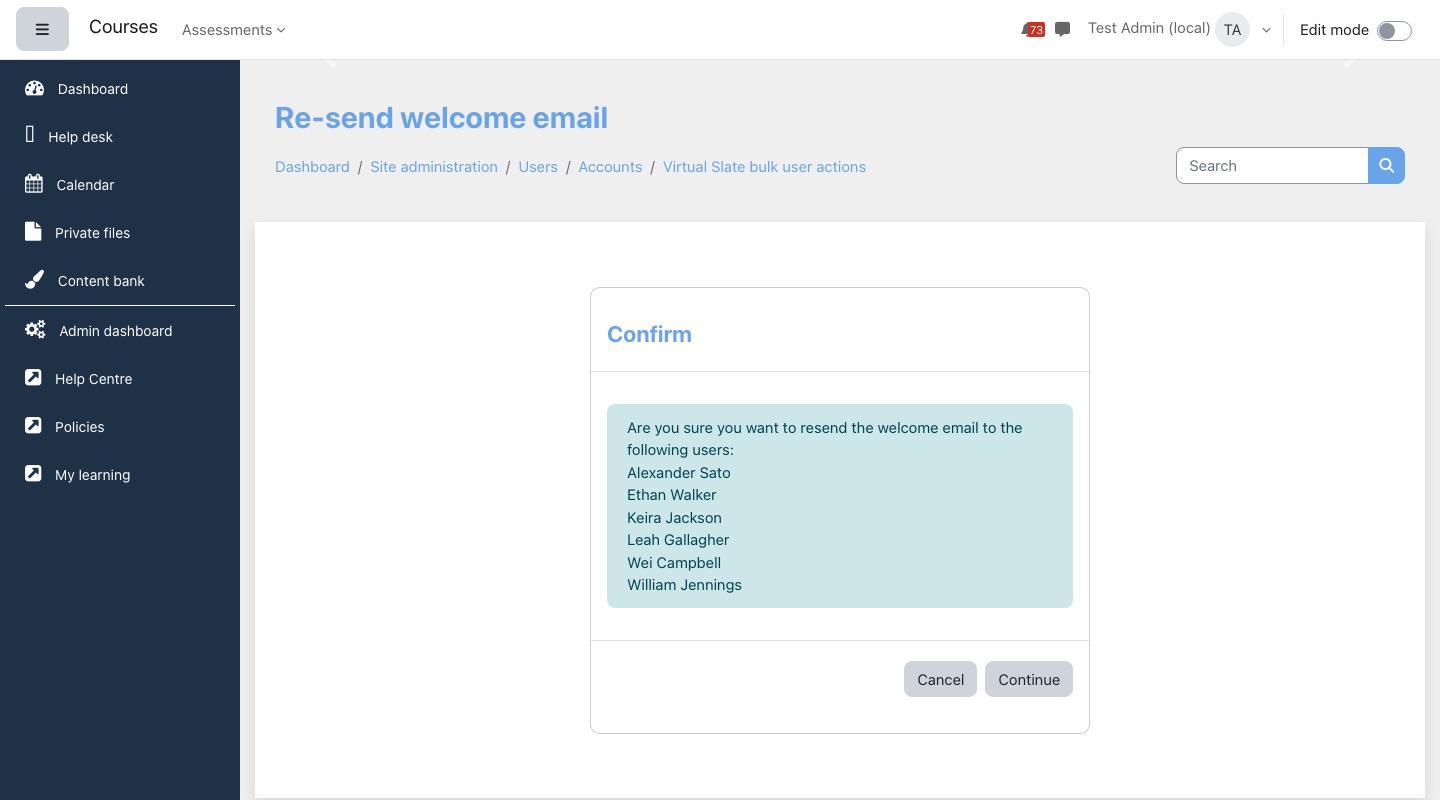
Treat the spreadsheet like a list of keys. Store it somewhere private and delete it once you have used it.
Suspend and unsuspend
Suspend user(s) account asks you to confirm, then suspends the selected accounts and signs them out of any open sessions. Site administrators and your own account are never suspended; Moodle lists any account it could not suspend. A suspended person cannot sign in, but their enrolments, grades and history are kept.
Unsuspend user(s) account reactivates the selected suspended accounts as soon as you select Go, without asking.
Who sees what
| Actions | Permission needed |
|---|---|
| Open the page | Update user profiles, or delete users |
| Confirm, Download, Force password change, Suspend, Unsuspend | Update user profiles |
| Send a message | Read all messages, with messaging enabled |
| Delete | Delete users |
| Add to cohort, both welcome email actions | Assign members to cohorts |
| Add to learning path | Manage learning paths |
| Add to team | Manage teams |
An action you do not have permission for is not offered. Display on page is always offered.
Salesforce
The Salesforce plugin keeps your Salesforce org up to date with what happens in Moodle. New and changed user accounts become Contacts, courses become course records, and course progress can be sent each night. It works in one direction, from Moodle to Salesforce.
- Name in Moodle
- Salesforce plugin
- Settings
- Site administration > Plugins > Local plugins > Salesforce plugin, with tabs General, Users, Courses and Completions
- Who can use it
- Site administrators only
- Needs
- A Salesforce org with a Connected App that Moodle signs in to. Lingel Learning sets this up with you.
- What is sent
- Setting up the connection
- General tab
- Users tab and field mapping
- Courses tab
- Completions tab
- Questions we get asked
All the settings tabs and the mapping pages open and save without a connection, which is how the screenshots below were taken. Nothing is sent, and the plugin does nothing at all, until the connection details on the General tab are filled in and sync is ticked for users or courses.
What is sent
| In Moodle | In Salesforce | When |
|---|---|---|
| A user account is created or updated | The Contact with the same email address is updated, or a new Contact is created, using your user field mapping | Within minutes, with Sync users on |
| A user account is deleted | The linked Contact is deleted | Within minutes, with Sync users on |
| A course is created, updated or deleted | The matching record in the course object (by default Course__c) is created, updated or deleted | Within minutes, with Sync courses on |
| Face-to-face sessions and attendance | Session and enrolment records | Only when Lingel Learning turns it on for your site; there is no setting for it |
| Course progress and completion | The completions object (by default pmdm__ProgramEngagement__c) | Each night at 01:30, with Send completions to salesforce on |
Changes are queued and sent by Moodle's background tasks, so saving a user or course is never slowed down by Salesforce. If Salesforce cannot be reached, Moodle tries again with growing gaps for about four hours, then gives up on that change and keeps a record that Lingel Learning can review.
Setting up the connection
- In Salesforce, create a Connected App with a certificate, turn on Use digital signatures, and pre-authorise the Salesforce user Moodle will act as. Lingel Learning can do this with your Salesforce administrator.
- On the General tab, fill in the login URL, consumer key, Salesforce username and private key, and save.
- On the Users tab, set up the field mapping (at least
EmailandLastName, which Salesforce needs for a Contact), then tick Sync users. - On the Courses tab, check the course object and its fields, then tick Sync courses.
- Only if your org records programme engagement, set up the Completions tab.
- Change one test account and check the Contact appears in Salesforce a few minutes later.
General tab
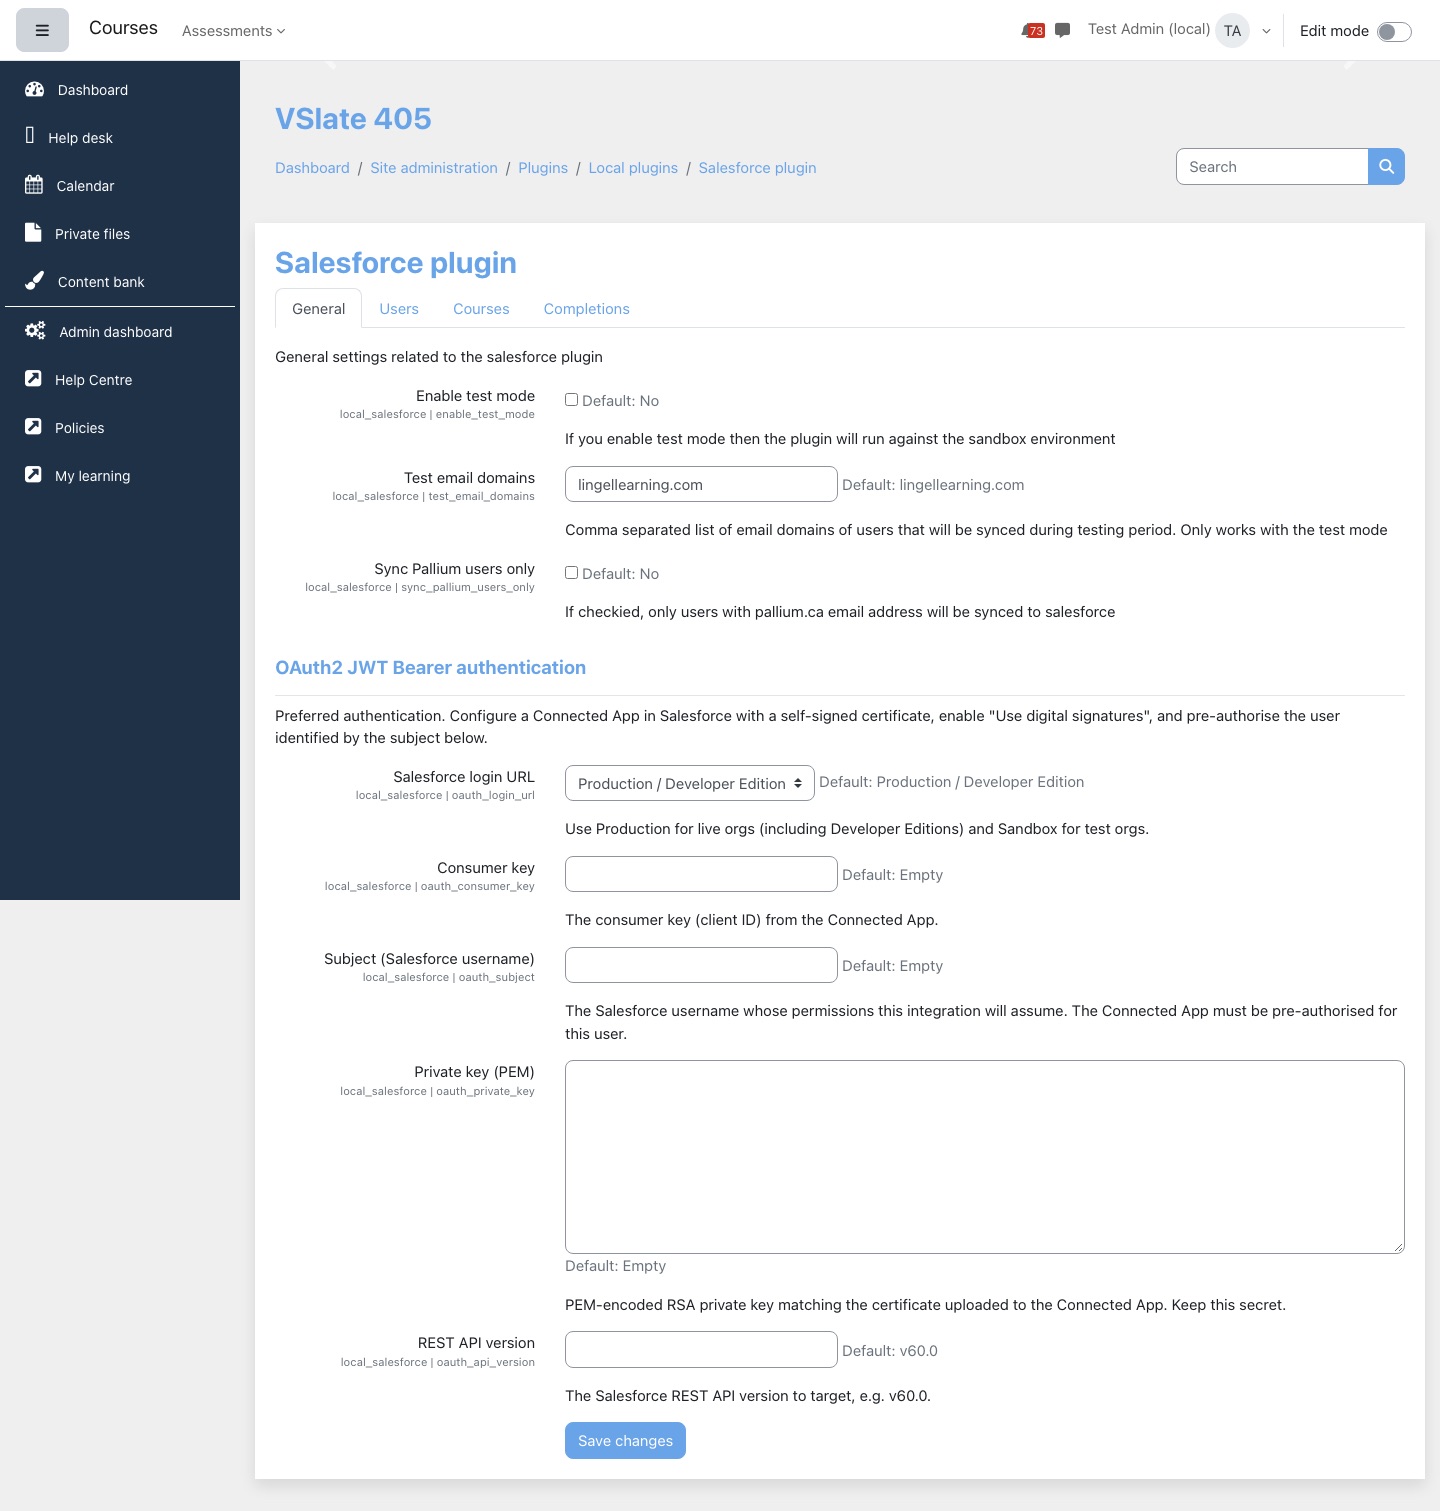
| Setting | Default | What it changes |
|---|---|---|
| Enable test mode | No | Limits the full user sync that Lingel Learning runs when you first connect to people whose email is in Test email domains. Despite its description, it does not switch to a sandbox; the login URL does that. Day-to-day syncing is not affected. |
| Test email domains | lingellearning.com | Comma-separated domains used by test mode. |
| Sync Pallium users only | No | Not used. Leave it unticked. |
| Salesforce login URL | Production / Developer Edition | Choose Sandbox to connect to a Salesforce test org. |
| Consumer key | Empty | The consumer key (client ID) of the Connected App. |
| Subject (Salesforce username) | Empty | The Salesforce user Moodle acts as. Records are created with that user's permissions. |
| Private key (PEM) | Empty | The private key matching the Connected App's certificate. It is a secret: anyone with it can act as that Salesforce user. |
| REST API version | v60.0 | The Salesforce API version. Change it only if Lingel Learning asks. |
Users tab and field mapping
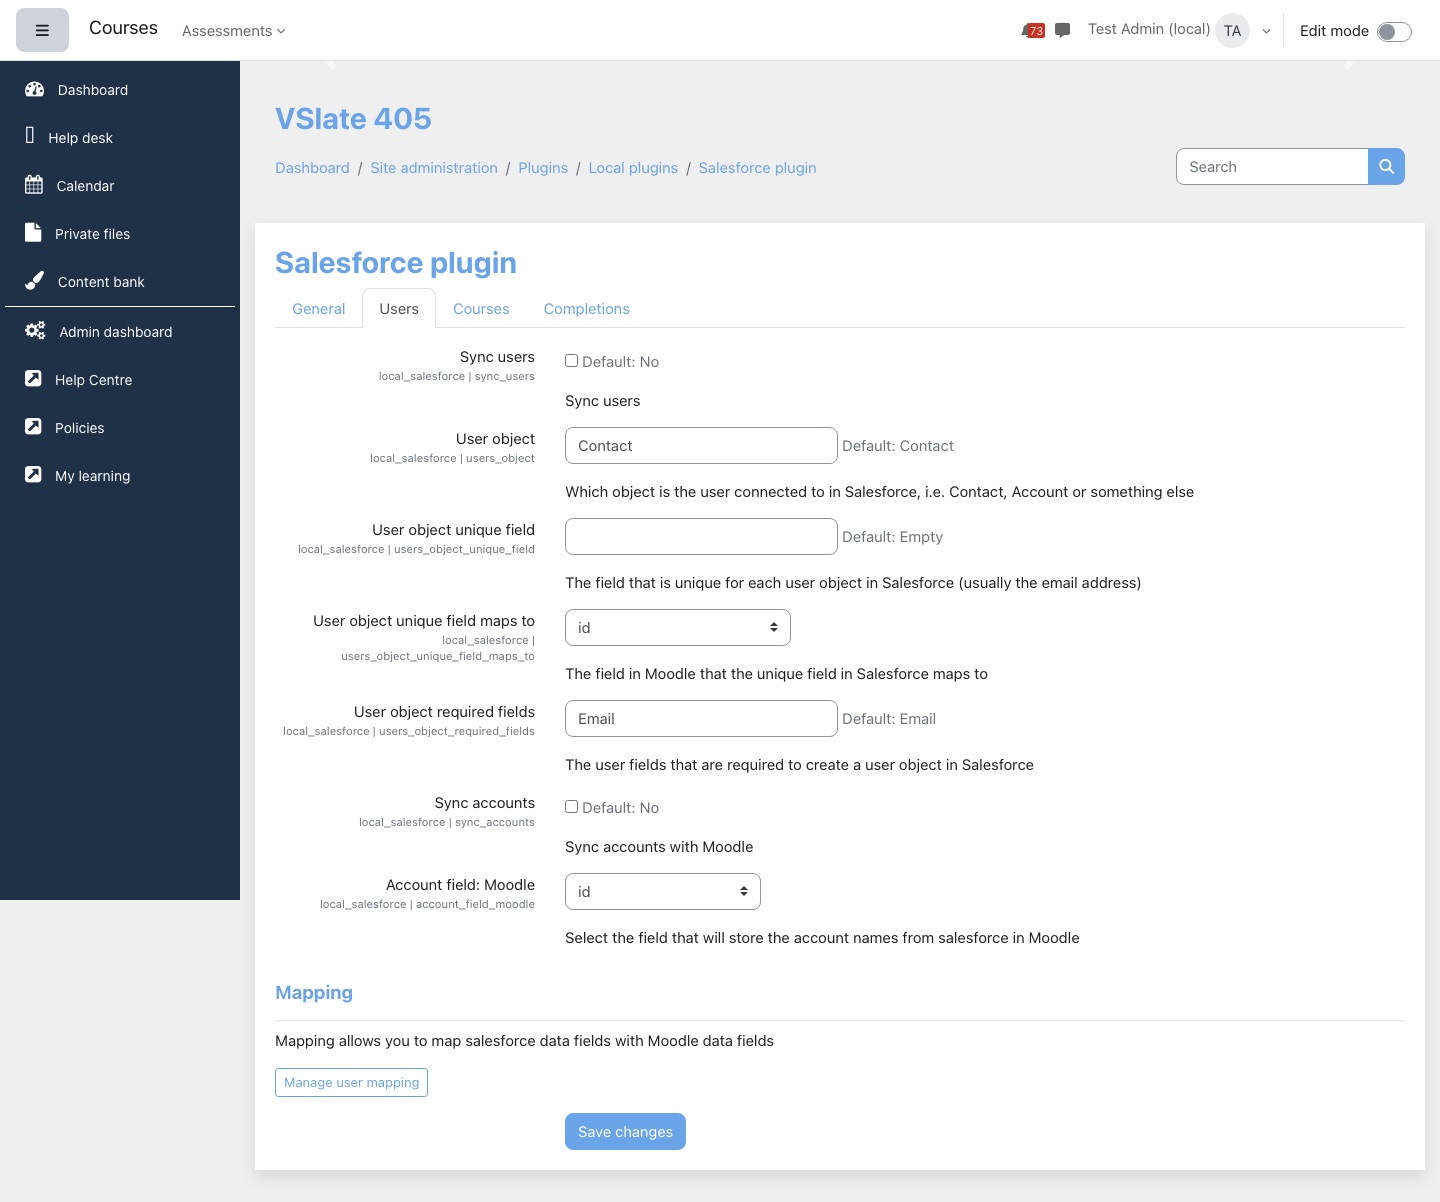
| Setting | Default | What it changes |
|---|---|---|
| Sync users | No | Turns on sending user accounts to Salesforce. |
| User object | Contact | Users are always sent as Contacts today, whatever this says. |
| User object unique field, User object unique field maps to | Empty, id | Not used yet: Contacts are matched on email address. |
| User object required fields | Meant to list the Salesforce fields your mapping must include. Not checked in this version, so make sure your mapping has every field Salesforce requires. | |
| Sync accounts, Account field: Moodle | No, id | For bringing Salesforce account names into Moodle. Switched off in this version; they have no effect. |
Manage user mapping opens the list of field pairs: each row says which Salesforce field (its API name, such as FirstName) is filled from which Moodle user field. Only mapped fields are sent.
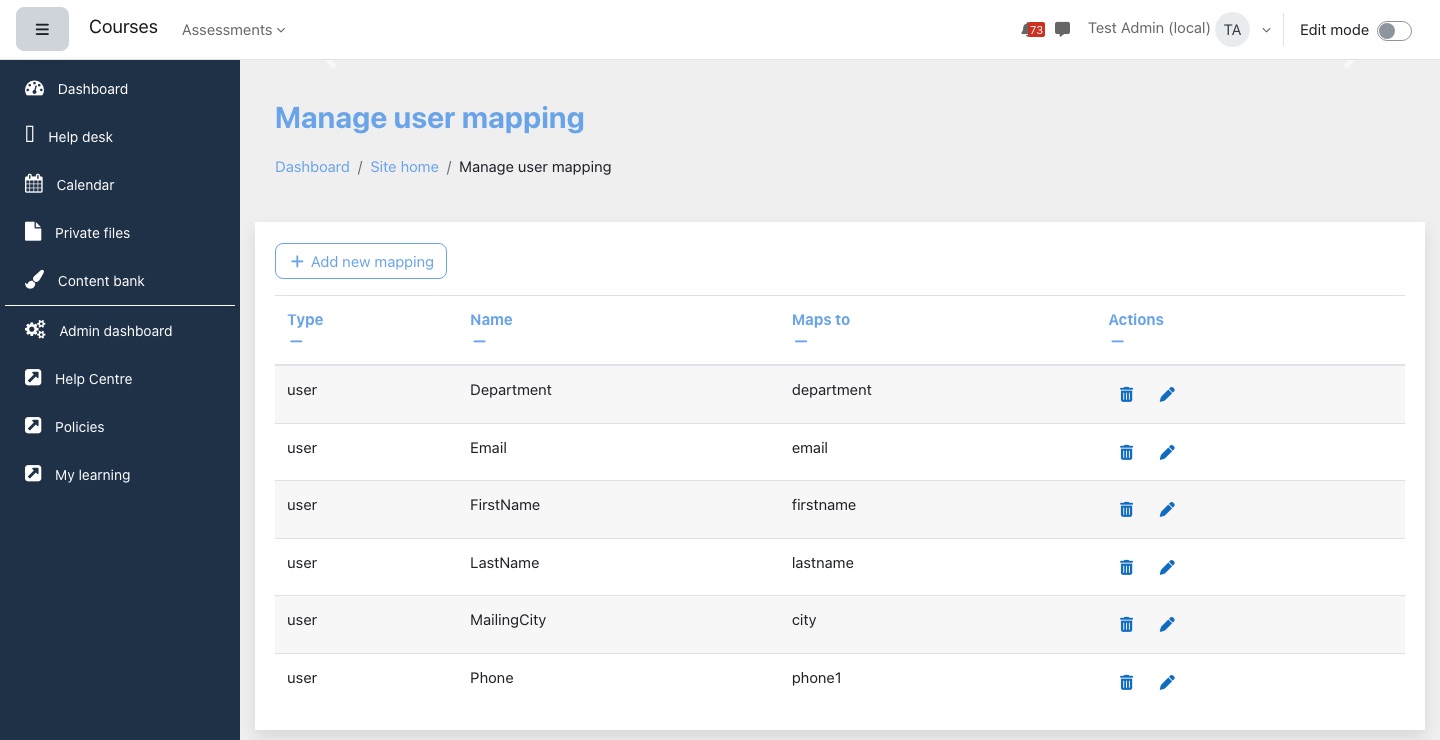
- Select Add new mapping.
- Type the Salesforce field API name exactly as Salesforce shows it, for example
MailingCityor a custom field ending in__c. - Choose the Moodle User field and select Save changes.
The Completions tab has its own Manage course progress mapping list, which works the same way with progress fields.
Courses tab
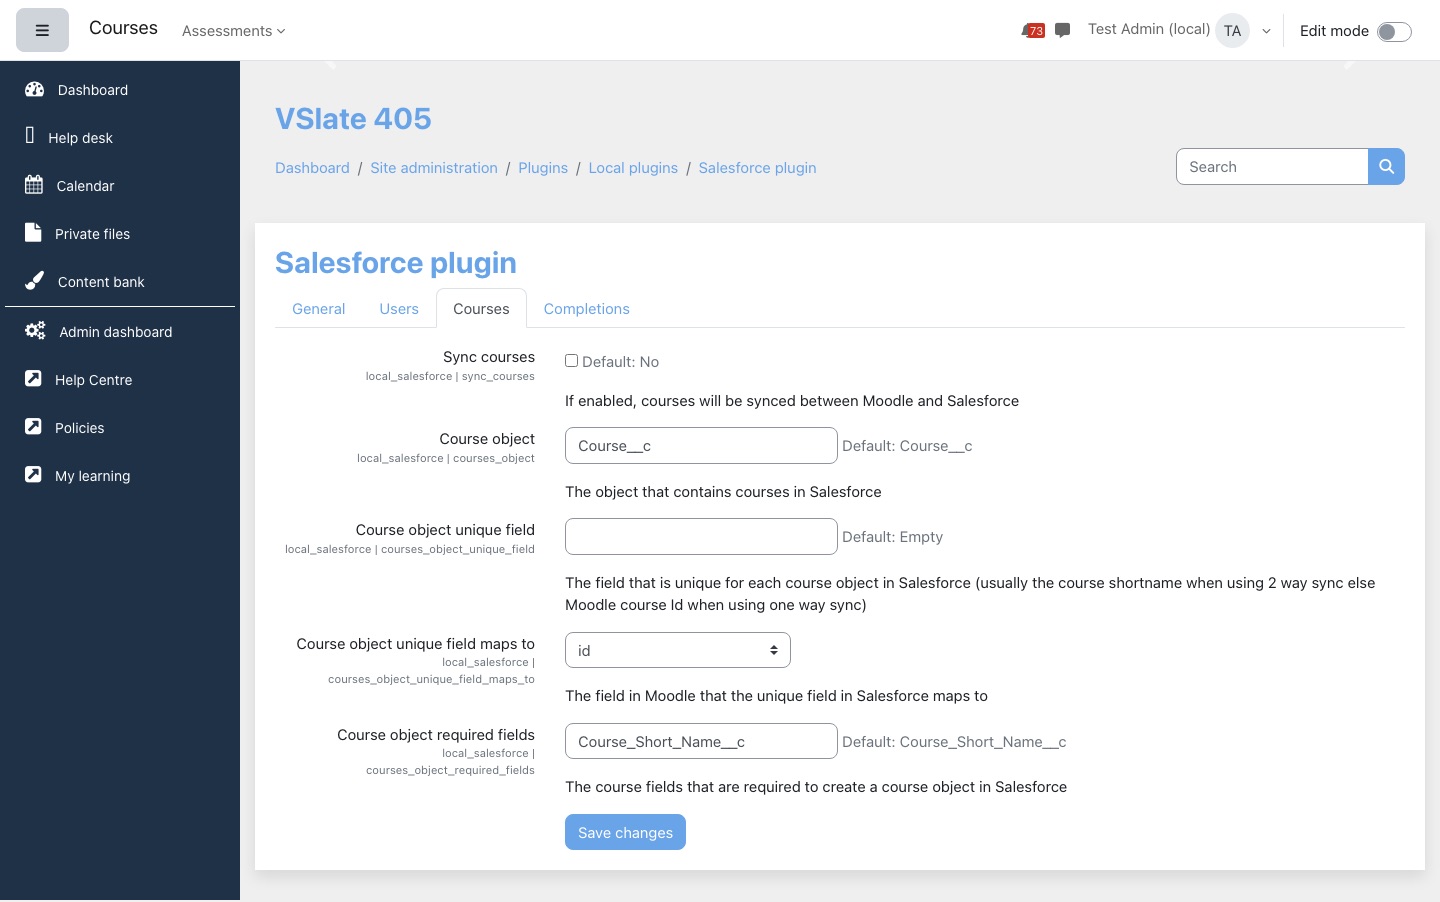
| Setting | Default | What it changes |
|---|---|---|
| Sync courses | No | Turns on sending courses. It also needs a course object. |
| Course object | Course__c | The Salesforce object that holds courses. |
| Course object unique field | Empty | The Salesforce field that identifies a course, usually the short name. |
| Course object unique field maps to | id | The Moodle course field that the unique field holds. |
| Course object required fields | Course_Short_Name__c | Salesforce fields that must be filled to create a course record. |
Completions tab
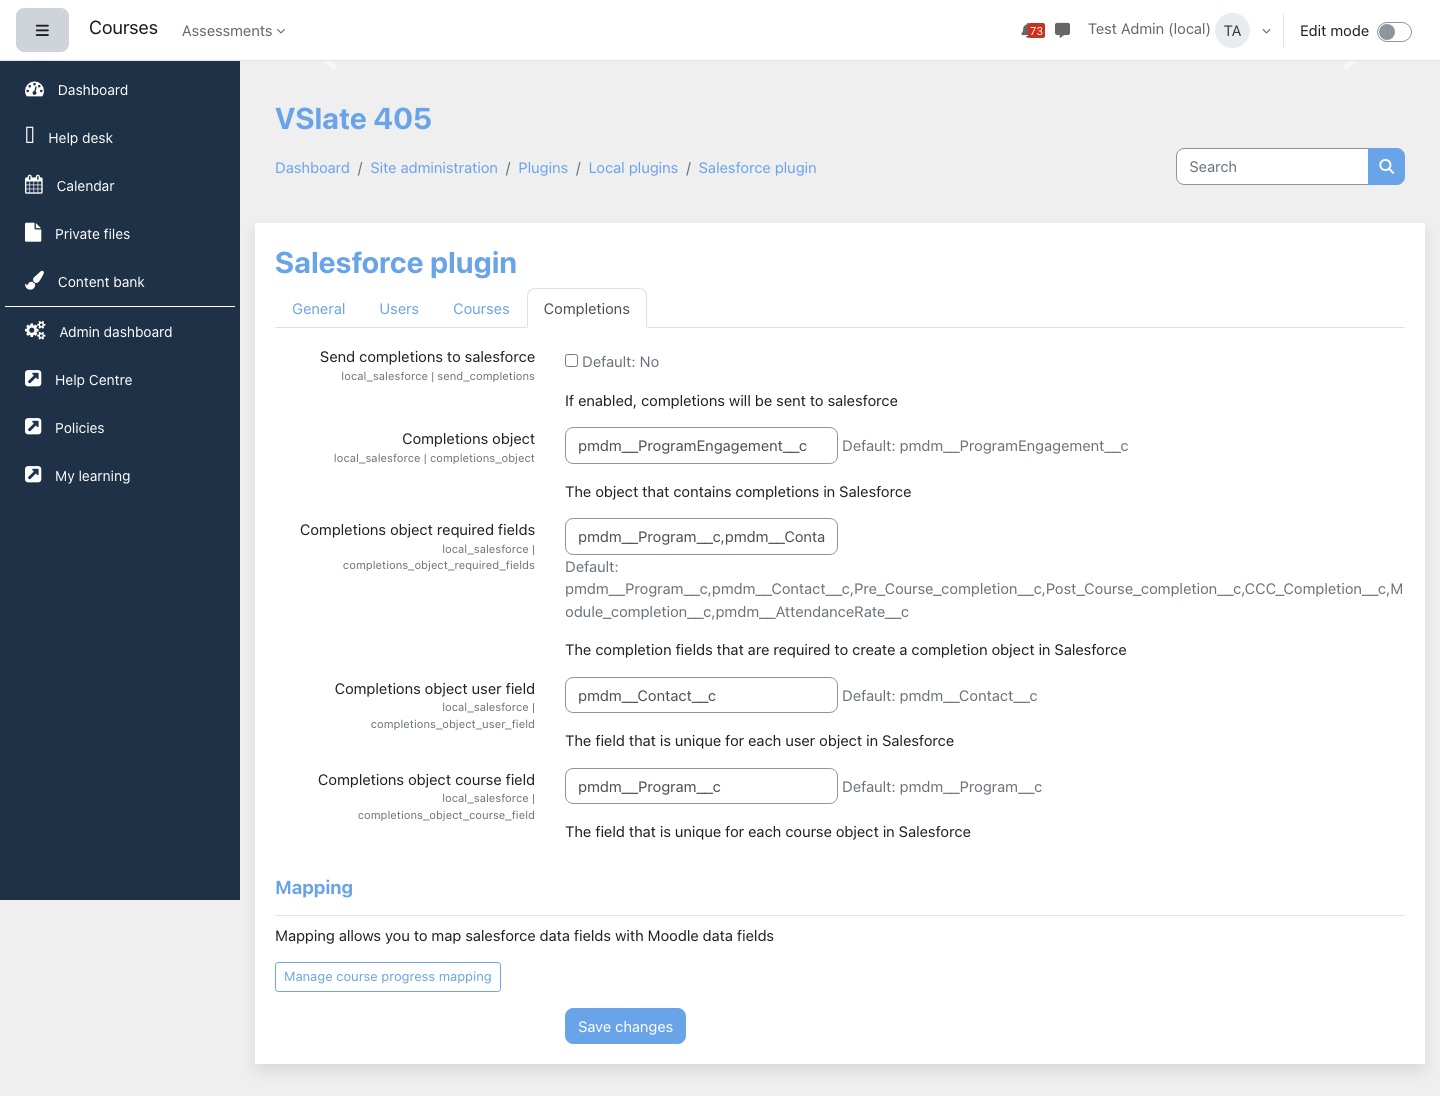
| Setting | Default | What it changes |
|---|---|---|
| Send completions to salesforce | No | Turns on the nightly progress sync at 01:30. |
| Completions object | pmdm__ProgramEngagement__c | The Salesforce object that receives progress. |
| Completions object required fields | pmdm__Program__c, pmdm__Contact__c and five progress fields | Fields that must be filled to create a record. |
| Completions object user field | pmdm__Contact__c | The field that links a record to the person's Contact. |
| Completions object course field | pmdm__Program__c | The field that links a record to the course. |
The completions sync was built for one client's course design and Salesforce setup, and does nothing on a site without it. Talk to Lingel Learning before ticking Send completions to salesforce.
Questions we get asked
We deleted someone in Moodle. Why did their Contact disappear from Salesforce?
With Sync users on, deleting a Moodle account deletes the Contact the plugin linked to it. If your Salesforce Contacts must outlive Moodle accounts, suspend accounts instead of deleting them, or ask Lingel Learning to turn user sync off.
Does anything come back from Salesforce into Moodle?
Not in this version. Changing a Contact in Salesforce does not change the Moodle account; the next change in Moodle overwrites the mapped fields.
Someone's Contact did not appear.
Check that your mapping includes every field Salesforce requires for a Contact (at least LastName), that the person's account has those fields filled in, and that the Salesforce user in Subject may create Contacts. Changes that keep failing stop after about four hours; Lingel Learning can see them and resend.
JWT authentication
JWT authentication lets people go straight from another system you run, such as a member portal or CRM, into Moodle without signing in again. That system sends them to Moodle with a signed token (a JSON Web Token) that says who they are. Moodle checks the signature, finds or creates their account, and signs them in.
- Name in Moodle
- JWT authentication
- Settings
- Site administration → Plugins → Authentication → JWT authentication
- Switch it on
- Site administration → Plugins → Authentication → Manage authentication, the eye icon beside JWT authentication. Nothing happens until it is on
- Who can use it
- Site administrators set it up; learners never see its settings
- Needs
- A system that can create tokens signed with a shared secret (HS256), or with its own key published at a web address (RS256). Lingel Learning helps your developers set this up
How sign-in works
- The person is signed in to your portal and clicks a link to the learning site.
- The portal creates a token holding who they are (at least the claim named in UPN, by default
username, or anemail), an expiry time, and optionallyname,langand any mapped fields, signs it, and adds it to the link: for examplehttps://your-site/course/view.php?id=12&token=…, or the login pagehttps://your-site/login/index.php?token=…. (It can also send the token in anAuthorization: Bearerheader.) - Moodle checks the signature with the Secret (HS256) or the keys at the JWKS URL (RS256), and the token's expiry and start times where it has them.
- Moodle looks for the account whose username equals the token's UPN claim. If the token has no such claim, it looks for the account with the token's
email(or the claim mapped to Email address). - Found: it updates the account's email address and language from the token if they are in it, and any field whose Update local is On every login, then signs the person in. Not found: it creates a new account using JWT authentication, with the username (in lower case) and email from the token, first and last name from the first two words of the
nameclaim, and every mapped field, then signs them in. - The person lands on the page the link pointed to (the token is removed from the address), or on their Dashboard when the link was the login page.
A link to a page that needs sign-in only uses the token when the person is not already signed in in that browser; if they are, they simply stay signed in as they are.
A valid token signs in any account whose username matches, including administrator accounts and accounts you have suspended. Keep the secret only on your portal's server, never in a web page or app, and change it if it may have leaked (links made with the old secret stop working). Have the portal give every token a short expiry, a few minutes, and create a fresh one for each click.
A token that has expired, or was signed with a different secret, shows an error page with a technical message instead of the Moodle login page. If people report that after clicking the portal link, check that both systems hold the same secret and that the portal's clock is right.
Settings
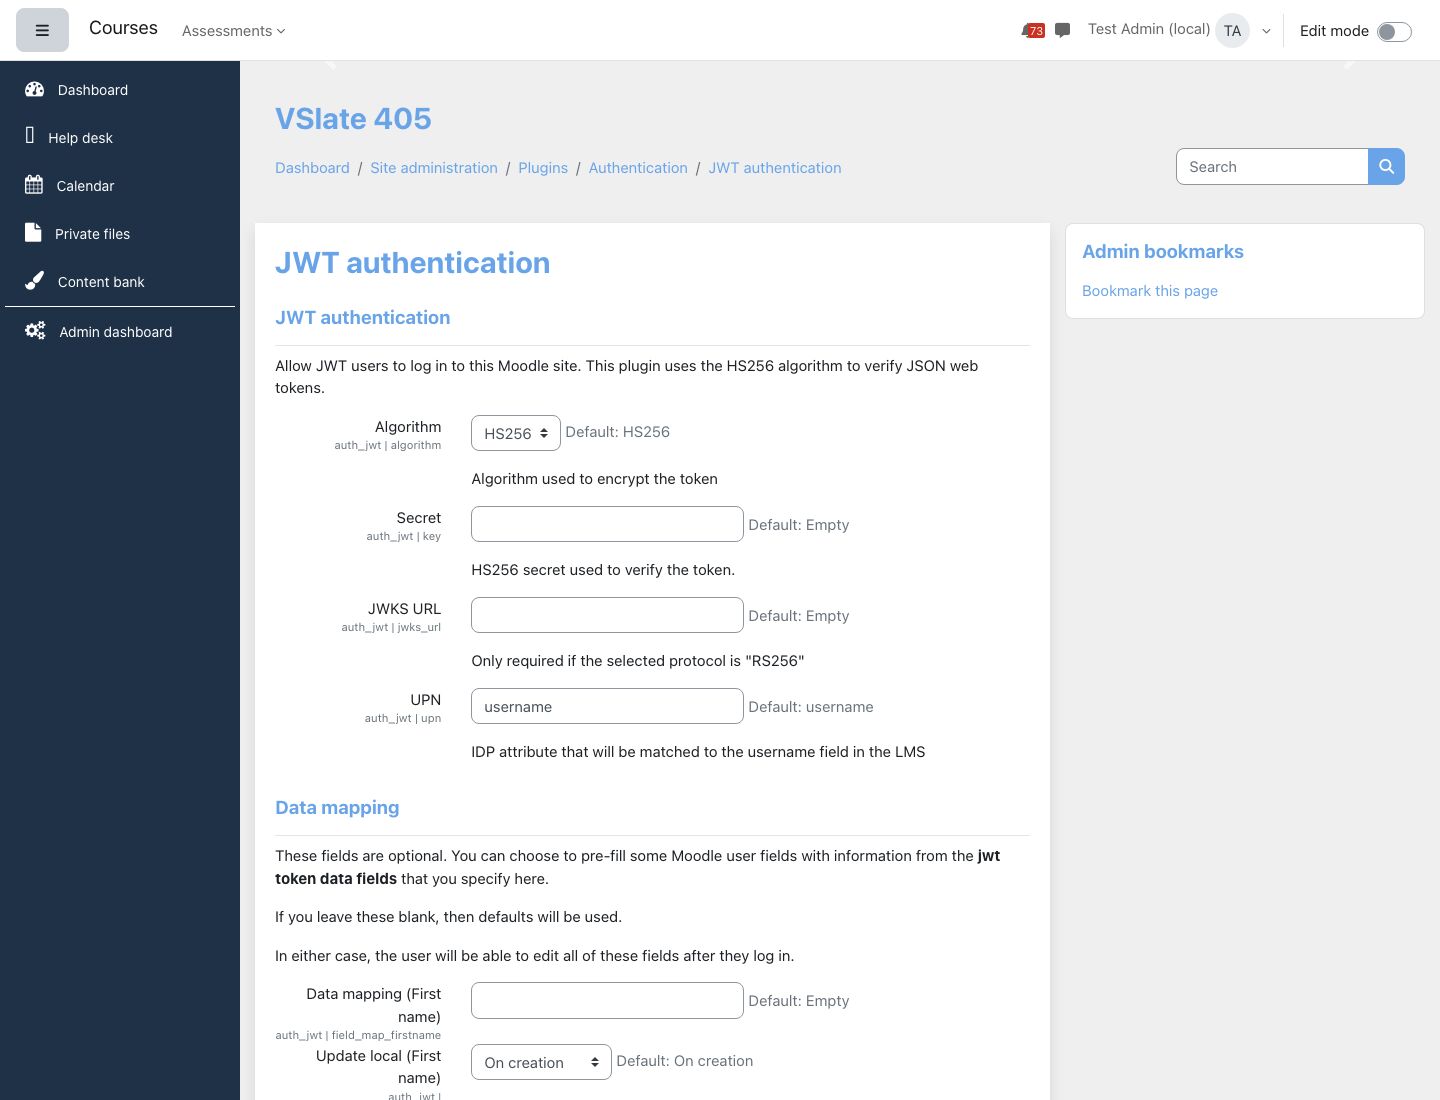
| Setting | Default | What it does |
|---|---|---|
| Algorithm | HS256 | How tokens are signed. HS256: with a secret both systems share. RS256: with the portal's private key; Moodle checks it with the public keys published at the JWKS URL. |
| Secret | Empty | "HS256 secret used to verify the token." Must be exactly the value the portal signs with. While it is empty, HS256 tokens are ignored. |
| JWKS URL | Empty | Only for RS256: the web address where the portal publishes its public keys. |
| UPN | username | "IDP attribute that will be matched to the username field in the LMS": the name of the claim in the token that holds the Moodle username, for example memberNumber, upn or email. |
Data mapping
Under Data mapping each user field (first name, last name, email address, city, country, language, institution, department, phone numbers, address and the rest, and your custom profile fields) has three settings:
- Data mapping (field): the name of the claim in the token that fills this field. Leave it empty to leave the field alone.
- Update local (field): On creation (the default) fills it only when the account is created; On every login refreshes it from the token each time.
- Lock value (field): Unlocked (the default), Unlocked if empty or Locked, which decides whether people can change the value on their profile.
Questions we get asked
Someone has two accounts after signing in from the portal.
The token's UPN claim did not match their existing username, so a new account was made. Make sure the portal sends the same value Moodle has as the username (or set UPN to the claim that matches, such as email), then ask us to merge or remove the extra account.
Can learners still sign in with a password?
People whose accounts were created by JWT have no Moodle password, so they come in through the portal. Accounts created any other way keep signing in as before.
Courses and utilities
Two course formats, a tool for putting SCORM results right, the Virtual Slate Utilities, and engaged-time measurement for the learning-time reports.
A course format decides how a course page is laid out: what learners see first, how they move between sections, and what teachers see when they edit. Virtual Slate adds two formats of its own, Lingel tabs and Accordion, beside Moodle's standard ones. This page also covers the administrator tools Mark SCORM completed, the Virtual Slate Utilities, Virtual Slate time tracking and Vslate Cleanup, and the Certificate Report.
| Plugin | What it is for | Who uses it |
|---|---|---|
| Lingel tabs | A course format that shows one section at a time behind a row of tabs, with the learner's progress and the course instructor beside it, and a snapshot of the class for teachers | Learners, teachers, course creators |
| Accordion | A course format that shows every section as a bar that opens and closes, one at a time or several together | Learners, teachers, course creators |
| Mark SCORM completed | Marks a SCORM package passed or completed for chosen learners, for example when a package failed to report back | Site administrators |
| Virtual Slate Utilities | Extra bulk user actions (re-send welcome emails, add people to a learning path or a team) and an older set of reminder emails | Site administrators |
| Virtual Slate time tracking | Measures how long learners actively spend on the site, for the time tab and the Time on task report | Site administrators, learners (to opt out) |
| Vslate Cleanup | Two scheduled tasks that permanently delete old data: quiz attempts of deleted accounts, and old site logs or grade history (after saving a copy) | Lingel Learning and site administrators |
| Certificate Report | A list of every certificate issued, filtered to a manager's own company, with downloads and the PDFs | Site administrators, managers |
On this page: Choosing a course format, Lingel tabs, Accordion, Mark SCORM completed, Virtual Slate Utilities, Virtual Slate time tracking, Vslate Cleanup, Certificate Report and Questions we get asked.
Each plugin is switched on per site by Lingel Learning. If a menu or setting described here is missing on your site, the plugin is not enabled for you; contact your usual Lingel Learning contact. The screenshots come from a demonstration site with fictional people, so your names and colours will differ.
Choosing a course format
Every course has one format. To change it:
- Open the course and choose Settings from the course menu.
- Expand Course format and choose the Format: Lingel tabs, Accordion, or one of Moodle's own.
- Moodle reloads the section to show that format's own settings. Set them (they are described below) and choose Save and display.
Changing the format does not move or delete any activity: the sections and everything in them stay as they are, only the layout changes. You can switch back at any time.
Site administrators decide which formats course creators can choose from under Site administration → Plugins → Course formats → Manage course formats. The eye icon hides a format from the list for new choices (courses already using it keep it), the arrows set the order, and Settings opens a format's site-wide defaults. The default format for new courses is set in Course default settings, linked below the table.
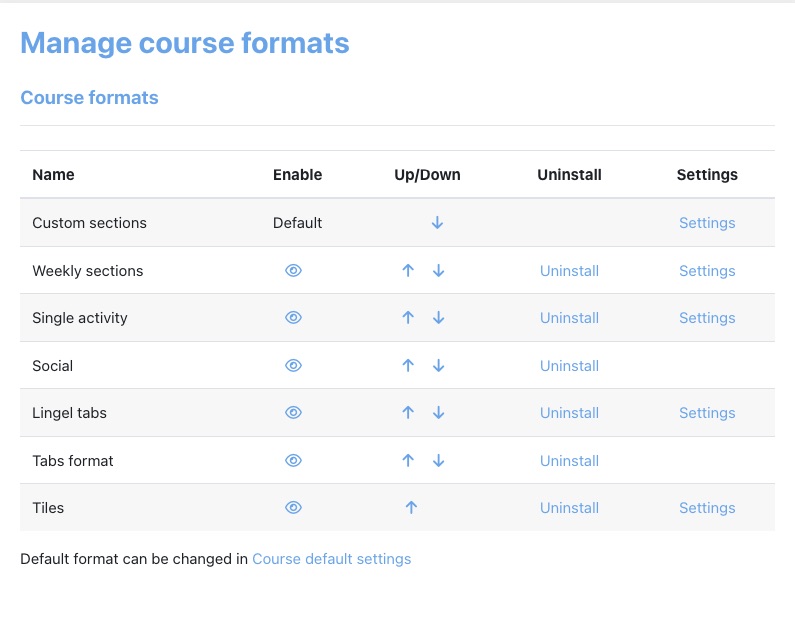
Lingel tabs
Lingel tabs shows a course one section at a time. The section names run across the top as tabs (or down the left, if you prefer), the chosen section's activities fill the page as cards or a list, and a column on the right shows the learner their own progress and who teaches the course. Teachers also get a course snapshot: a one-line summary of the class that opens into the full picture.
- Name in Moodle
- Lingel tabs (a course format)
- Where to set it
- A course's Settings → Course format → Format
- Course settings
- Eight, under Course format; five more on each section
- Site setting
- One: Show the course snapshot to teachers, the default for new courses
- Permissions
- None of its own. It uses Moodle's usual course capabilities
What learners see
The course opens on the Default section (the first section, Section 0, unless you choose otherwise). Choosing a tab shows that section: its name, its description, then its activities. PREVIOUS and NEXT buttons at the foot of the section move through the course in order. A row of tabs wider than the screen can be scrolled sideways.
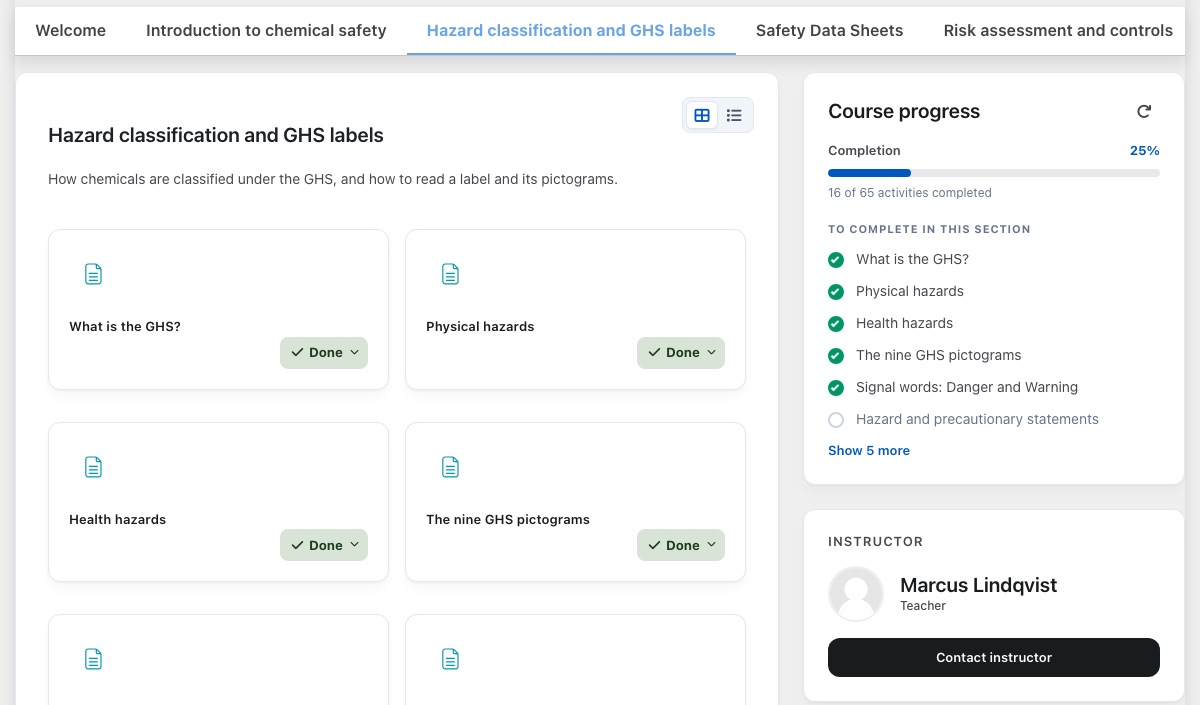
- Cards or list. The two buttons above the activities switch between cards (a grid of larger tiles) and a list (one compact row per activity, which suits a long section). The course sets the starting choice; each person's own choice is remembered for that course.
- Completion. Where the course tracks completion, each activity shows its status (Done, To do) or a Mark as done button for activities learners tick off themselves.
- Course progress. The share of the course's tracked activities the learner has completed, then To complete in this section: the tracked activities of the open section, ticked when done. A long list shows six and a Show more link. The refresh icon (Refresh progress) updates it after an activity is completed in another tab. The panel only appears when the course tracks completion.
- Instructor. The first person in the course with a course-contact role (normally Teacher; set under Site administration → Appearance → Courses → Course contacts), with their photo and a Contact instructor button that opens a message to them. The panel does not appear in a course with no teacher.
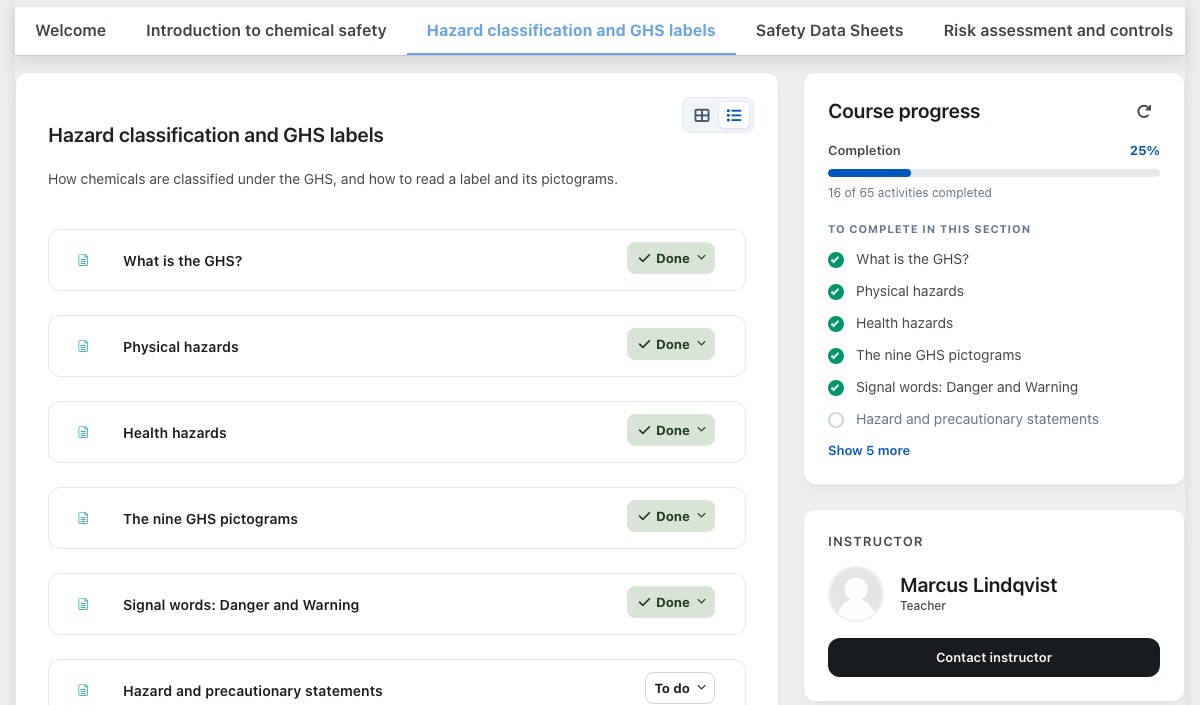
With Tabs layout set to Vertical, the sections become a numbered Topics list down the left with a count of sections, the activities sit to its right, and the progress and instructor panels move below the activities.
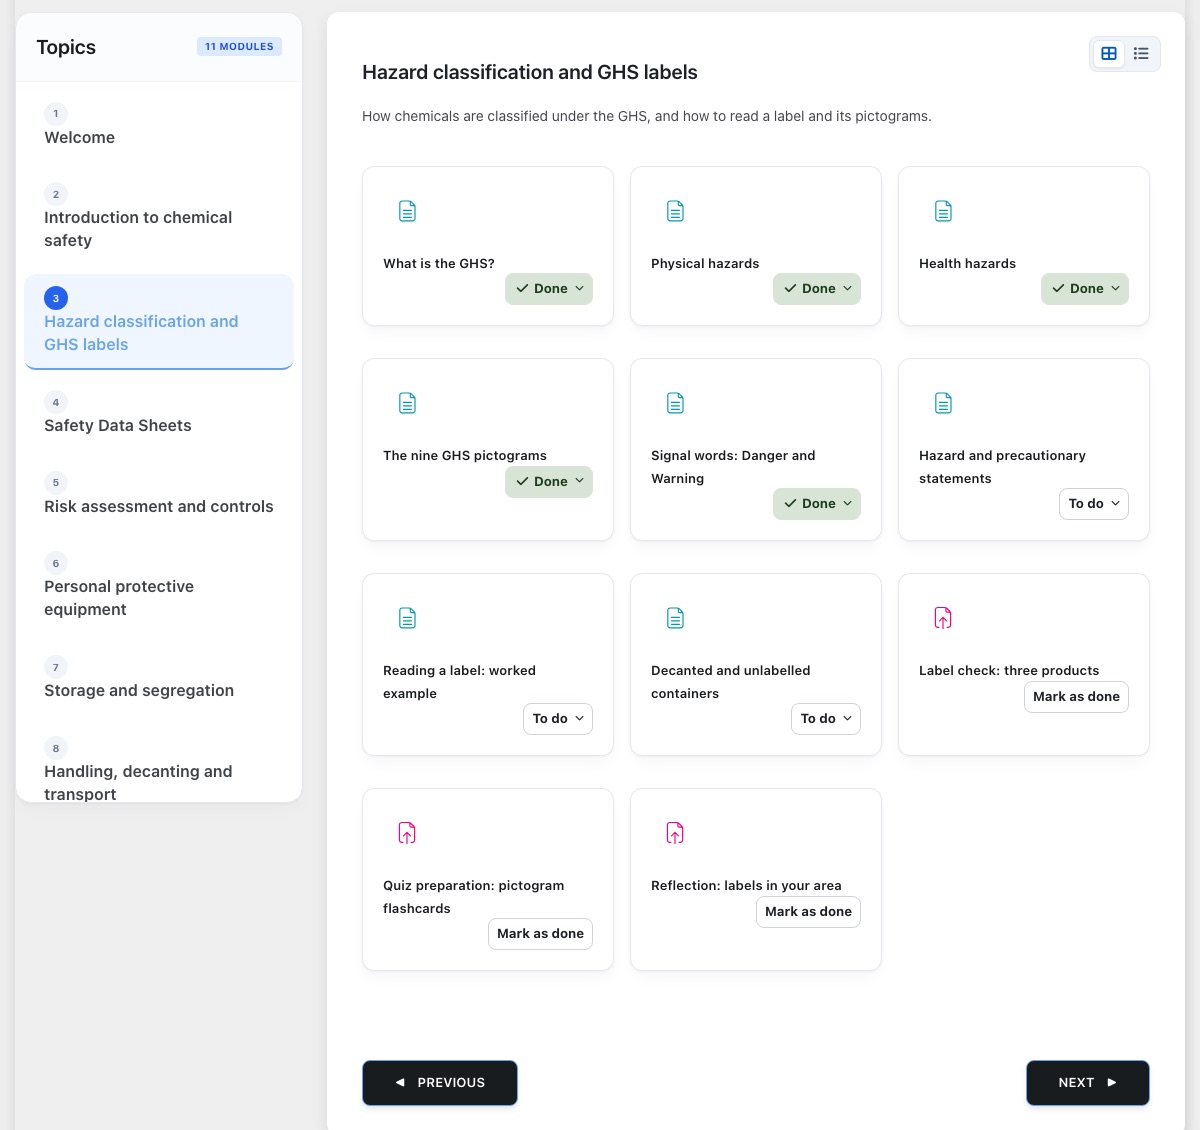
The course snapshot, for teachers
Above the tabs, teachers and administrators see Course snapshot: a single line with the number of learners, how many were active this week, the share who have completed the course and, when there is marking waiting, a highlighted to grade figure. The arrow opens the details; each teacher's choice to keep it open or closed is remembered.
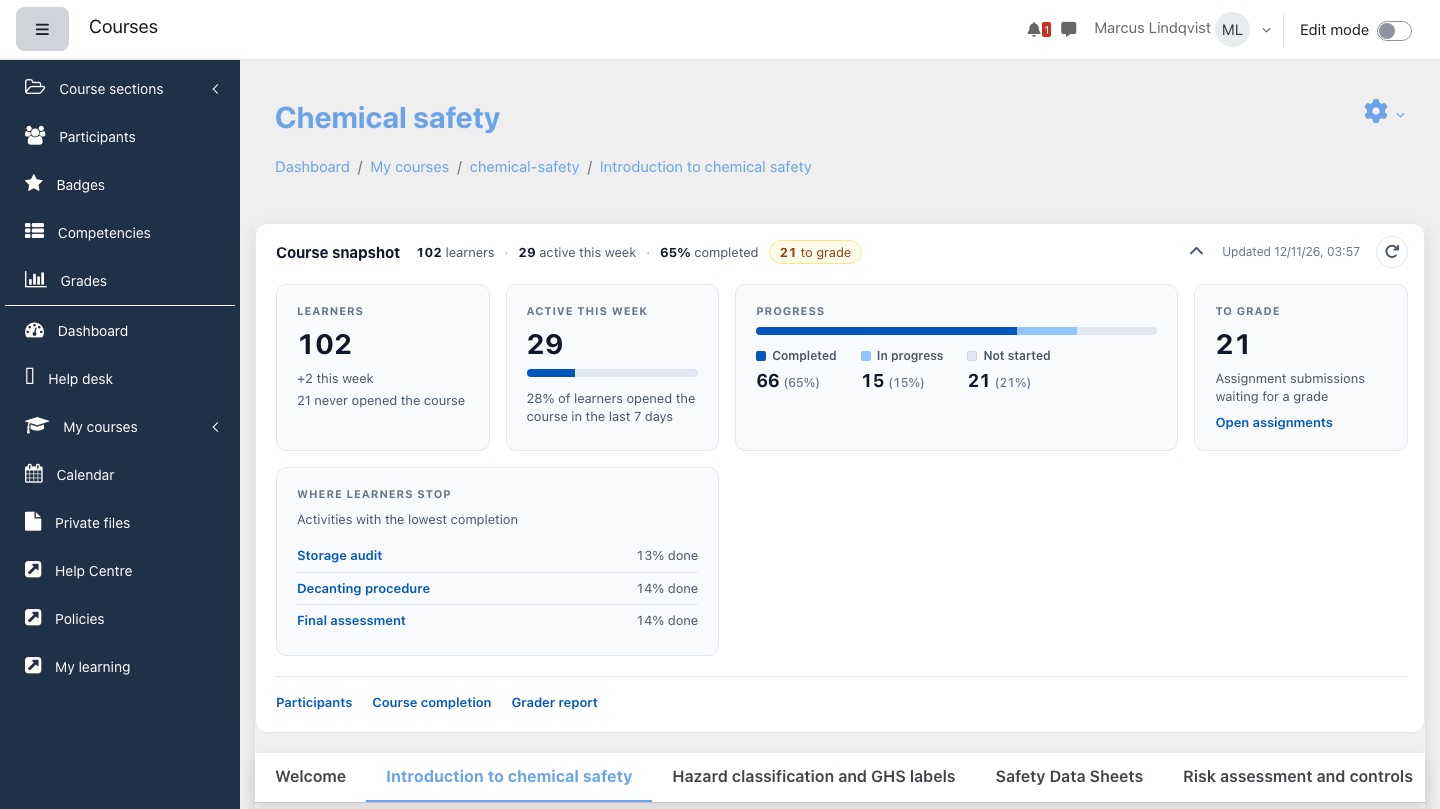
| Figure | What it counts |
|---|---|
| Learners | People in the course who appear in completion reports (normally everyone with the Student role and an active enrolment). Below it: how many joined in the last 7 days, and how many have never opened the course. |
| Active this week | Learners who opened the course in the last 7 days, with the share of all learners as a bar. |
| Progress | Completed, In progress and Not started. If the course has completion criteria, completed means the course is complete; otherwise it means every tracked activity is done. In progress means at least one activity done. Shown only when the course tracks completion. |
| To grade | Assignment submissions that are submitted and not yet graded, or changed since they were graded, with an Open assignments link. Shown only when the course has assignments. |
| Where learners stop | The three tracked activities with the lowest completion, with the share of learners who have done each. Each name opens the activity. |
| Reports links | Participants, Course completion (or Activity completion when the course has no completion criteria) and Grader report, each shown only to people allowed to open it. |
The figures are counts across the class, never a list of named learners. They are worked out when someone opens the course and kept for 15 minutes. In a course with more than 5,000 learners they are worked out in the background instead, and the snapshot shows the last figures with Updating in the background (or, the first time, The snapshot for this course is being prepared. Check back in a few minutes.). The refresh button (Refresh snapshot) recalculates at most once a minute.
The snapshot is shown to anyone who can see the course's grades, enrolments, participants or reports. On most sites learners can see the participants list, so at present learners see the snapshot too. We are correcting this so that only staff see it. Until then, if learners in a course must not see these class figures, set Show the course snapshot to teachers to No in that course's settings.
Editing a Lingel tabs course
With Edit mode on, the tabs stay at the top but the page lists every section one after another, with Moodle's usual editing controls: the pencil to rename, the three-dot menu on each section and activity, Add an activity or resource and drag-and-drop to move things between sections. A + tab at the end of the row adds a section. The cards-and-list buttons and the side panels are hidden while editing.
Course settings
In the course's Settings, under Course format:
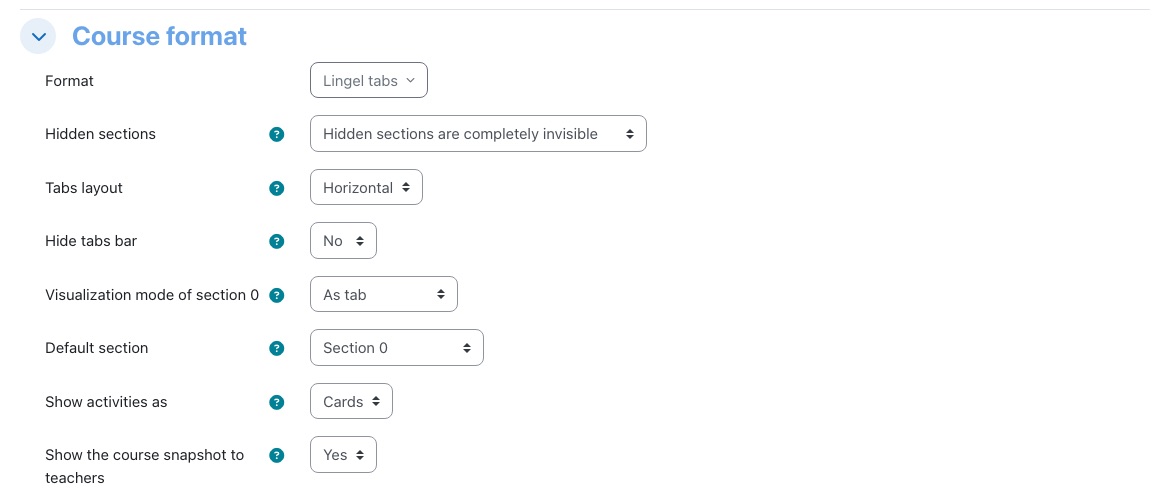
| Setting | Default | What it does |
|---|---|---|
| Hidden sections | The site's course default | Whether a hidden section's tab is shown to learners as not available, or not shown at all. |
| Tabs layout | Horizontal | Horizontal: tabs across the top. Vertical: a Topics list down the left. |
| Hide tabs bar | No | Yes removes the tabs; people move through the course with PREVIOUS and NEXT and the course index instead. |
| Visualization mode of section 0 | The site's course default (normally As tab) | As tab: the first section is the first tab. Before the tabs: the first section is shown above the tabs on every page, which suits a welcome message or announcements. |
| Default section | Section 0 | The section shown when someone opens the course without choosing one: Section 0 or First tab (section 1). With Before the tabs, section 0 is above the tabs either way. |
| Show activities as | Cards | The starting view for activities: Cards or List. Each person can switch on the course page. |
| Show the course snapshot to teachers | The site default (Yes) | Whether the course snapshot appears above the tabs. |
Section settings
Each section's Edit settings page has, below the name and description:
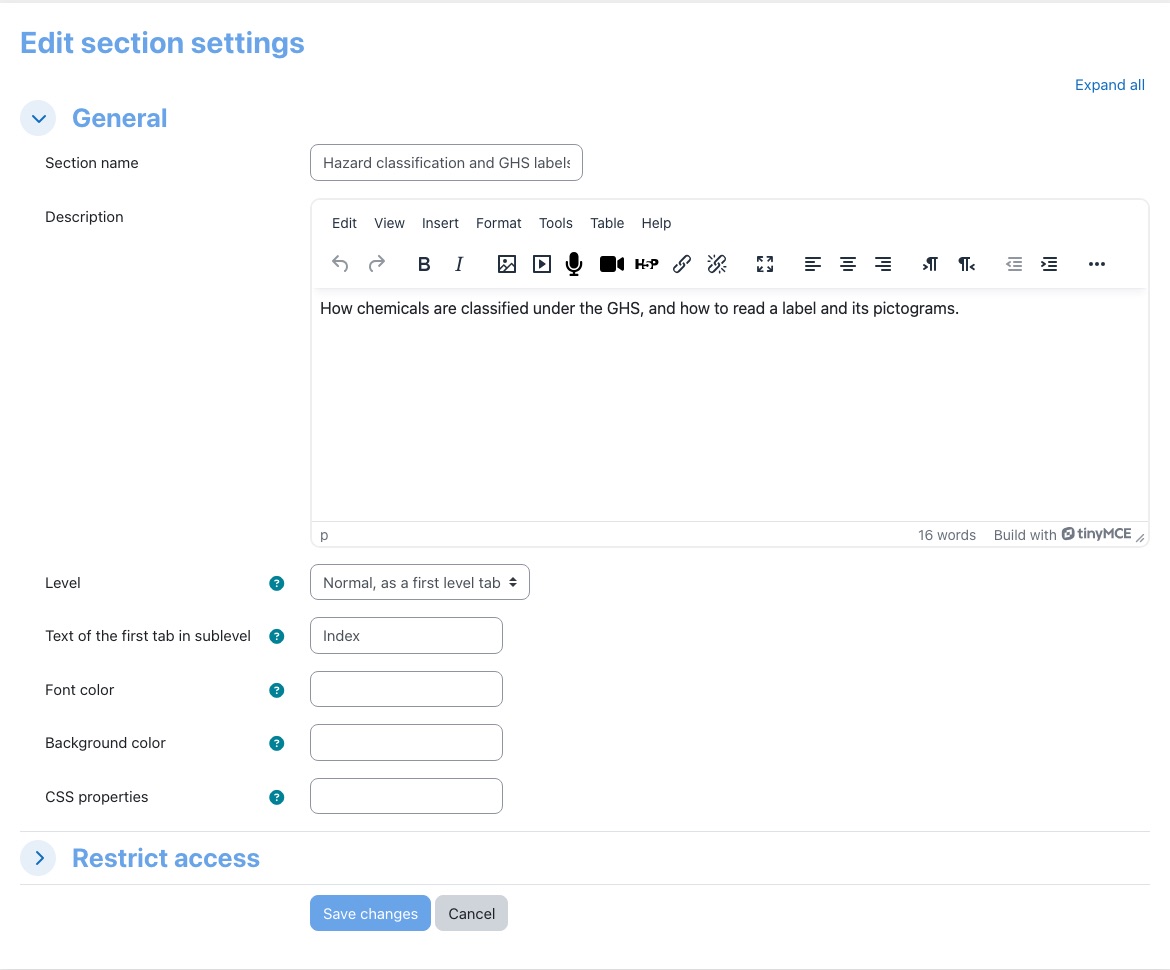
| Setting | Default | What it does |
|---|---|---|
| Level | Normal, as a first level tab | Child of previous tab makes this section a sub-tab of the section before it, giving two rows of tabs. |
| Text of the first tab in sublevel | Index | When this section has sub-tabs, the label of the first sub-tab, which shows this section itself. |
| Font color, Background color | Empty | A colour for this section's tab, written as CSS: #ffffff, rgb(0,255,0) or green. |
| CSS properties | Empty | Further styling for the tab, for example font-weight: bold;. Check the result for contrast before learners see it. |
Site setting
Site administration → Plugins → Course formats → Lingel tabs has one setting, Show the course snapshot to teachers (default: on). It is the starting value for courses; each course can change it in its own settings.
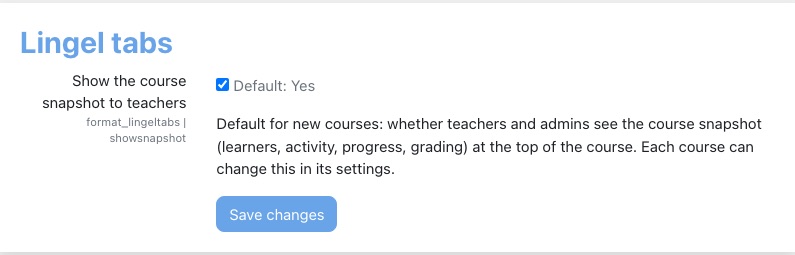
Accordion
Accordion lists every section of the course on one page as a bar. Learners open a bar to see that section's activities. By default only one section is open at a time, so opening one closes the last, and the course remembers which section each person had open.
- Name in Moodle
- Accordion (a course format)
- Where to set it
- A course's Settings → Course format → Format
- Course settings
- Five, under Course format
- Site setting
- One: Enable open multiple sections, the default for new courses
- Permissions
- None of its own
How it behaves
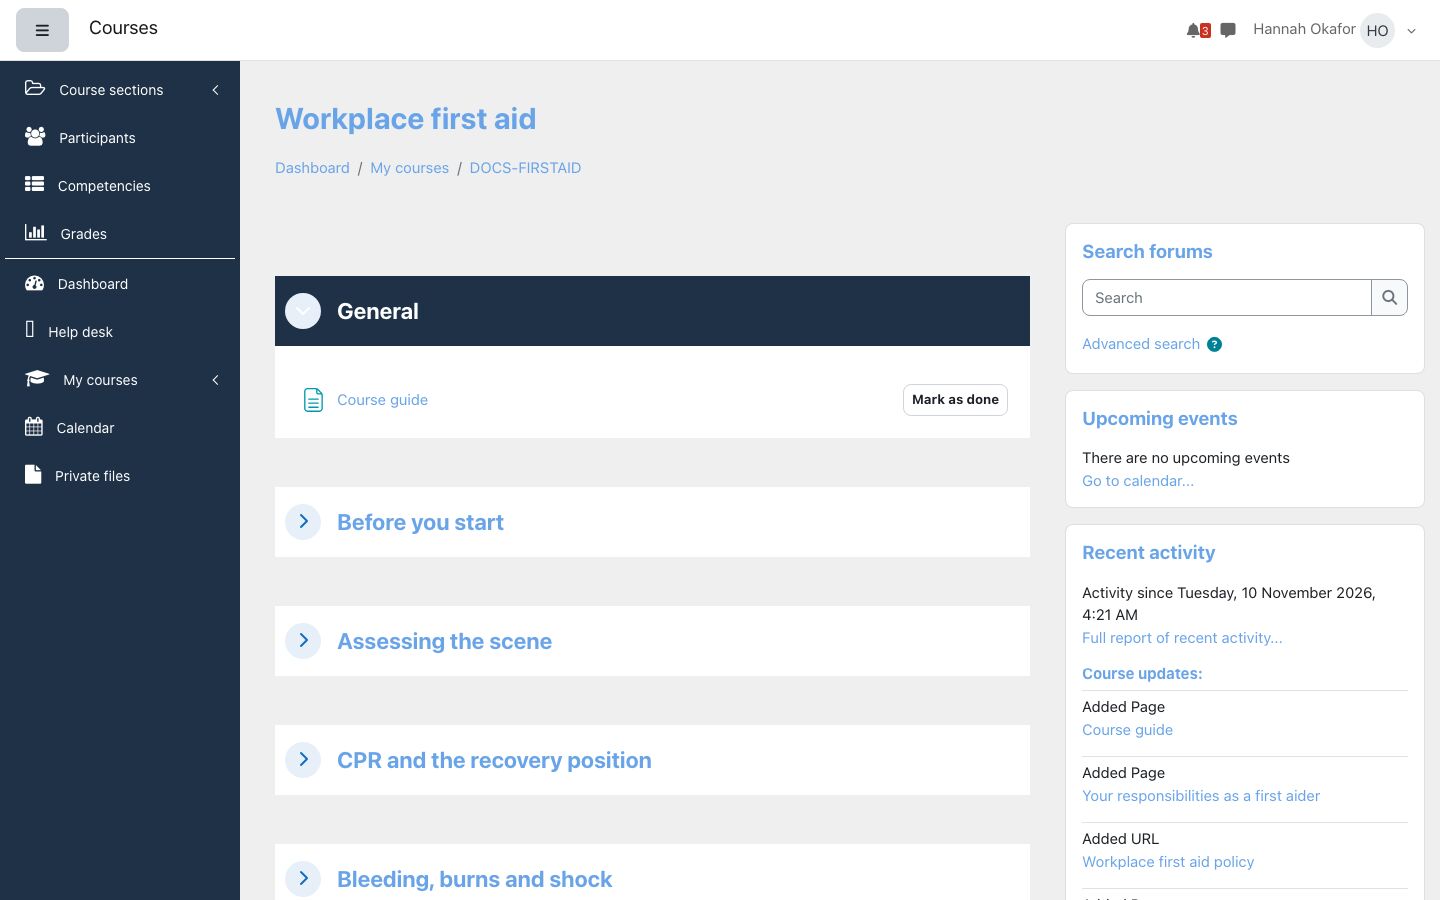
- One section at a time (the default). On a learner's first visit only General is open. Clicking a section's arrow or name opens it and closes the one that was open. Teachers get the same behaviour in edit mode.
- Picking up where they left off: with Auto bookmarking on (the default), the section a person left open is open again on their next visit. It is kept with their account, so it follows them to another device. With it off, every visit starts with only General open.
- Several at a time: with Open multiple sections set to Yes, sections open and close independently, and on a first visit every section is open. With Allow Expand/Collapse All also on, a Collapse all / Expand all link sits above the first section, on the right. Which sections are open is remembered in the same way.
- Highlight: as in Moodle's own formats, a teacher can highlight the current section from its menu in edit mode.
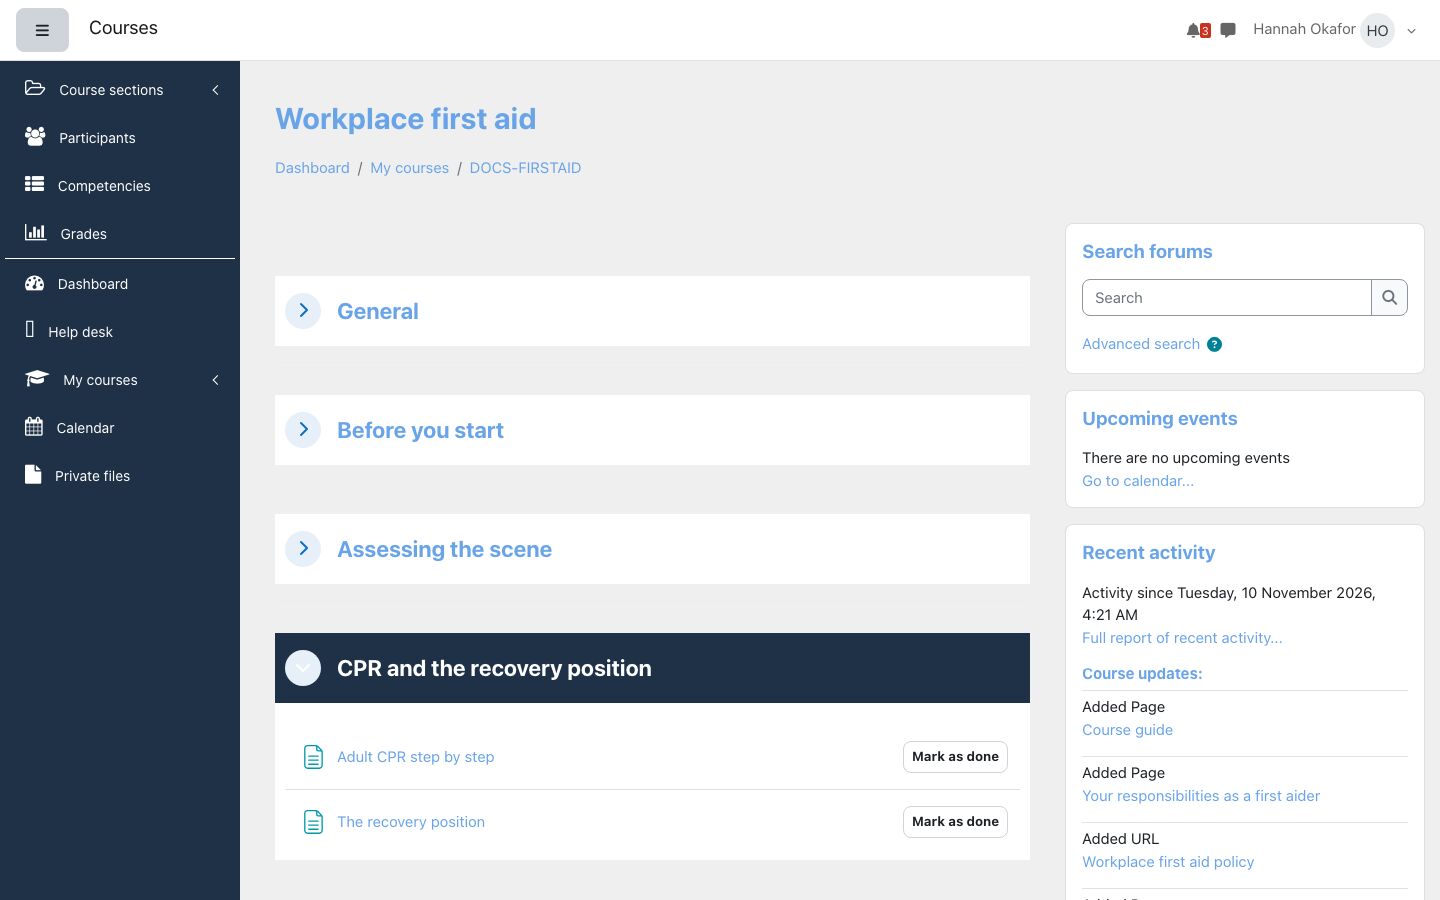
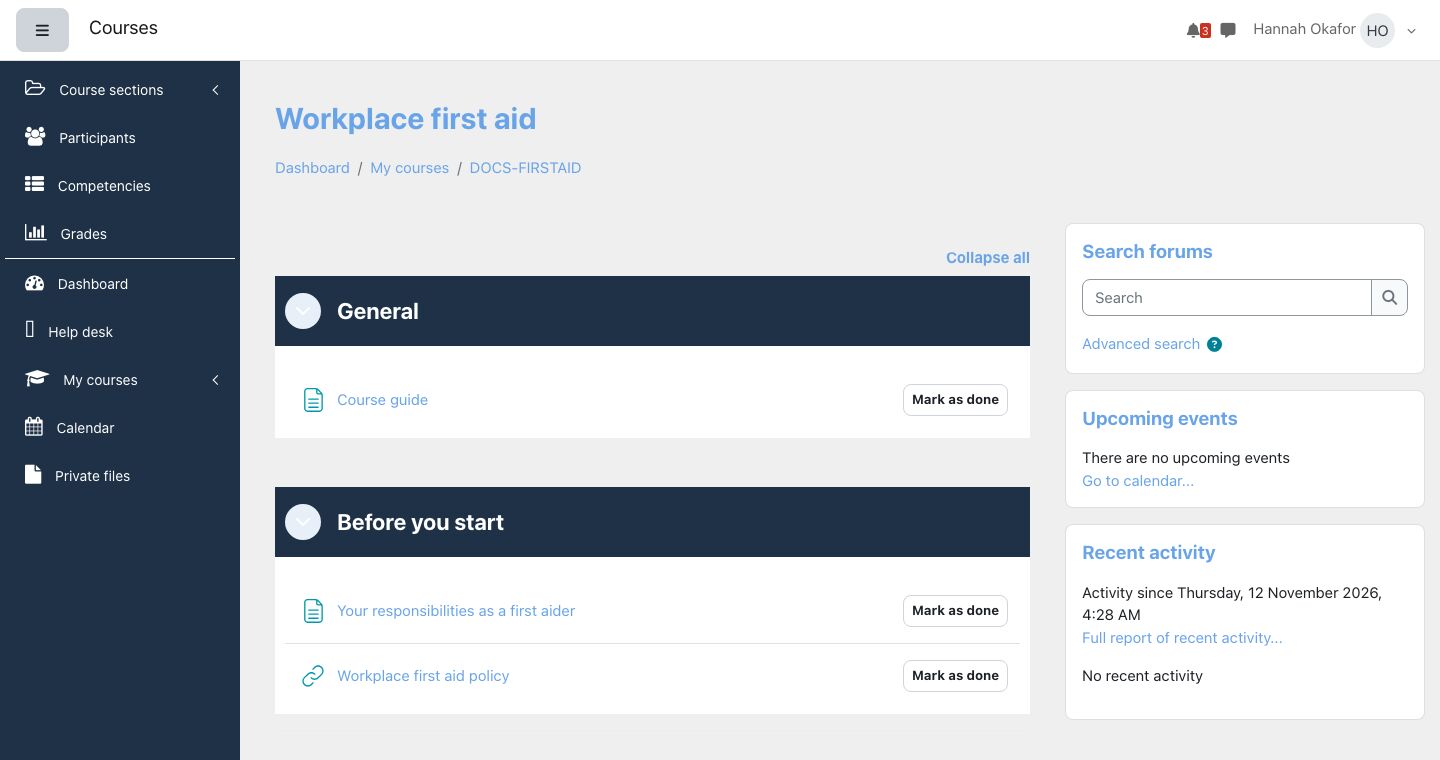
Switch a course to Accordion
- In the course, open Settings and expand Course format.
- Set Format to Accordion. The format's own settings (below) appear.
- Choose Save and display. Sections, activities, grades and completion are unchanged.
Editing an Accordion course
In edit mode each section bar has a menu (the three dots at its right) with View, Edit topic, Highlight, Duplicate, Hide topic, Move, Delete topic and Permalink. Activities have the usual pencil, Completion menu and actions, and Bulk actions sits at the top right of the course, as in Moodle's standard formats.
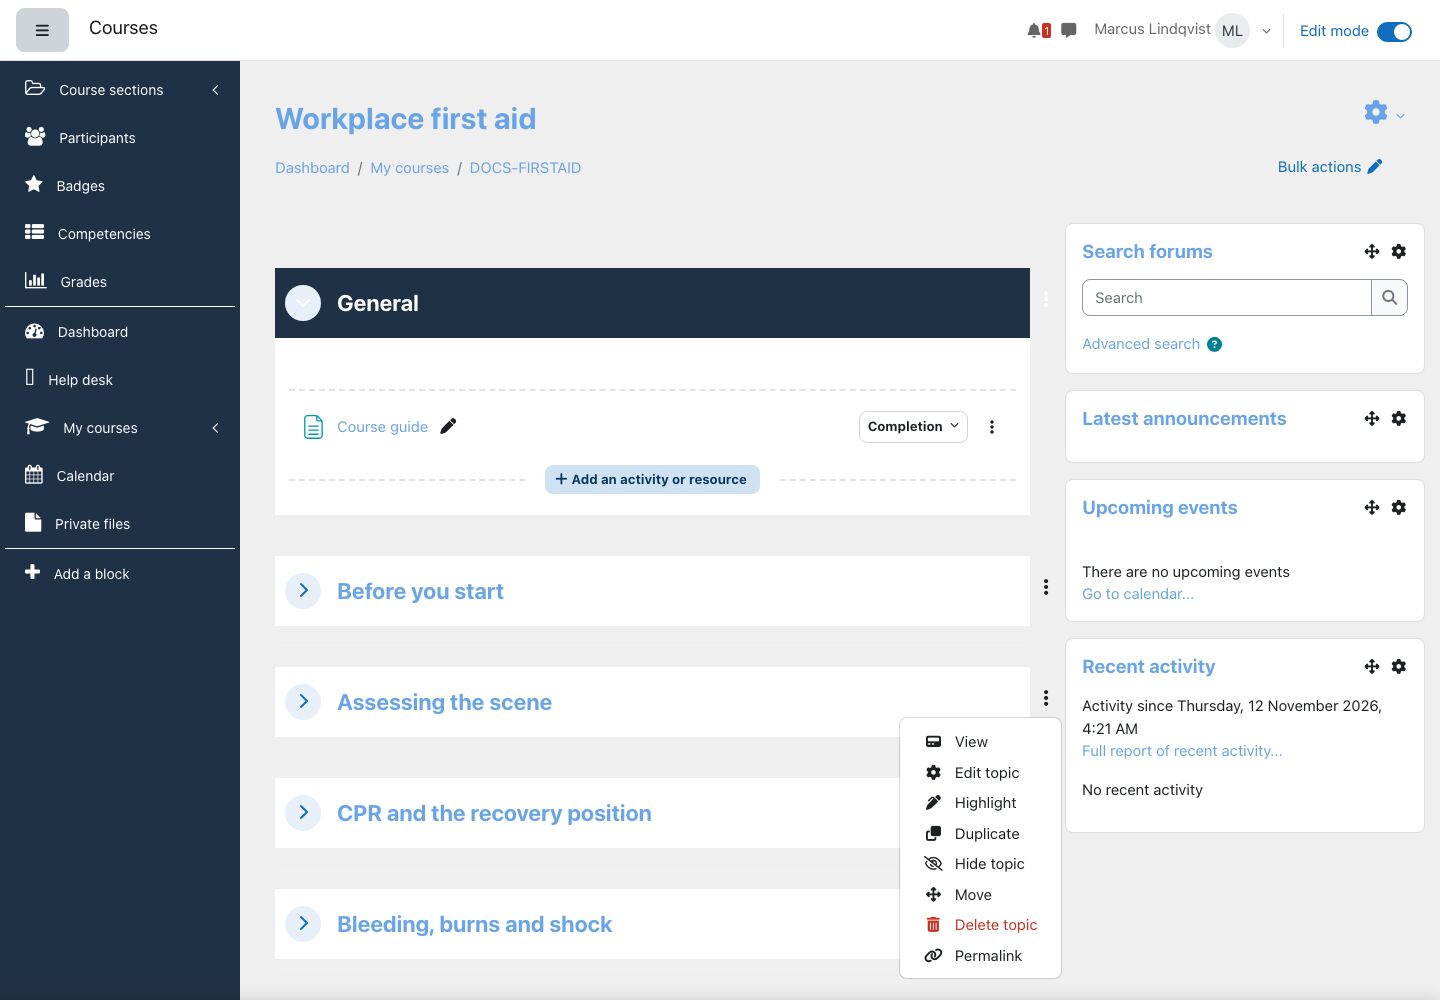
Adding a section. There is no Add topic link between sections. Open the last section: at its foot, + adds a new section at the end of the course. The − beside it only lowers the course's Number of sections setting by one; it does not remove or hide any section, so leave it alone. To remove a section, use Delete topic in that section's menu.
Course settings
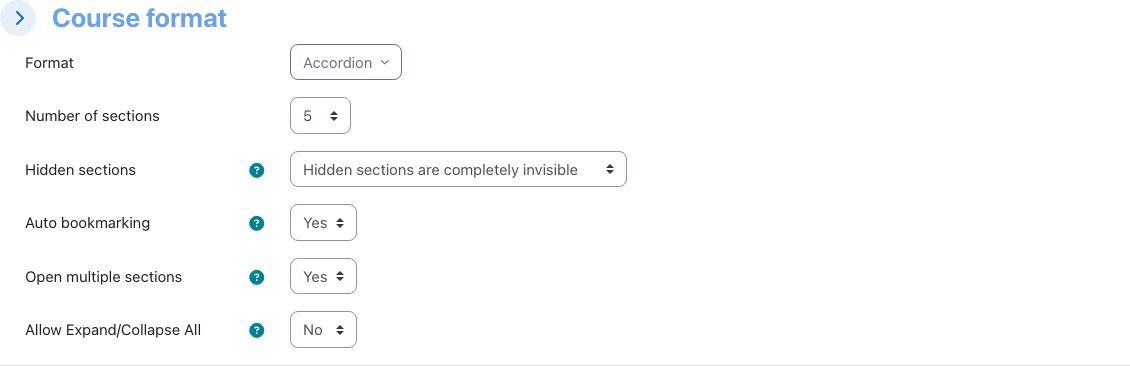
| Setting | Default | What it does |
|---|---|---|
| Number of sections | The site's course default | How many sections the course starts with. Lowering it later does not remove sections. |
| Hidden sections | The site's course default | Whether hidden sections are shown to learners as not available, or not shown at all. |
| Auto bookmarking | Yes | "If enabled, section that the user was on last, will be expanded by default." With No, each visit starts with only General open. |
| Open multiple sections | From the site setting (No unless changed) | Yes lets several sections be open at once; No keeps one open at a time. |
| Allow Expand/Collapse All | From the site setting | Shows the Collapse all / Expand all link. Only offered, and only used, when Open multiple sections is Yes. |
Site administration → Plugins → Course formats → Accordion has one setting, Enable open multiple sections (default: off). It sets the starting value of Open multiple sections and Allow Expand/Collapse All for courses that have not chosen; it does not change courses that already have.
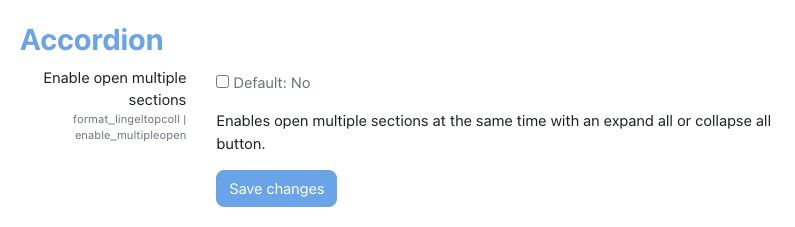
How it differs from Collapsed Topics
Accordion is Lingel Learning's own format. It is often compared with the community format Collapsed Topics, and looks similar, but it is built on Moodle's standard section format rather than on Collapsed Topics. Compared with Collapsed Topics it:
- opens one section at a time by default, and closes the others, which Collapsed Topics does not do;
- keeps each person's open sections with their Moodle account (Auto bookmarking), so they follow the person between devices;
- uses Moodle's own course index, highlight, bulk editing and section menus unchanged, and your theme's colours;
- has none of Collapsed Topics' styling options (toggle colours, icon sets, columns, toggle alignment or per-course reset), and no per-section structure such as weeks or day-of-week layouts.
Mark SCORM completed
Sometimes a SCORM package does not report back to Moodle: the learner finished it, but the activity still says incomplete. Mark SCORM completed lets a site administrator record the package as passed or completed for chosen learners, and then updates the activity's completion.
- Name in Moodle
- Mark SCORM completed (an admin tool)
- Where to find it
- Site administration → Plugins → Admin tools → Mark SCORM completed (also found by searching the administration pages)
- Settings
- None
- Who can use it
- Site administrators only
Mark a package completed
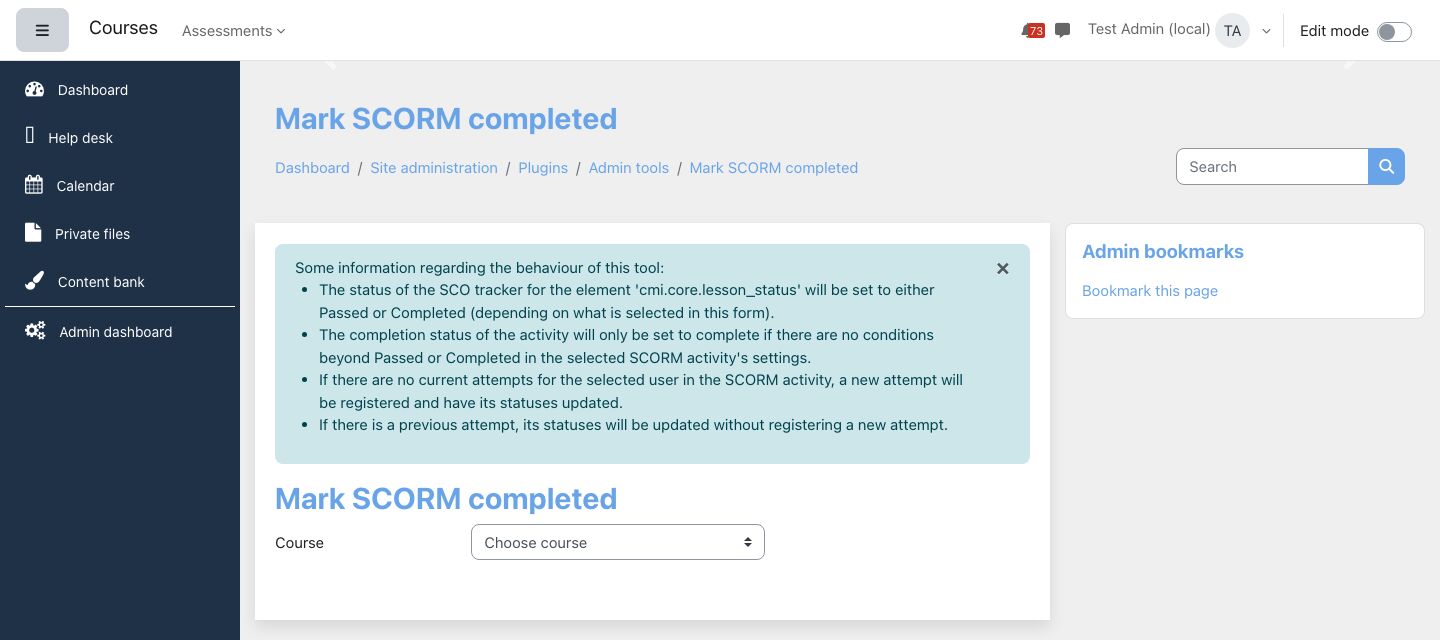
- Open the tool. A blue box at the top explains what it will change.
- Choose the course under Course. The list holds every course on the site, by full name. The page reloads by itself with the rest of the form (if it does not, choose Update).
- Choose the package under SCORM. Only SCORM activities in that course are listed.
- Under Select completion status, choose Passed (the default) or Completed. Use the one the package itself would have reported, so the activity's completion conditions are met.
- Under Select users, type part of a name and pick from the suggestions. Everyone enrolled in the course is offered, teachers included. Add as many people as you need.
- Choose Mark completed. You return to the empty form with "The selected SCORM activity's lesson SCO and activity completion statuses have been updated for the selected users." (or "...for the selected user." for one person).
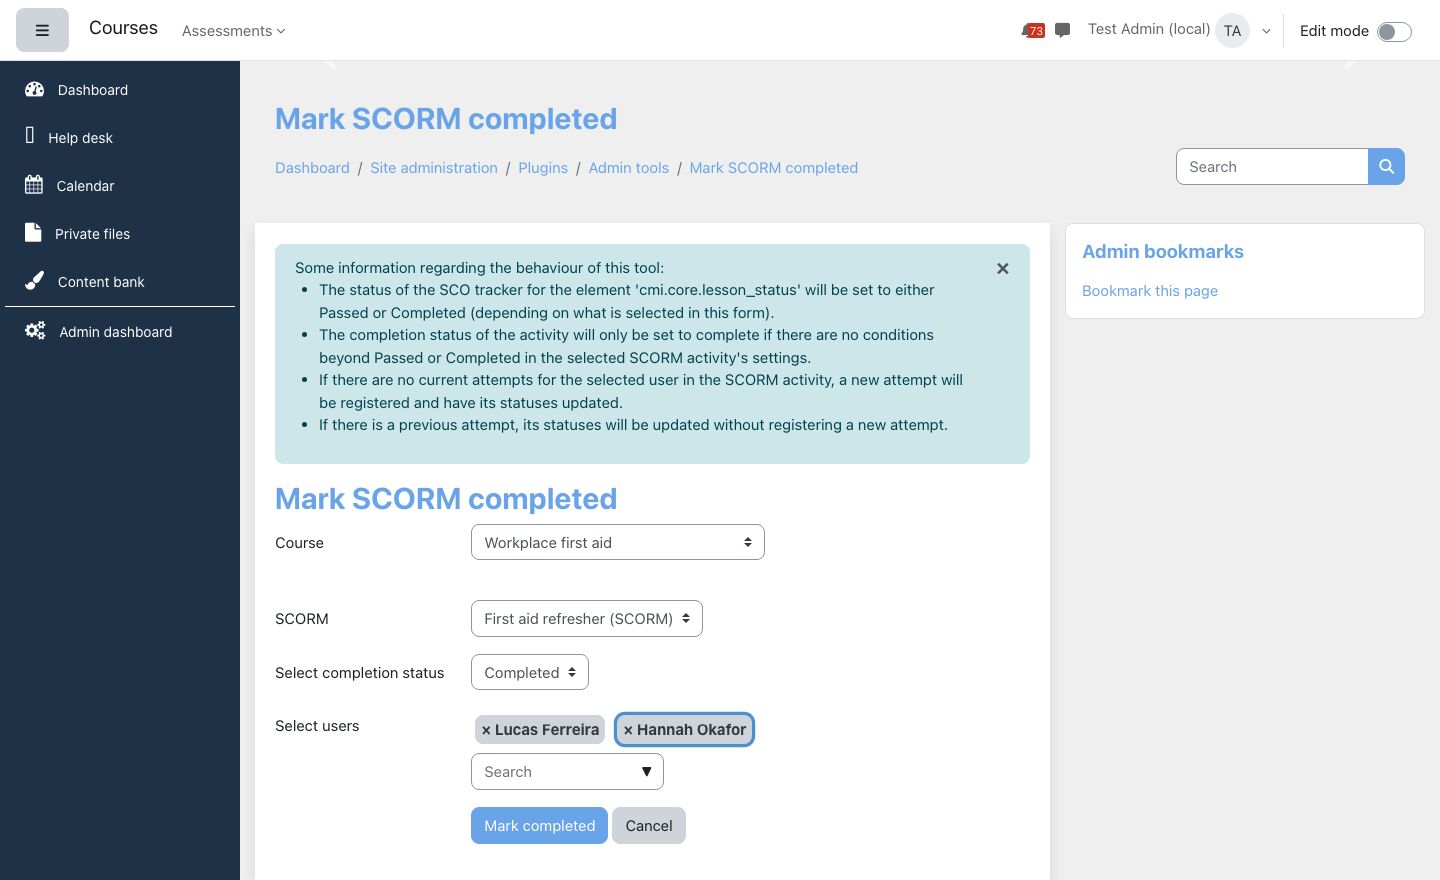
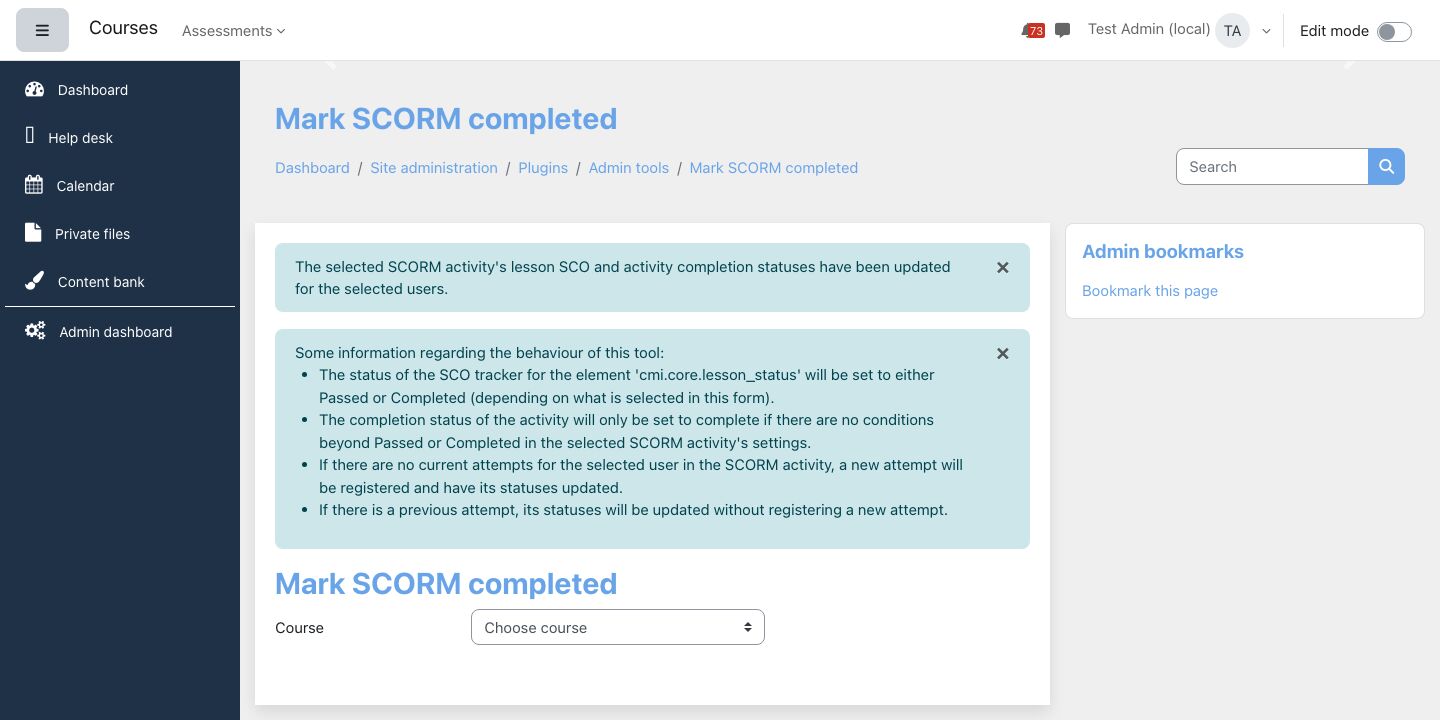
If any field is missing, the tool says "All fields are required. Please select a course, SCORM, and users." and changes nothing.
What it changes
- The package's lesson status is set to Passed or Completed for each learner.
- If the learner has an attempt, that attempt is updated; no new attempt is added. If they have none, an attempt is created for them.
- The activity's completion is then updated, and the learner sees it ticked as Done on the course page. It only becomes complete if the package's completion conditions go no further than passed or completed; a package that also requires a score, for example, stays incomplete.
- Two entries per learner are written to the site logs, both named "Mark SCORM completed admin tool: SCORM completion status updated": one for the status, one for the activity completion. Each names the learner and the administrator who made the change.
The tool works on the lesson status that SCORM 1.2 packages report. For SCORM 2004 packages, check the result in the activity's reports before relying on it. There is no undo: to reverse a mistake, delete the learner's attempts in the SCORM activity's reports.
The tool depends on a record Moodle creates the first time any learner opens a SCORM 1.2 package. On a new site where that has never happened, the tool shows its success message but the status is not recorded and the activity stays incomplete. Check the learner's course page after using it; if nothing changed, ask Lingel Learning.
Virtual Slate Utilities
The Virtual Slate Utilities add a few actions to Moodle's bulk user tools, and carry an older set of reminder emails for incomplete courses and inactive people. They appear under their own heading, Virtual Slate utilities, in Site administration.
- Name in Moodle
- Virtual Slate Utilities
- Where to find it
- Site administration → Virtual Slate utilities: Bulk user actions and Manage notifications. Settings under Site administration → Plugins → Local plugins → Virtual Slate Utilities - Settings
- Settings
- Two: Suspend notifications and Redirect all emails to
- Who can use it
- Site administrators
Bulk user actions
Bulk user actions is Moodle's bulk user page with four more actions. Filter and select people as usual (Add filter, then Add to selection or Add all), then choose an action under With selected users... and Go.
Many sites also have Virtual Slate bulk user actions under Site administration → Users → Accounts, described in Enrolment and users. It has the same team, learning path and welcome email actions plus suspend and unsuspend. Where your site has both, use that one.
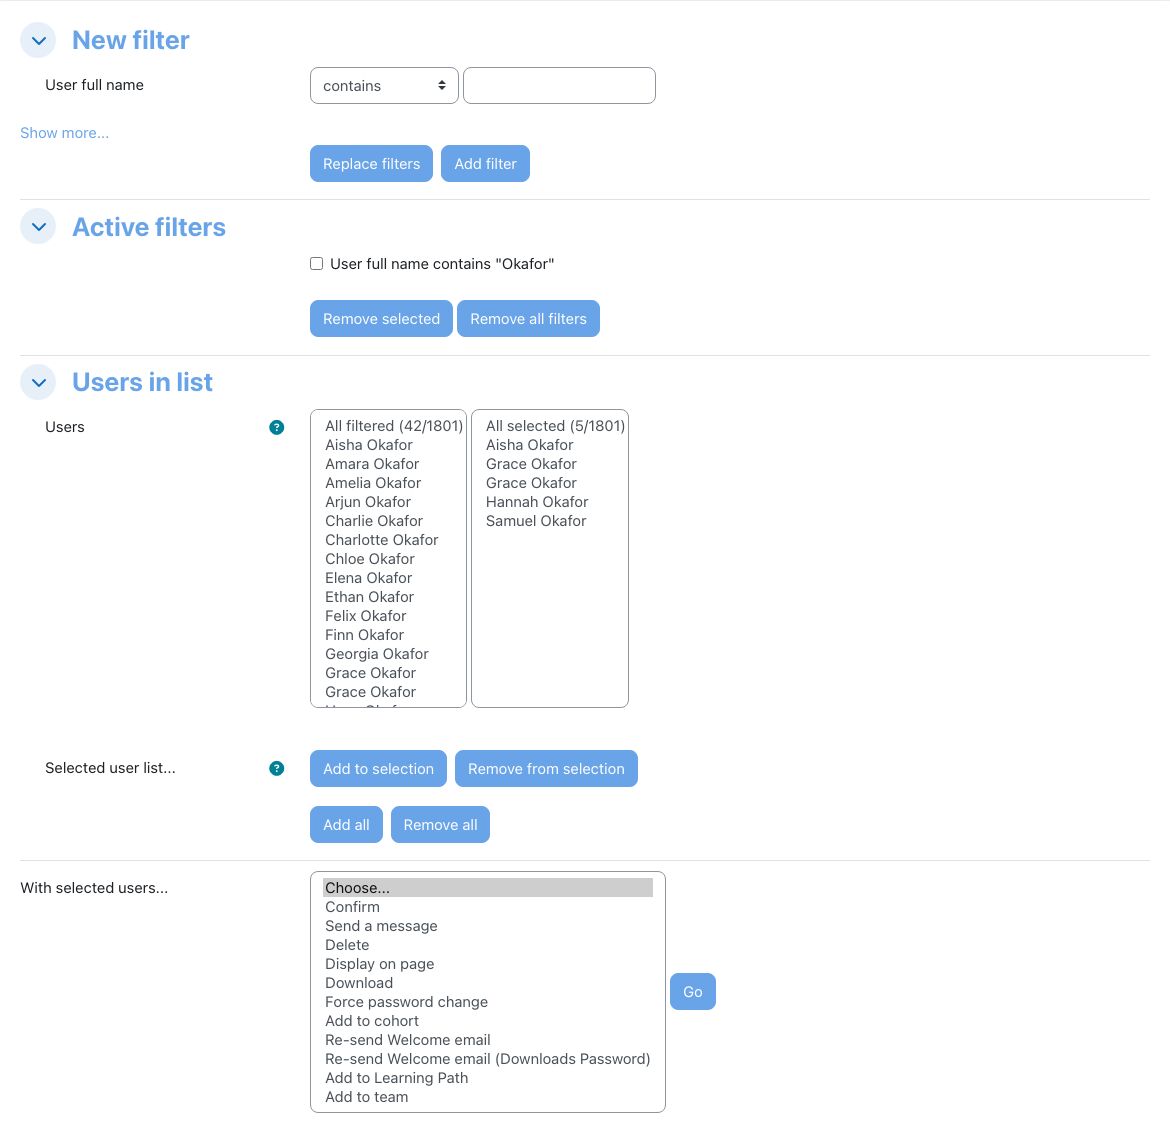
| Action | What it does |
|---|---|
| Re-send Welcome email | After a confirmation listing the people (Continue or Cancel), gives each a new password, emails it to them with the site's standard new-account message, and makes them change it at their next login. |
| Re-send Welcome email (Downloads Password) | The same, and also downloads a spreadsheet of first name, last name, email, username and the new password for each person. |
| Add to Learning Path | Lists the people, asks for a Learning path, and Add to Learning Path adds them to it and opens that path's users page. Needs the Learning Plan plugin and permission to manage learning paths. |
| Add to team | Lists the people, asks for a Team, and Add to Team adds them to it. Needs Team Management and permission to manage teams. |
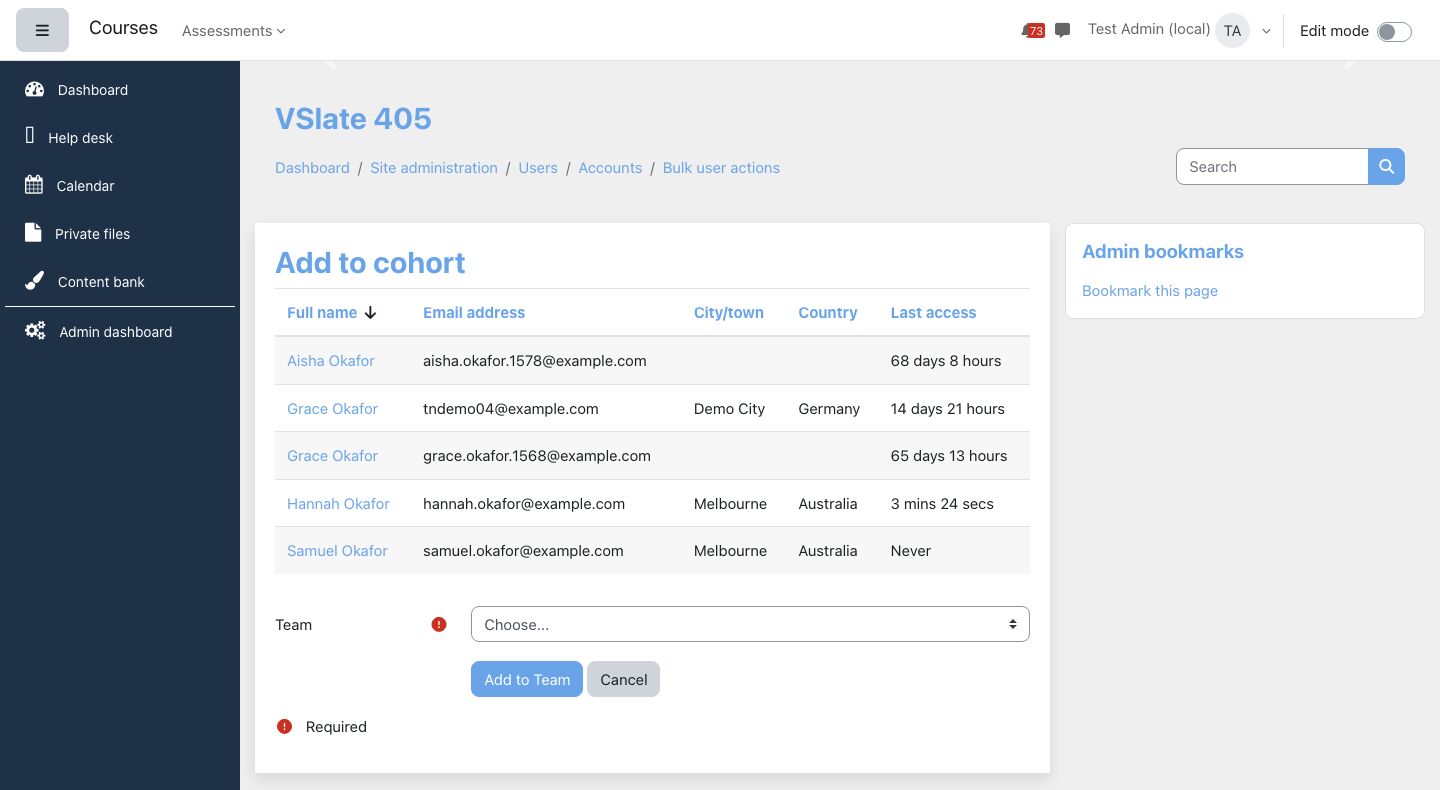
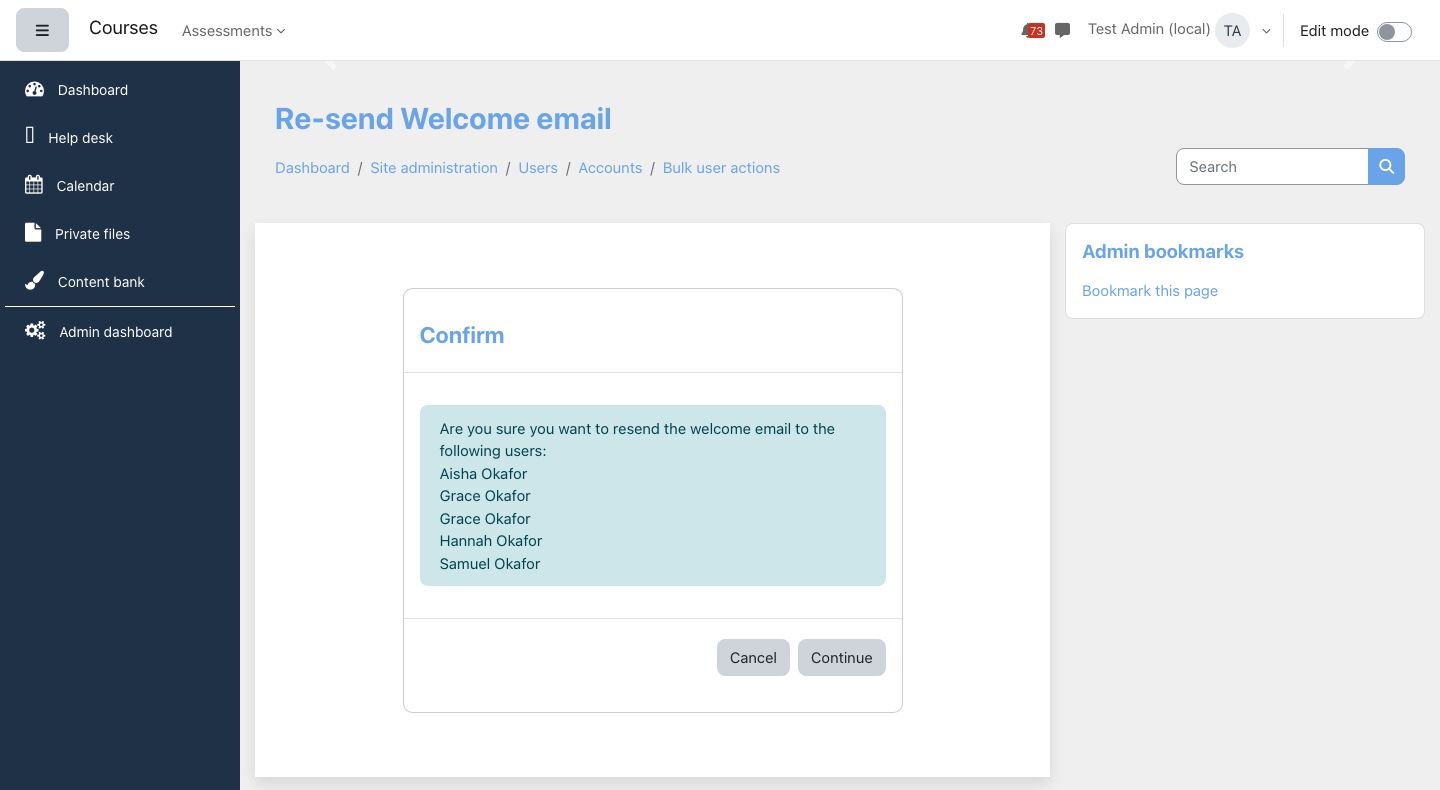
Moodle's own actions (confirm, send a message, delete, display on page, download, force password change, add to cohort) are on the same list and behave as usual.
Anyone who receives a re-sent welcome email can no longer log in with their old password. The downloaded spreadsheet holds working passwords in plain text: keep it only as long as you need it, never email it, and delete it afterwards.
Manage notifications (older reminder emails)
Manage notifications lists reminder emails with the columns S.No, Name, Description, Type, Status and Action (Edit / Delete). The buttons Add Completion notification and Add Inactive notification both open the same Add notification form, where you choose the Type; the form then reloads with that type's fields. There are two types:
- Completion: reminds learners in the courses chosen under Get course who have not finished, after Days to wait after enrolment, and again every Reoccur after days if Recurring is ticked.
- Inactivity: reminds people who have not logged in for No of Days since last login, again every Reoccur after days if Recurring is ticked.
Both have a Name, Description, Active box, Email subject, Email message and HTML email box. The message can use [firstname], [lastname], [fullname], [pendinglist] (the activities still to complete) and [unsublink] (a link that stops further reminders for that person). The Completion type also shows a Manager notification part (Notify manager, Email subject, Email text); it is saved, but no manager email is sent in this version.
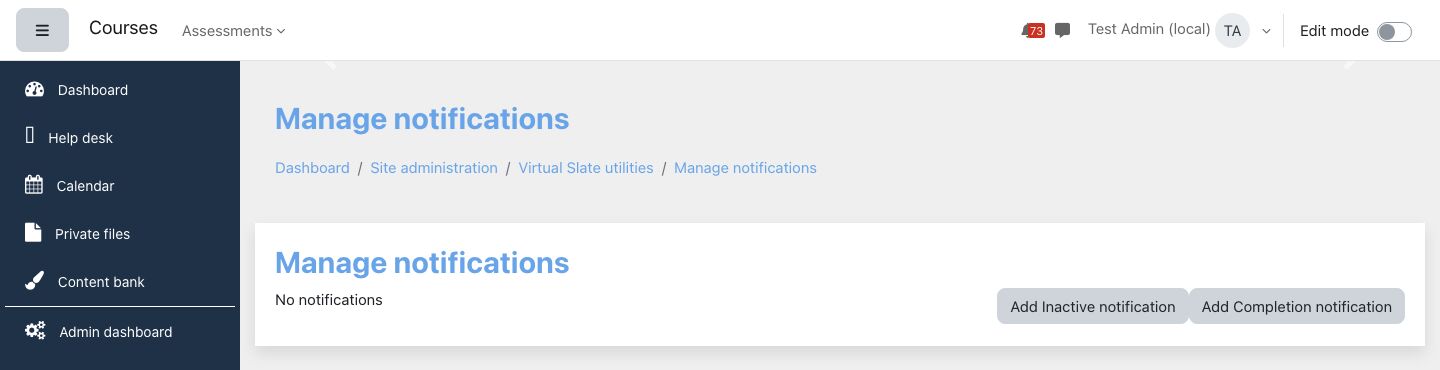
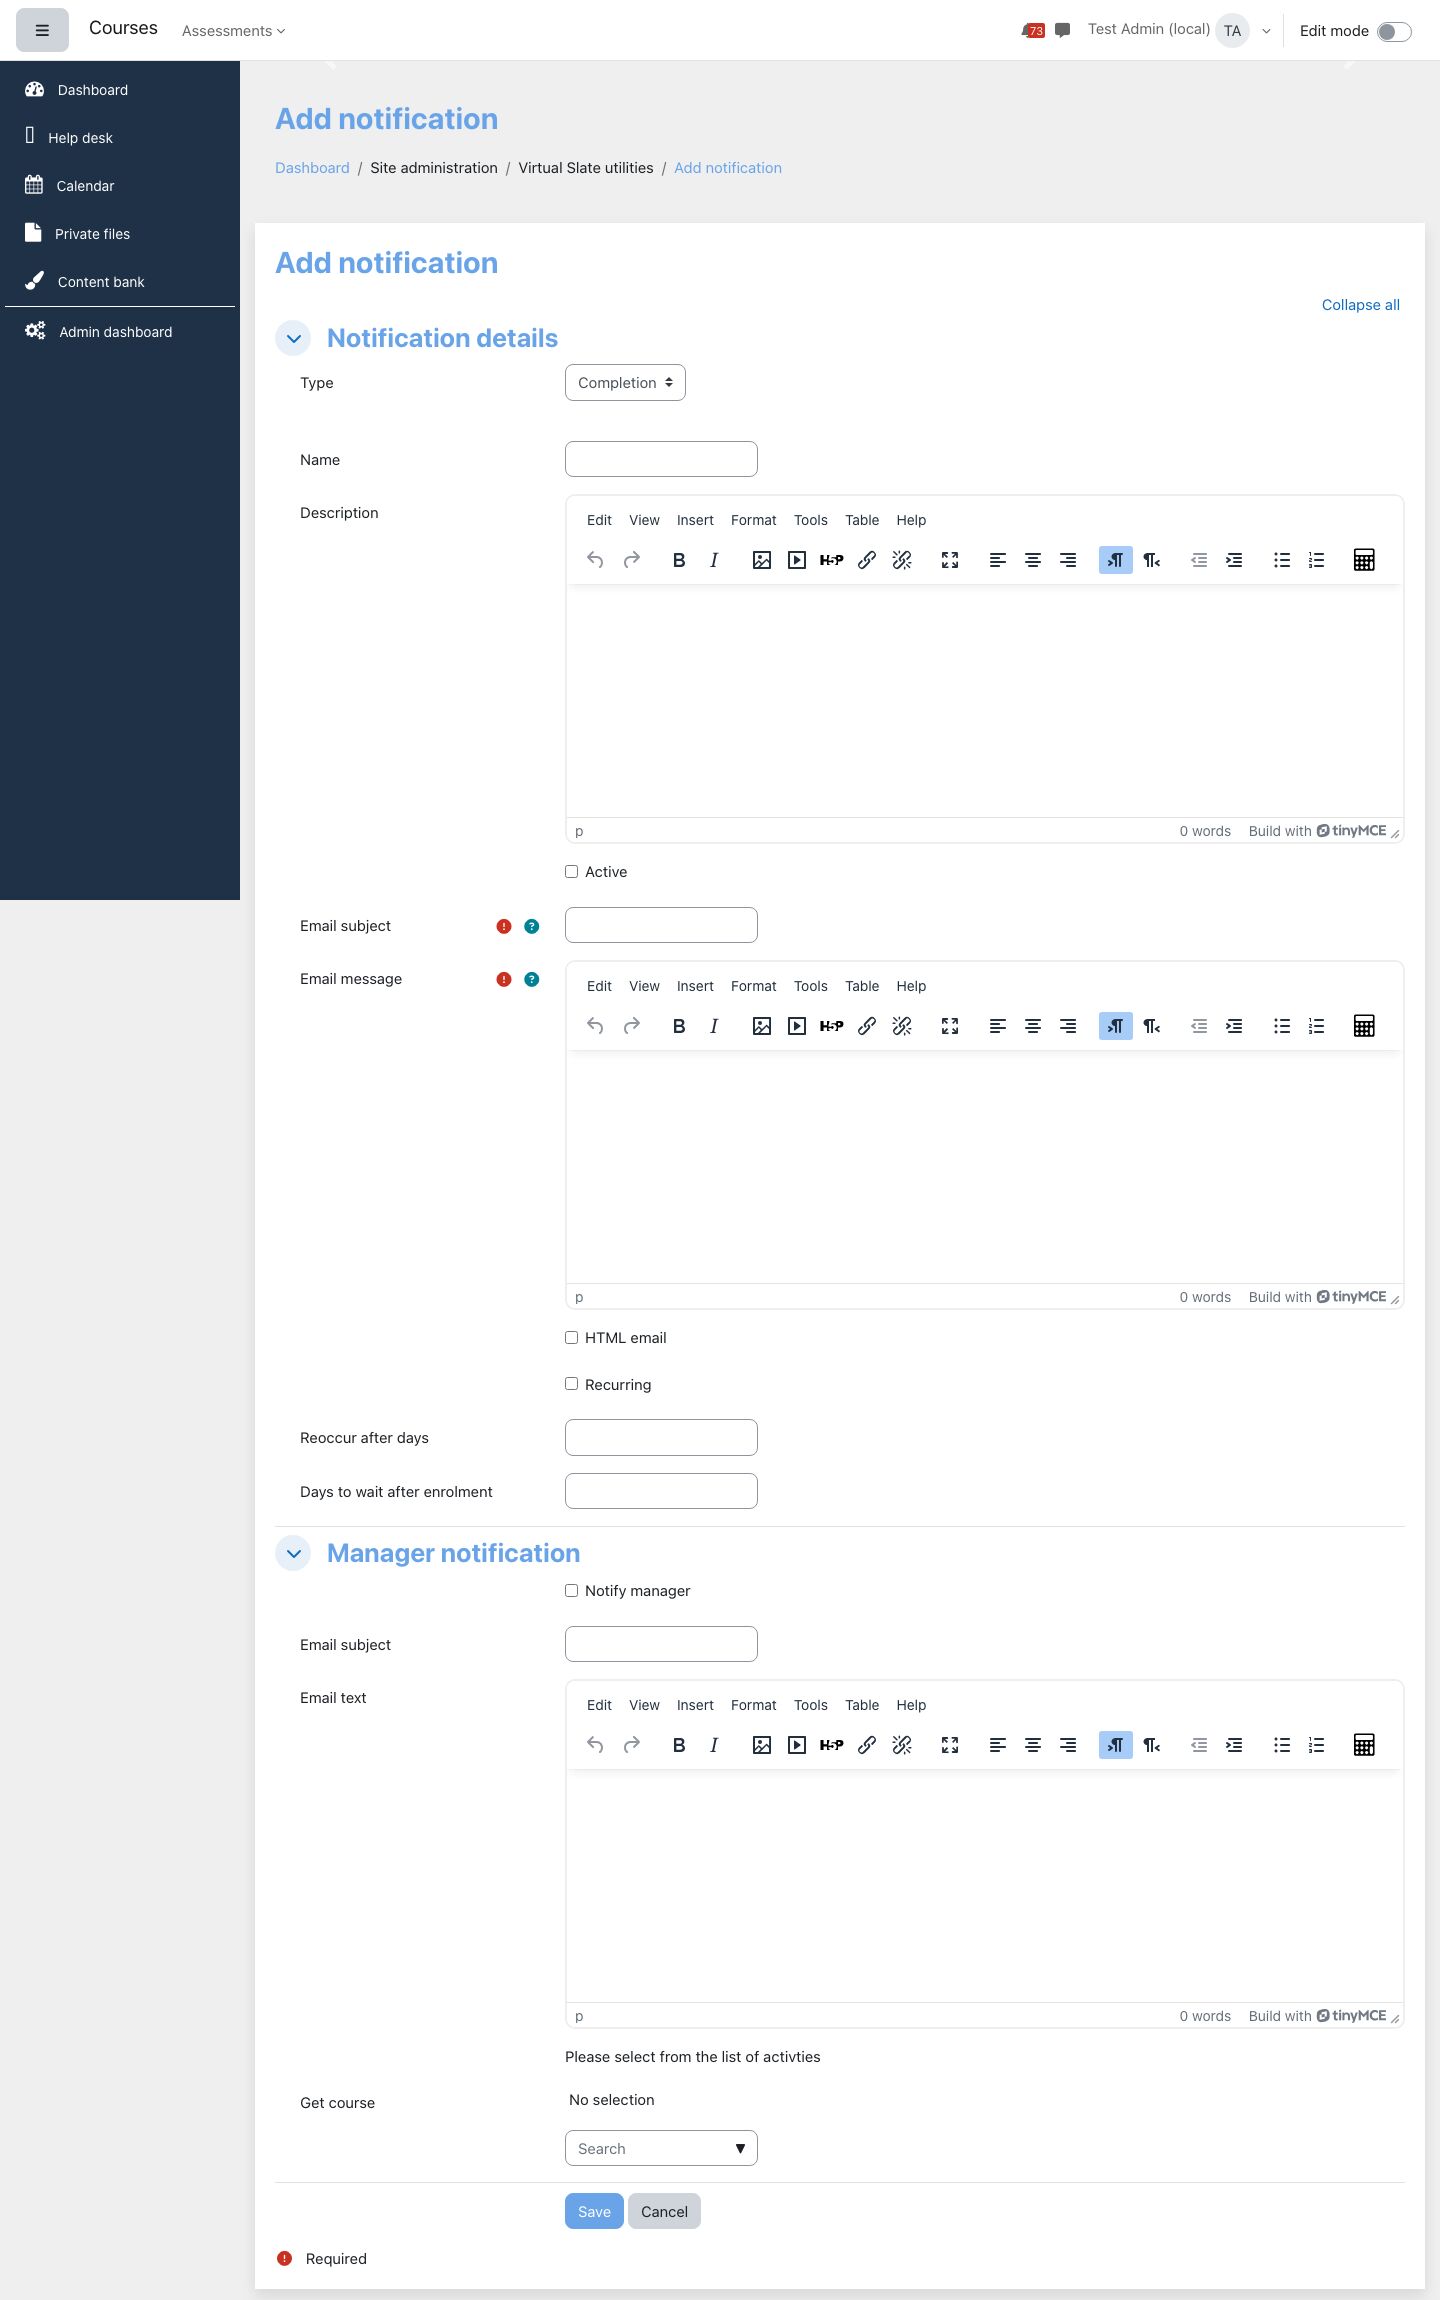
These reminders predate Lifecycle Notifications, which does the same jobs with previews, scheduling, quiet hours, manager copies and a full send history. Set new reminders up there. If your site still has active reminders here, ask us to move them across; do not run both for the same people, or they will get two emails.
Settings
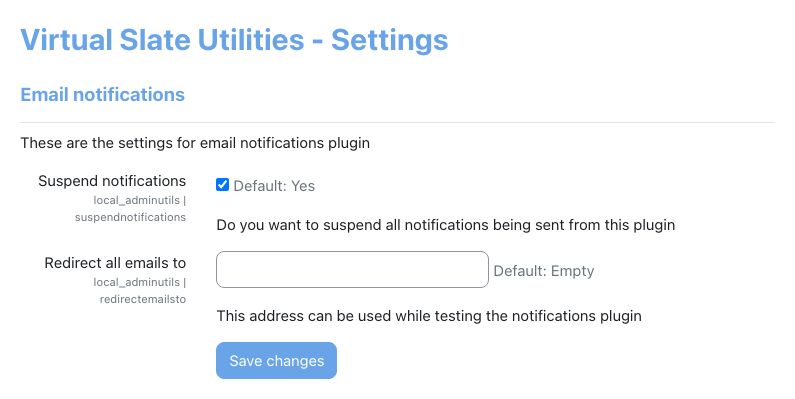
| Setting | Default | What it does |
|---|---|---|
| Suspend notifications | On | While ticked, none of the reminders on Manage notifications are sent. |
| Redirect all emails to | Empty | For testing: sends every reminder to this address instead, with the intended recipient in the subject. |
Virtual Slate time tracking
Time tracking measures how long learners actively spend on your site: the page is in front of them and they are using it, or a video or audio clip is playing. It feeds the time tab of the dashboard and the Time on task report (see Reporting). It records that someone was active in a given minute, never what they did: no keystrokes, no mouse positions, no scrolling, no content.
- Name in Moodle
- Virtual Slate time tracking
- Where to find it
- Site administration → Plugins → Local plugins → Time tracking
- Settings
- Thirteen, all with sensible defaults
- Permissions
- Have engaged time measured and View engaged time for other users
- Learners
- Can opt out (or, if you require it, opt in) from their profile
How it measures
- While a learner has a page of your site open, visible and in use, the time counts as engaged. After the Idle threshold (one minute) with no input it counts as idle, unless a video or audio clip on the page is playing, which always counts as engaged.
- The time is recorded against the course and activity the page belongs to, or as outside any course.
- Measurements are gathered through the hour and added to the daily totals by a task that runs every hour, so the reports run up to about an hour behind.
- Daily totals are kept for Keep daily totals for (400 days) and then deleted.
- Time is never measured while an administrator is logged in as someone else, for guests, or for anyone without the Have engaged time measured permission.
The Moodle mobile app runs no page scripts, so app time is not measured. Script blockers stop some measurements (typically 5 to 10%). Videos embedded from another site, such as YouTube, cannot report that they are playing, so they count as idle after the threshold. Treat the figures as a firm lower bound on time spent on the web site.
Switching it on and off
Any one of these stops collection:
| Switch | Who controls it |
|---|---|
| Time tracking enabled for your site | Lingel Learning, in your site's hosting configuration. Until it is, the settings page starts with "Time tracking is not enabled for this site" and nothing is collected. |
| Collect engaged time | Your site administrators, to pause collection across the whole site (for example during a migration or a data-protection review). Measurements already collected are kept. |
| Each learner's own choice | The learner, from their profile (below). |
| The Have engaged time measured permission | Your administrators, by removing it from a role to leave that group out. |
What learners see
Learners find the choice in their profile under Privacy and policies. By default everyone is measured unless they opt out, and the link reads Do not measure my learning time. With Require learners to opt in on, nobody is measured until they agree, and the link reads Measure my learning time.
The link opens a page that explains the choice ("When this is set, the time you spend on this site is not measured. Your progress, grades and completion are recorded as normal.") with one button. In the default mode the button reads Yes while the learner is being measured (choose it to opt out) and No once they have opted out (choose it to be measured again). The change takes effect from the next page they open. A learner who has opted out is not estimated from the log either.
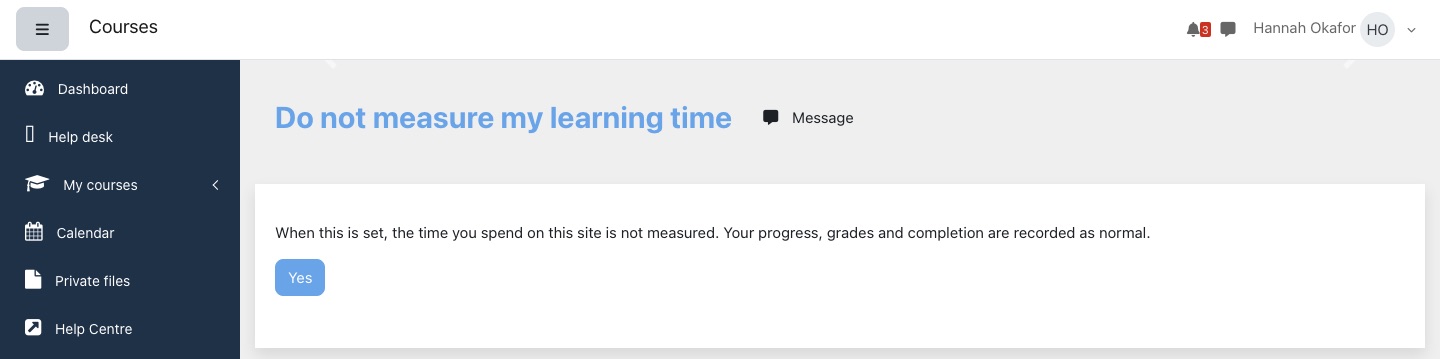
Settings
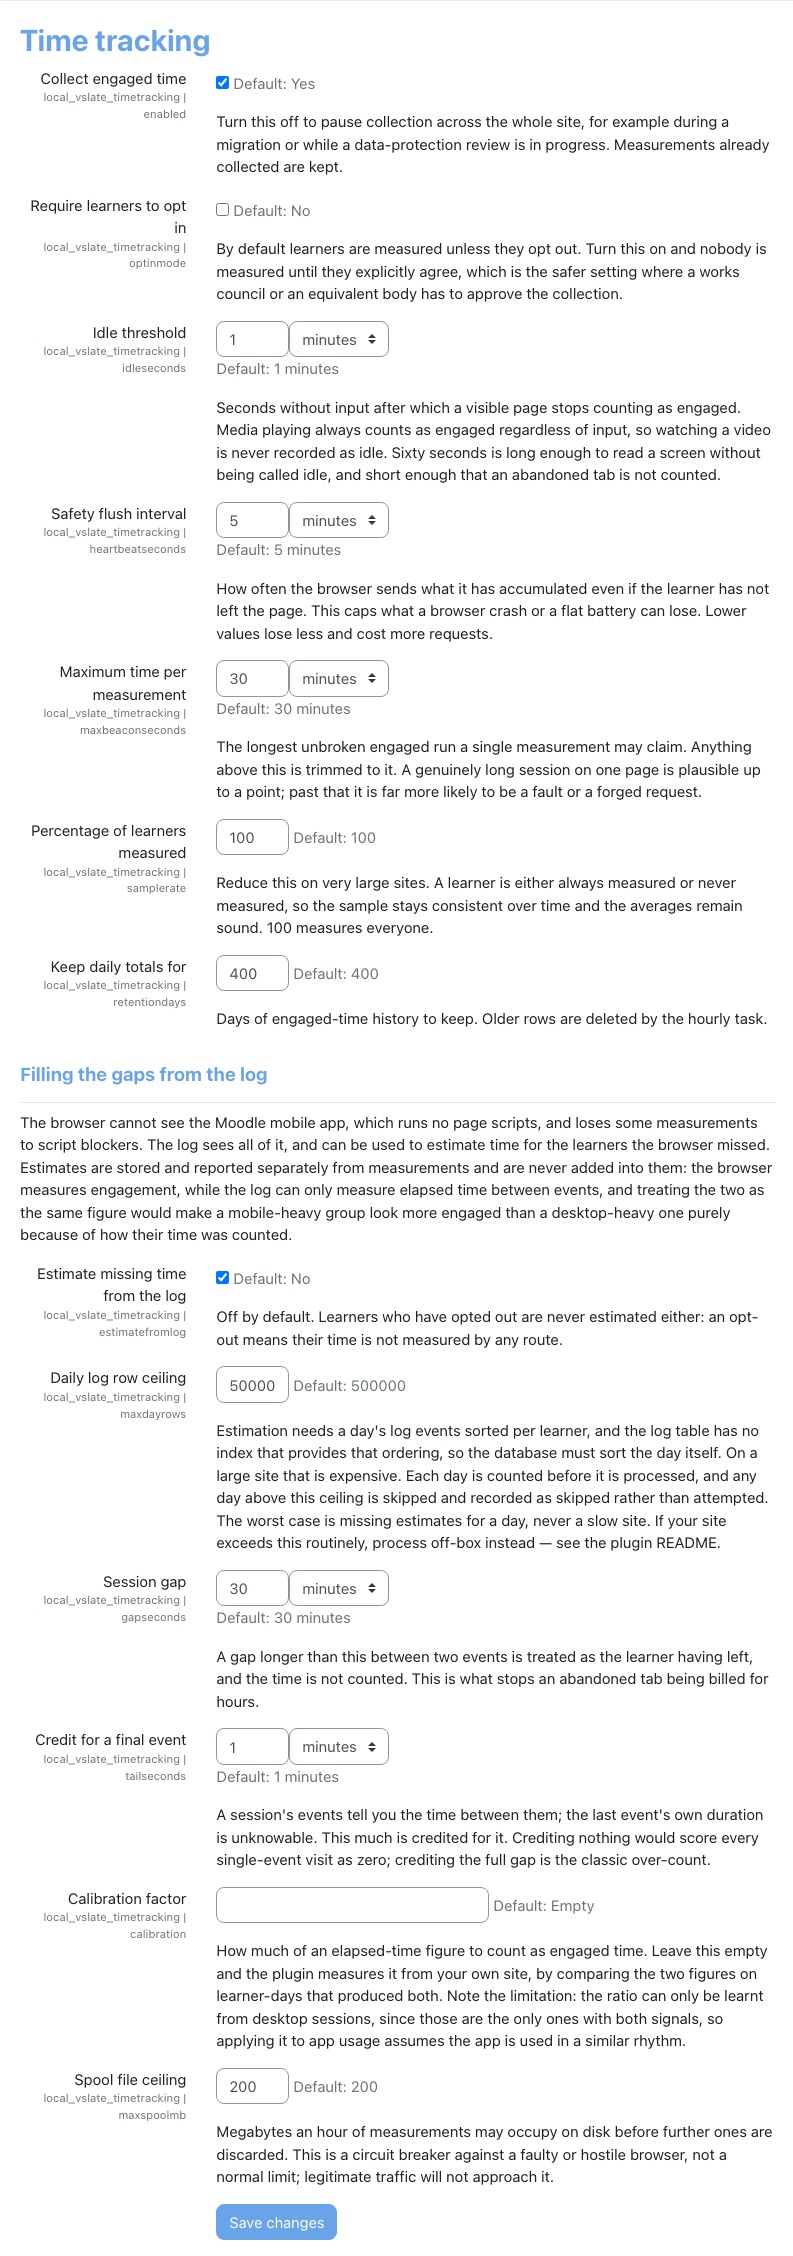
| Setting | Default | What it does |
|---|---|---|
| Collect engaged time | On | Pauses or resumes collection across the whole site. |
| Require learners to opt in | Off | On: nobody is measured until they agree. The safer choice where a works council or similar body must approve the collection. |
| Idle threshold | 1 minute | Time without input after which a visible page stops counting as engaged (playing media still counts). |
| Safety flush interval | 5 minutes | How often the browser sends what it has measured while the learner stays on a page, so a crash loses little. |
| Maximum time per measurement | 30 minutes | The longest unbroken engaged run one measurement may claim; anything longer is cut to this. |
| Percentage of learners measured | 100 | Measure a fixed sample on a very large site. A learner is always in or always out of the sample, so averages stay sound. |
| Keep daily totals for | 400 (days) | How much history to keep. |
| Estimate missing time from the log | Off | Estimates time the browser could not measure, including mobile app use, from the site log. See below. |
| Daily log row ceiling | 500000 | A day with more log entries than this is skipped for estimation rather than slowing the site. |
| Session gap | 30 minutes | For estimates: a longer gap between two log entries means the learner had left. |
| Credit for a final event | 1 minute | For estimates: time credited for the last thing a learner did in a session. |
| Calibration factor | Empty | For estimates: how much of elapsed time to count as engaged. Leave it empty: the site measures it each night from learner-days that have both a measurement and an estimate, and fills it in. Until it has enough data it uses 0.6. |
| Spool file ceiling | 200 (MB) | A safety limit on measurements stored in an hour; normal use never reaches it. |
Estimates from the log
With Estimate missing time from the log on, a nightly task looks at the previous day's log for learners the browser did not measure, splits their activity into sessions using Session gap and Credit for a final event, and scales the result by the Calibration factor. Mobile app use is counted separately. Estimates are always kept and reported apart from measured time and are never added into it, a measurement always wins over an estimate for the same learner and day, and estimates are per learner per day, not per course.
Permissions
| Capability | Given by default to | What it allows |
|---|---|---|
local/vslate_timetracking:tracked (Have engaged time measured) | Authenticated user, Student, Non-editing teacher, Teacher | Having time measured. Remove it from a role to leave that group out. |
local/vslate_timetracking:viewall (View engaged time for other users) | Manager | Opening the calculation record page, where it is available. |
Where Lingel Learning has made it available, Site administration → Plugins → Local plugins → How learning time was calculated shows the settings in force now and, for each of the last 30 days (or year), how the day was processed: measured or estimated, the outcome, the number of rows and learner-days, and the settings used. It lets you trace any figure back to how it was produced.
Vslate Cleanup
Vslate Cleanup keeps a large site's database from growing without end. It has two scheduled tasks, and both permanently delete data. Lingel Learning switches them on for a site only after agreeing with you what may go, and when.
- Name in Moodle
- Vslate Cleanup
- Settings
- Site administration → Plugins → Local plugins → Vslate Cleanup: two, Archival time and Cleanup tables
- Tasks
- Quiz Cleaner and Archive table data, listed under Site administration → Server → Tasks → Scheduled tasks with the component Vslate Cleanup. A task switched off shows Task disabled there
- Who can use it
- Site administrators
| Task | When it runs, once switched on | What it deletes, for good |
|---|---|---|
| Quiz Cleaner | Every night at midnight (server time) | Every quiz attempt that belongs to a user account that has been deleted: the answers, the marks and that person's quiz grades. Attempts of active and suspended accounts are never touched. |
| Archive table data | At midnight (server time) on the 1st of every month | From each table ticked under Cleanup tables, every row older than Archival time (365 days unless changed): the site logs (logstore_standard_log) and/or the grade history (grade_grades_history). A copy is saved on the server first (below). With nothing ticked, which is the default, it deletes nothing. |
Quiz Cleaner
When you delete a user account, Moodle keeps that person's quiz attempts. Quiz Cleaner removes them: each night it finds every deleted account that still has quiz attempts and deletes all of them, in every quiz on the site. Their results disappear from quiz reports and statistics, and their quiz grades go too. It has no settings: while it is switched on it acts on every deleted account. If you must keep quiz results for people who leave (for audit, for example), suspend their accounts instead of deleting them, or ask us to keep this task off.
Archive table data
- On the 1st of the month it takes each table ticked under Cleanup tables.
- It copies every row older than Archival time into two files, a spreadsheet (CSV) and a database script (SQL), in a folder named with that day's date in your site's data storage on the server. These copies are not shown anywhere in Moodle; ask Lingel Learning if you need one.
- It then deletes those rows from the database.
What you lose from the site, for the period before the cut-off:
- Site logs: Moodle's Logs, Activity report, Course participation and other log-based reports, and anything that counts past activity from the log, such as learning time estimated from the log, show nothing older than the cut-off.
- Grade history: the Grade history report no longer shows older changes. Current grades are not affected.
Moodle's own setting Keep logs for (Site administration → Plugins → Logging → Standard log) deletes old site logs without keeping a copy. Agree with us which of the two looks after your logs, so the periods match.
Settings
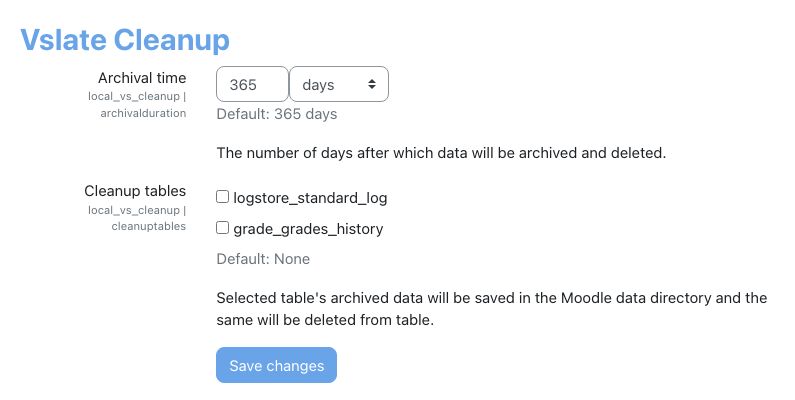
| Setting | Default | What it does |
|---|---|---|
| Archival time | 365 days | "The number of days after which data will be archived and deleted." Rows newer than this are kept. |
| Cleanup tables | None ticked | Which tables Archive table data copies and then deletes from: logstore_standard_log (the site logs) and grade_grades_history (every past change to every grade). It does not affect Quiz Cleaner. |
Certificate Report
The Certificate Report lists every certificate issued on your site, with the learner's details, the course and the date. You can narrow it to some courses, download it, and open any certificate as a PDF. Managers who are not site administrators see only the learners who share their value in a profile field you choose, such as their company.
- Name in Moodle
- Certificate Report
- Where to find it
- Site administration → Reports → Certificate Report; also as Certificate Report under Reports on the person's own profile page
- Settings
- Site administration → Plugins → Reports → Certificate Report: two
- Permission
- View company users report (
report/certificate:company_users_report), given to Manager by default - Works with
- Custom certificate activities, and the older Certificate activity where a site still has it
Before you start
The report shows "Nothing to display" until you have chosen which certificate activities it reads. Open its settings, make both choices and choose Save changes, once, even if the values shown look right.
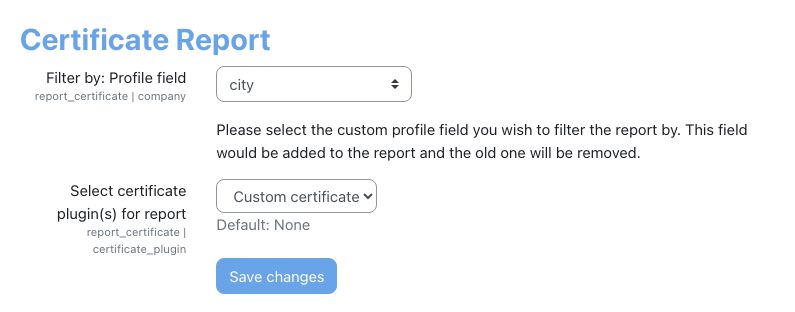
| Setting | Default | What it does |
|---|---|---|
| Filter by: Profile field | A custom profile field with the short name company, if your site has one; otherwise nothing is saved until you choose | The field that decides which learners a manager sees: only those whose value matches the manager's own. The field is also shown as a column. You can choose city, Institution, Department or any custom profile field of the text, checkbox, drop-down menu or date type. If the chosen custom field is later deleted, the setting goes back to city. |
| Select certificate plugin(s) for report | None | Which certificate activities to report on: Custom certificate and/or Certificate. Only those installed and enabled on your site are offered. |
Reading the report
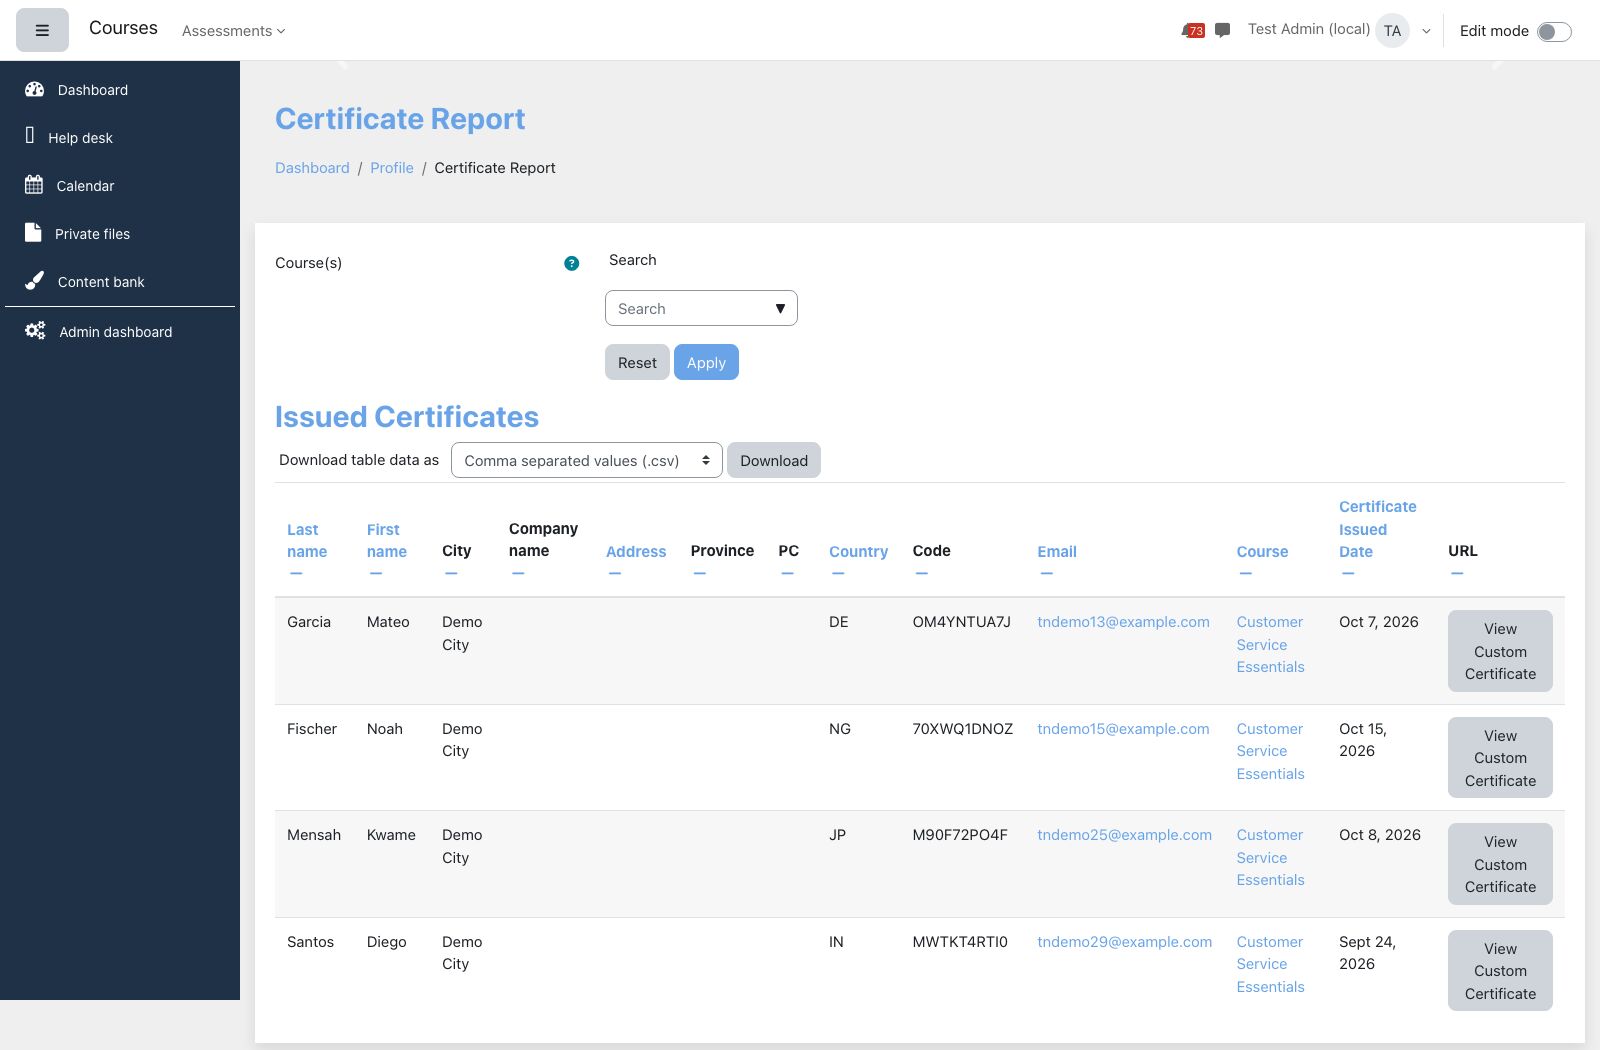
- Course(s): type to pick one or more courses (listed by short name; only courses that have issued certificates appear), then Apply. Reset clears the choice. Your choice is remembered for your next visit.
- The table shows ten certificates a page: Last name, First name, the Filter by field, Company name, Address, City, Province, PC (postal code), Country, Code (the certificate's verification code), Email, Course, Certificate Issued Date and URL. When the filter field is city, City appears once. Company name, Province and PC are read from custom profile fields with the short names
company2,province1andpostalcode, and stay empty where your site has no such field. Click a column heading with a link to sort by it. - View Custom Certificate (or View Certificate) opens that learner's certificate as a PDF in a small new window, without the learner having to do anything.
- Download table data as: choose a format (CSV, Excel and the others your site allows) and Download. The download holds every certificate the filters allow, not just the page on screen, without the URL column (except in PDF).
- Suspended and deleted accounts are never listed. Hidden courses appear dimmed.
Who sees what
| Person | Sees |
|---|---|
| Site administrators | Every certificate on the site. |
| Anyone else with View company users report (Managers by default) | Only certificates of learners whose Filter by field has the same value as their own. Make sure each manager's own field is filled in. |
| Everyone else | No access; the link does not appear on their profile. |
Opening the report and downloading it are recorded in the site logs as "Certificate report viewed" and "Certificate report downloaded".
Questions we get asked
Will changing a course to Lingel tabs or Accordion lose anything?
No. A format only changes the layout. Sections, activities, grades and completion are untouched, and you can change back at any time.
A learner can see the course snapshot in a Lingel tabs course.
This is the issue described under The course snapshot. Set Show the course snapshot to teachers to No in that course until our fix reaches your site.
The Instructor panel does not appear.
It shows the first person in the course who holds a course-contact role (normally Teacher). Enrol a teacher, or check Site administration → Appearance → Courses → Course contacts. The Course progress panel likewise only appears when the course tracks completion.
In an Accordion course, learners want several sections open at once.
Set Open multiple sections to Yes in the course's settings, and Allow Expand/Collapse All to Yes if they want one link to open everything.
We marked a SCORM package completed but the activity is still not complete.
The activity's completion conditions ask for more than passed or completed, such as a minimum score, or the status chosen does not match the condition (for example Completed where the activity requires Passed). Run the tool again with the other status, or adjust the activity's completion conditions.
A learner asks what time tracking records about them.
For each day: the course and activity, the seconds the page was in use, the seconds it was open but unattended, and the number of pages viewed. Nothing about what they typed, clicked or read. They can opt out from their profile at any time, and the data is included in Moodle's data requests and deletions.
The time reports show nothing.
Check that time tracking is enabled for your site (the settings page says so if not), that Collect engaged time is on, and allow an hour after the first learners visit. Time from the mobile app only appears where Estimate missing time from the log is on, and then from the next day.
Which data does Vslate Cleanup delete on our site?
Only what its two tasks are switched on for. Quiz Cleaner deletes quiz attempts of deleted user accounts every night; Archive table data deletes rows older than Archival time from the tables ticked under Cleanup tables on the 1st of each month, after saving a copy on the server. Look in Site administration → Server → Tasks → Scheduled tasks: a task marked Task disabled does nothing. Ask us before changing either.
The Certificate Report says "Nothing to display".
Choose the certificate activity type under Select certificate plugin(s) for report in the report's settings and save. If it still shows nothing for a manager, check that the manager's own Filter by field (for example their company) is filled in and matches the learners'.
Refreshers and face-to-face
Bringing people back to a course on a cycle for recertification, and running classroom sessions that learners book, attend and are marked for.
Some training does not stay done. A fire warden, a first aider or a forklift driver has to show every year that they are still current. Course refresher clears a learner's completion once a set period has passed, emails them to come back, and keeps a record of every earlier completion for your compliance reports. Some training also happens in a room rather than on a screen. The Face-to-face activity lets you publish sessions with dates, places and capacity, take bookings with a waitlist and optional manager approval, send the emails around each booking, and mark attendance so the activity completes.
| Plugin | What it is for | Who uses it |
|---|---|---|
| Course refresher | Resets a learner's course completion a set time after they completed, so they must complete the course again; archives the old completion and reports on every cycle | Site administrators (defaults), teachers and course managers (per course), learners (receive the email, can reset themselves) |
| Face-to-face | An activity for in-person or scheduled sessions: dates, venues, capacity, sign-up, waitlist, approval, emails, attendance and completion | Teachers (sessions and attendance), learners (booking), managers (approval emails), site administrators (site settings, payments) |
On this page: Course refresher, Face-to-face and Questions we get asked.
Each plugin is switched on per site by Lingel Learning. If a menu or setting described here is missing on your site, the plugin is not enabled for you; contact your usual Lingel Learning contact. The screenshots come from a demonstration site with fictional people, so your names, dates and colours will differ.
Course refresher
Course refresher turns a course into a recurring one. You choose a period, such as 365 days. When that long has passed since a learner completed the course, their completion is cleared, they get an email asking them to complete it again, and the course shows as not done for them until they do. The completion they had is kept in an archive, so you can still prove who was current at any point.
- Name in Moodle
- Course refresher (a local plugin)
- Where to set it
- Per course: the course's settings menu (the cog) → Course refresher. Site defaults: Site administration → Plugins → Local plugins → Refresher default settings
- Course screens
- Course refresher (settings), Refresher: modify completion dates, three reports under the course's Reports, and Reset my activity completion for learners
- Site settings
- Defaults for every course setting, plus Force archive completion data
- Permissions
- Four: manage the course settings, reset my own completion, view the reports, view the reset report
- Runs
- A daily scheduled task, Check for users that need to recomplete
How a refresher cycle works
- The learner completes the course. This is ordinary Moodle course completion, so the course must track completion and have completion conditions set under Course completion.
- The period runs from the completion date. With a Refresher period of 365 days, a learner who completed on 2 October 2025 is due on 2 October 2026.
- Once a day, Moodle checks. The task finds everyone whose completion date plus the period is in the past, in every course where the refresher is enabled. It runs once a day at a time chosen when the plugin was installed, so a reset happens within a day of the due date, not to the minute.
- The learner's completion is reset. The course completion, the completion of each criterion, and the completion of every activity in the course are removed. With Archive completion data on (the default) they are first copied to the refresher's archive. With Delete all grades for the user on (the default) their grades in the course are deleted too; Moodle's grade history keeps the old values.
- Activities are reset as the course asks. Quiz, SCORM, assignment, questionnaire and LTI results are handled by the settings described below. Other activities only lose their completion tick; what the learner submitted stays.
- The learner gets an email, if Send refresher message is on, with your subject and message or the default Course … refresher required.
- The learner completes the course again. The new completion date starts the next cycle. The old one now appears in the refresher reports.
When you first enable the refresher on a course that already has completions, everyone whose completion is older than the period is reset at the next daily run, and each of them is emailed. If you are adding a refresher to a course people completed years ago, decide first whether that is what you want, and consider a longer period or a cohort filter to start with.
A few things the cycle does not do:
- It does not check enrolment. Someone who has left the course but still has a completion date in it is reset and emailed like anyone else.
- It does not clear face-to-face bookings. A learner who attended a face-to-face session in the course keeps that booking, and a face-to-face activity only allows one booking per person, so they cannot book a new session in the same activity. See Questions we get asked.
- It does not move due dates or re-enrol anyone. The learner keeps their enrolment and simply sees the course as not complete.
Where to find it in a course
Teachers and course managers find two items in the course's settings menu (the cog at the top right of the course page): Course refresher, the settings, and Refresher: modify completion dates. The items only appear when the course tracks completion. Learners see Reset my activity completion in the same menu once the refresher is enabled; see What learners see.
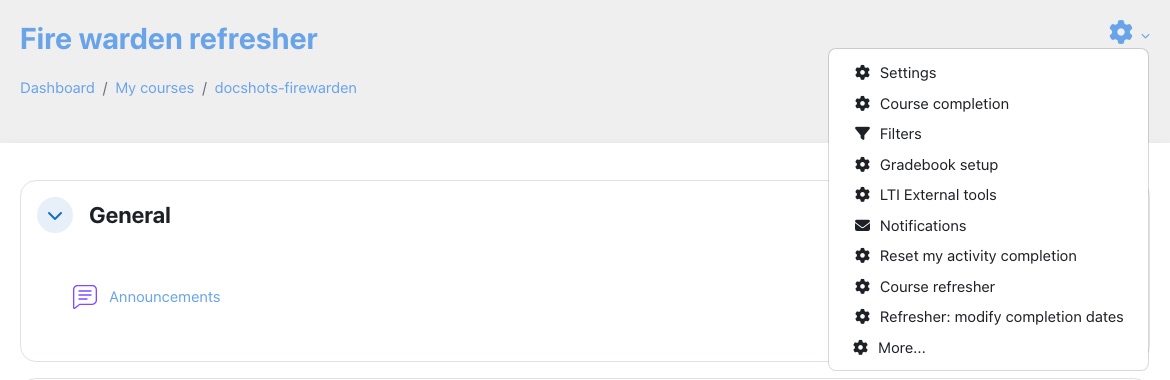
Setting up a course
- Make sure completion tracking is on for the site (Site administration → Advanced features → Enable completion tracking) and in the course (Settings → Completion tracking → Enable completion tracking: Yes).
- Give the activities completion conditions, then set the course's own conditions under Course completion in the settings menu. Check that the Course completion report shows your learners: if it does not, the course has no completion conditions and the refresher has nothing to work from.
- Open Course refresher from the settings menu. The page is headed Edit course refresher settings.
- Tick Enable refresher and set the Refresher period.
- Decide whether to Send refresher message, and write your own subject and message under Custom refresher message settings if you do not want the default.
- Expand Advanced and choose what happens to grades and to each activity type.
- Optionally, under Filter, limit the refresher to certain cohorts or to people whose profile matches conditions.
- Choose Save changes. You return to the course page with Refresher settings saved.
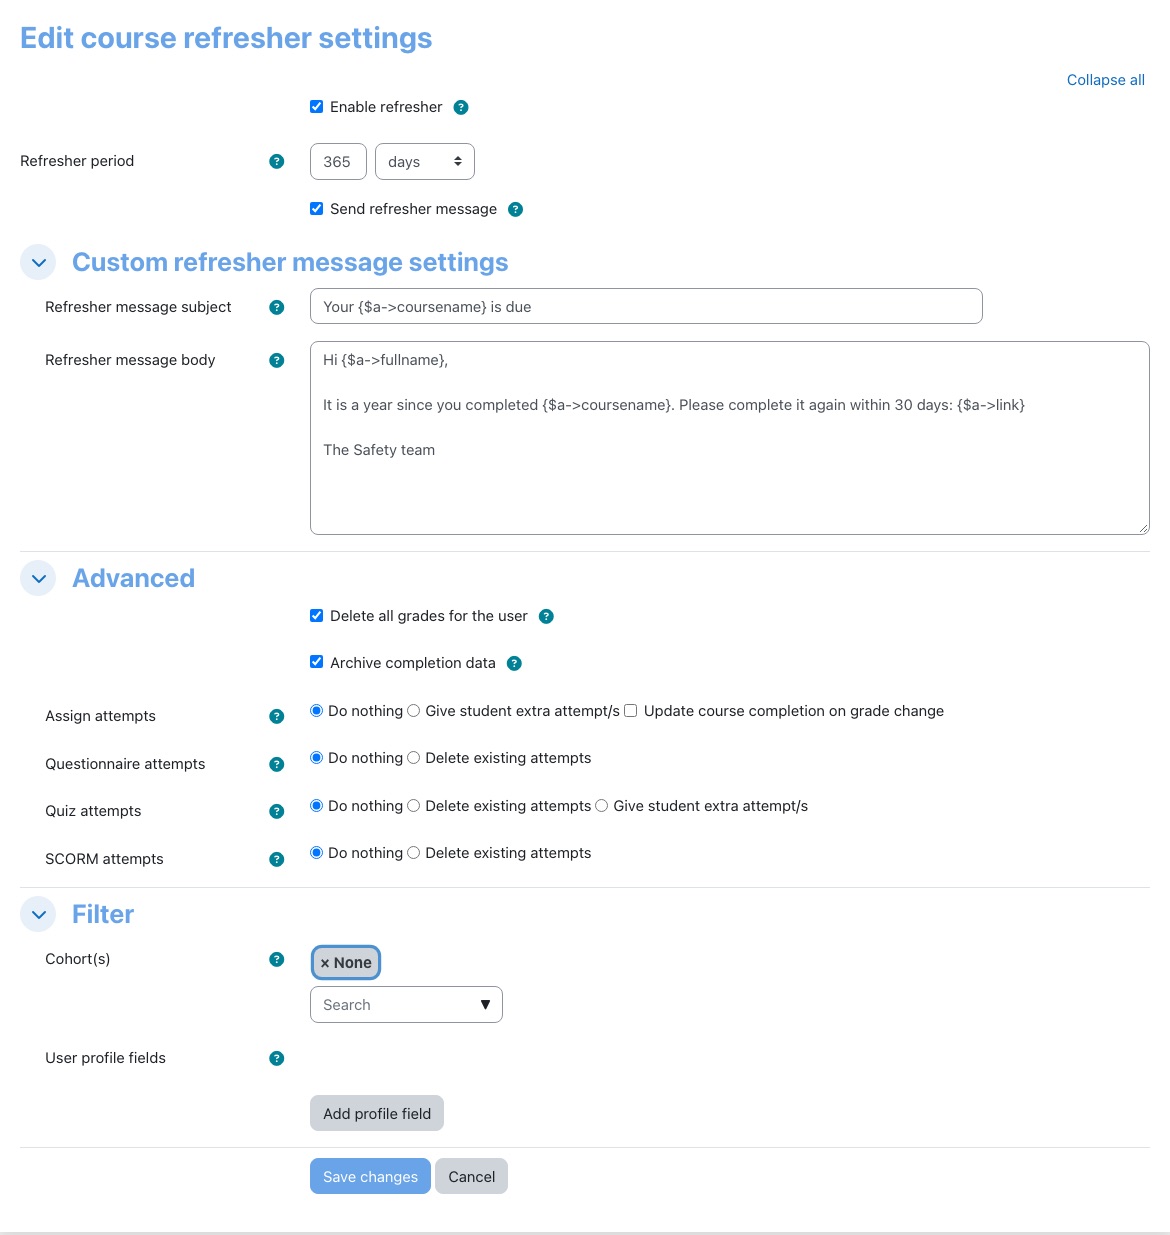
Every setting starts from the site default (see Site defaults). The course's own choices are kept once saved; changing a site default later does not change courses already saved.
| Setting | Default | What it does |
|---|---|---|
| Enable refresher | Off | Turns the cycle on for this course. With it off, every other setting is greyed out and nothing is reset. Unticking it later keeps your other settings for next time. |
| Refresher period | 365 days | How long after a learner's completion date they are reset. Weeks, days, hours, minutes or seconds; the short units are only for testing, as the check runs once a day. |
| Send refresher message | On | Emails each learner when they are reset. The email comes from the site's main administrator and is sent directly, so learners' notification preferences do not apply. |
| Refresher message subject | Empty (uses Course [course name] refresher required) | Plain text. You can use {$a->coursename} and {$a->fullname}. |
| Refresher message body | Empty (uses Hi there, please recomplete the course [course name] [link]) | Plain text, or HTML and multi-language tags. You can use {$a->coursename}, {$a->link} (the course), {$a->profileurl} (the learner's profile in the course), {$a->email} and {$a->fullname}. |
| Delete all grades for the user | On | Deletes the learner's grades in the course when they are reset. The old values stay in Moodle's grade history. |
| Archive completion data | On | Copies the completion to the archive before it is cleared. With it off the old completion is lost and does not appear in the refresher reports. Locked on when the site sets Force archive completion data. |
| Assign attempts | Do nothing | Give student extra attempt/s opens a new attempt on each assignment the learner submitted to, where the assignment allows reopening and has attempts left. The tick box Update course completion on grade change moves a learner's course completion date to the date a teacher grades one of their assignments, when they have already completed the course. |
| Questionnaire attempts | Do nothing | Delete existing attempts removes the learner's questionnaire responses so they can answer again, with an Archive old attempts option. |
| Quiz attempts | Do nothing | Delete existing attempts removes the learner's attempts and quiz grades (with Archive old attempts). Give student extra attempt/s keeps the attempts and adds a user override on each limited quiz they attempted, allowing as many new attempts as the quiz normally allows. |
| SCORM attempts | Do nothing | Delete existing attempts removes the learner's SCORM attempts and tracking so the package starts fresh (with Archive old attempts). |
| LTI grades | Do nothing | Only shown when the course is published as an LTI tool. Reset LTI grades sets the grade sent back to the other system to 0; the new grade is sent when the learner completes again. |
| Cohort(s) | None | Only learners in at least one of the chosen cohorts are reset. None means everyone. |
| User profile fields | No conditions | Only learners whose profile matches are reset. See below. |
Limiting a refresher to some learners
A course may need refreshing only for some of the people who take it: wardens but not visitors, one state but not another. Two filters do this, and a learner must pass both.
- Cohorts. Choose one or more under Cohort(s). A learner in any of them qualifies.
- Profile conditions. Choose Add profile field, then User profile in the Add condition dialog. Each condition has a Profile field (any standard user field such as city or department, or any custom profile field), a Match type (contains, is equal to, starts with, ends with) and a Value. With more than one condition, choose whether the learner must match all or any of them. The cross removes a condition.
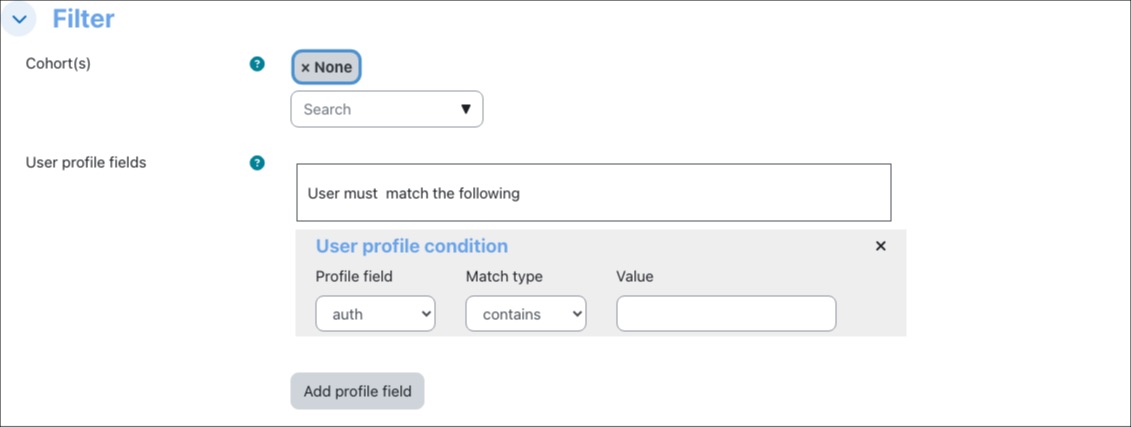
Filters only decide who is reset. Learners who do not match keep their completion indefinitely and get no email.
Changing and resetting completions by hand
Refresher: modify completion dates lists the course's participants like Moodle's Participants page, with the usual filters and initials bar, and a Course completion column. For each person it shows their completion date (blank if not complete), a pencil to change it, and, when the refresher is enabled, Reset all completion.
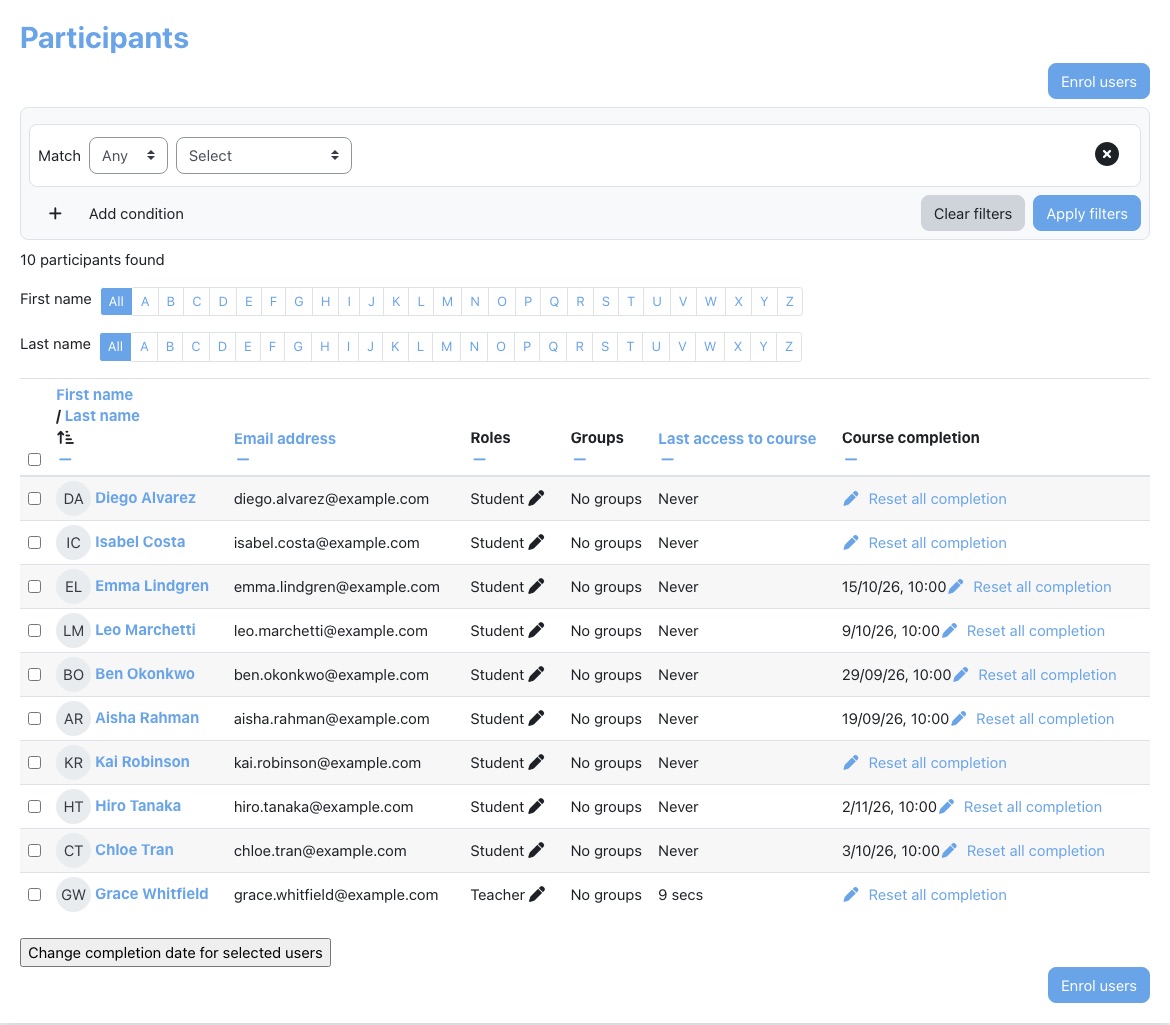
- Change one date. The pencil opens Edit course completion date with the current date filled in. Set the New course completion date and save. If the person had not completed, this marks them complete on that date. The refresher cycle then runs from the new date. Use it when a learner did the training elsewhere, or when a completion was recorded late.
- Change several. Tick people and choose Change completion date for selected users (shown to people who can message participants in bulk). One date is applied to all of them.
- Reset now. Reset all completion asks Are you sure you want to reset all completion data in this course for [name]? Warning - this may permanently delete some submitted content. and then does exactly what the daily task would do, including the email. Use it when someone must redo the course before their due date.
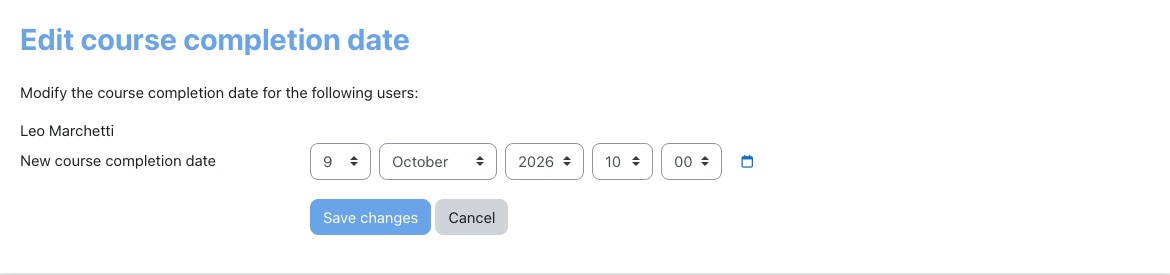
Refresher reports
Three reports appear in the course's Reports page (from the settings menu, More… → Reports, or the course's report navigation). All three can be downloaded in the usual formats and show 20 rows a page.
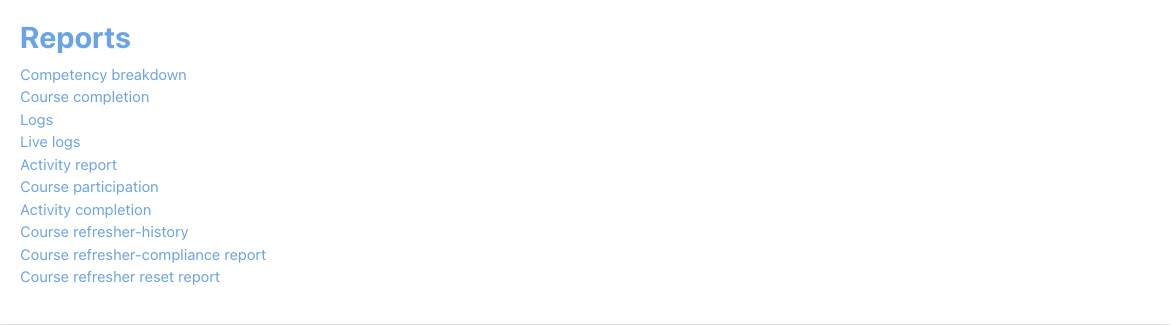
| Report | What it shows |
|---|---|
| Course refresher-history | Every archived completion: one row per learner per earlier cycle, with the date each activity's completion condition was met in that cycle (one column per activity in the course, linked to it) and the Course completion date. A learner with three past cycles has three rows. Current completions are not here; see Course completion or Refresher: modify completion dates for those. |
| Course refresher-compliance report | The same rows with a Course completion filter: enable a Start date, an End date or both and choose Add filter to see the archived completions that fell in that window. Use it to answer "who was certified in that period?". |
| Course refresher reset report | Every reset in the course: User full name, Email address, Course, Course reset time and Reset by. Automatic resets show the site's main administrator, because the scheduled task runs as that account; a reset by a teacher or by the learner shows that person. |
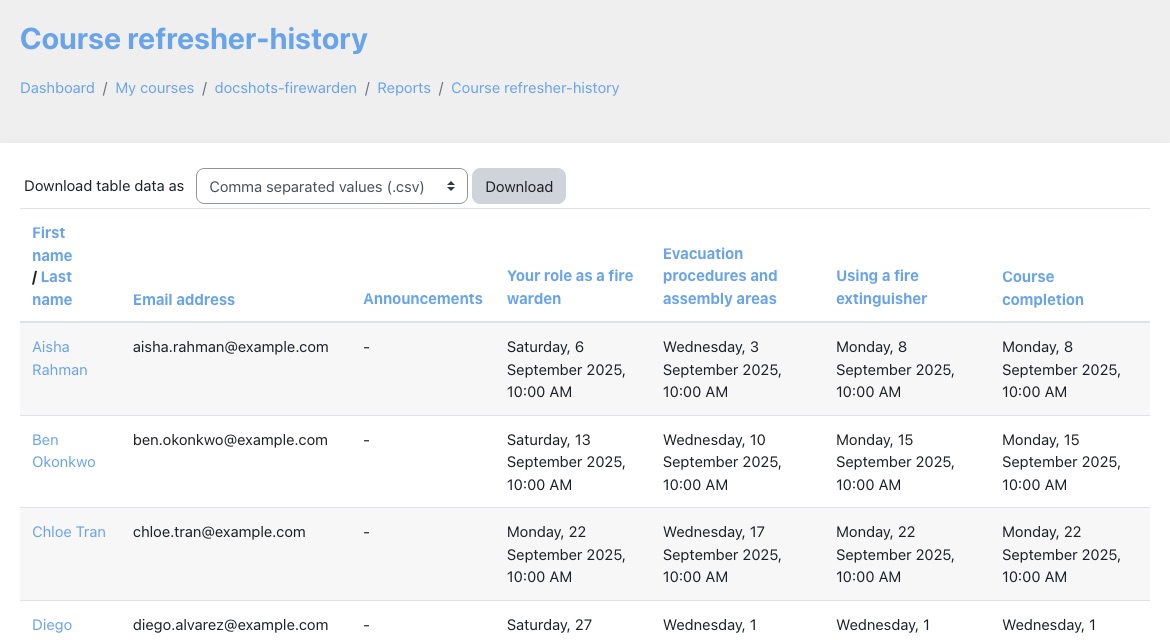
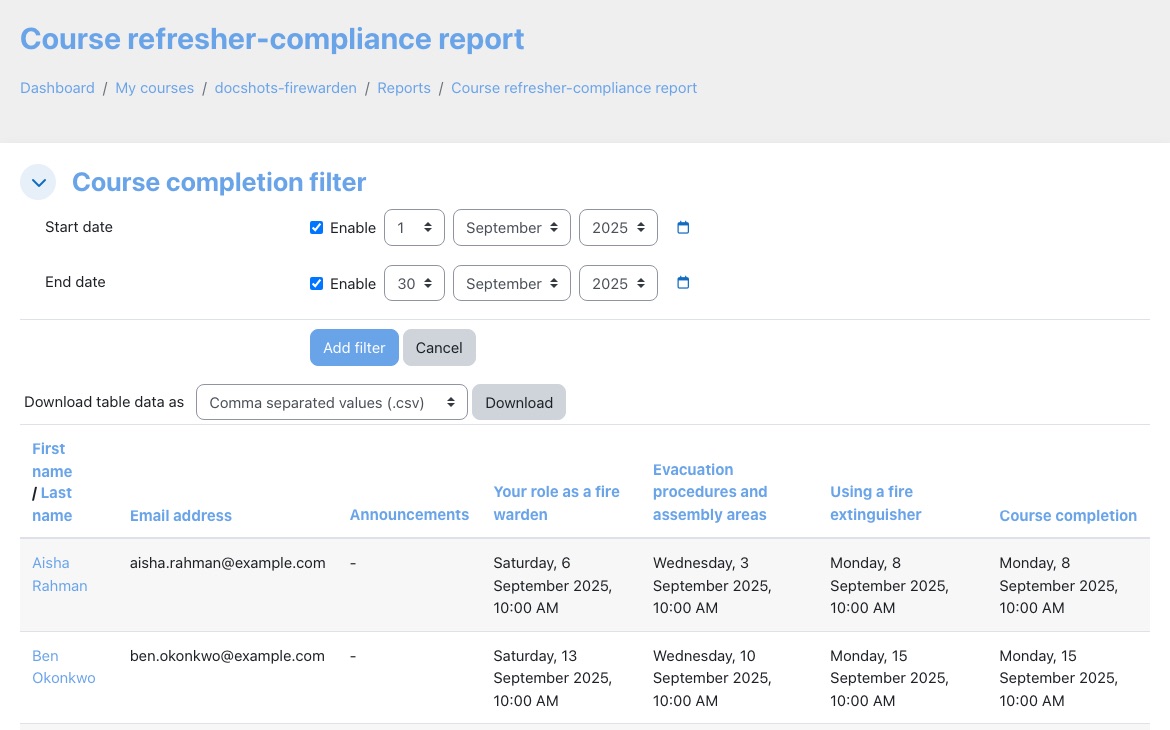
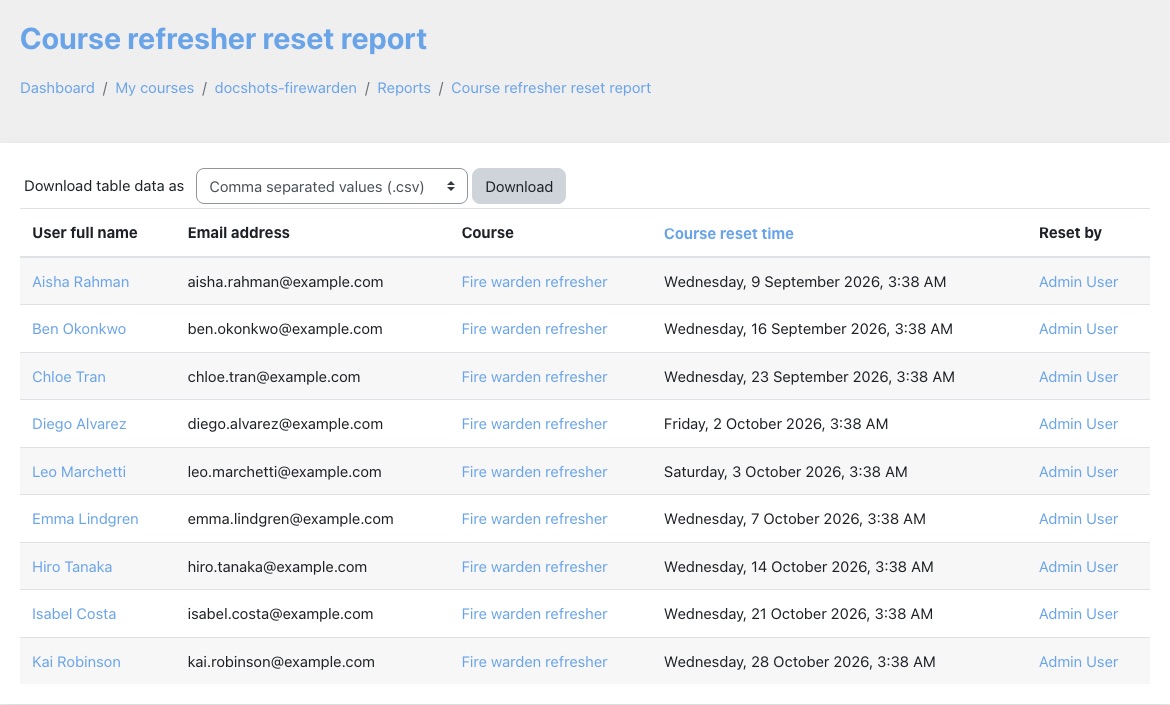
Resets are listed from Moodle's standard log. If your site deletes old log entries (Site administration → Plugins → Logging → Standard log → Keep logs for), resets older than that drop off this report. The history and compliance reports are not affected; they read the refresher's own archive.
What learners see
Learners see nothing new until a reset. Then the course shows as not complete, their activity ticks are cleared, and they receive the refresher email. They complete the course again in the normal way.
Learners can also reset themselves. In a course with the refresher enabled, Reset my activity completion appears in the course settings menu. It asks for confirmation and then clears their completion, grades and attempts by the course's settings, sends them the refresher email, and returns them to the course with Completion for [name] in this course has been reset.
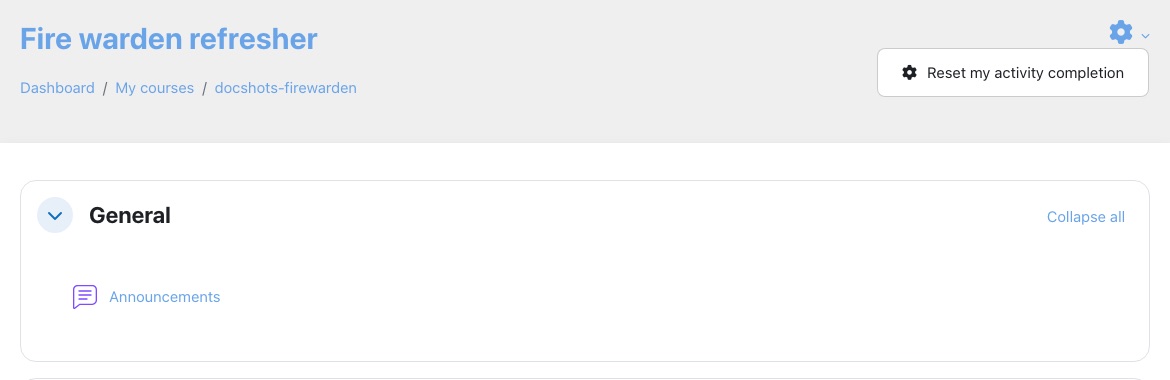
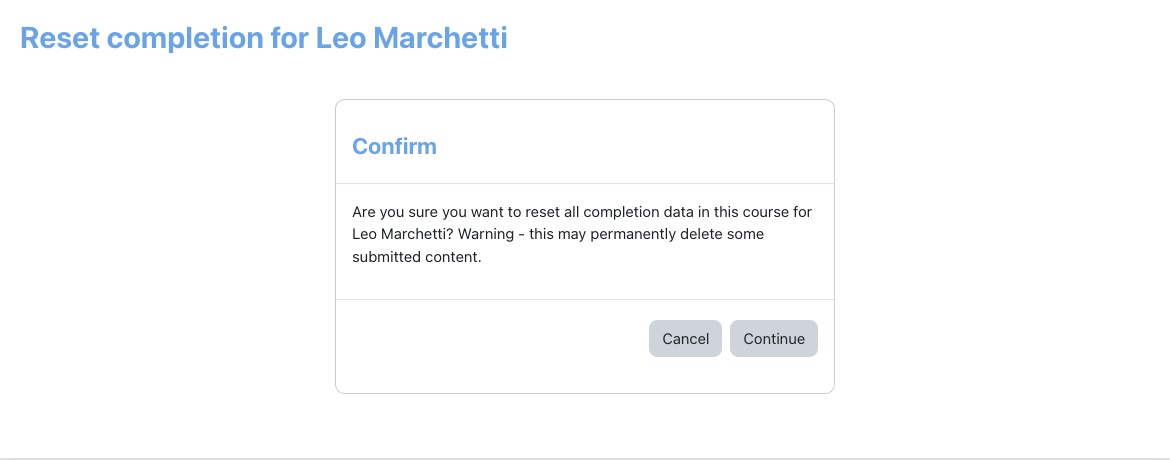
The permission Reset my own completion is given to students, teachers and managers when the plugin is installed. That suits practice courses, but in a compliance course a learner who resets by mistake loses a completion you may need (it is archived only if archiving is on). To stop it, prevent local/vsrefresher:resetmycompletion for the Student role in the course, or site-wide under Site administration → Users → Permissions → Define roles.
Site defaults
Site administration → Plugins → Local plugins → Refresher default settings sets the starting value of every course setting. A new course's Course refresher page opens with these values; saving that page stores the course's own copy.
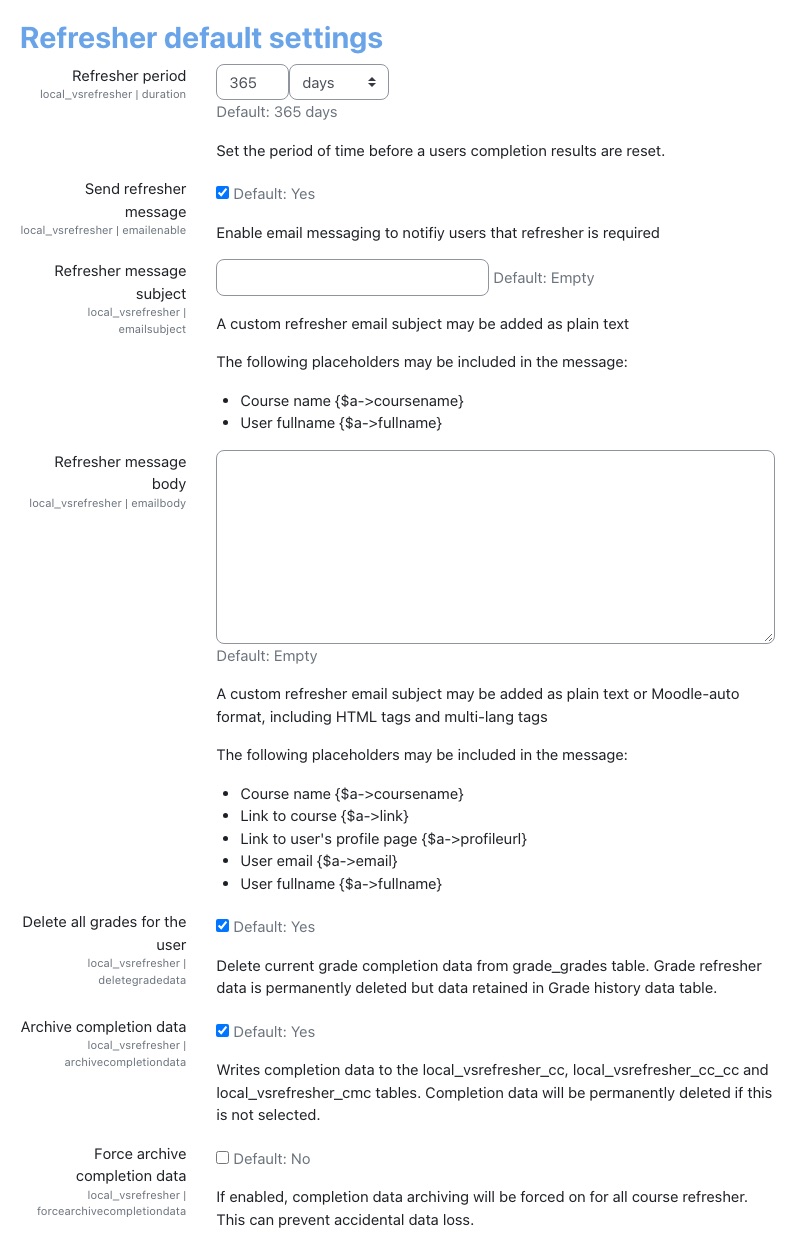
The one setting that only exists here is Force archive completion data (default off). When on, every reset archives the completion whatever the course says, and the course's Archive completion data box is locked on. Turn it on if your compliance reporting depends on the history.
The questionnaire default also offers Give student extra attempt/s; the course form only offers Do nothing and Delete existing attempts for questionnaires, so use one of those.
Permissions
| Capability | Given by default to | Allows |
|---|---|---|
| Allow course refresher settings to be changed (local/vsrefresher:manage) | Teacher, Manager | Course refresher, Refresher: modify completion dates, changing dates, resetting other people. Also controls whether the three report links appear. |
| Reset my own completion (local/vsrefresher:resetmycompletion) | Student, Non-editing teacher, Teacher, Manager | Reset my activity completion |
| View report (local/vsrefresher:report) | Non-editing teacher, Teacher, Manager | The history and compliance reports |
| View reset report (local/vsrefresher:viewresetreport) | Non-editing teacher, Teacher, Manager | The reset report |
Non-editing teachers hold the report permissions but the report links only show for people who can manage the refresher, so by default they reach the reports only from a direct link.
The daily check
The scheduled task Check for users that need to recomplete (Site administration → Server → Tasks → Scheduled tasks) does the resets. It runs once a day at a time picked at random when the plugin was installed; you can change the time there, but there is no need to run it more often than daily. It does nothing if completion tracking is off for the site. Moodle's own Completion regular task must also run for new completions to be recorded; both need the site's cron, which Lingel Learning runs for you.
Face-to-face
A Face-to-face activity is a course activity for training that happens at a time and place: a classroom workshop, an induction day, a practical assessment, a webinar with a fixed time. You add one or more sessions, each with its own dates, location and number of places. Learners book a session, get a confirmation email with a calendar invitation, and a reminder before it starts. Afterwards the teacher marks who attended, which sets the learner's grade and can complete the activity.
- Name in Moodle
- Face-to-face (an activity)
- Where to add it
- A course in edit mode → Add an activity or resource → Face-to-face
- Activity screens
- The sessions list, Add session and Edit session, Session details, Session signup, Cancel booking, View attendees (with attendance, requests, waitlist and cancellations), Add/remove attendees
- Site settings
- Site administration → Plugins → Activity modules → Face-to-face plugin settings: three tabs, with custom session fields and taxes
- Permissions
- Fourteen, for viewing, signing up, cancelling, managing sessions and attendees, attendance and export
- Runs
- Two hourly scheduled tasks: reminder and follow-up emails, and refunds for people still waitlisted
- Also works with
- The Moodle app (viewing, booking and cancelling), Enrolmart (creates sessions through the web service), Salesforce (receives sessions and attendance)
This is not the Face-to-face plugin you may find in the Moodle plugins directory. Lingel Learning has maintained its own version since 2015 and rebuilt it in 2019 and 2020: the screens, session statuses, emails, payments, taxes, custom fields, the Moodle app support and the web services described here are ours. Its behaviour differs from the community plugin and from Totara's Seminar, so use this page rather than their documentation. The differences that matter most are listed under What is specific to Virtual Slate.
Creating a Face-to-face activity
- Turn on Edit mode in the course, choose Add an activity or resource in the section you want, and pick Face-to-face.
- Give it a Name and a Description. Tick Display description on course page if learners should read it there.
- Set Sessions displayed on course page to show upcoming sessions under the activity's name (0 to 18; 0 shows none).
- Decide whether bookings need Approval required, and add any Third-party email address(es).
- Check Calendar options, and read through the email sections; the defaults are usable as they are.
- Under Completion conditions, choose Add requirements, tick Enable beside Attendance setting and choose Fully attended or Partially attended, if attending should complete the activity.
- Choose Save and display, then add sessions.
| Activity setting | Default | What it does |
|---|---|---|
| Sessions displayed on course page | 0 | How many upcoming sessions appear under the activity on the course page, with their dates, details, places and status and a Details button, and a View more button to the full list. |
| Third-party email address(es) | Empty | Addresses, separated by commas, that are told about every sign-up, cancellation, booking request and waitlisting, for example an external trainer or a training coordinator's mailbox. The four third-party emails below are only used when this has an address. |
| Approval required | Off | Bookings become requests until a teacher approves them. See Approvals. |
| Event name | Empty | A shorter name (up to 32 characters) used instead of the activity name in calendar entries and emails. |
| Calendar display settings | Course | Course puts every session in the course calendar for everyone enrolled; Site puts them in the site calendar for all users; None adds no shared entries. |
| Show entry on user's calendar | On | Adds a personal calendar entry for each booked learner, and removes it if they cancel. Turn it off if the course or site entry would appear twice. |
| Days before message is sent (under Email: Reminder) | 2 | How many days before a session's first date the reminder goes out (1 to 20). |
| Days after message is sent (under Email: Session finished) | 1 | How many days after a session's last date the follow-up goes out. |
| Attendance setting (under Completion conditions) | Not enabled | Completes the activity when the teacher marks the learner Fully attended, or either Partially attended or Fully attended, depending on your choice. |
Sessions and dates
The activity page lists sessions on two tabs, Upcoming sessions and Previous sessions, ten at a time. Each row shows the dates, the session's details, places taken against capacity (8 / 8), the Session status, Your status for the person viewing, and the actions they may use.
| Session status | Meaning |
|---|---|
| Booking open | Places are left and booking has not closed. |
| Booking full | Every place is taken. With a waitlist, learners can still sign up and are waitlisted. |
| Booking closed | Within the session's Booking closed days before period. |
| In progress | Between a session's first start and last finish. |
| Finished | The last date has passed. The session moves to Previous sessions. |
Places count people who are booked or have attended. Waitlisted and pending learners do not take a place.
To add a session, choose Add a new session. The page is headed Adding a new session in [activity].
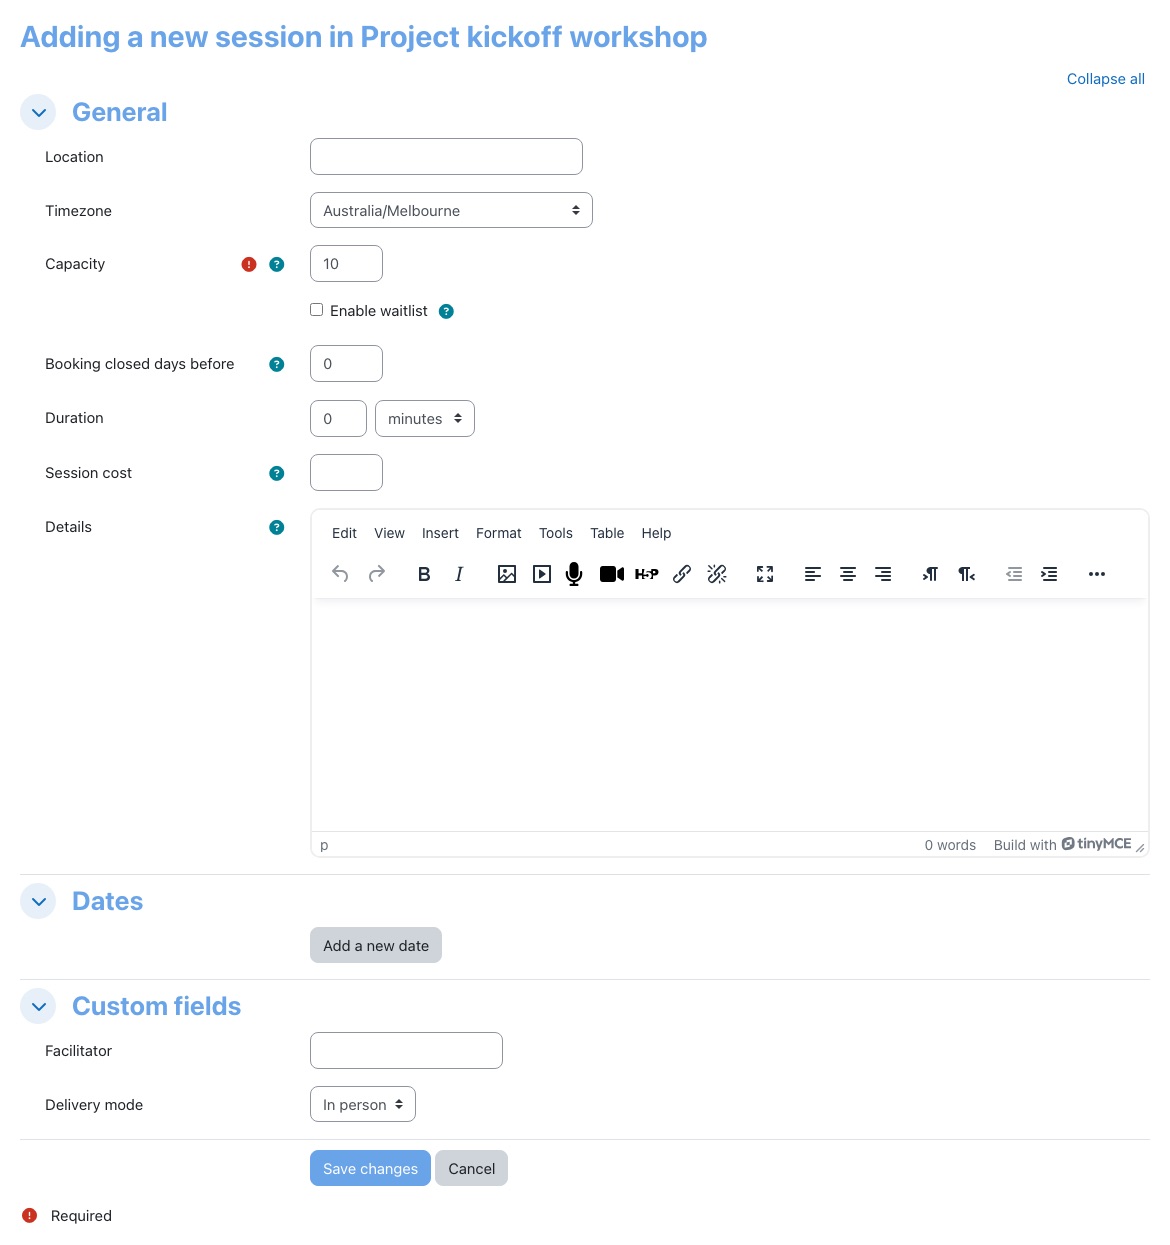
| Session field | Default | What it does |
|---|---|---|
| Location | Empty | Free text shown to learners and in emails, for example a room and street address. |
| Timezone | The site's timezone | The timezone the dates are entered in. Learners see dates in their own timezone. |
| Capacity | 10 | The number of places. Required; must be a whole number of 1 or more. |
| Enable waitlist | Off | Lets people sign up when the session is full (or has no dates yet). They are waitlisted and booked automatically, in the order they signed up, when a place frees up or you raise the capacity. |
| Booking closed days before | 0 | Stops new sign-ups this many days before the first date. |
| Duration | 0 minutes | The total length, shown to learners and in emails. It is not worked out from the dates, so set it yourself. |
| Session cost | Empty | Only with Enable session cost on. See Costs and payments. |
| Details | Empty | Text shown on the sign-up page, in the sessions list and in the emails. |
| Dates | None | Add a new date adds a Start time and Finish time. Add one per day for a multi-day session. Remove this date drops one when you save. |
A session with no dates is shown as TBD. Everyone who signs up to it is waitlisted, whatever the capacity, and booked once you add a date and someone cancels or the waitlist is processed. Use this to gauge interest before you fix a date.
The Action menu on each session has Edit session, Copy session (a new session with the same settings, for running the same workshop again), Delete session, View attendees and View details.
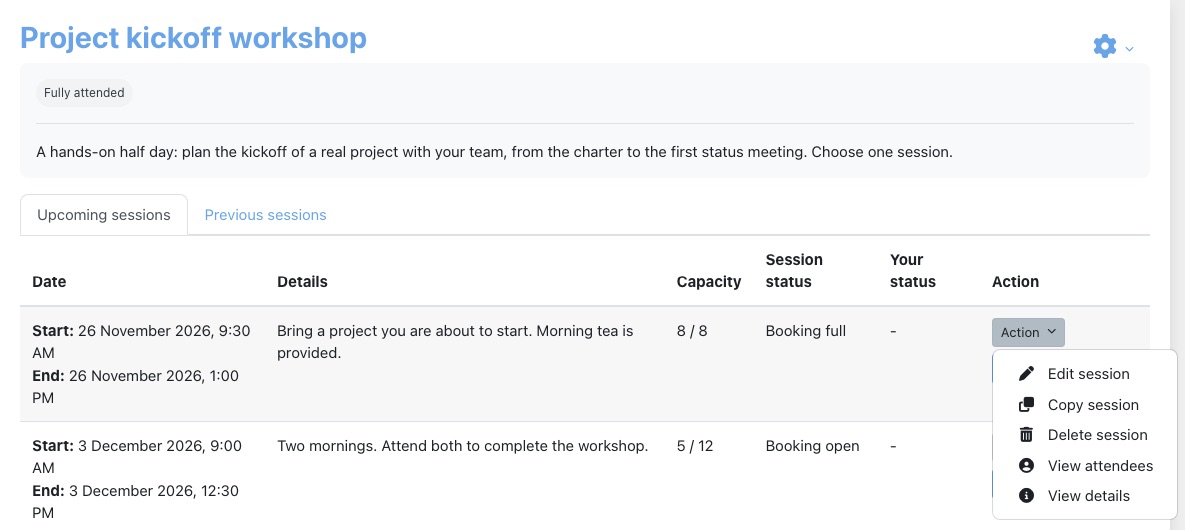
- Changing dates emails everyone booked on the session with Email: Session date changed and updates their calendar entries. Changing other details sends nothing.
- Deleting a session asks Are you completely sure you want to delete this session and all sign-ups for this session?. If the session has not finished, everyone booked is sent Email: Session cancelled and anyone who paid online is refunded. The session and its sign-ups are kept in the database marked as deleted, so past attendance is not lost from integrations.
- Previous sessions stay on their own tab with their attendance.

On the course page, the activity shows its next sessions (as many as Sessions displayed on course page) with a Details button each and View more for the full list.
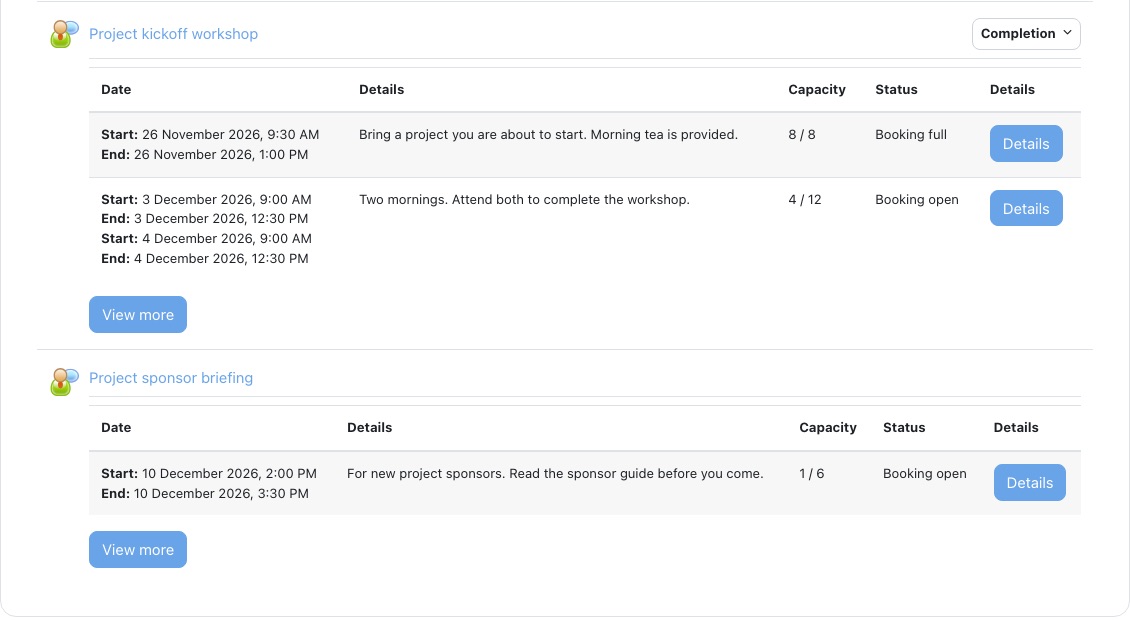
Sign-up and the waitlist: what learners see
A learner opens the activity, or a session's Details from the course page, and chooses Signup. The Session signup page shows the session details (course, location, duration, details, every date, cost and the custom fields) and a Signup button.
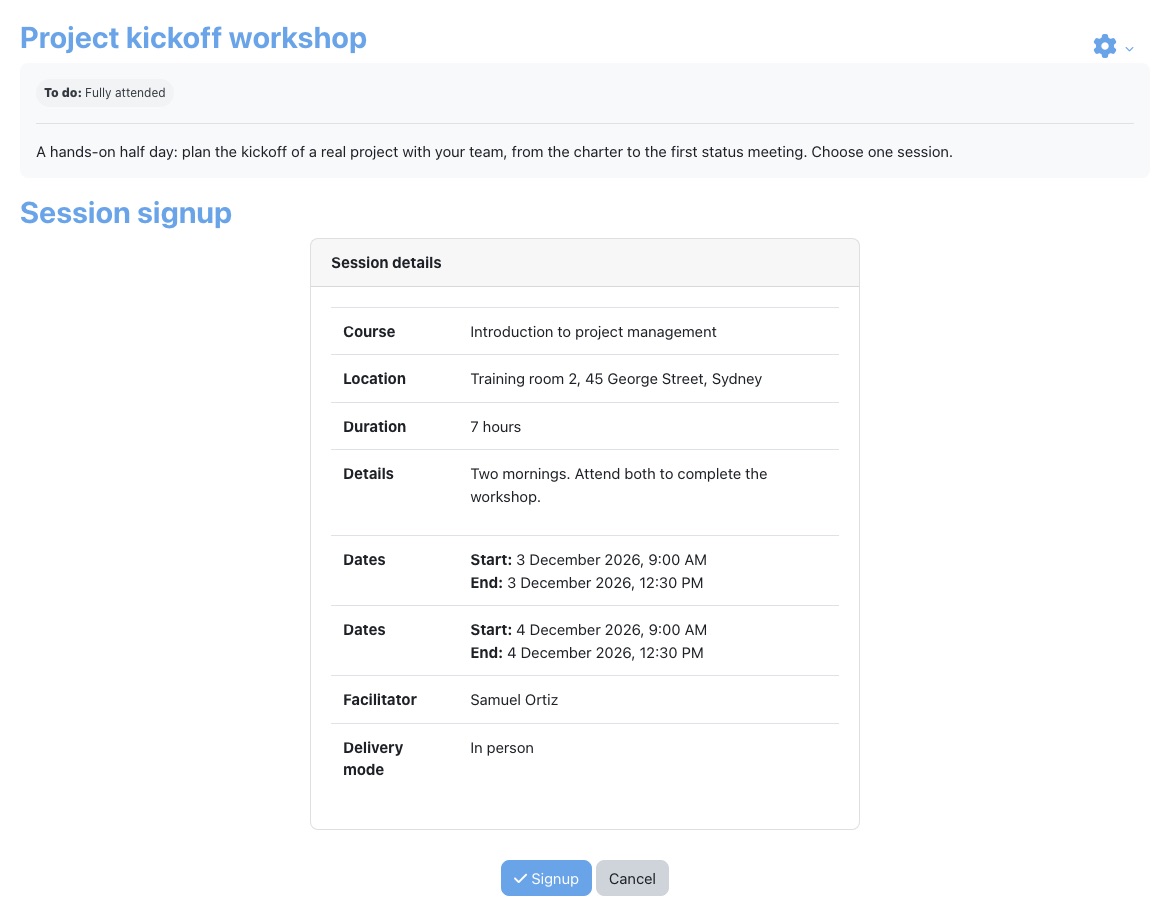
After signing up the learner returns to the course with a message that depends on what happened:
- Your booking is complete. You will receive a confirmation email shortly. They are Booked, receive Email: Signup confirmation with a calendar invitation (invite.ics), and the session is added to their calendar.
- You have been placed on the session waitlist. You will receive an email when your status is updated. They are Waitlisted and receive Email: Waitlisted.
- Approval is required before your booking request can be accepted. You will receive an email when your booking request is approved or declined. They are Pending and receive Email: Booking request.

Back on the activity, the learner's session is highlighted with Your status and a Cancel booking button.
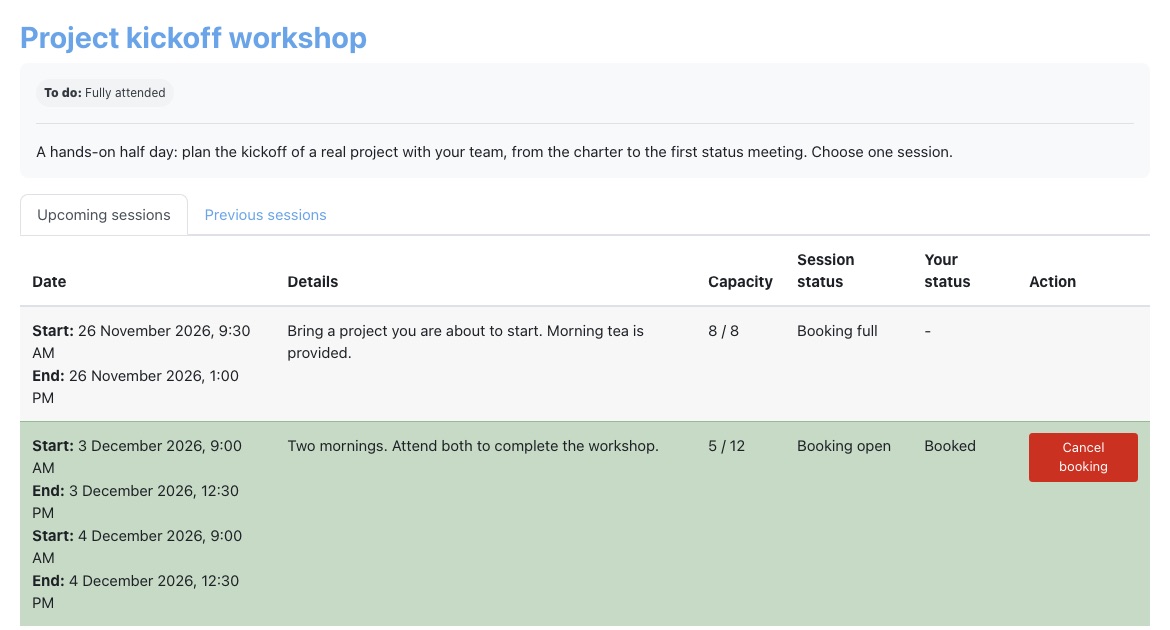
Rules learners meet when signing up:
- One booking per activity. A learner can be booked, waitlisted or pending on only one session in a Face-to-face activity: Unable to signup, already signed up for a session in this Face-to-face activity. To switch sessions they cancel and book again. Use several activities if people should attend several sessions.
- Not after it starts. Unable to signup. The session has already started.
- Not when booking has closed: Booking is closed for this session.
- Not when full without a waitlist: Unable to signup, there is no capacity in the session.
- Guests cannot sign up.
To cancel, the learner chooses Cancel booking, gives a Reason for cancellation and chooses Yes. They receive Email: Signup cancelled, their calendar entry is removed, the next person on the waitlist is booked into their place, and any online payment is refunded. Learners cannot cancel once the session has started: Unable to cancel booking as the session has already started. Please contact a teacher/administrator.
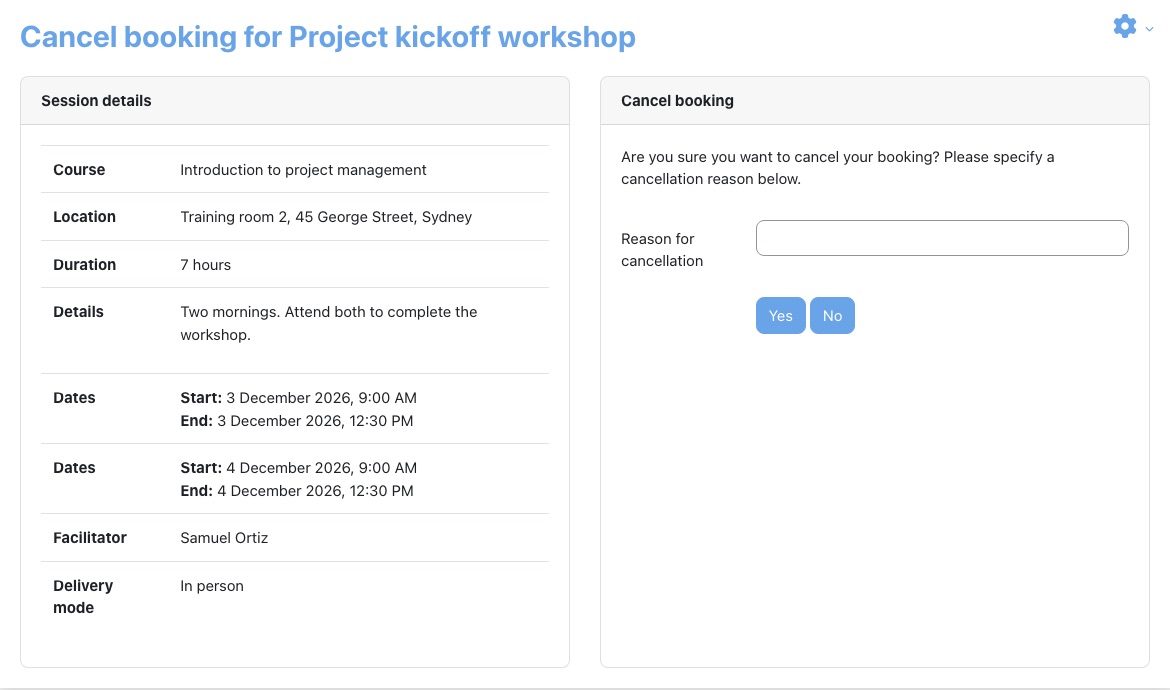
Bookings are also cancelled automatically, with an email, when a learner is unenrolled from the course or their enrolment is suspended, for every session that has not started yet.
Approvals
With Approval required on, a sign-up becomes a request. The learner is Pending and does not take a place. Who is told:
- The learner gets Email: Booking request.
- Their manager gets Email: Manager booking request, if the learner's profile holds a manager's email address in the field chosen as Manager email profile field in the site settings.
- Third-party addresses get Email: Third-party booking request.

Requests are approved or declined in View attendees for the session, in the Unapproved Requests table: the tick approves, the bin declines.
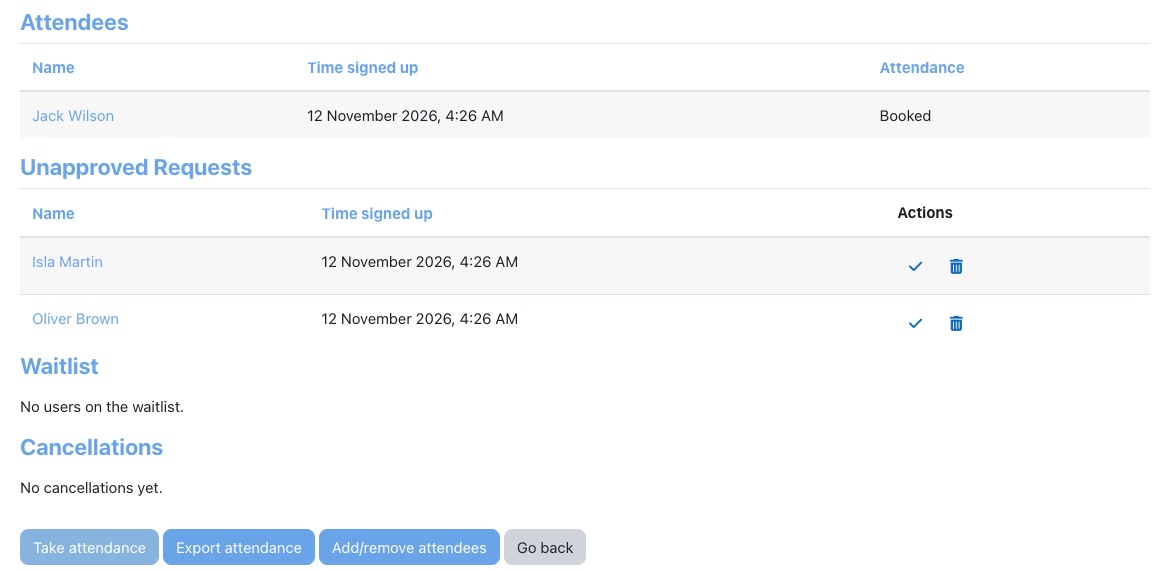
- Approve books the learner and sends the confirmation and third-party confirmation emails, if the session has a place and at least one date. If it is full, nothing happens and the request stays pending: raise the capacity first.
- Decline cancels the request with the reason Request declined and sends the cancellation emails.
The manager email asks the manager to approve, but the tick and bin are only available to people who can take attendance in the course, which by default means teachers, non-editing teachers and managers. A line manager who is not one of those cannot approve from Moodle. Either the manager replies to the trainer, who approves, or you give managers a course role with Take session attendance.
Attendees, the waitlist and cancellations
View attendees (from a session's Action menu) shows the session details and up to four tables: Attendees (booked and attended people, with Time signed up and Attendance), Unapproved Requests, Waitlist and Cancellations (with the time and reason).
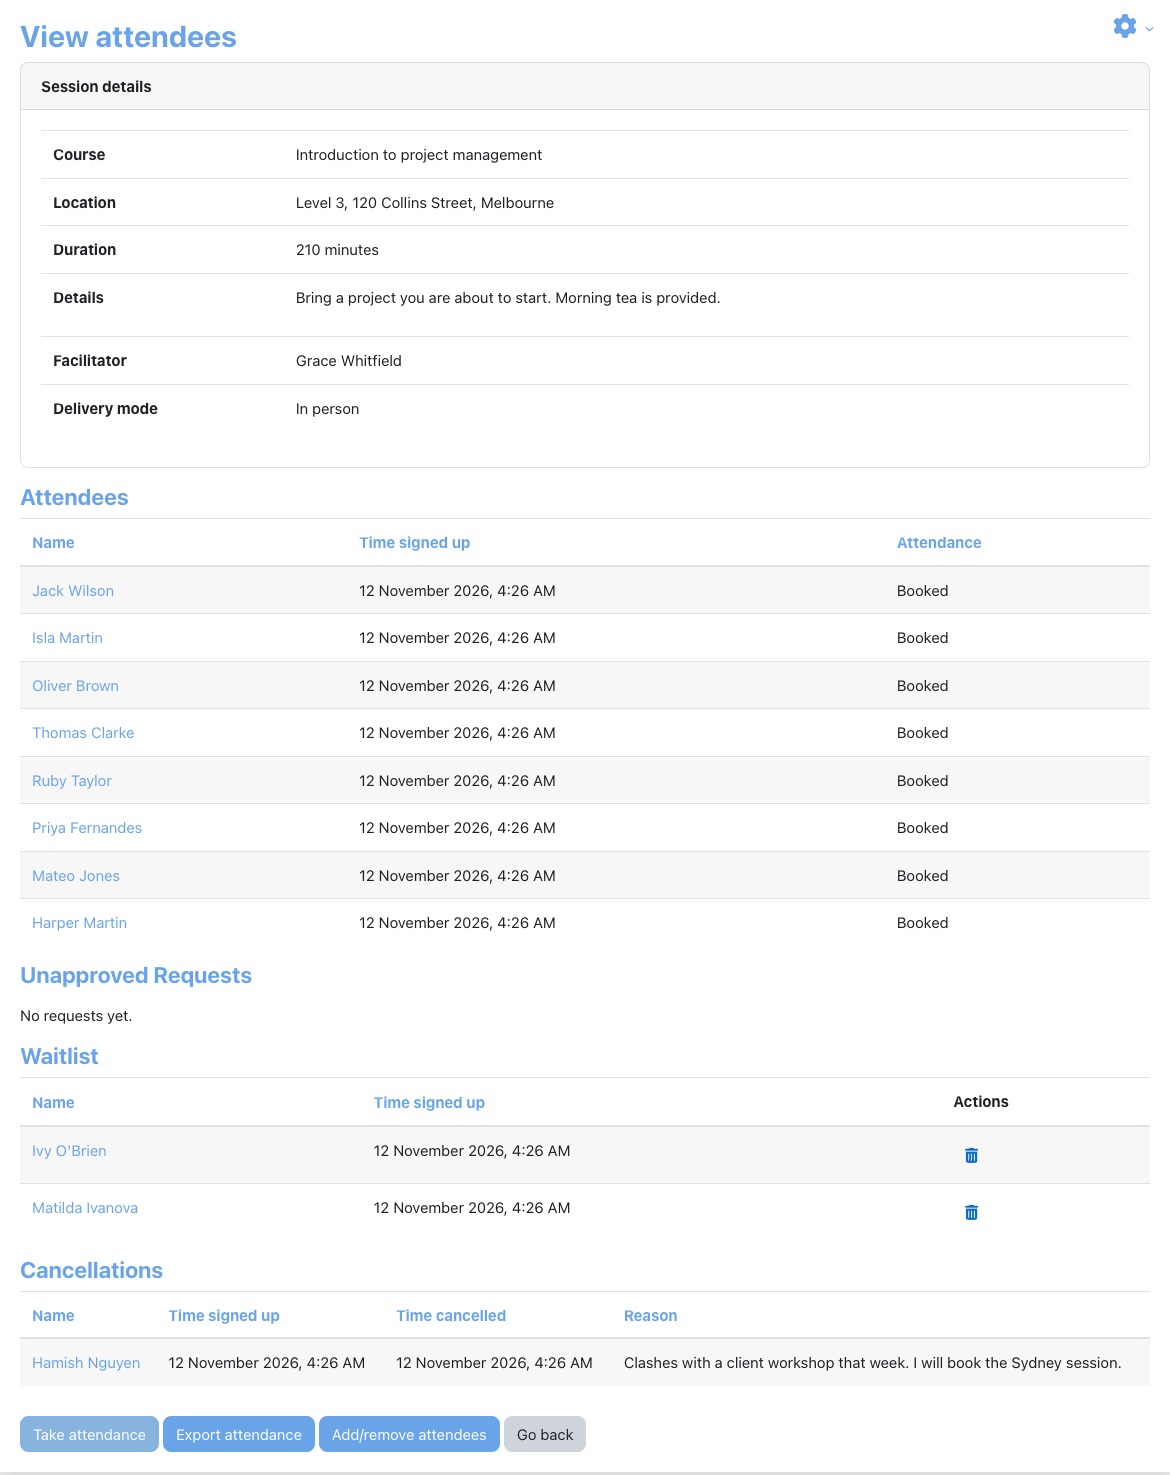
- The bin in the Waitlist table removes someone from the waitlist (Removed from waitlist by activity administrator.).
- Export attendance downloads a CSV of the session, with the fields and statuses chosen in the site's Export attendance settings.
- Add/remove attendees books or removes people directly.
Add/remove attendees has the session's Attendees on the left and Potential attendees (people actively enrolled in the course) on the right. Select people and choose Add or Remove. The same rules as self sign-up apply: a person already booked in another session of the activity is not added and an error explains why. Tick Suppress email notifications before adding or removing to send no emails, for example when you are recording bookings taken by phone. Removing someone cancels them with the reason Attendee removed by activity administrator. Teachers can remove people even after a session has started.
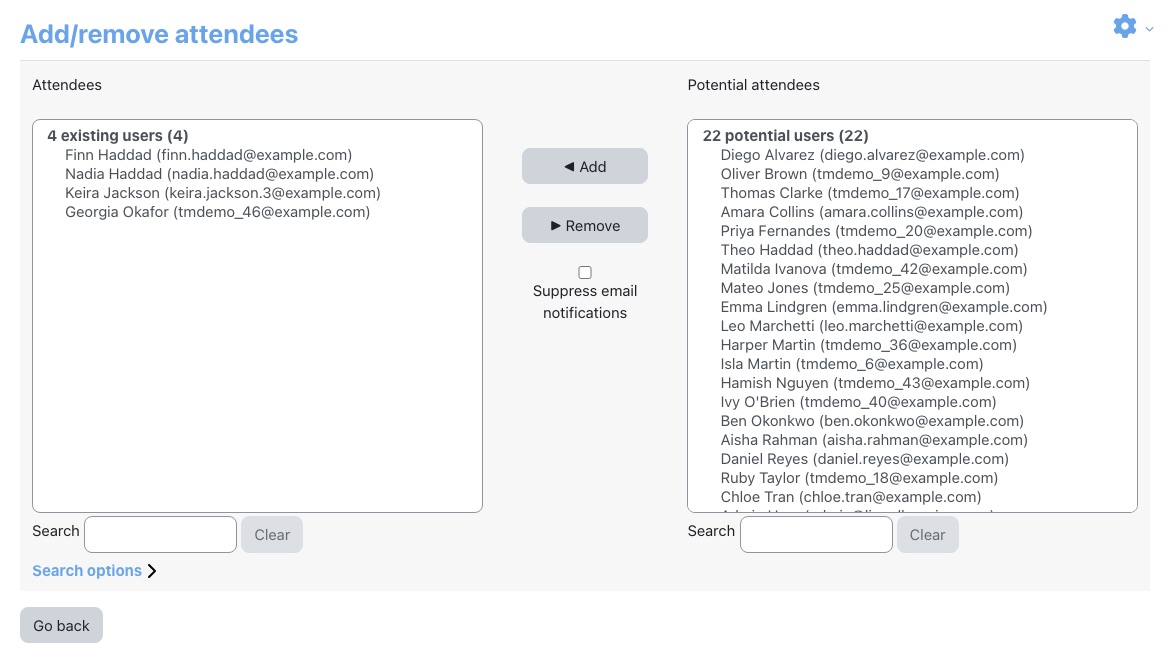
Taking attendance
Once a session has started, Take attendance on View attendees turns each attendee's status into a list. Choose Booked, Fully attended, Partially attended or Not attended for each person and choose Save attendance.
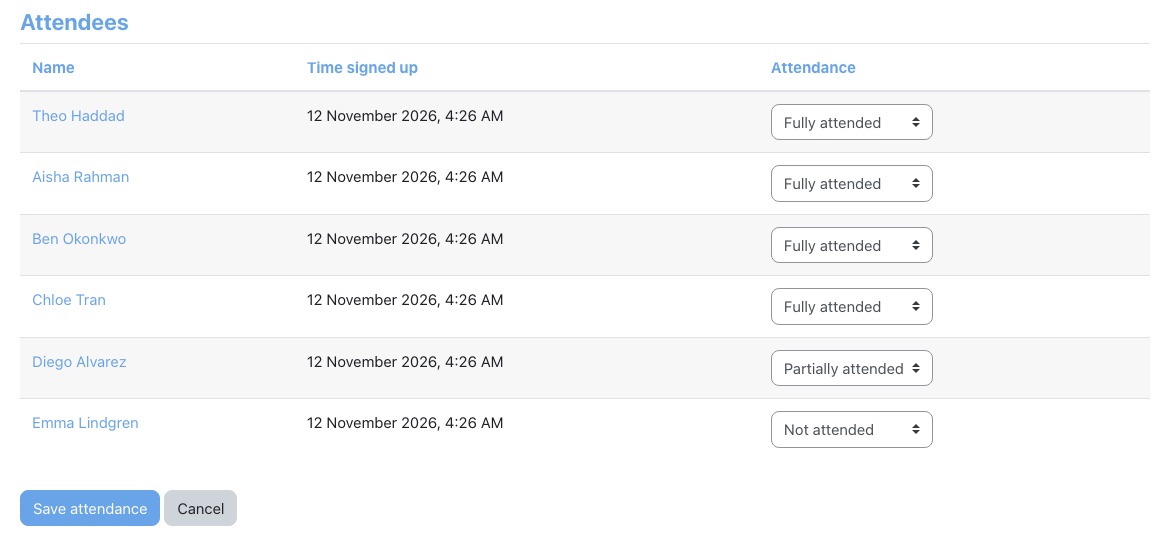
Saving attendance:
- Sets a grade in the course gradebook, out of 100 with a pass mark of 100: Fully attended 100, Partially attended 50, Not attended 0. Setting someone back to Booked removes the grade.
- Updates completion when the activity's Attendance setting is enabled.
- Decides the follow-up email: Email: Session finished only goes to people marked Fully attended or Partially attended.
Notifications and email templates
Each activity has its own copy of fourteen emails, each a section of the activity settings with a Subject and a Body. They are filled with sensible defaults when the activity is created; edit them to suit. To turn one off, empty its subject or its body: an email with either blank is not sent.
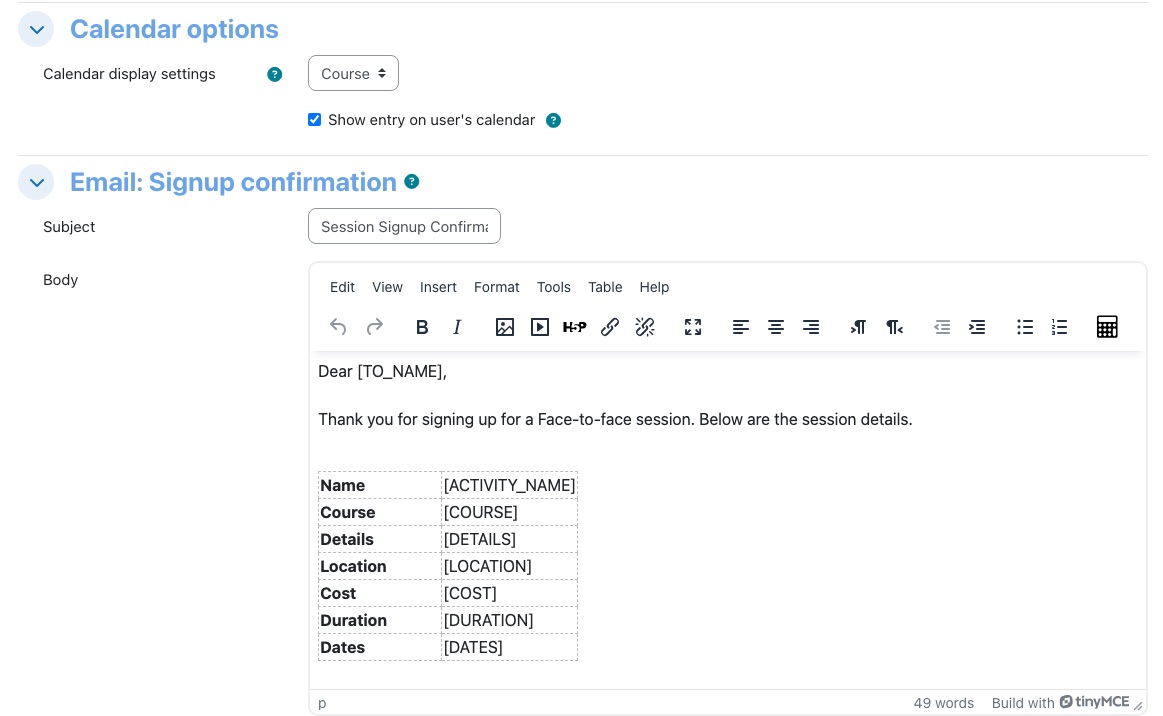
| Sent to | When | |
|---|---|---|
| Email: Signup confirmation | The learner, with a calendar invitation | They are booked: by signing up, by approval, from the waitlist, or by a teacher |
| Email: Reminder | Everyone signed up and not cancelled | Days before message is sent before the first date, once per session |
| Email: Waitlisted | The learner | They are put on the waitlist |
| Email: Session cancelled | Everyone booked, with a calendar cancellation | A session that has not finished is deleted |
| Email: Signup cancelled | The learner, with a calendar cancellation | Their booking is cancelled for any reason |
| Email: Session finished | People marked fully or partially attended | Days after message is sent after the last date, once per session |
| Email: Session date changed | Everyone booked | A session's dates or timezone change |
| Email: Booking request | The learner | They ask for a place in an activity that needs approval |
| Email: Third-party signup confirmation, … signup cancelled, … booking request, … waitlisted | The activity's third-party addresses | The matching learner event |
| Email: Manager booking request | The learner's manager | A booking request, when approval is required |
| Email: Manager signup cancelled | The learner's manager | A cancellation, when approval is required |
Placeholders you can use in any subject or body: [TO_NAME], [FROM_NAME] (the site's From name), [ACTIVITY_NAME] (or the Event name), [COURSE], [DATES], [DATES_NO_TIME], [DETAILS], [LOCATION], [COST], [CAPACITY], [DURATION], [ACTIVITY_URL], [SESSION_DETAILS_URL], [REMINDER_BEFORE_DAYS], [REMINDER_AFTER_DAYS], [SIGNUP_STATUS], [CANCEL_REASON] and [TIME_CANCELLED]. Each custom session field marked Visible to students adds one more, its short name in capitals, for example [FACILITATOR]. Dates are shown in the learner's own timezone. Course and activity names in multi-language format are shown in the learner's language.
The Signup cancelled and Session cancelled defaults say If you have paid online to attend this session, you have automatically been refunded. Remove that sentence if your site does not take payments.
Emails go out from the site's no-reply address with the From name from the site settings. Third-party and manager emails are sent to bare addresses, so they arrive even when the address belongs to no Moodle user.
Reports
- Per session: View attendees and Export attendance (a CSV), described above.
- Per course: the Face-to-face activities list (Moodle's activity index for the course, reached from an Activities block) gives each activity with its number of sessions.
- Grades and completion: attendance grades are in the gradebook and completion in the Activity completion report like any activity.
- Across the site: the Course activities report in Advanced Reporting counts Face-to-face activities, and the Salesforce integration, where enabled, sends sessions and attendance to Salesforce.
Costs and payments
Sessions can carry a cost. With Enable session cost on, the session form gains Session cost, and the sign-up page shows a Payment information box with the subtotal, each tax and the total. What happens next depends on Enable Stripe:
- Without Stripe the learner is told Payment is required to attend this session, however online payments are NOT currently accepted. The total above will be due in person when attending the session. and signs up as usual.
- With Stripe the learner enters a Credit or debit card and pays before the booking is made. With Allow refunds on, the payment is refunded automatically when they cancel before the session, when the session is deleted before it starts, or when they are still waitlisted when it starts. Card payments are not possible from the Moodle app.
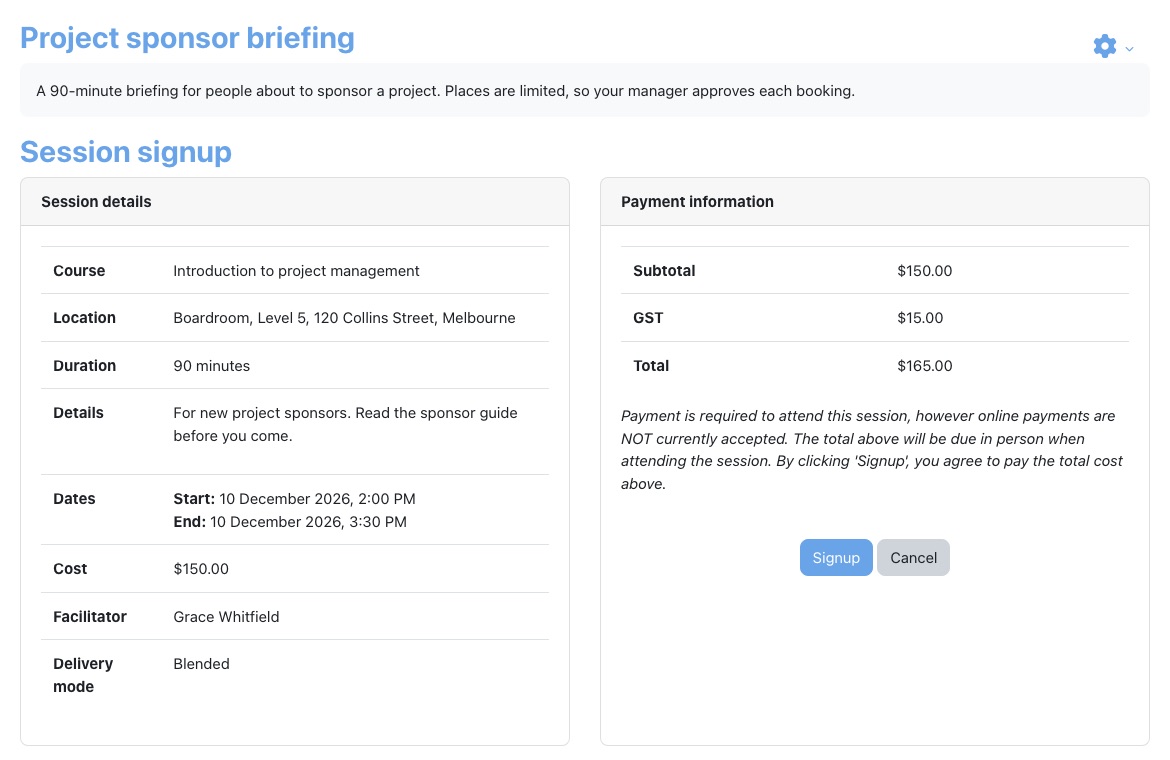
Where your face-to-face places are sold in your Enrolmart store, payment happens there and the session cost here stays empty. Ask Lingel Learning before switching on Stripe in Moodle, so that learners are not asked to pay twice.
Site settings
Site administration → Plugins → Activity modules → Face-to-face plugin settings (also linked from the Admin dashboard's Advanced settings tile as Face-to-face settings) has three tabs.
| Setting | Default | What it does |
|---|---|---|
| From name | Admin | The sender name on Face-to-face emails and the [FROM_NAME] placeholder. Set it to something learners recognise, such as your training team. |
| Manager email profile field | None chosen (the list shows the first custom profile field) | The custom user profile field that holds each learner's manager's email address. Needed for the manager emails. Choose a text field that really holds manager addresses; if you save the page without choosing, the first field on the site is stored. |
| Allow API to update session timezone | Off | Lets Enrolmart or another system change a session's timezone when it updates the session. Off keeps the timezone set in Moodle. |
| Reject duplicate session creation via API | Off | When Enrolmart or another system asks to create a session identical to one that exists in the same activity (same dates, location, capacity and details), the existing session is returned instead of a duplicate. Turn it on if duplicate sessions appear after store retries. It does not affect sessions created in Moodle and does not remove existing duplicates. |
| Enable session cost | Off | Adds Session cost to the session form. |
| Taxes | None | + Add new tax adds a Tax name and Tax percentage applied on top of every session cost, such as GST at 10. |
| Enable Stripe | Off | Requires card payment for sessions with a cost. |
| Enable test mode | On | Uses Stripe's test keys and test cards; no real money moves. |
| Allow refunds | On | Refunds Stripe payments automatically, as described above. |
| Currency | cad | The Stripe currency code. Change it to aud or your own currency before taking payments. |
| Test publishable key, Test secret key, Live publishable key, Live secret key | Empty | Your Stripe account keys. Lingel Learning enters these for you. |
| Fields included in attendance CSV | Session ID, User ID, Name, Email address, Time signed up, Status | The columns of Export attendance. Also available: Time cancelled, Cancel reason, Stripe charge ID, Payment amount and Refunded. |
| Include users with status | All seven statuses | Which sign-ups are exported: Waitlisted, Pending, Booked, Fully attended, Partially attended, Not attended, Cancelled. |
Custom session fields
Custom session fields add your own information to every session on the site, such as the facilitator, the delivery mode or the room's accessibility. Create them from + Create a new custom field on the General settings tab. Each has a Name, a Short name (used for the email placeholder), a Field type (Text, Menu of choices or Multiple selection), a Default value, a List of possible values (one per line, for menus), Required, and Visible to students. Visible fields appear in the session details learners see and as email placeholders; hidden ones are for staff only. Deleting a field asks Delete field '[name]' and all session data associated with it?.
Permissions
| Capability | Given by default to |
|---|---|
| View Face-to-face activity (mod/facetoface:view) | Guest, Student, Non-editing teacher, Teacher, Course creator, Manager |
| Signup for a Face-to-face session (mod/facetoface:signup) | Student, Non-editing teacher, Teacher, Course creator, Manager |
| Cancel booking (mod/facetoface:cancel_booking) | Student, Non-editing teacher, Teacher, Course creator, Manager |
| View session attendees, Manage session attendees, Take session attendance., Export session attendance, View cancellations, View waitlist | Non-editing teacher, Teacher, Course creator, Manager |
| Add a session, Edit a session, Delete a session | Non-editing teacher, Teacher, Course creator, Manager |
| Add a Face-to-face activity to a course (mod/facetoface:addinstance) | Teacher, Course creator, Manager |
Approving and declining requests uses Take session attendance.. Non-editing teachers can add, edit and delete sessions by default; prevent the three session capabilities for that role if trainers should only take attendance. Managing custom fields and taxes needs full site configuration rights.
Scheduled tasks
- Send Face-to-face emails. runs every hour at quarter past. It sends each session's reminder once, when the first date is within the activity's Days before message is sent, and each session's follow-up once, when the last date is Days after message is sent in the past.
- Refund waitlisted users runs every hour at quarter to. For sessions in progress it refunds anyone still on the waitlist who paid through Stripe, if Allow refunds is on.
What is specific to Virtual Slate
- One booking per activity, statuses Pending, Booked, Waitlisted, Fully attended, Partially attended, Not attended and Cancelled, and attendance grades of 100, 50 and 0.
- Attendance-based completion: the activity completes on fully or partially attended.
- Fourteen per-activity email templates in HTML with placeholders, third-party and manager copies, and calendar invitations.
- Booking closes a set number of days before a session, and sessions without dates take a waitlist.
- Session costs, taxes and Stripe payments with automatic refunds.
- Site-wide custom session fields shown to learners and usable in emails.
- Session groups: in a course that uses groups, each session gets a course group (named from the course short name, location and start date) and booked learners are added to it and removed when they cancel.
- Bookings follow enrolment: unenrolling or suspending a learner cancels their future bookings.
- The Moodle app: learners can see sessions, book and cancel in the app.
- Enrolmart and Salesforce: Enrolmart creates and updates sessions and activities in Moodle through web services, with the timezone and duplicate-prevention settings above; Salesforce receives sessions and attendance.
- Deleted sessions are kept, marked deleted, so attendance history and integrations stay consistent.
- Large activities load quickly: the 2026 work on this version reduced the database work behind the session lists and attendee tables for sites with hundreds of sessions.
Questions we get asked
A learner was reset by the refresher but has a face-to-face session in the same course they need to attend again. They cannot book.
The refresher clears completion but not face-to-face bookings, and a learner can hold only one booking per Face-to-face activity. A teacher can open View attendees for the old session, choose Add/remove attendees and remove the learner from it (tick Suppress email notifications first). The learner can then book a new session. Their old attendance grade stays until a new attendance is saved. For a yearly practical, an alternative is a new Face-to-face activity each year.
We enabled the refresher and a lot of people were emailed overnight.
Everyone whose completion was older than the period was due, and the daily task reset and emailed them all. The old completions are in Course refresher-history if archiving was on. To avoid this on another course, set a cohort or profile filter, or a longer period, before enabling it; or untick Send refresher message for the first run.
Can we see who was certified on a particular date?
Use Course refresher-compliance report with a date range for earlier cycles, and the Course completion report or Refresher: modify completion dates for current completions. A learner was certified on a date if they had a completion before it that had not yet been reset.
A learner completed the training at another provider. How do we start their cycle?
In Refresher: modify completion dates, choose the pencil beside them and set the date they completed. The next reset is one period after that date.
A manager says they got an approval email but cannot approve.
Approval happens in View attendees, which needs a teaching role in the course. See Approvals. If no manager email arrives at all, check the Manager email profile field setting and that the learner's profile has an address in that field.
We do not want learners emailed when we book them in ourselves.
Tick Suppress email notifications on Add/remove attendees before choosing Add. Note that the reminder and follow-up emails are still sent later.
A session is full but a learner on the waitlist was not moved up when someone cancelled.
The waitlist is processed when a booking is cancelled and when a session's capacity is raised. In an activity with Approval required, a learner moved off the waitlist becomes Pending and still needs approving. A session with no dates keeps everyone waitlisted until a date is added.
Why do waitlisted learners get the reminder email?
The reminder goes to everyone signed up and not cancelled, including waitlisted and pending learners. If that confuses people, add a line to the reminder such as "If you are waitlisted, we will email you if a place becomes free", or use [SIGNUP_STATUS] in it.
Common questions
The ones that cross several features. Feature-specific questions sit with their feature.
Why can I not change the theme?
It is fixed in the site's configuration, deliberately, so that a Virtual Slate site stays a Virtual Slate site. Branding within the theme — your logo, colours and the rest — is configurable; replacing the theme is not.
A setting is missing, or changing it has no effect.
Three possibilities, in order of likelihood. The feature belongs to a licence level your site does not have, and the settings page says so where that is the case. The value is being held to a limit set in your site's configuration, which the setting description states. Or the feature is not enabled for your site at all, in which case its settings are not there to find.
Something looks out of date — figures, team membership, pathway progress.
Tell your usual Lingel Learning contact, and mention everything that looks stale. Overnight summaries, team membership, pathway progress, scheduled report delivery and every notification all depend on background tasks that we run for your site, so several of them going out of date together usually has one cause on our side.
Is our data used for anything other than our own site?
No. Your site is its own Moodle with its own database. Features that hold personal data provide the information Moodle needs to answer a subject access request, and Advanced Reporting records who exported what.
How do we request a new report or feature?
Through your usual contact. Several reports are already straightforward because the data is present; anything needing a new data model takes longer. We will tell you which of the two it is rather than giving a single estimate for both.
How do we know what changed in a release?
Each feature keeps a changelog that release notes are written from, so what you are told matches what shipped. Ask for the notes for a specific release and we will send them.
Can we have Virtual Slate on our own server?
That is a commercial conversation rather than a technical one, so it is one for your contact with us.
Glossary
Terms used in this guide, and in the interface, that mean something specific.
| Term | Means |
|---|---|
| Capability | A single permission in Moodle, granted through a role. The reporting features decide what a user sees from the capabilities their role holds. |
| Cron | The scheduled process Moodle runs in the background. Overnight summaries, scheduled report delivery, team membership and pathway progress all depend on it. |
| Data as at | The time the figure on screen was accurate. Reporting figures come from overnight summaries, so this is not always "now". |
| Download | Writes out the rows your filters have selected, immediately, as a file in your browser. |
| Export | Queues a report to be generated in the background and records who requested it. Used for large reports and for anything that needs an audit trail. |
| Licence level | Which Virtual Slate features your site includes. Set in the site's configuration, not on a settings page. |
| Delivery channel | How a notification reaches someone: as a Moodle message that follows their preferences, or as a direct email. |
| Learning area | A group of external activities, such as Workplace safety. Approved scores add up per learning area. |
| Period, or cycle (CPD) | The window a CPD target applies to. Totals are counted against the target within the current period. The screens call it a cycle. |
| Saved report | A report plus the filters in force when you saved it. A named period such as this month is worked out again each time it is opened or sent. |
| Scope | How much of the site a user's reporting view covers: site-wide, their courses, their own learning, or nothing. |
| Send window | The hours and days a notification may go out. Messages due outside it wait until it opens. |
| Summary | The compact daily totals the dashboards read, built overnight from the activity log. |
Virtual Slate is a product of Lingel Learning Pty Ltd. This guide describes Virtual Slate on Moodle 4.5 and was last revised on 9 November 2026.